







Start Here: Choosing the Right Pad Print Method
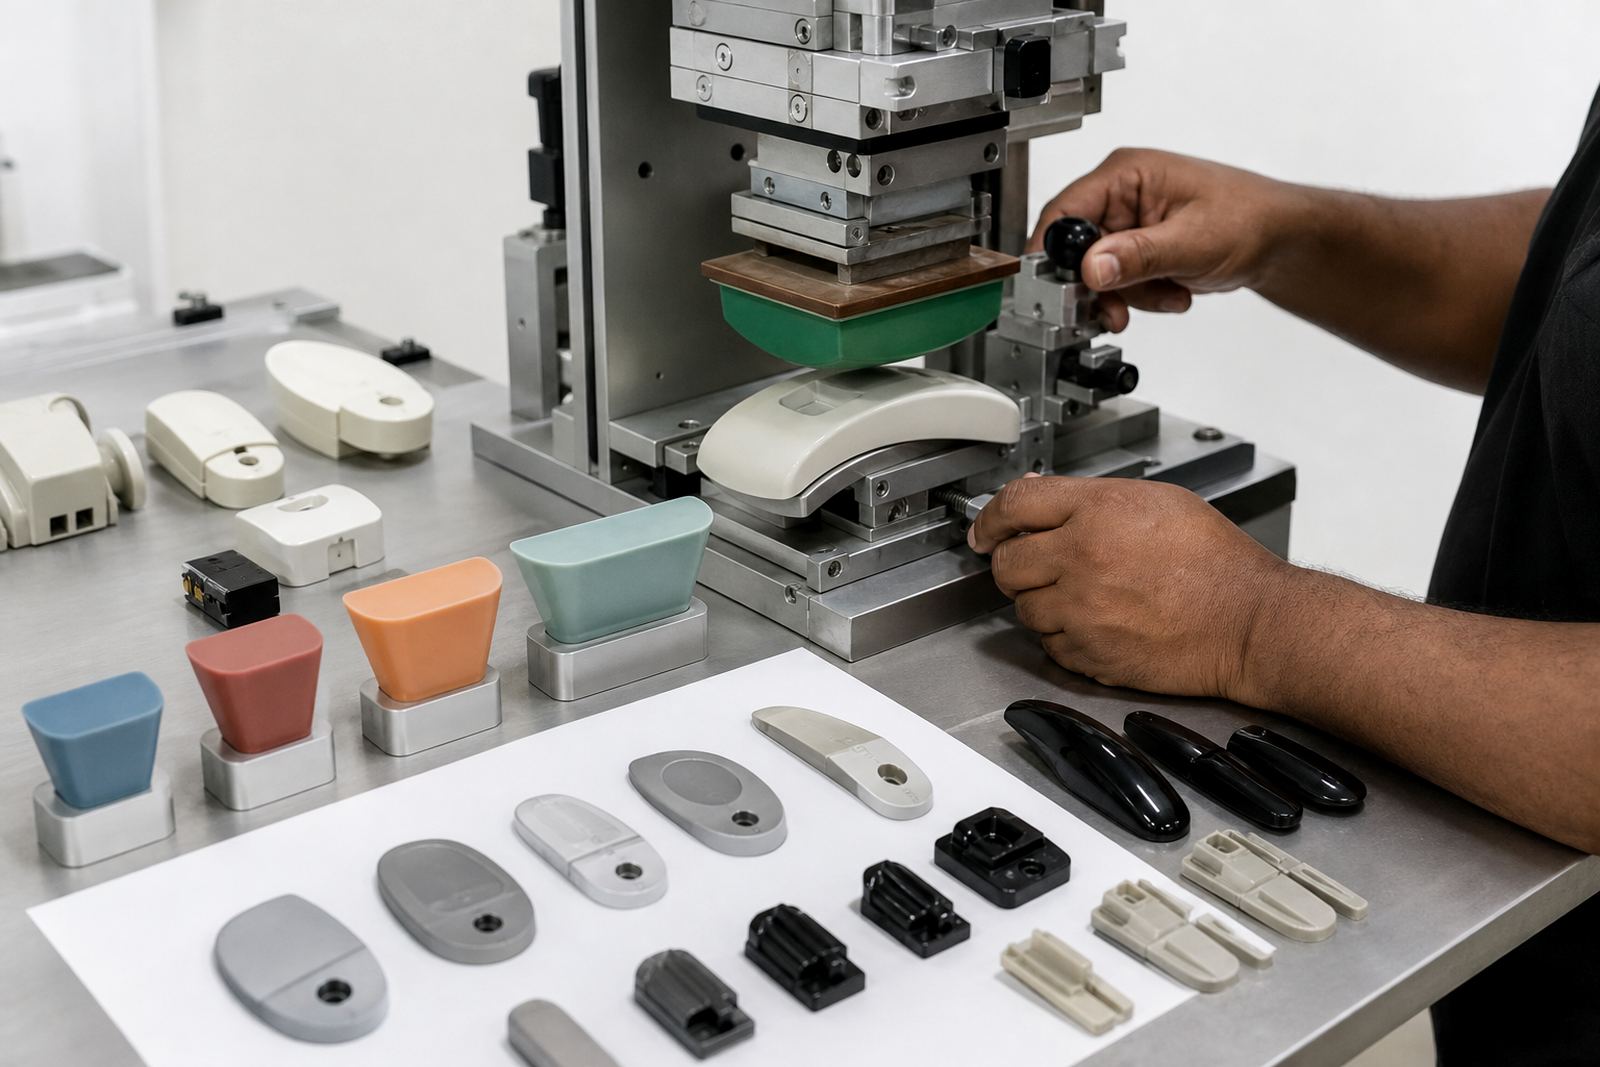
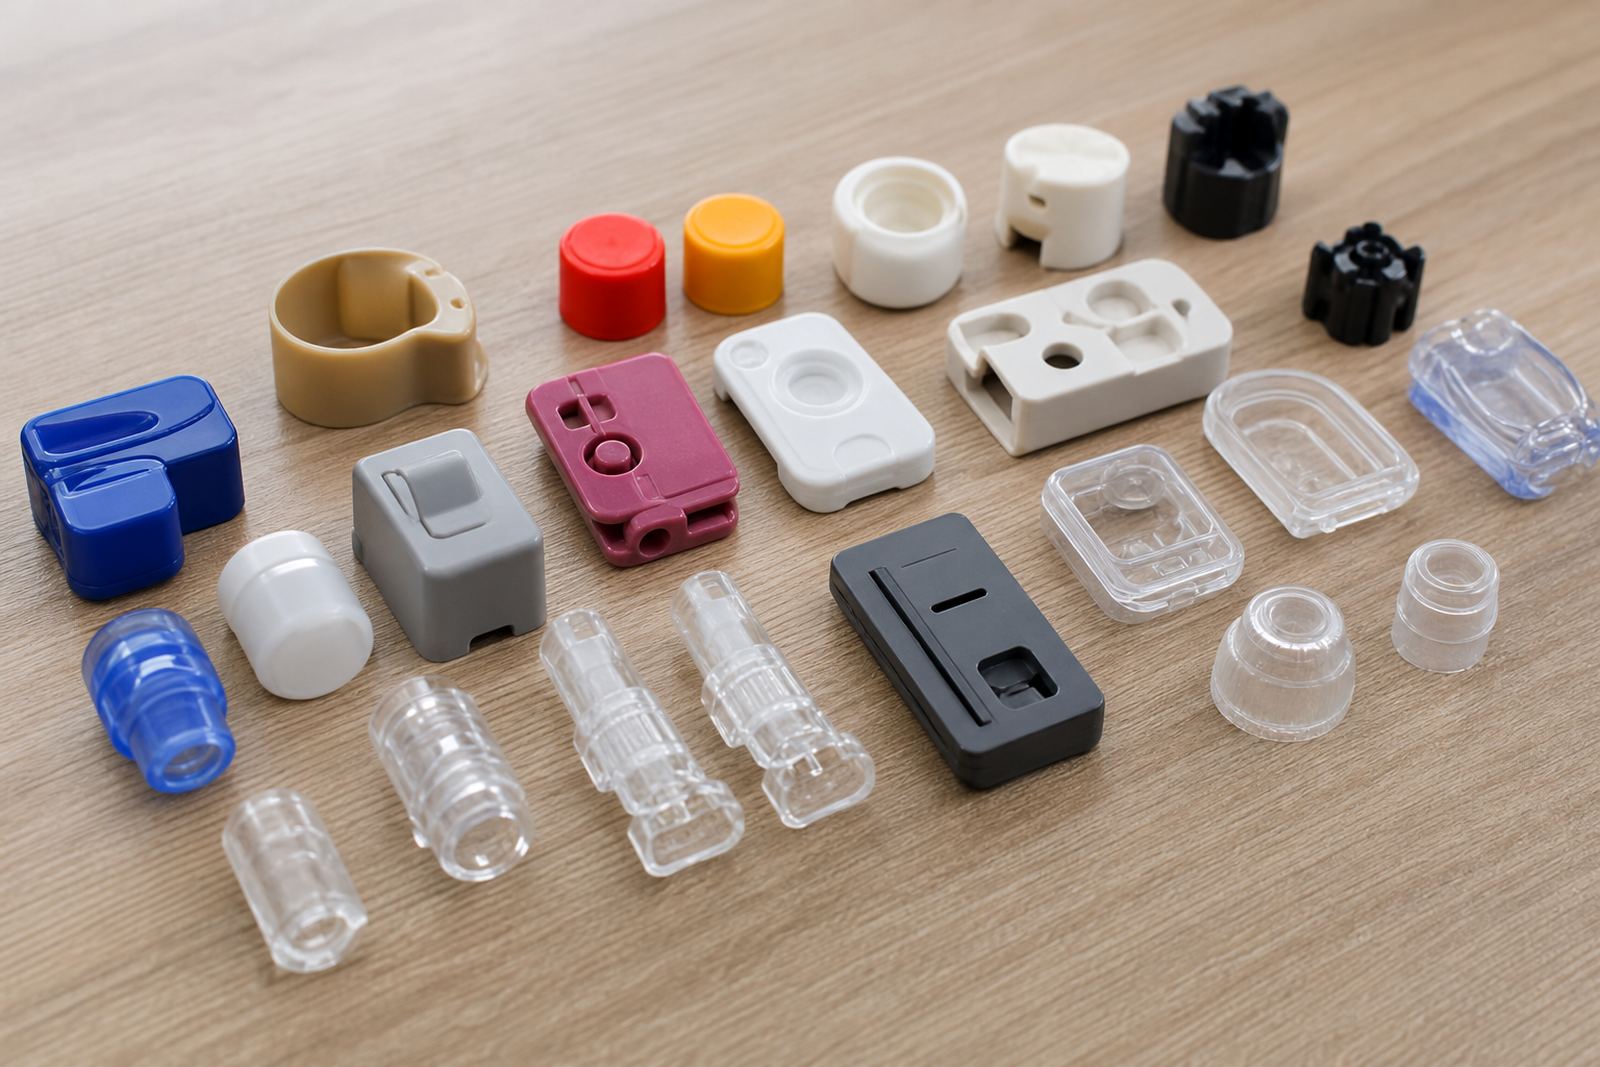
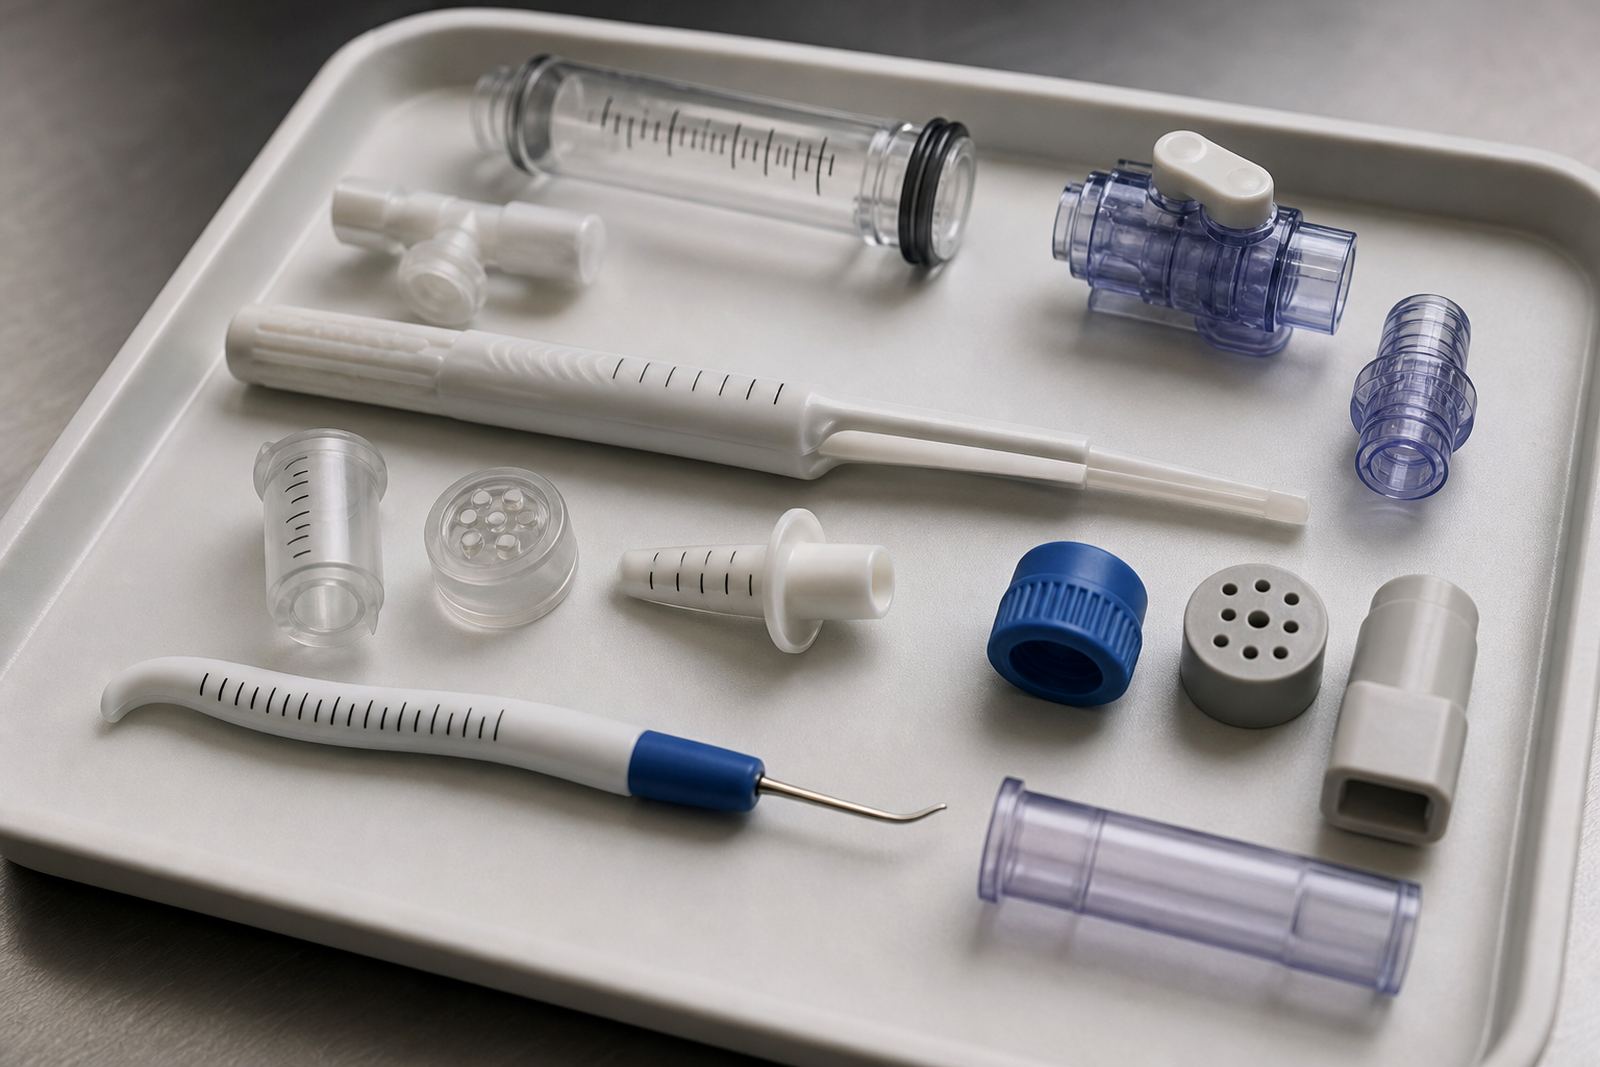
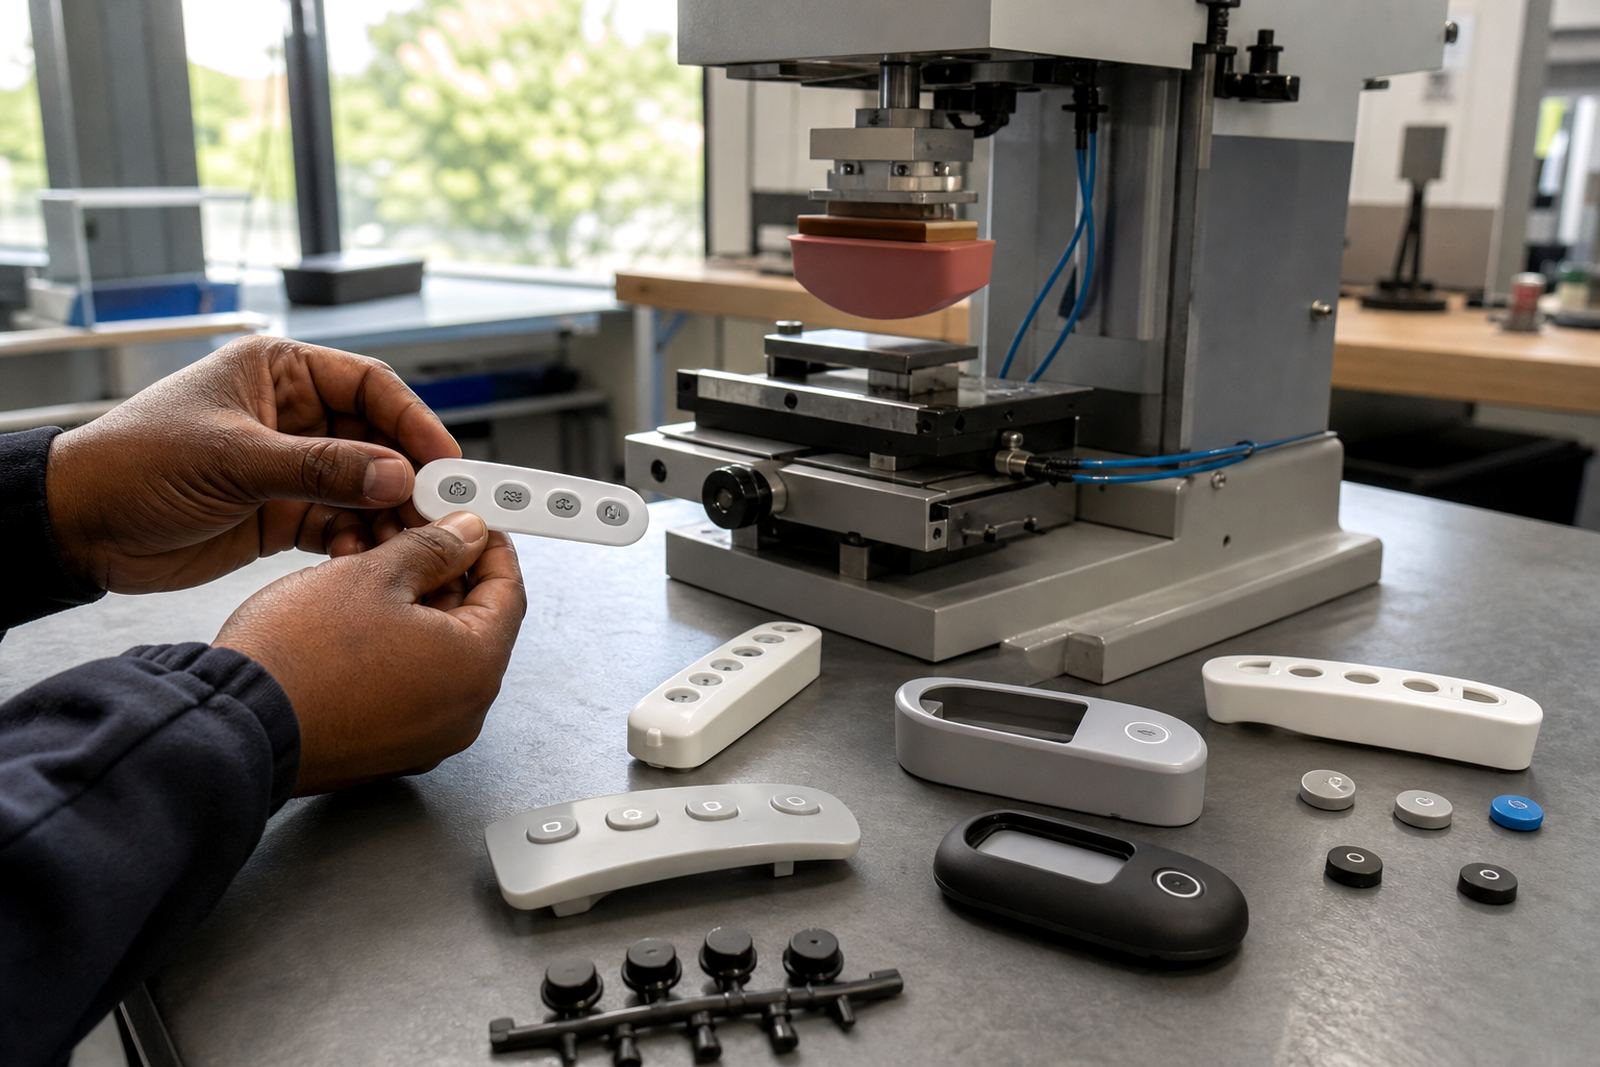
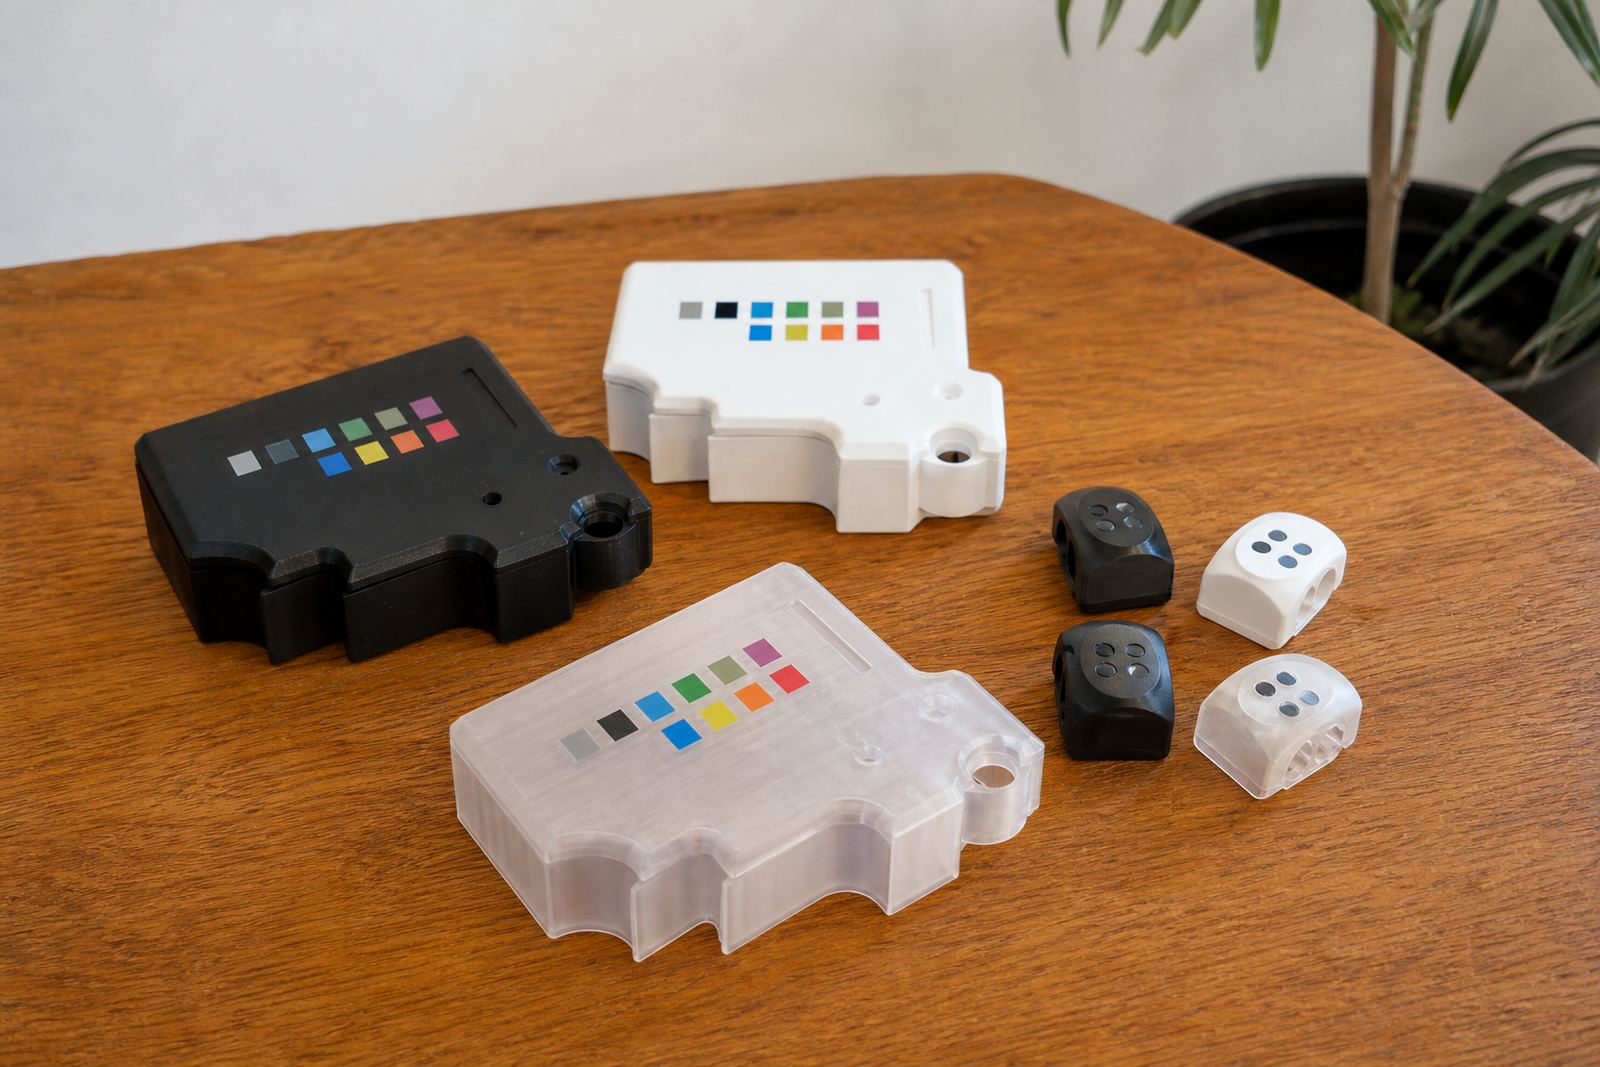
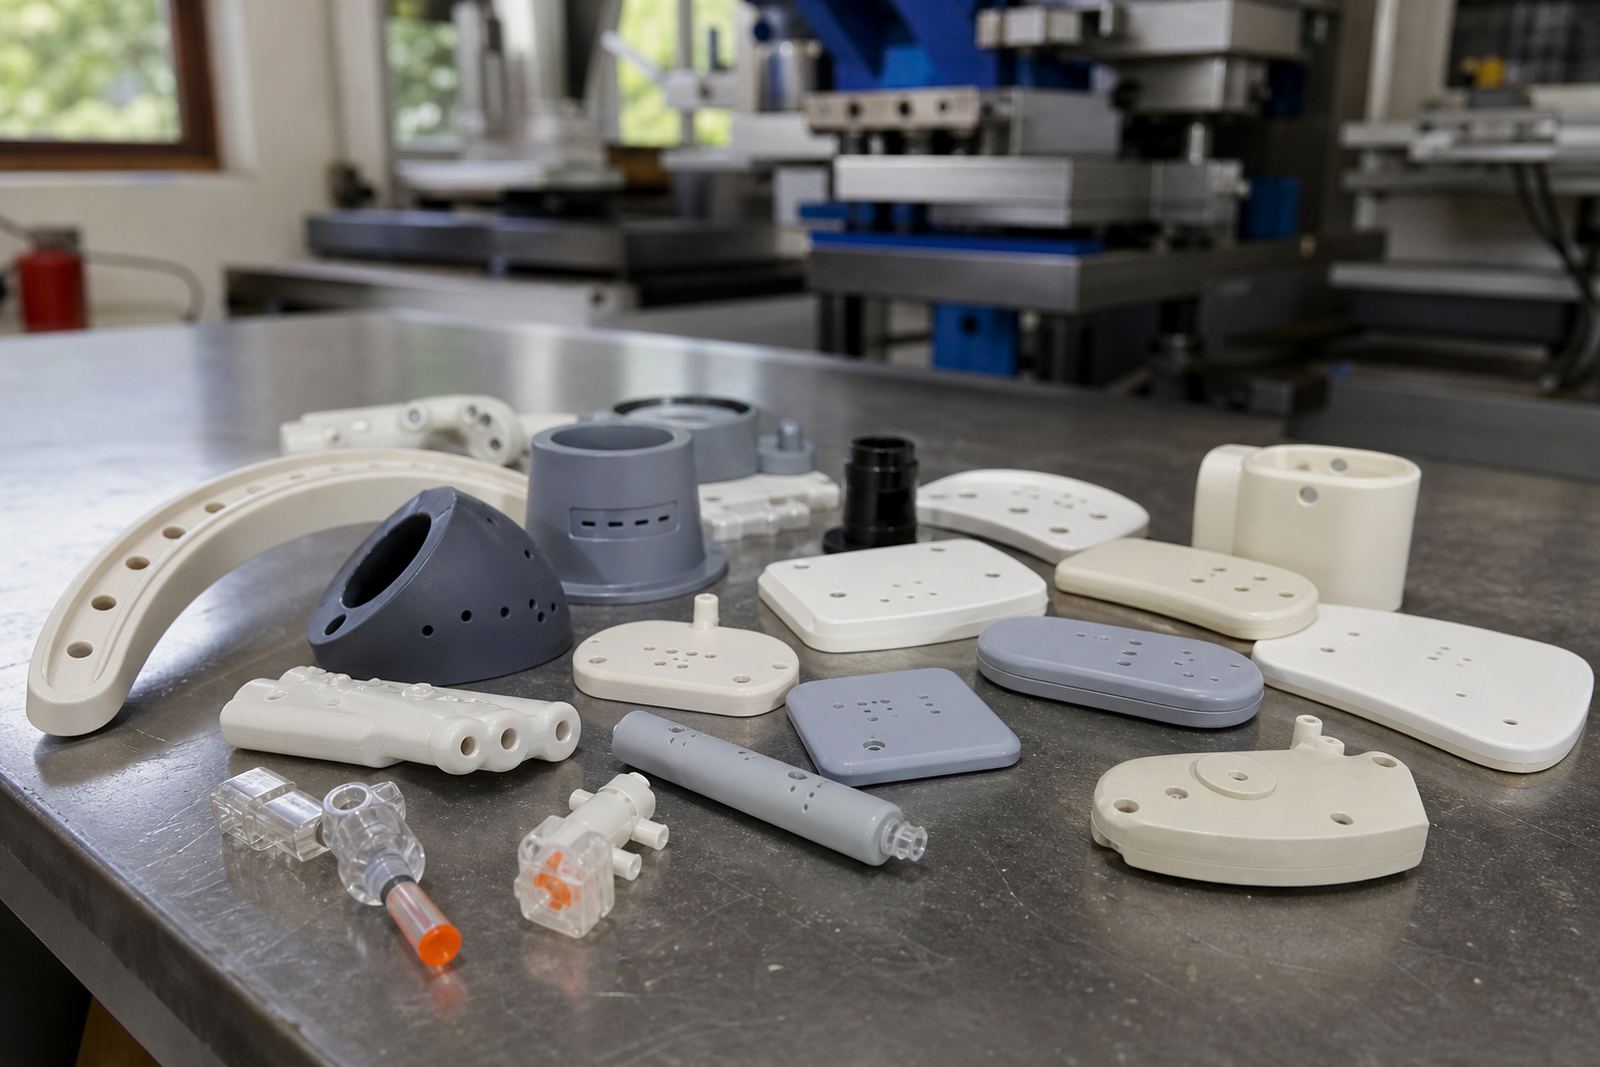
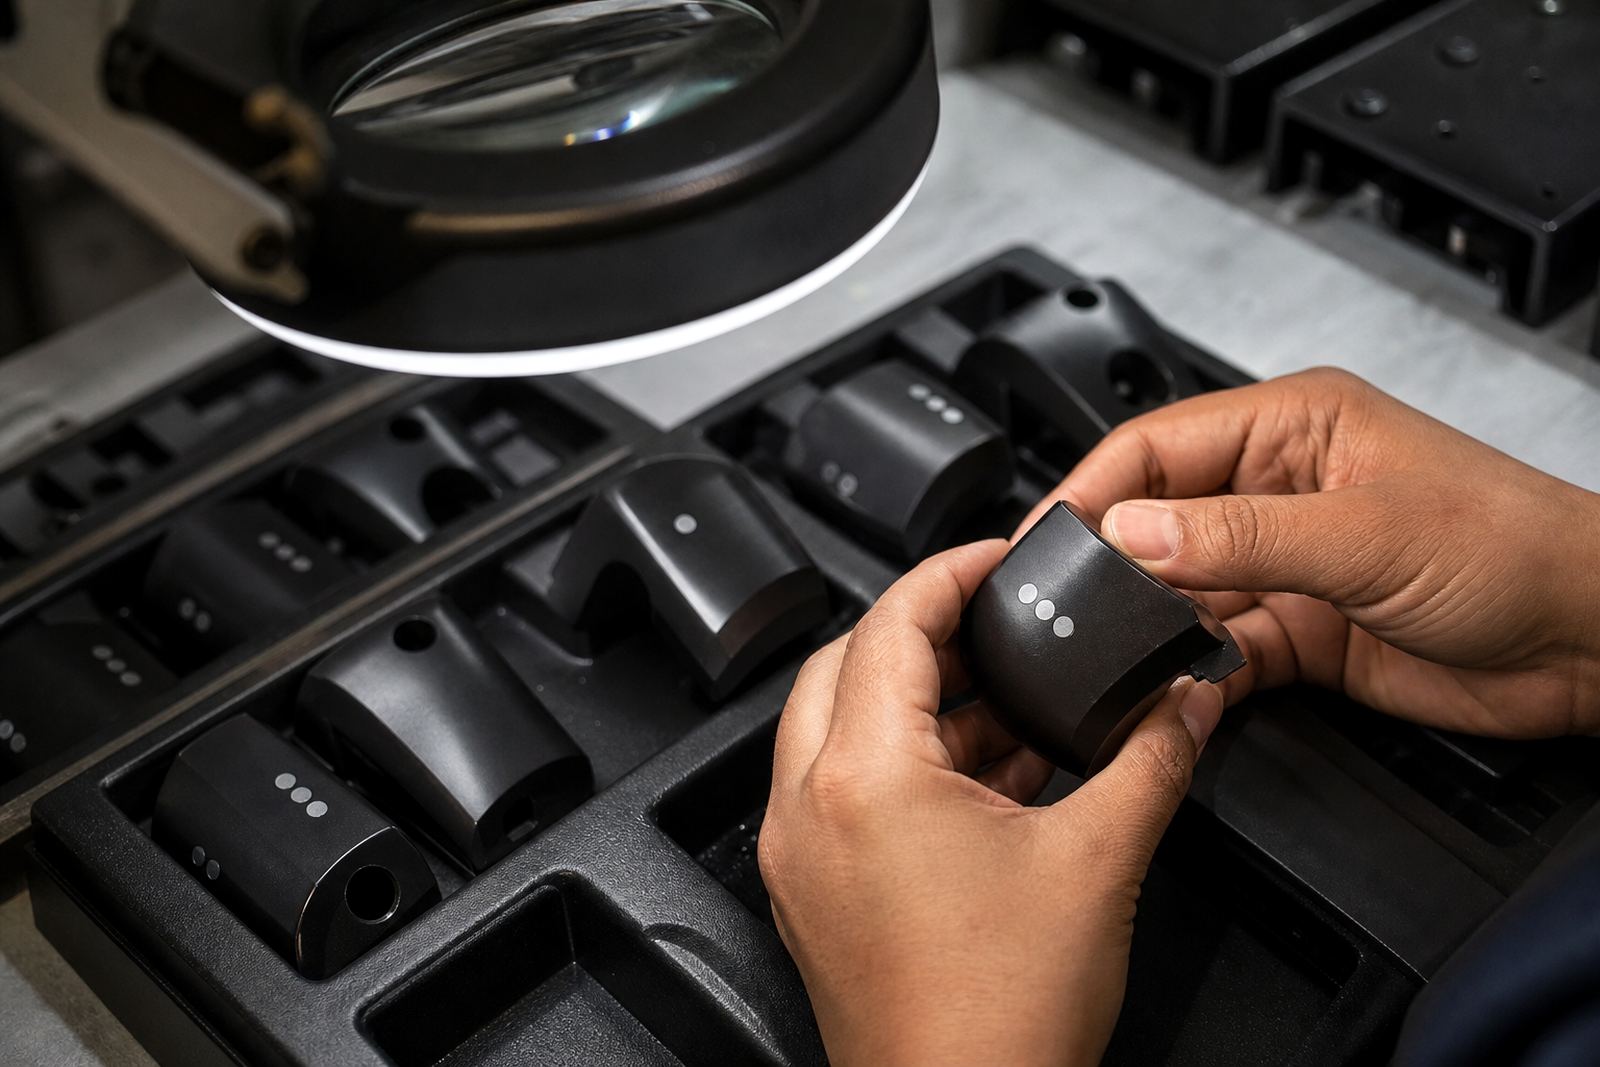
If you are marking housings, buttons, caps, syringes, connectors or control parts, the right pad print method depends on the shape, the material and how the part will be handled. Flat panels behave differently from curved mouldings, and a smooth ABS surface will not print the same way as a textured polymer or coated metal. In practice, the best results come from matching the artwork, the pad shape and the ink system to the part itself.
This journal explains the main choices in plain terms, so engineers, buyers and production teams can compare options before approving a run. It also helps when a part needs repeat marking in batches, or when a supplier has to keep the print position tight across multiple moulds and fixtures.
- Choose pad size and hardness for the part geometry
- Check whether the ink needs air drying or heat curing
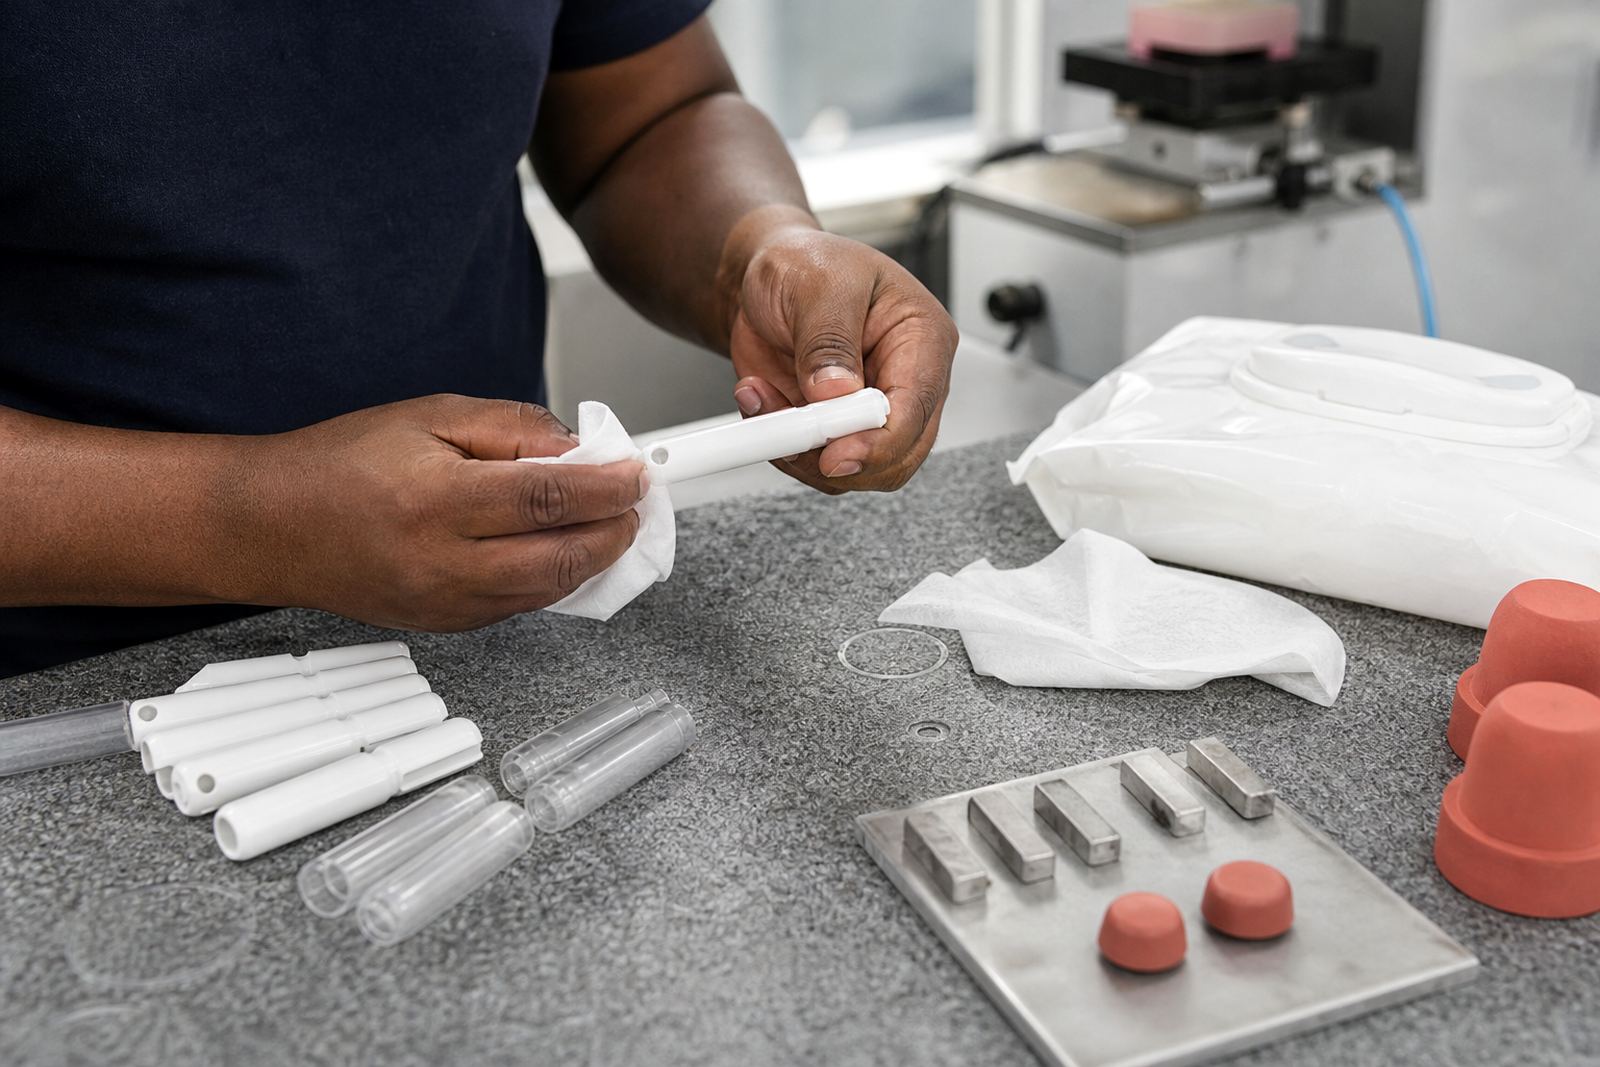
- Plan for handling marks, oils and mould release on the surface
- Allow for the level of detail in the logo, symbol or text
Pads, Plates and the Small Details That Change Results
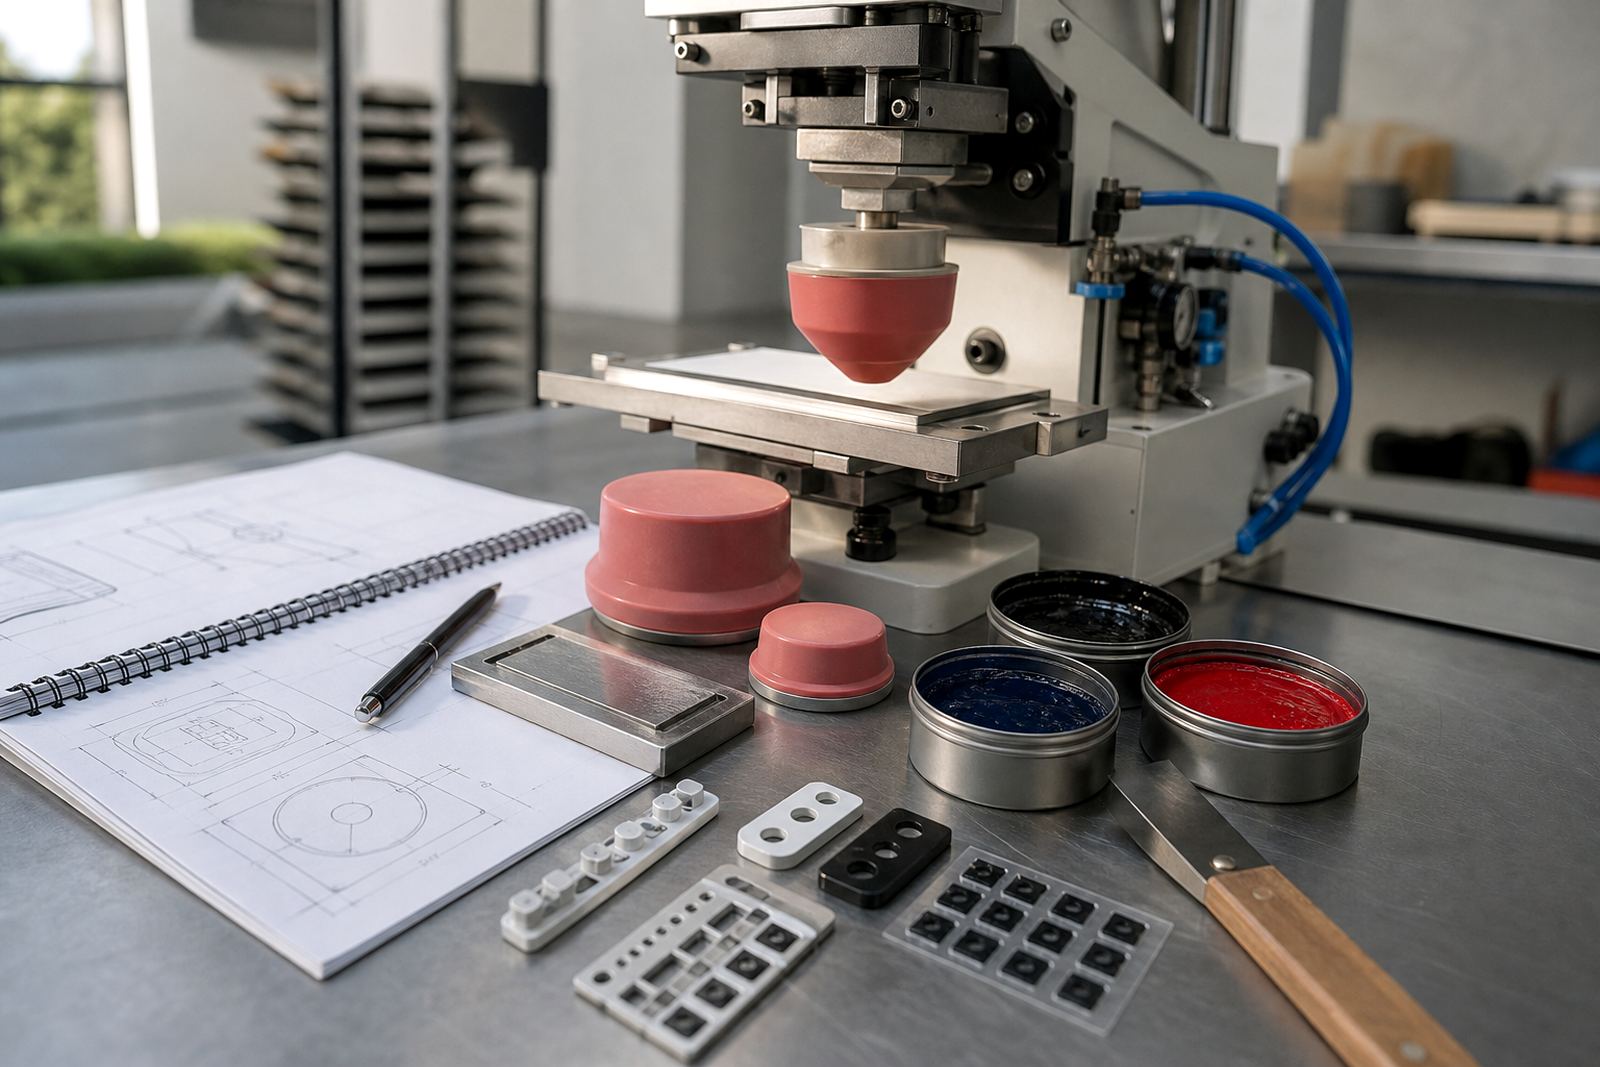
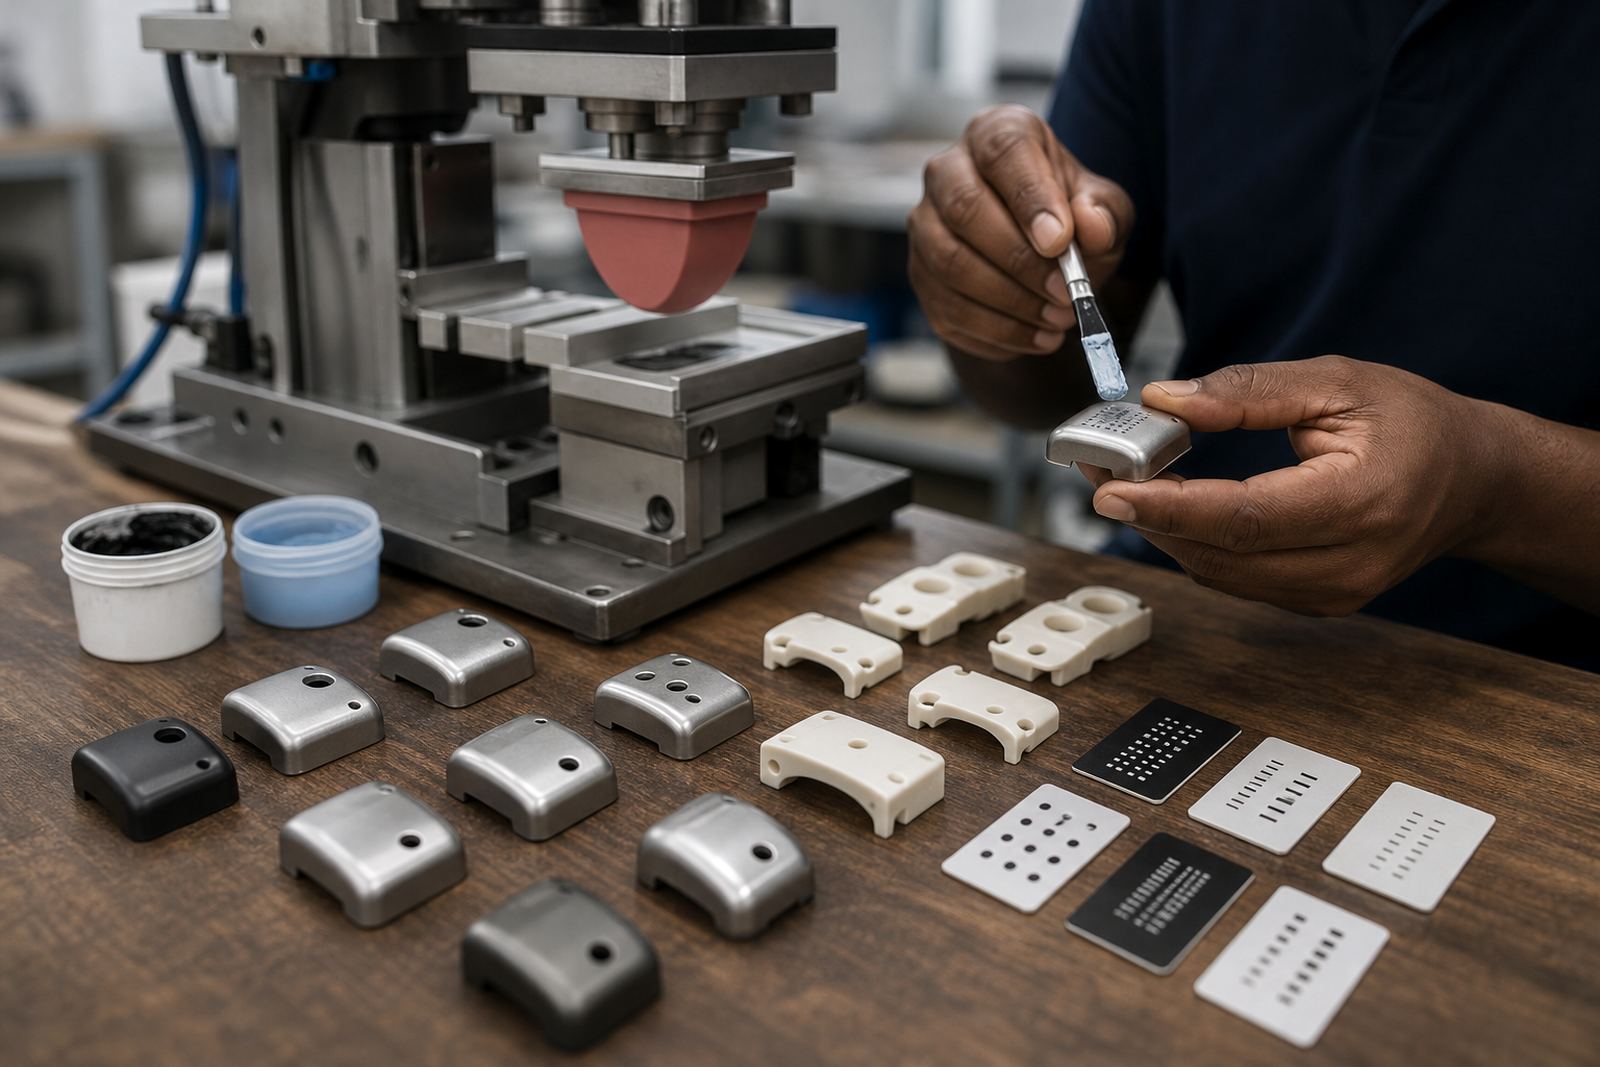
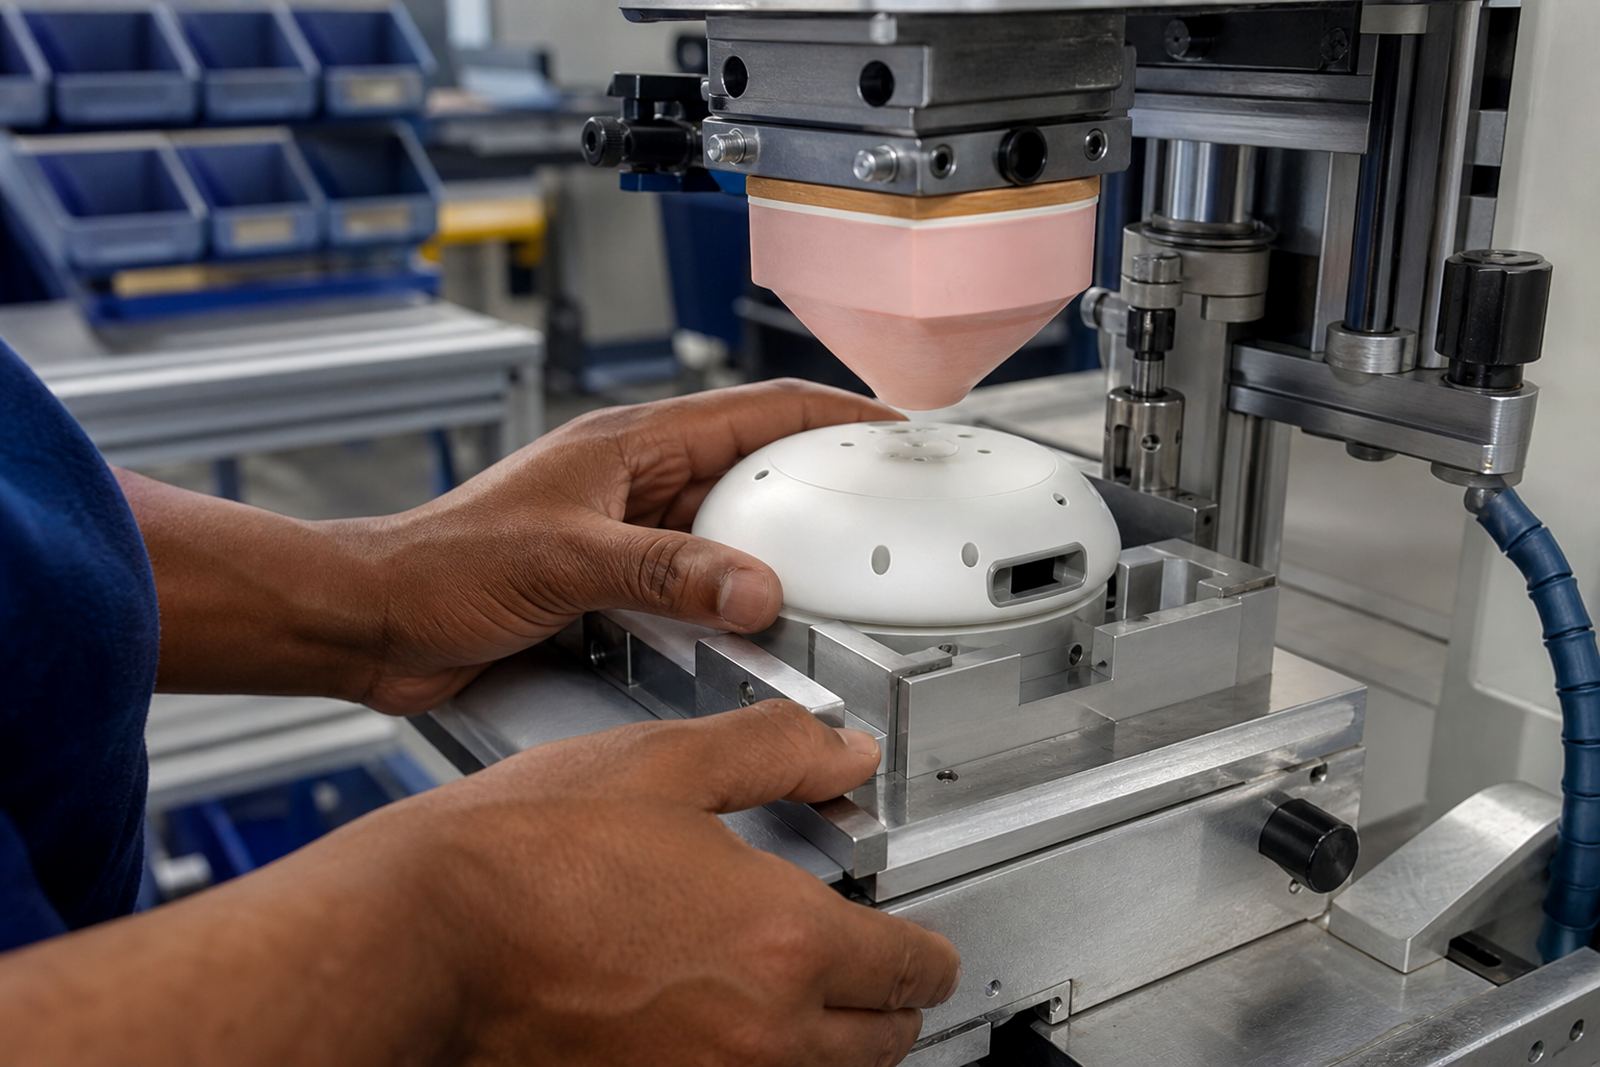
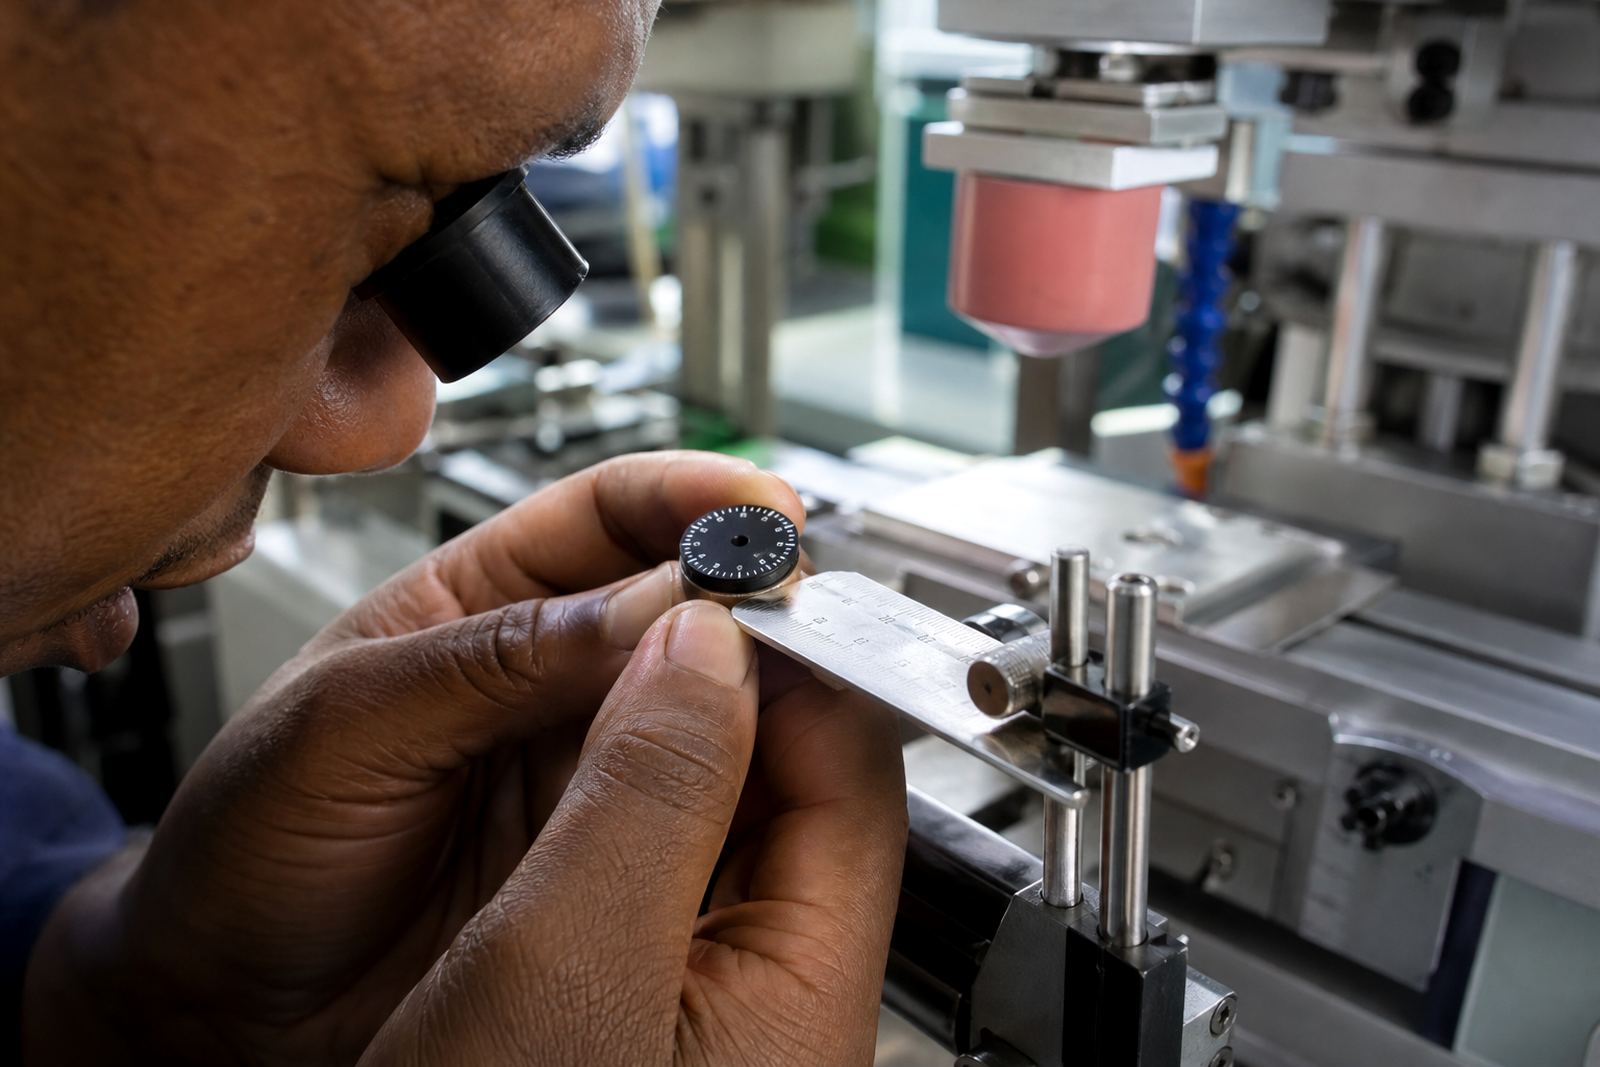
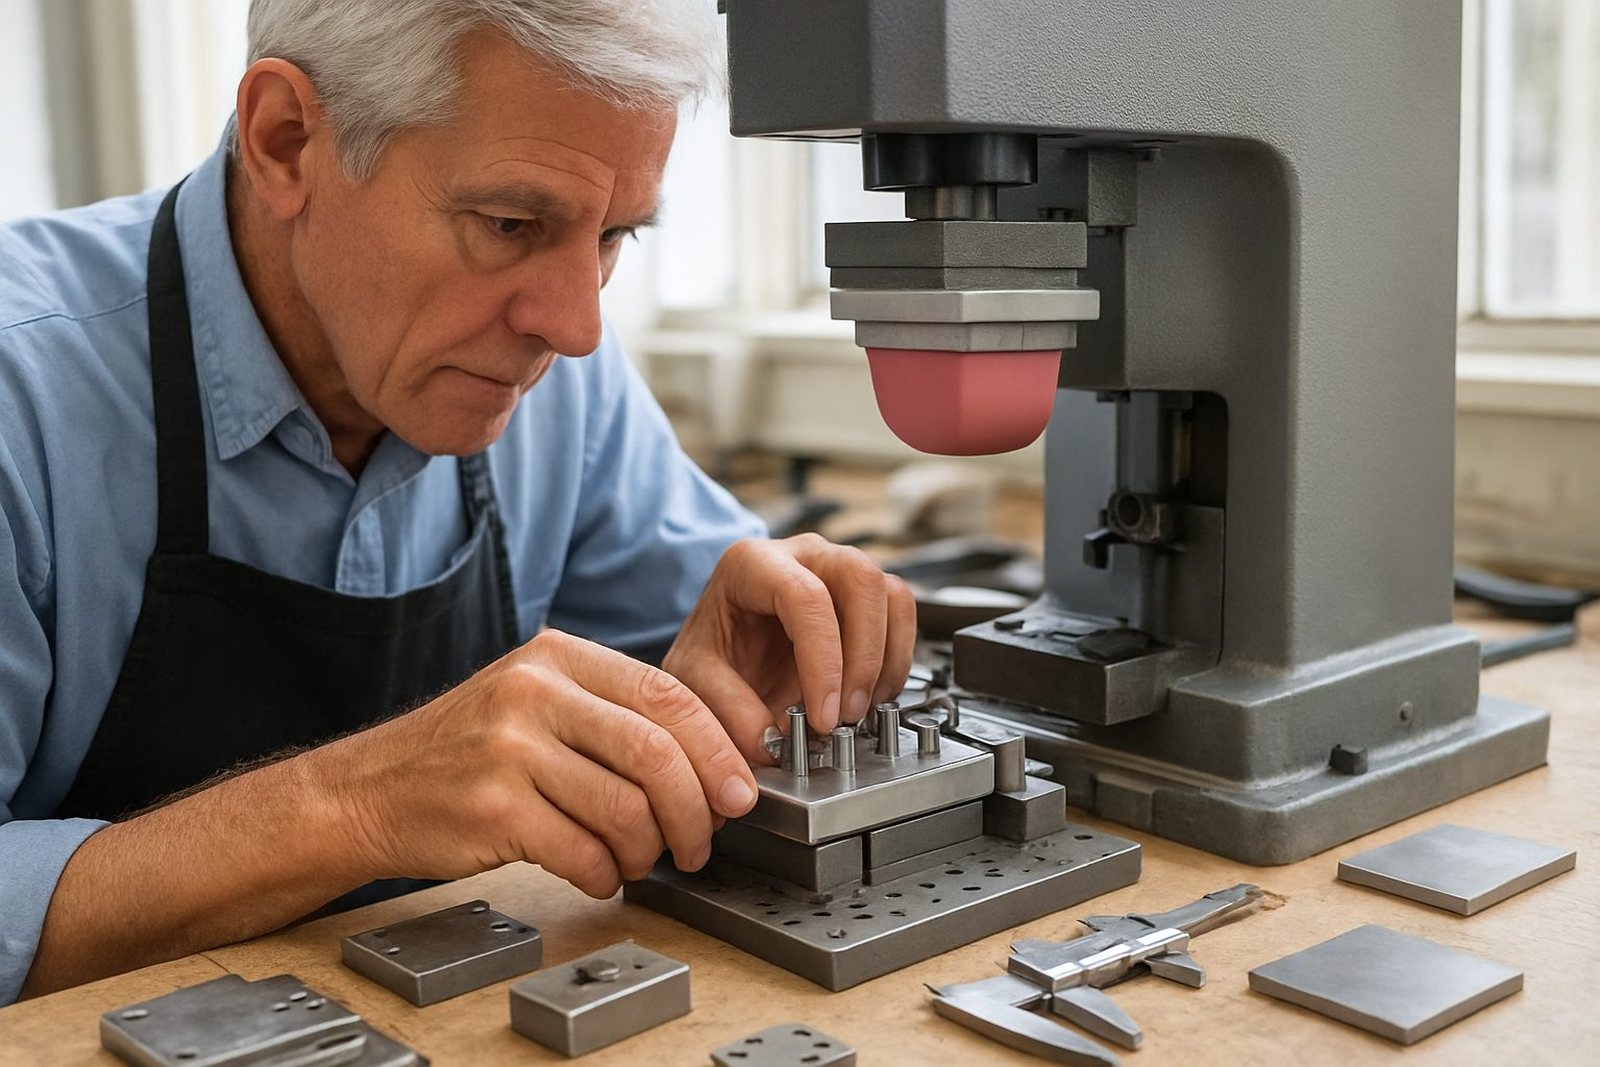
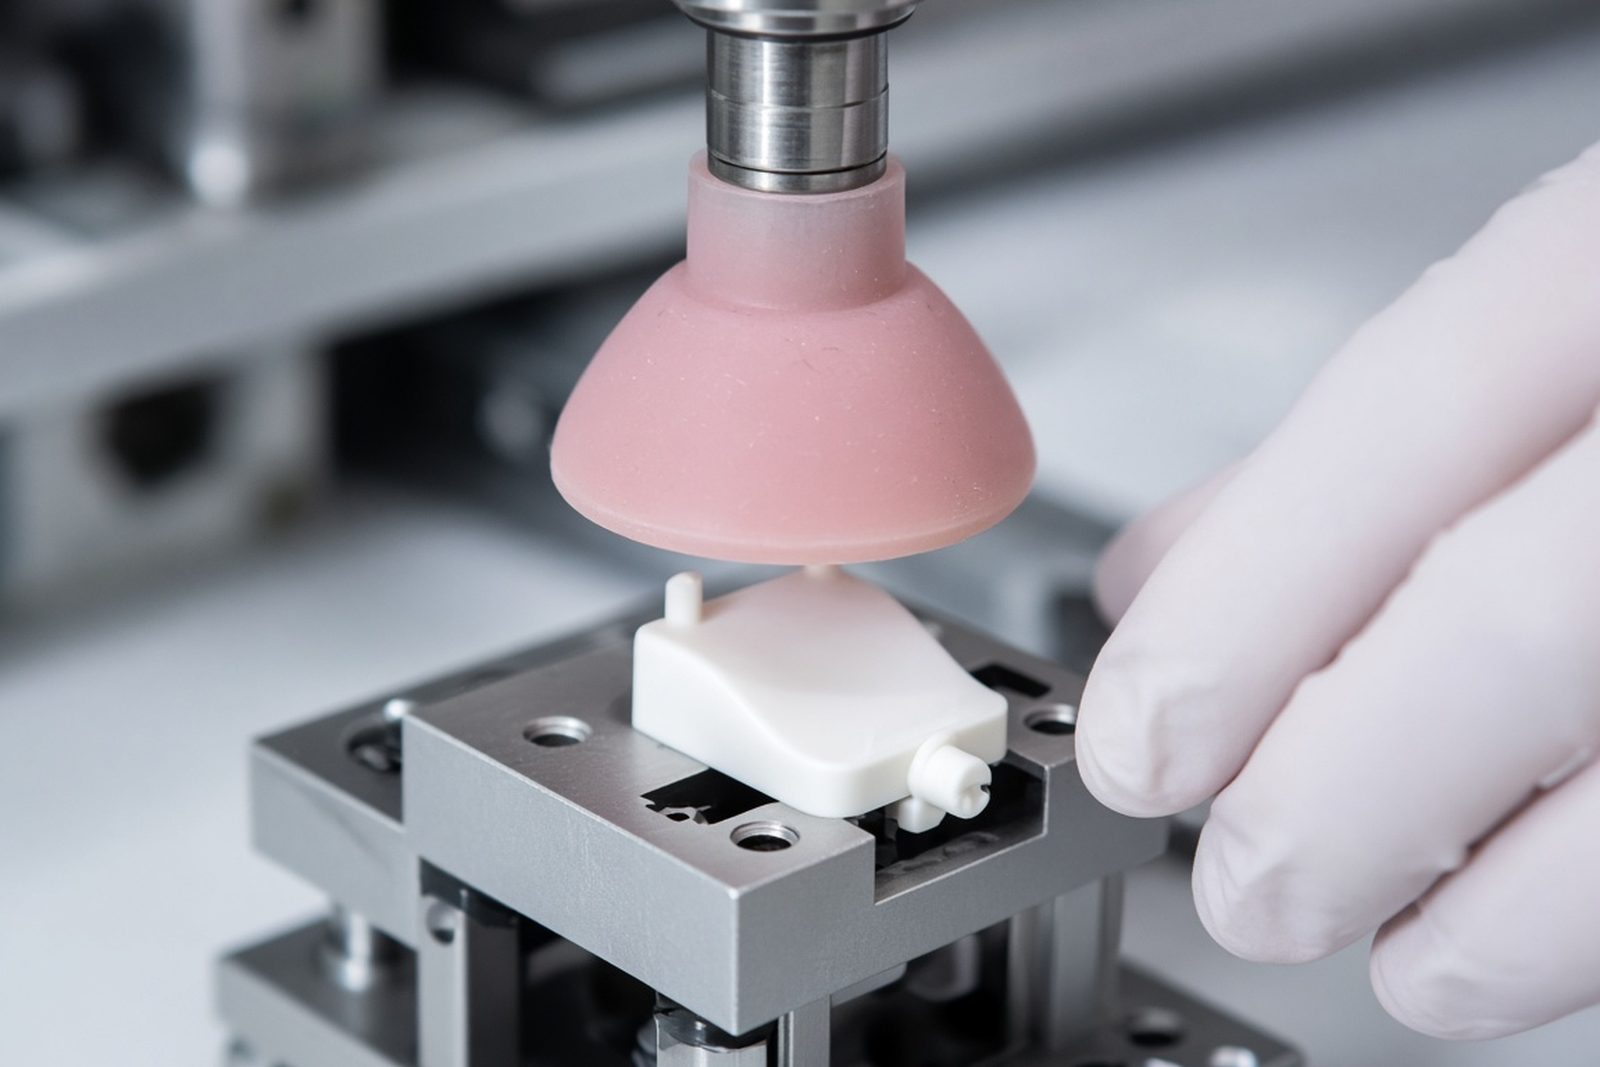
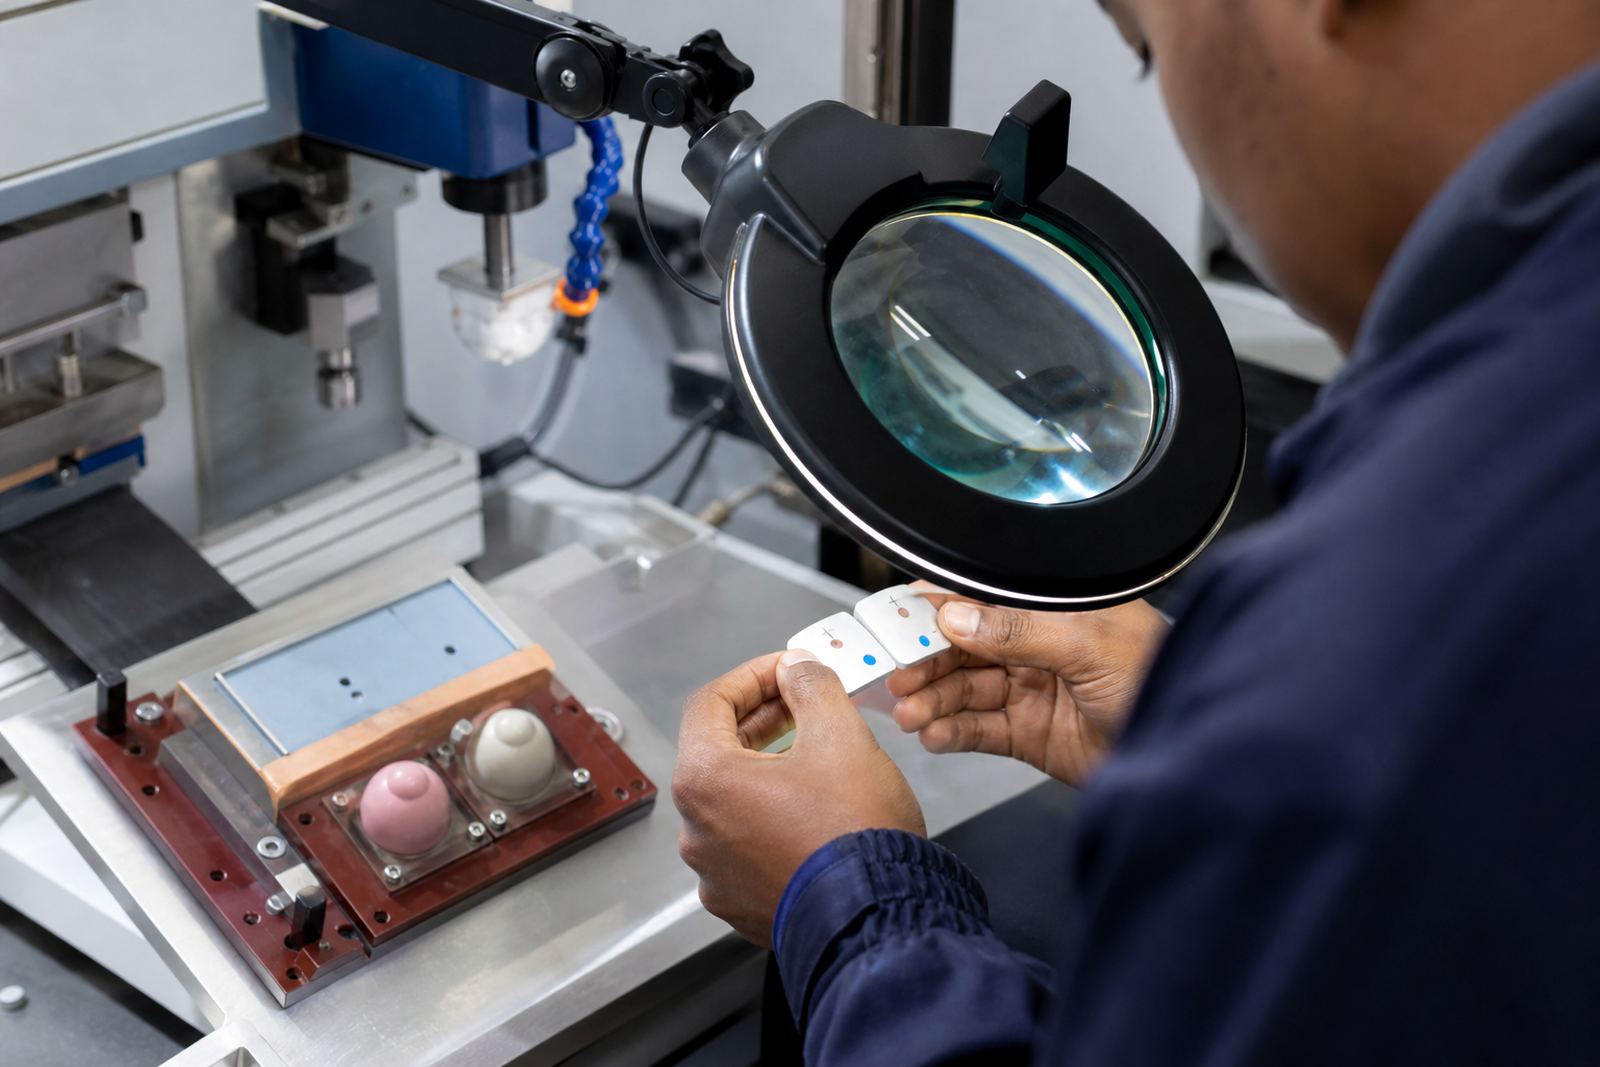
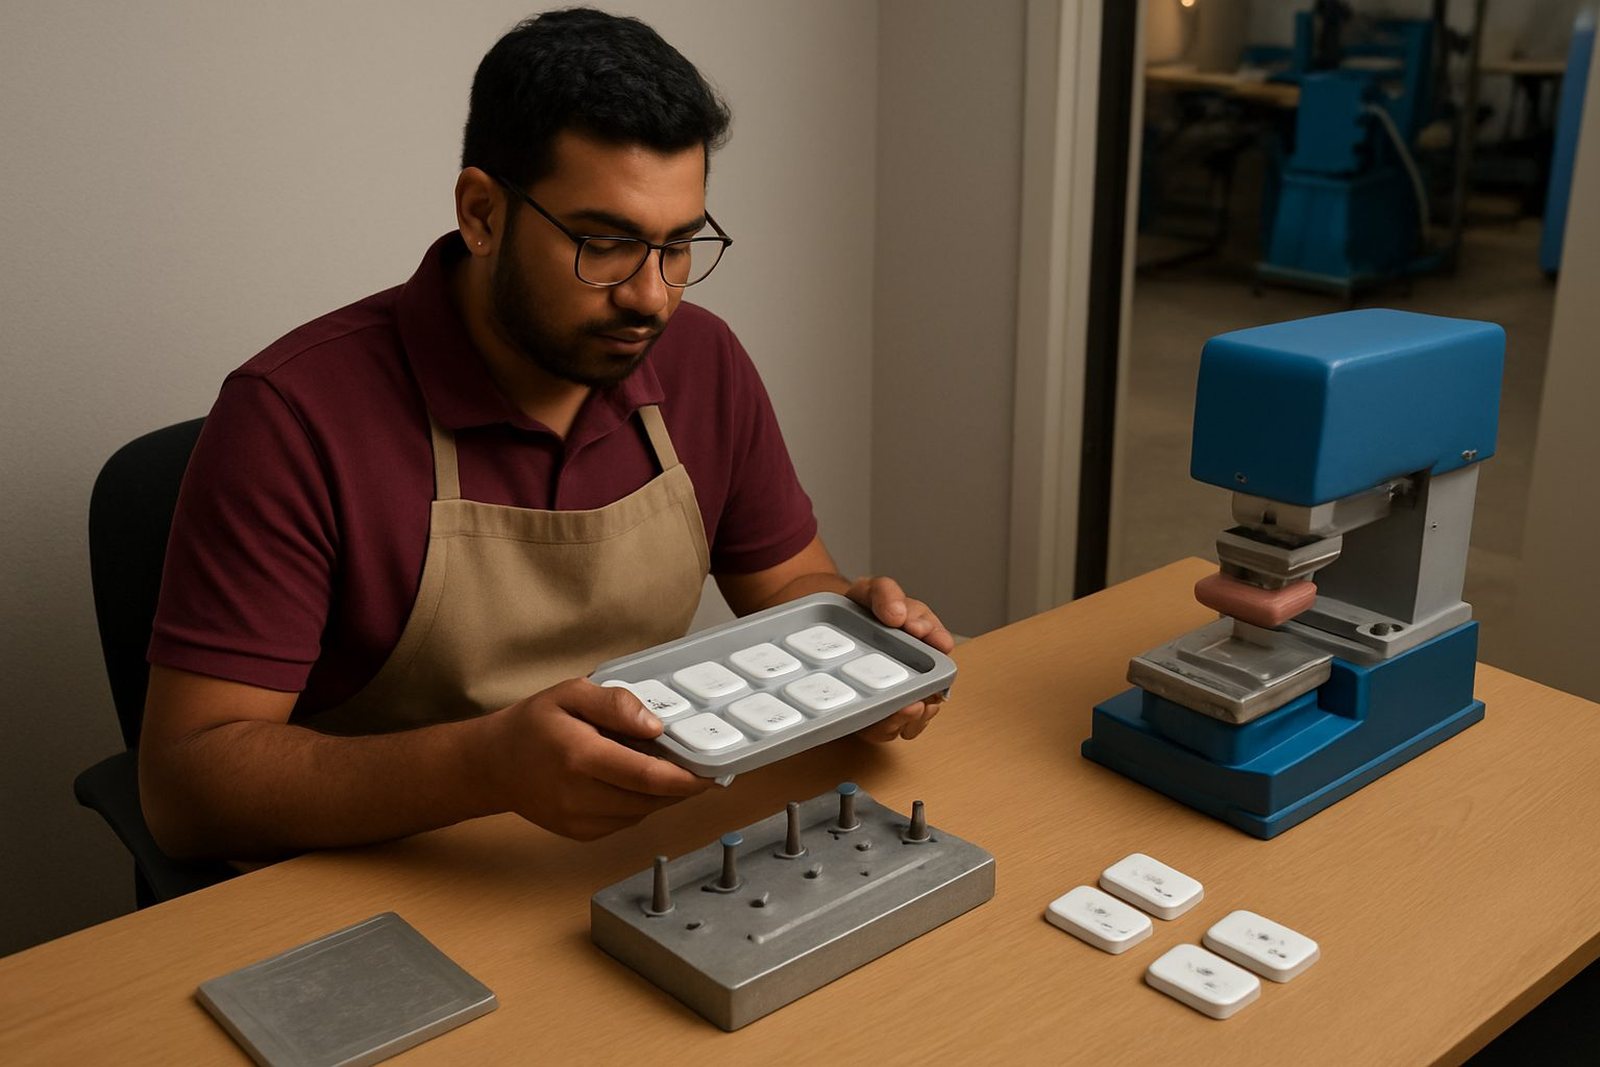
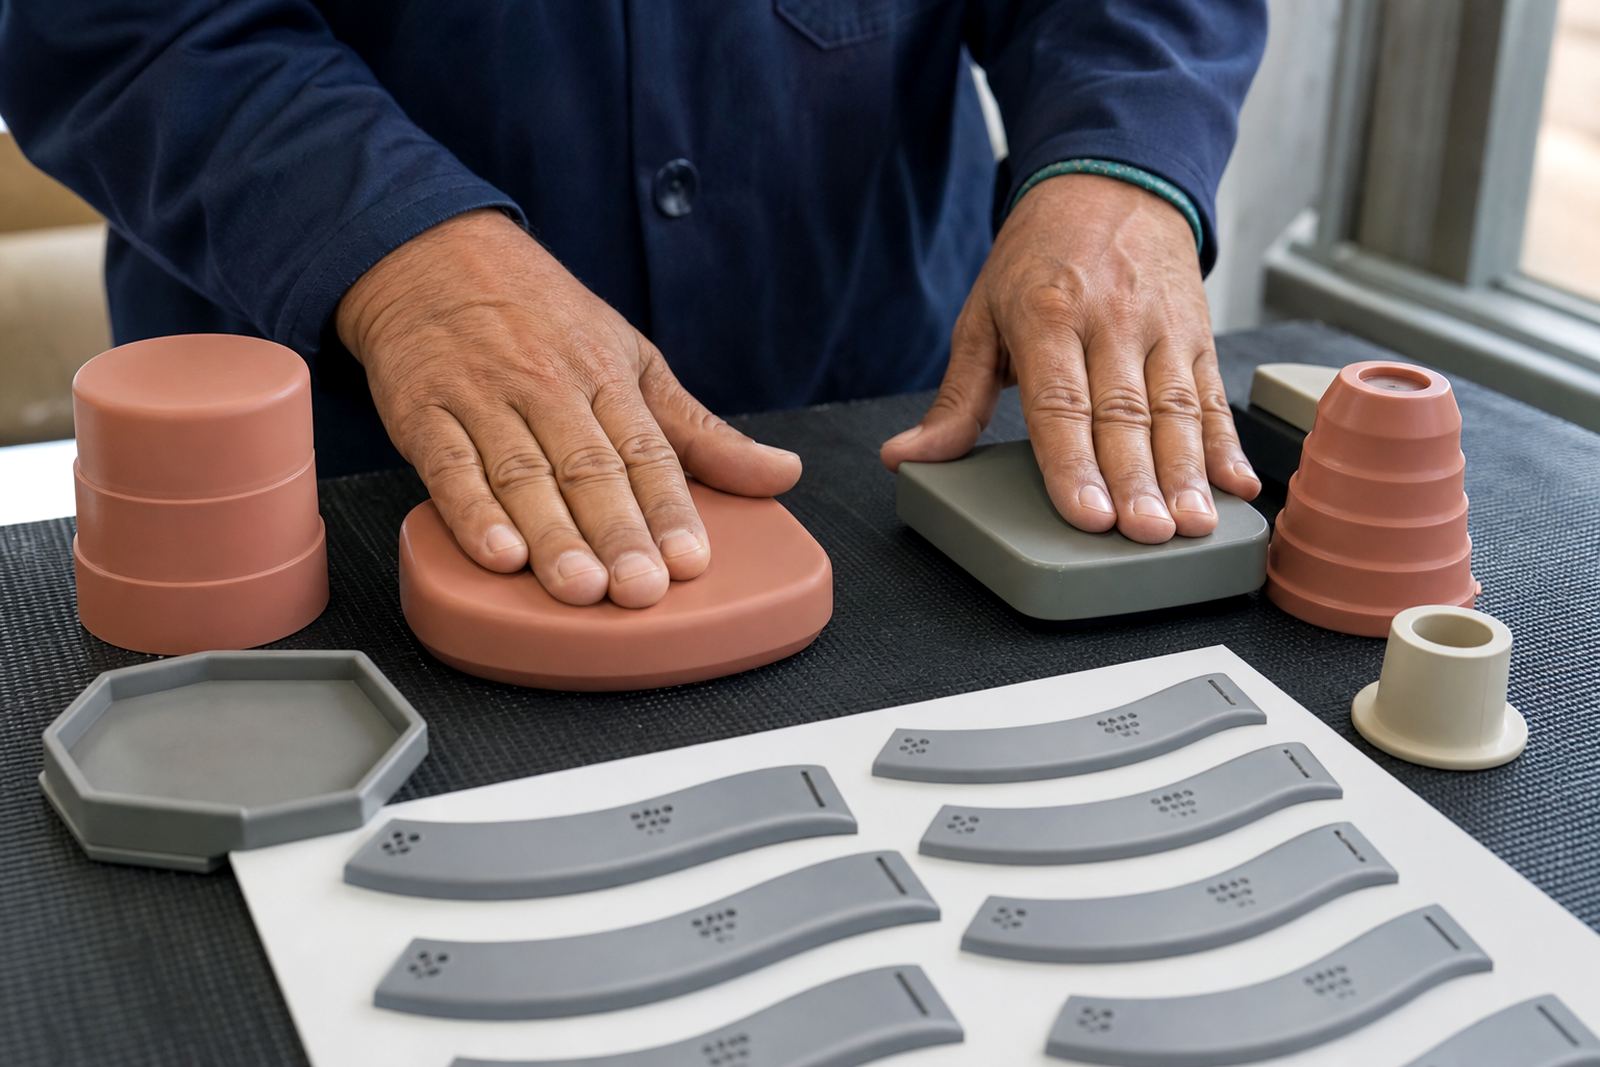
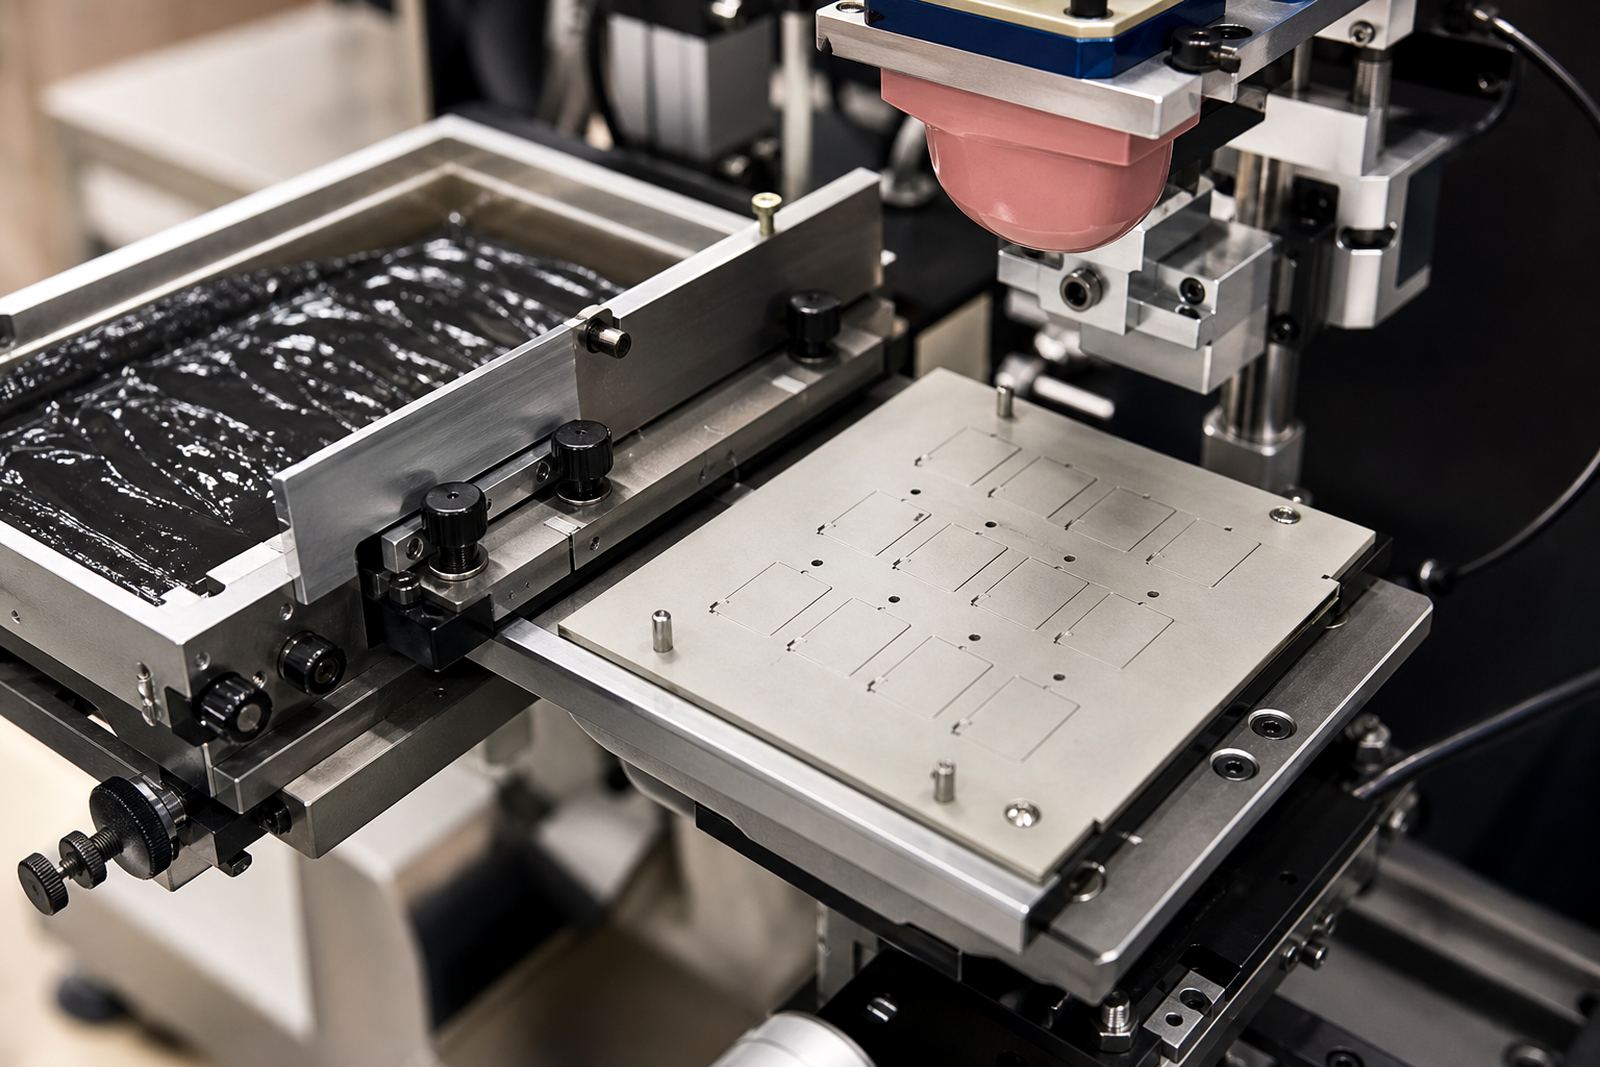
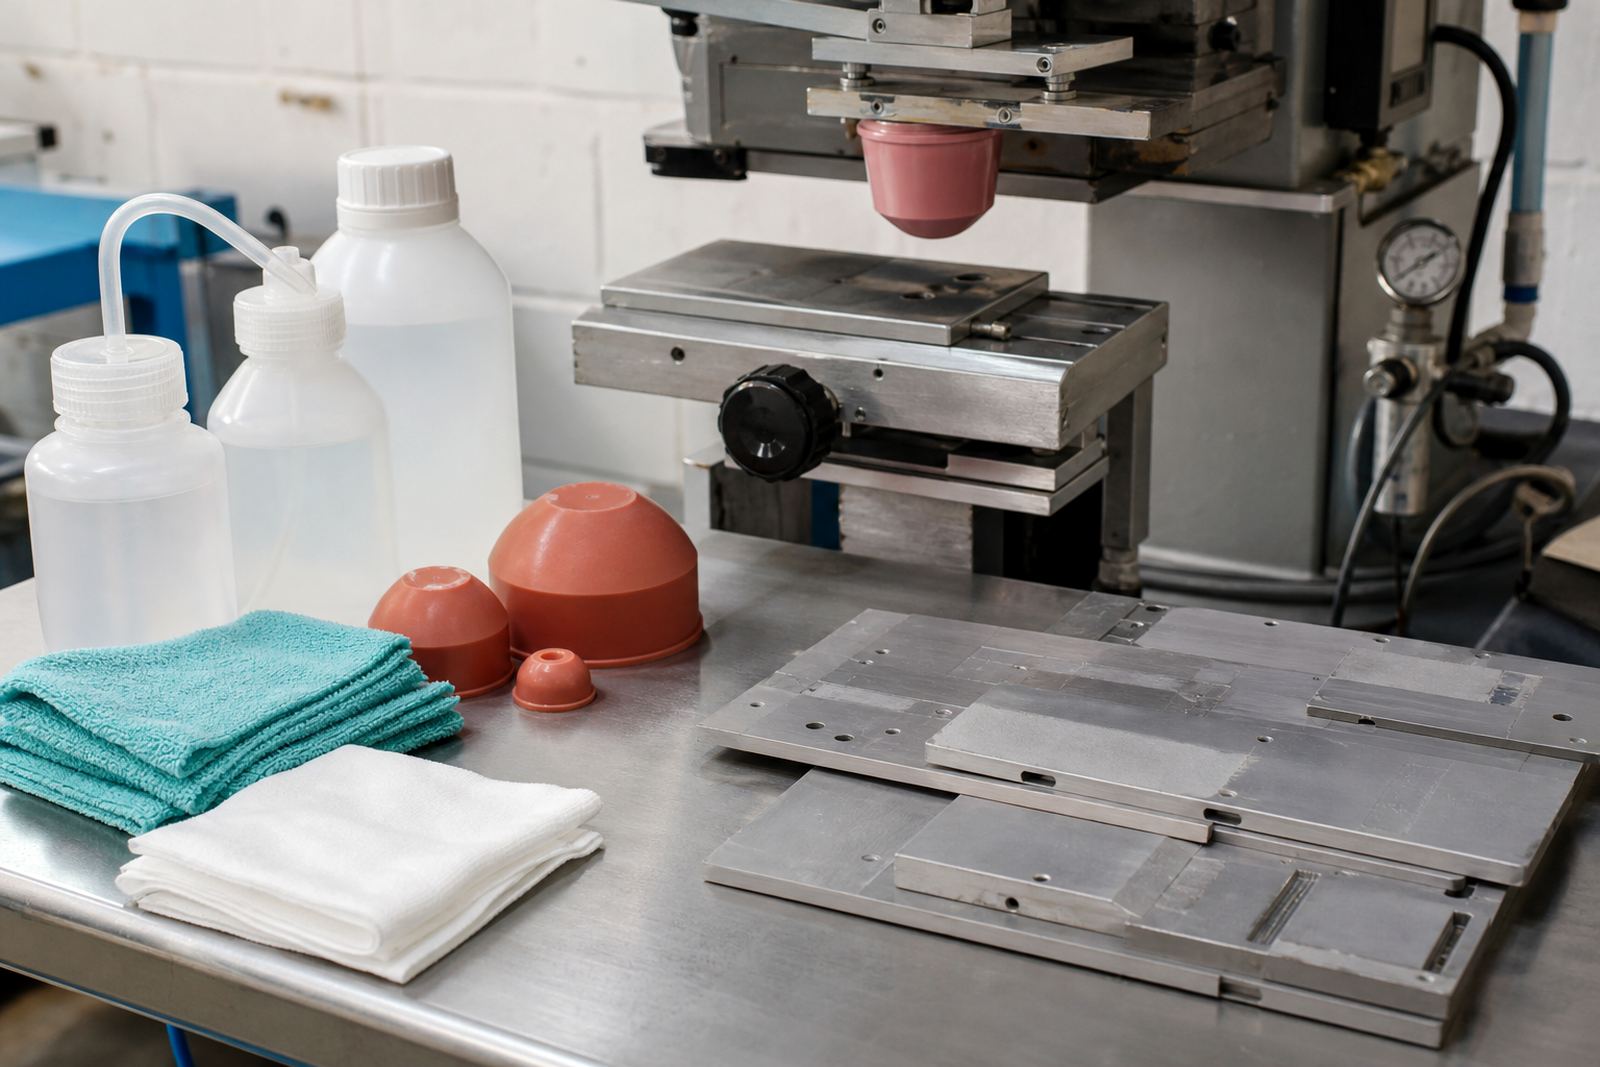
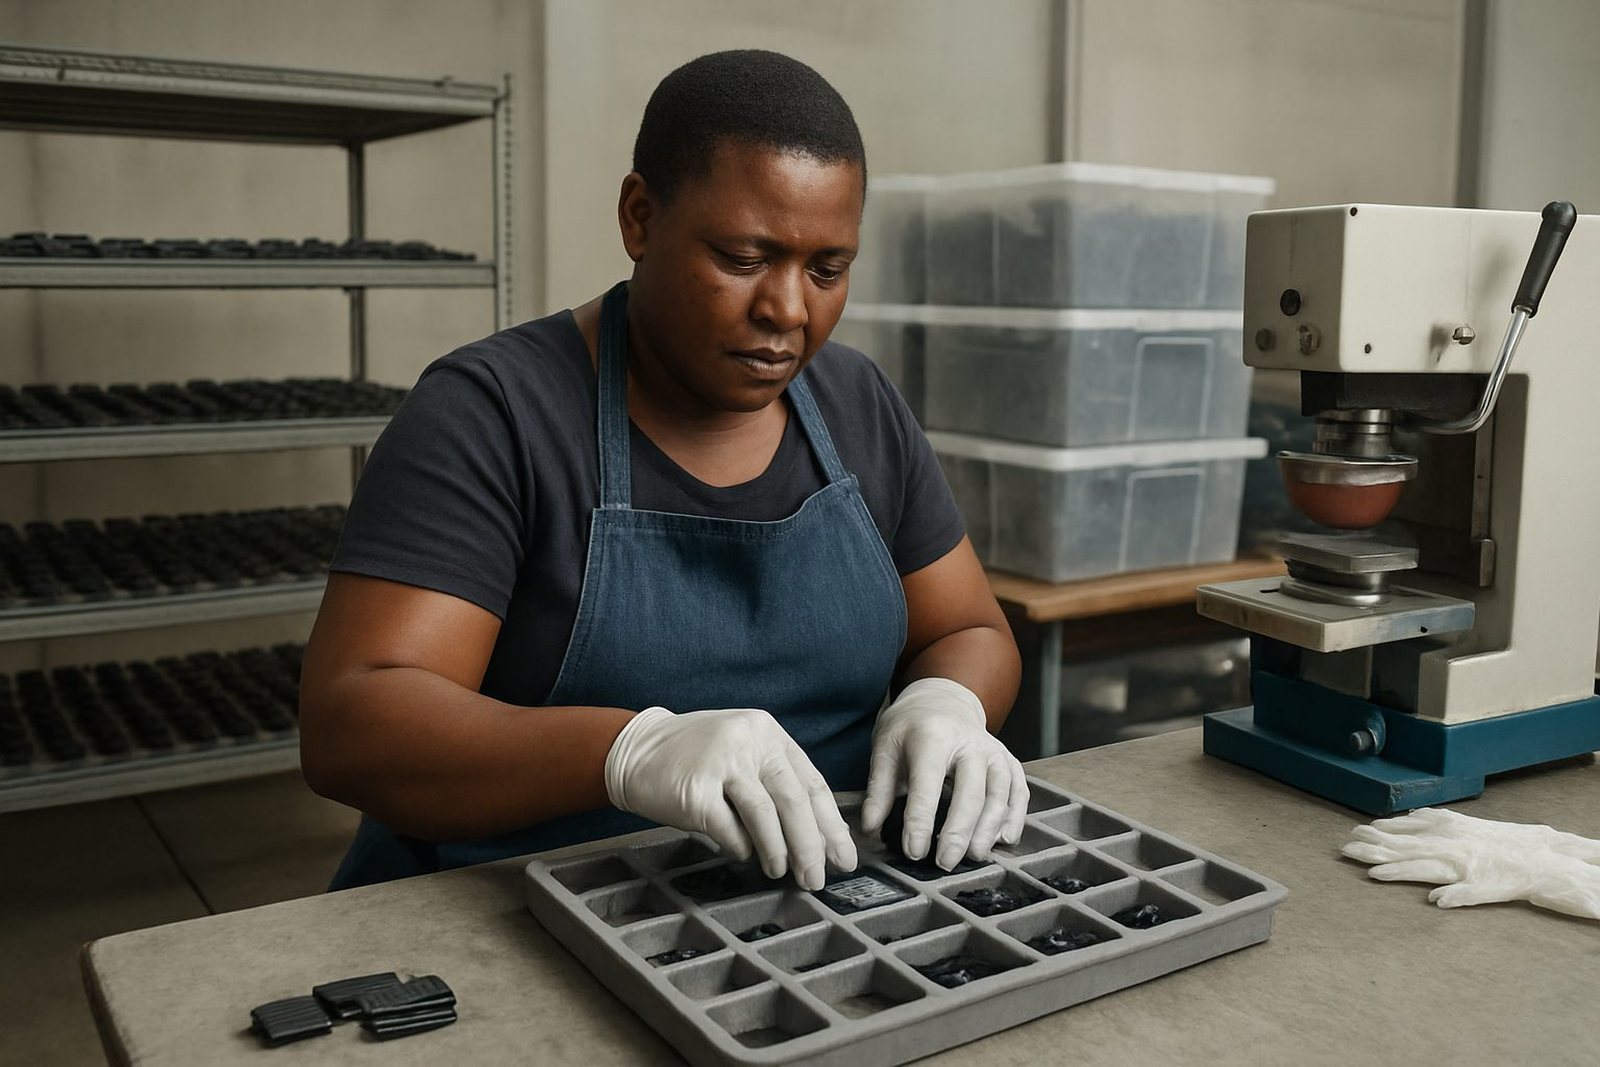
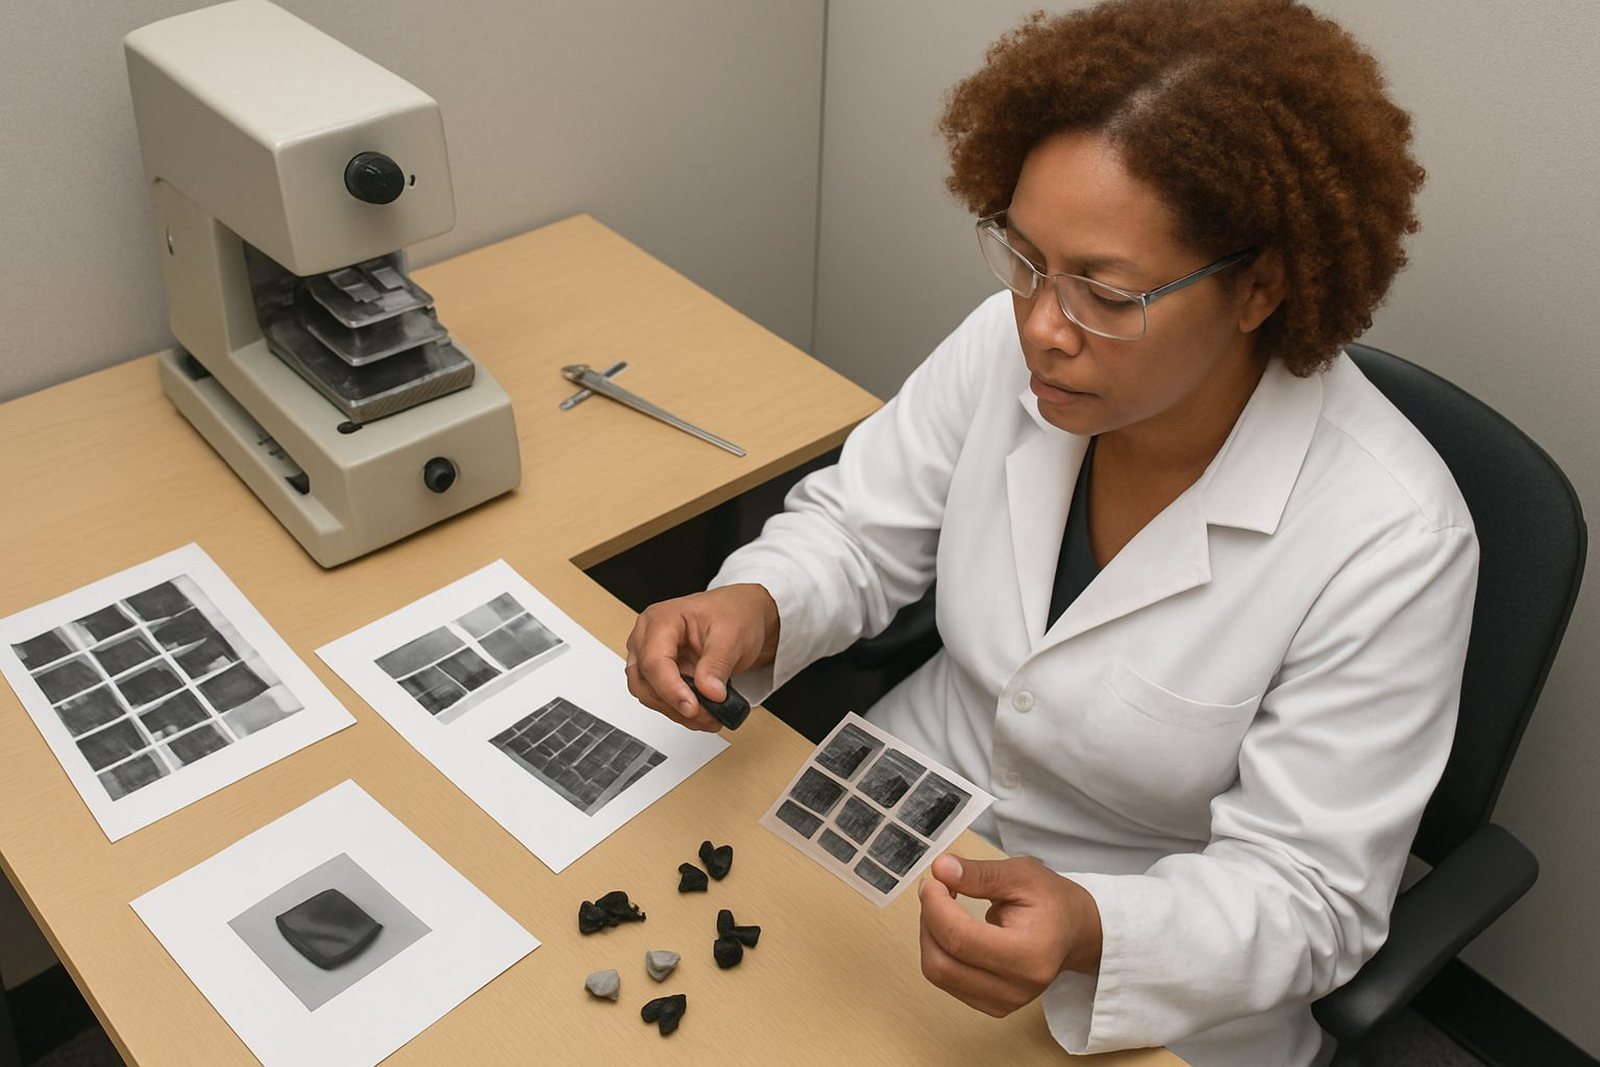
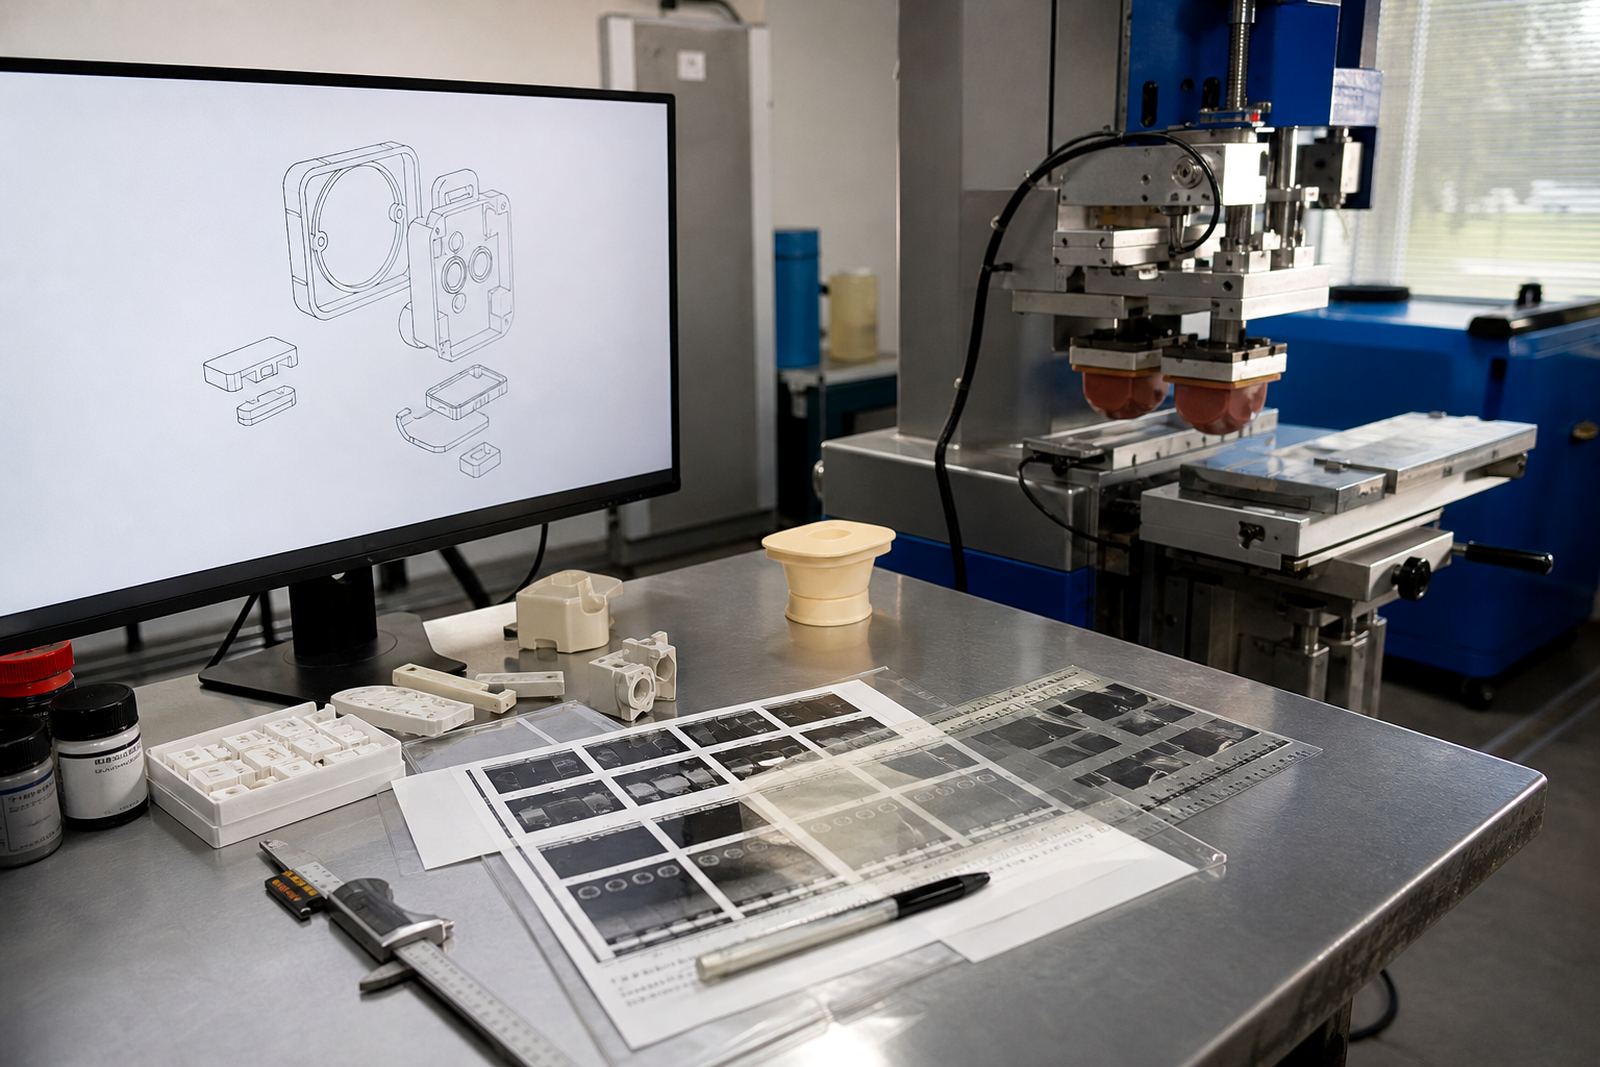
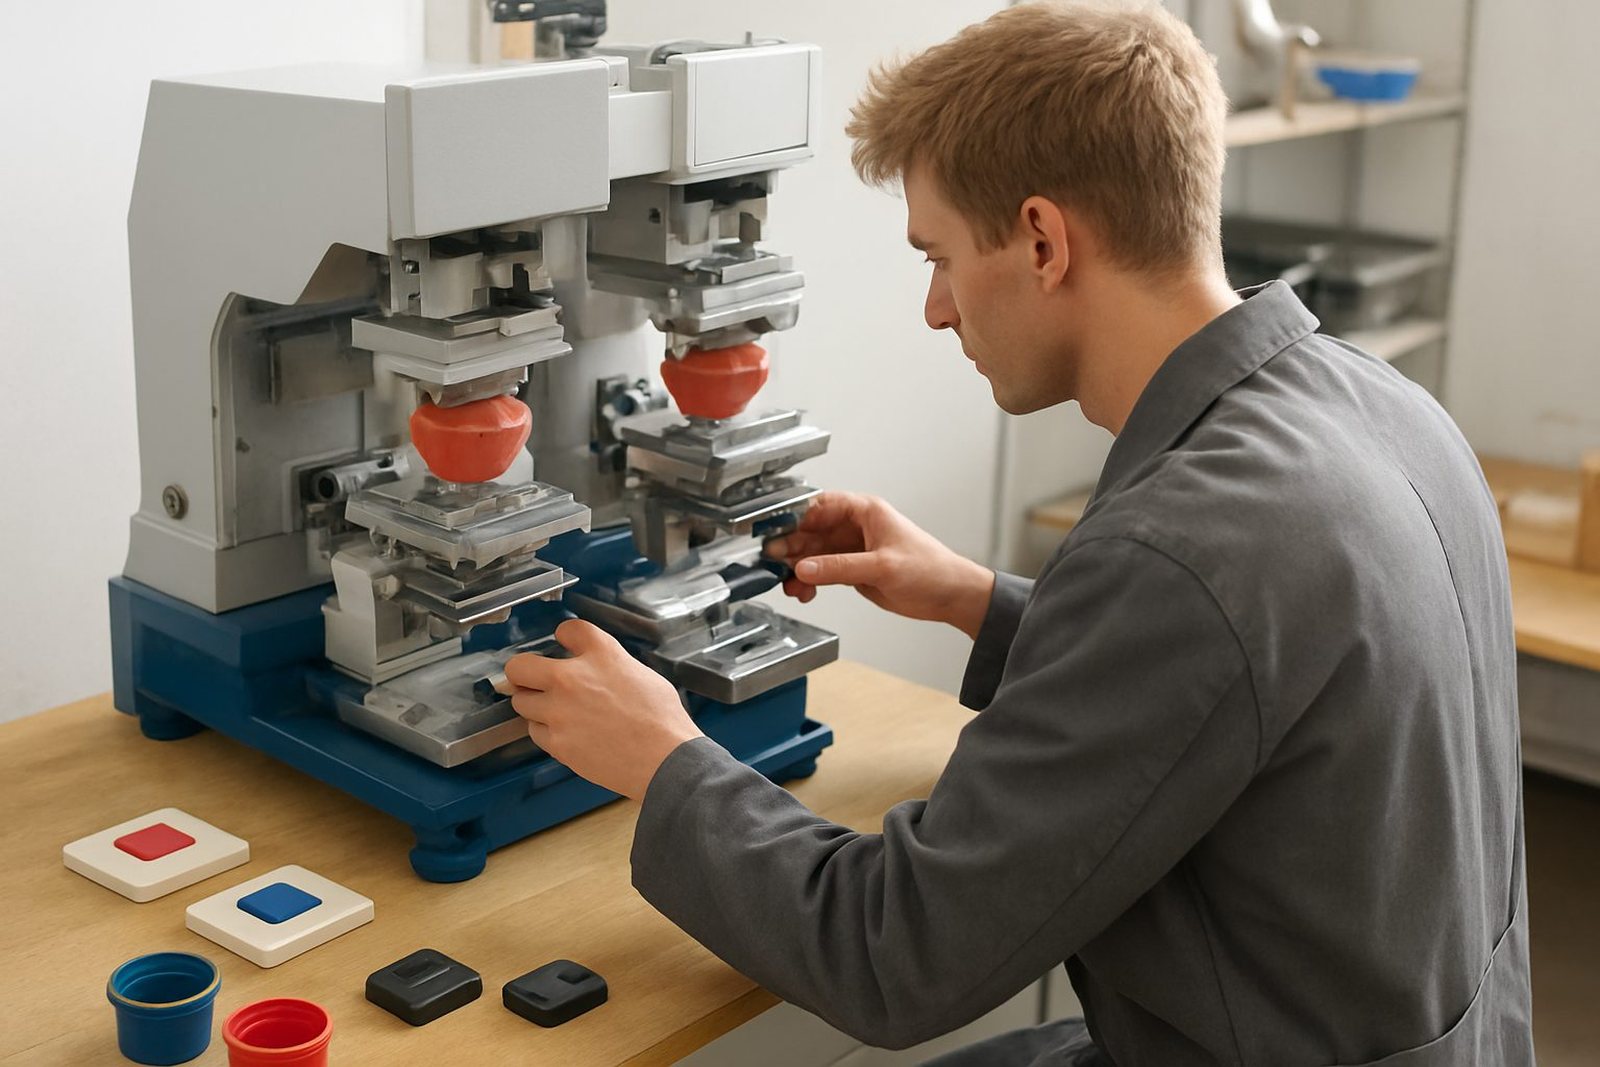
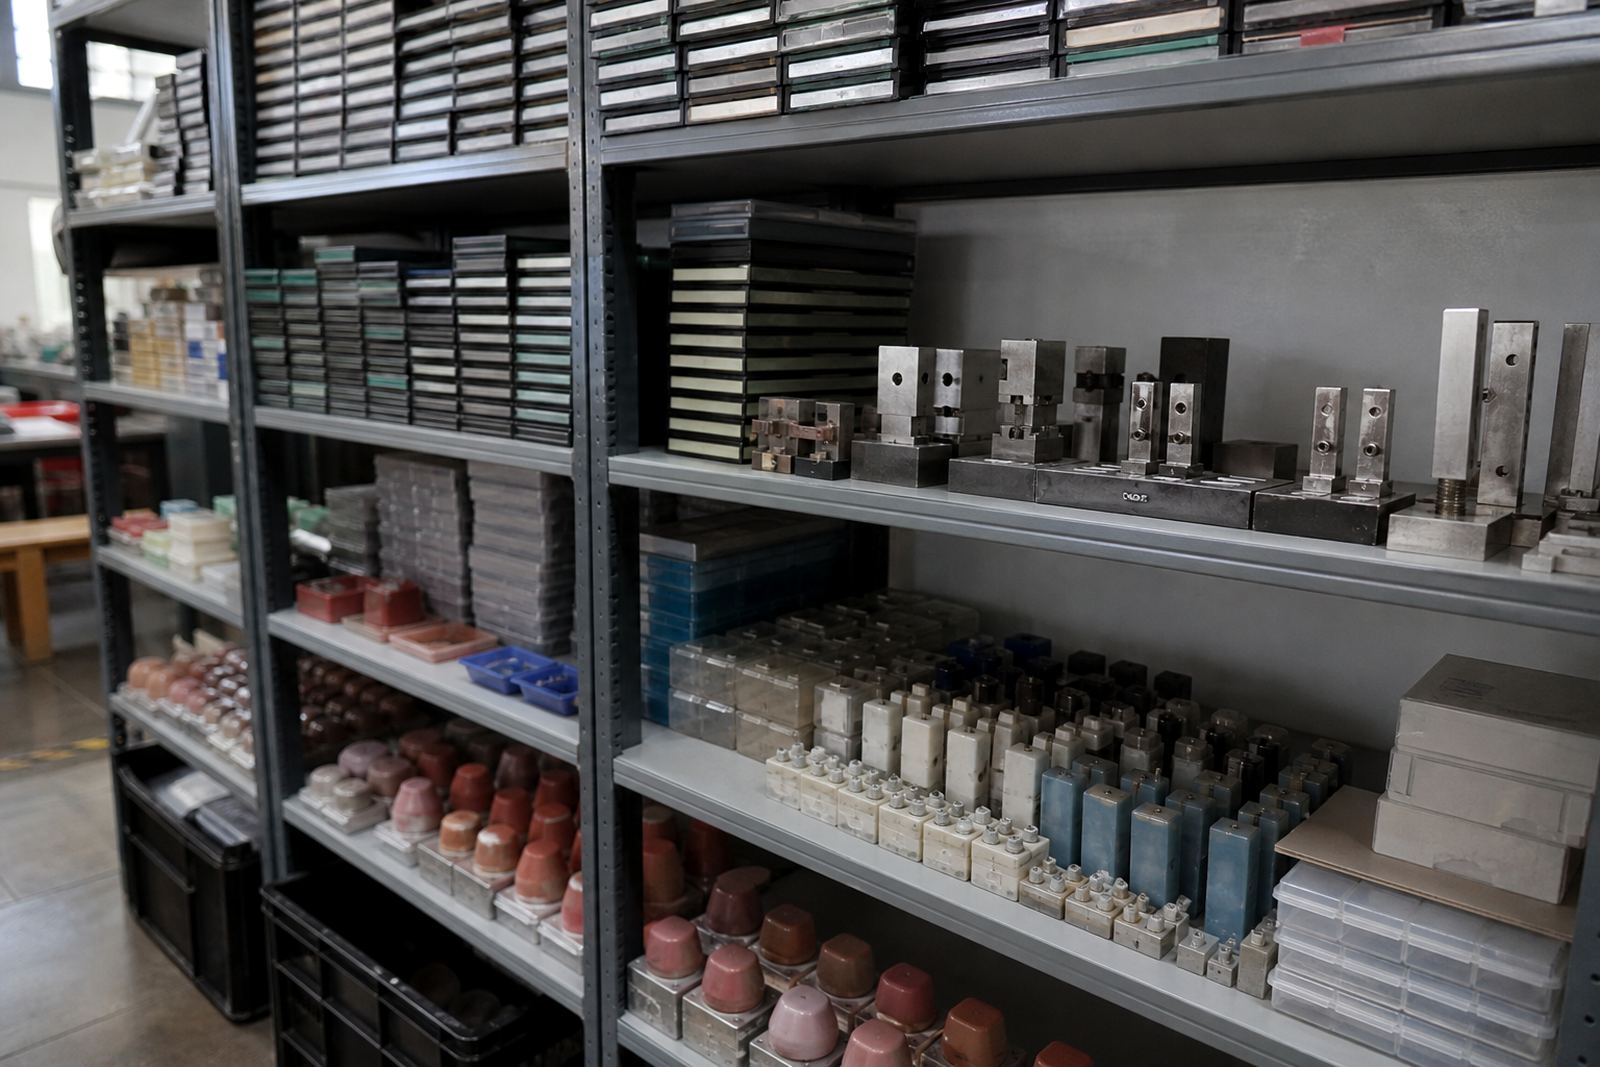
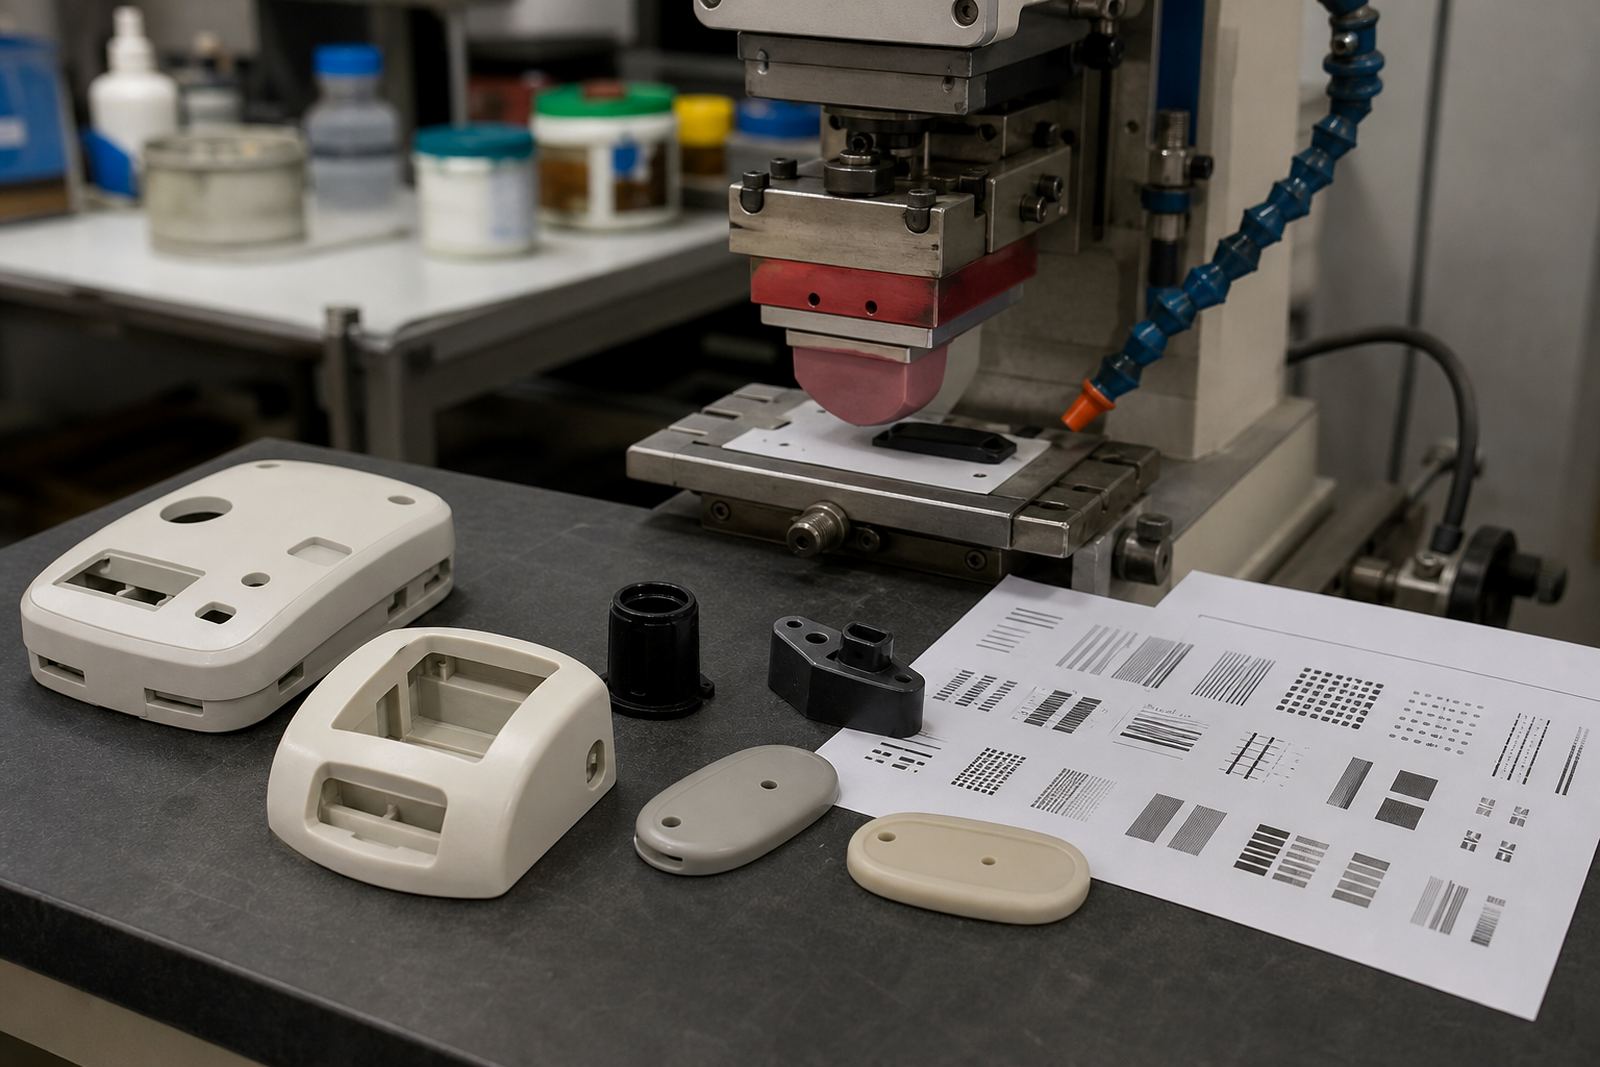
Pad printing depends on three basics working together: the etched plate, the silicone pad and the ink film that transfers from one to the other. The plate carries the image, the pad picks it up then presses it onto the component. Small changes in pad shape, durometer, image depth or plate finish can shift line clarity, edge sharpness and repeatability. That is why a simple mark on paper can behave very differently on plastic, glass-filled parts or coated surfaces.
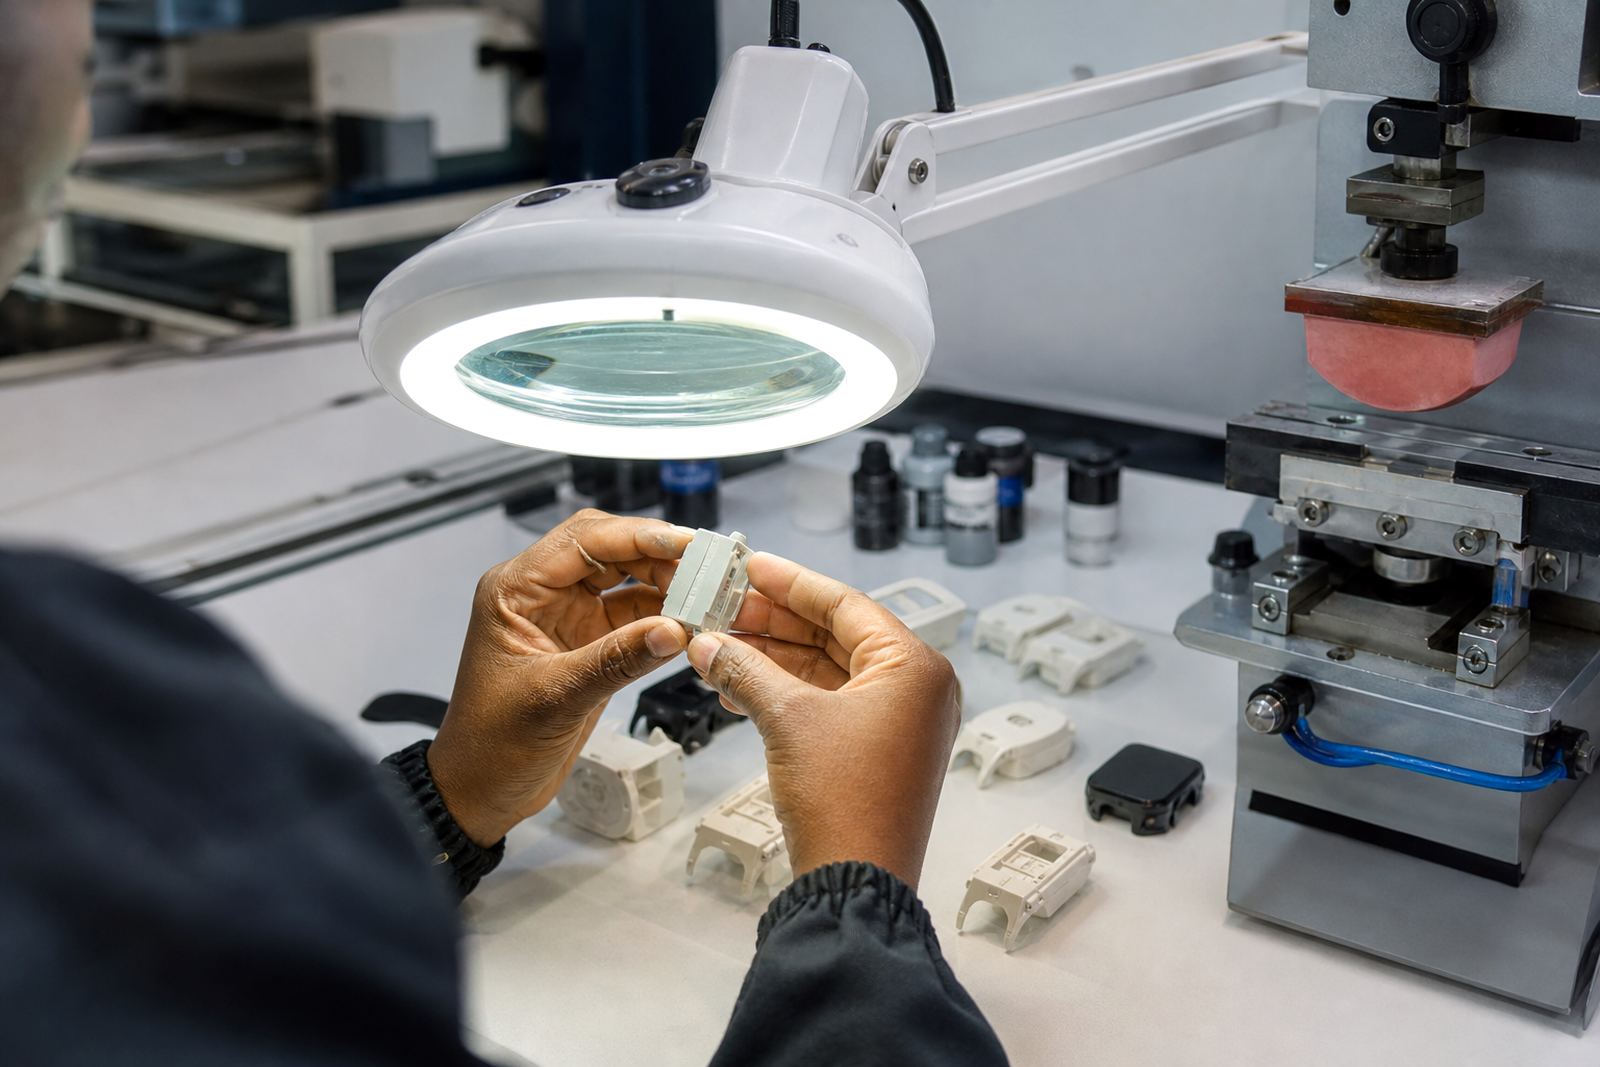
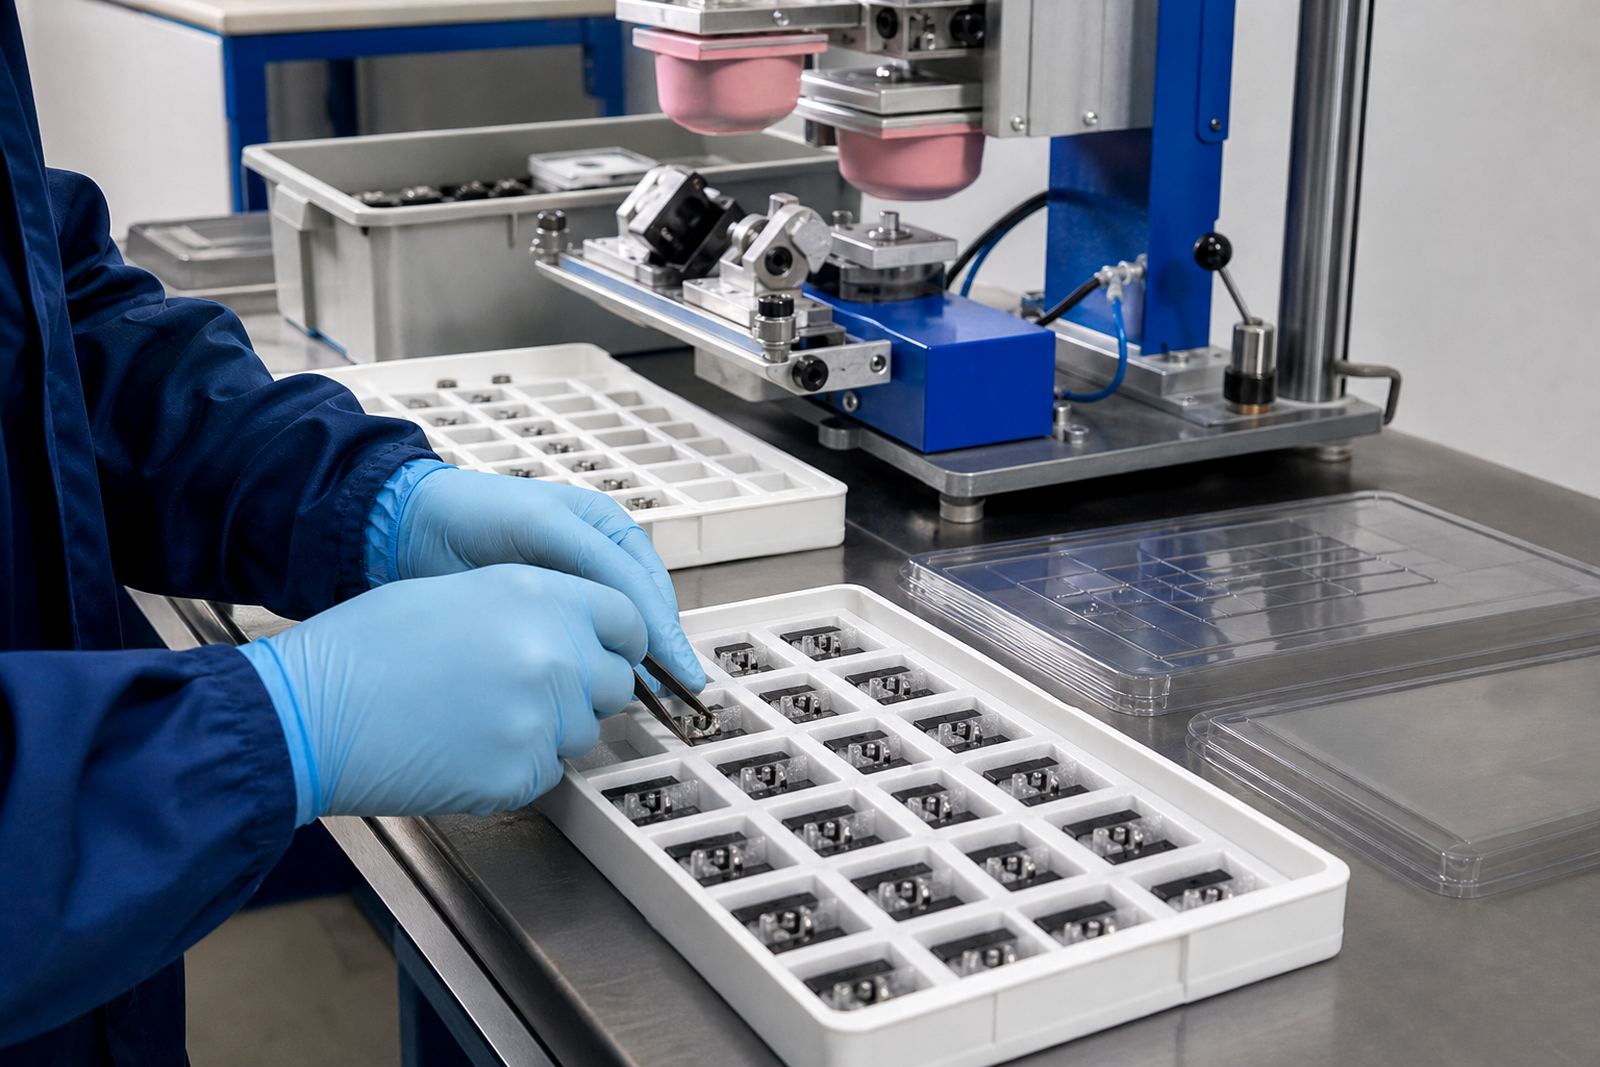
Process control matters more than guesswork when printing medical and electronic parts. A good article might cover plate exposure, etching depth, fixture making or how a second pass affects a fine line. It may also explain why a print that looks fine in the light can still fail on a curved face if the transfer is uneven.
- Silicone pads suit uneven and curved surfaces
- Plate depth influences ink pick-up and release
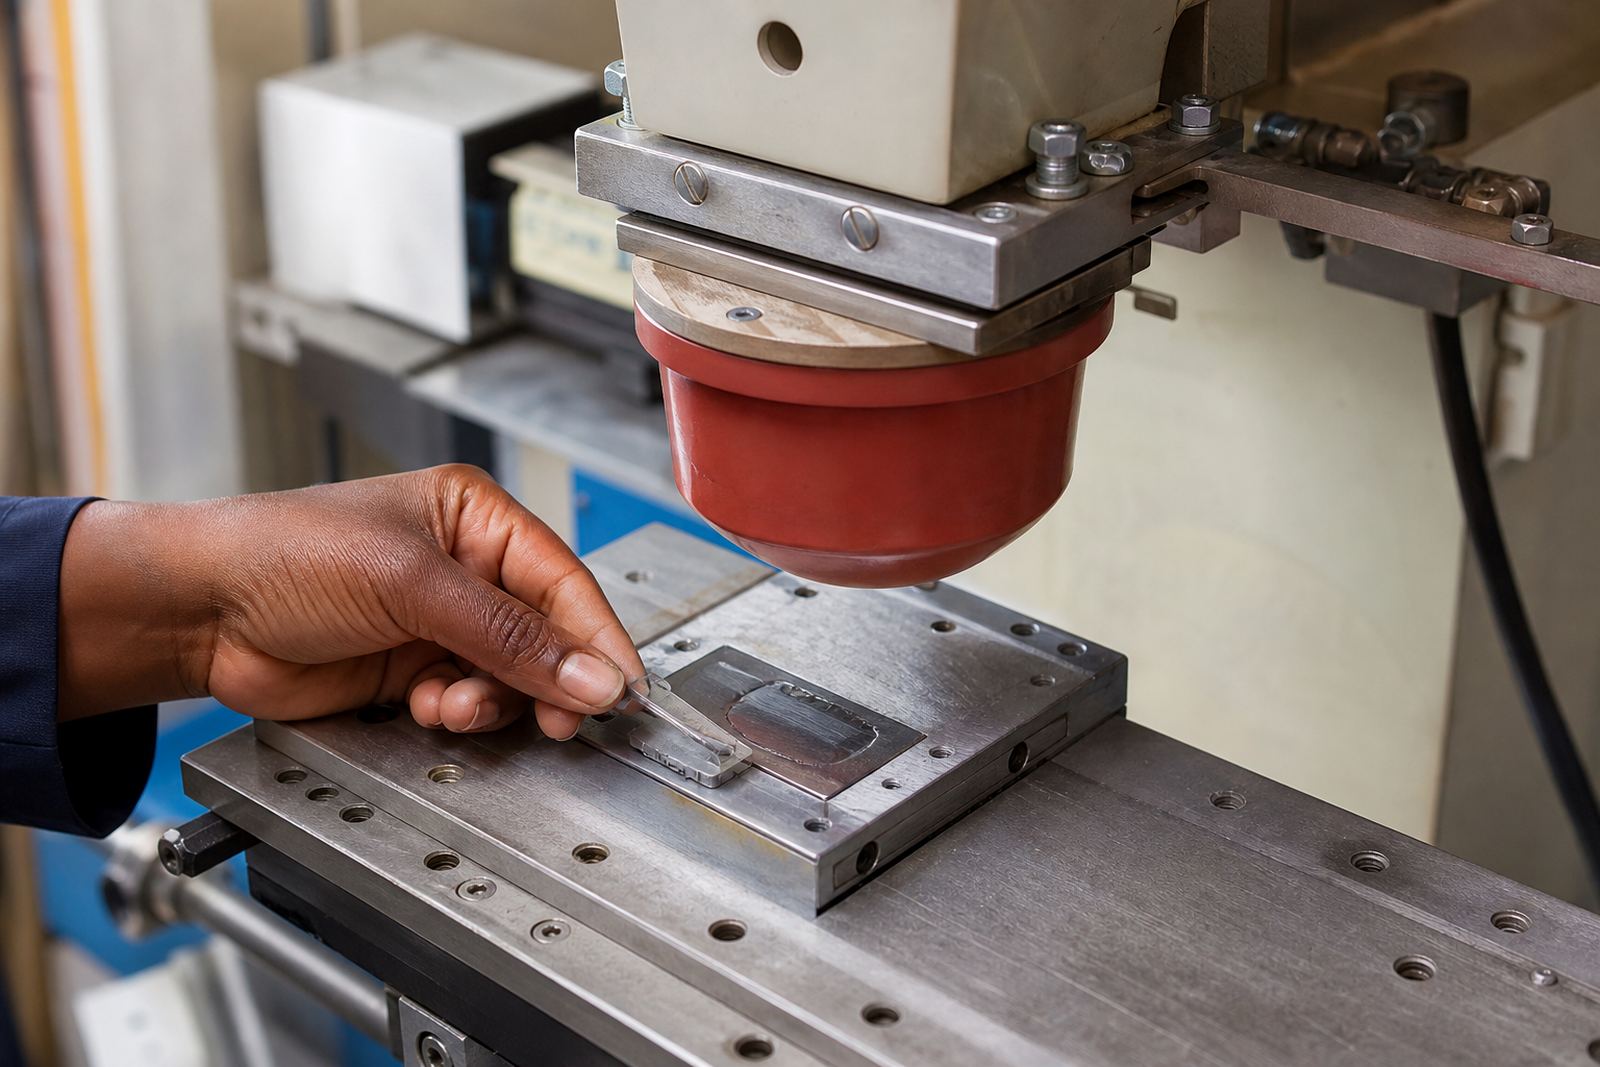
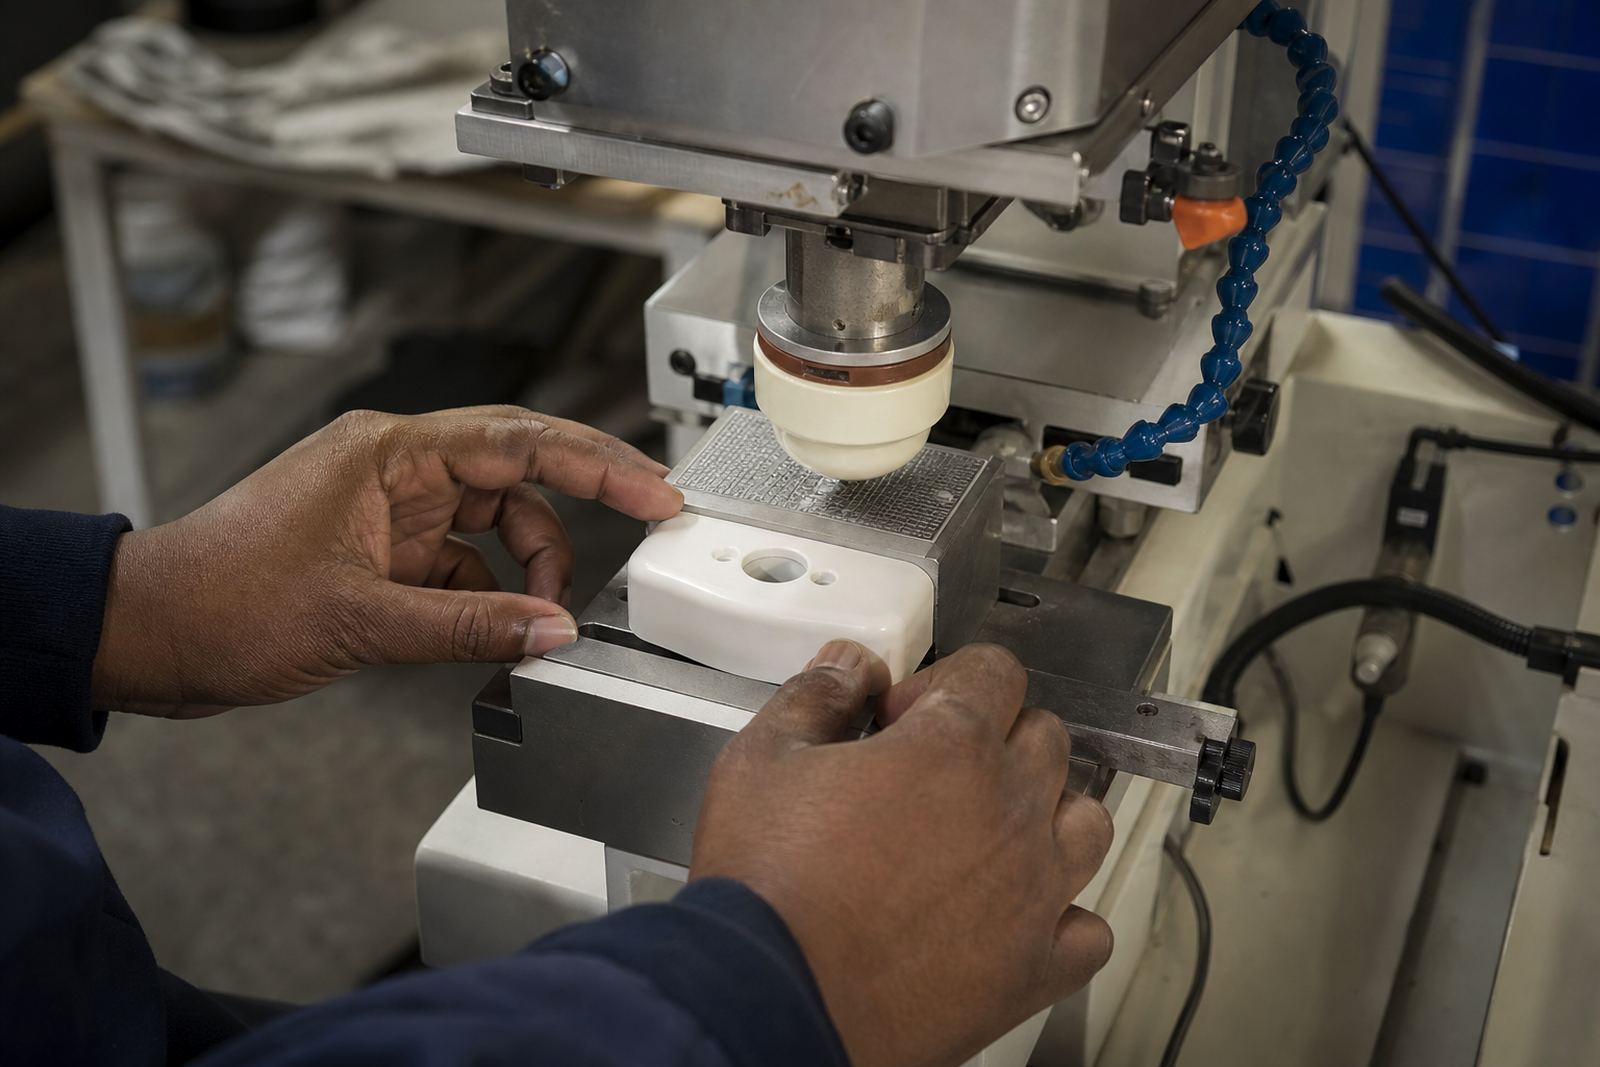
- Fixture alignment keeps repeat runs in the same position
- Artwork detail should suit the actual print area
Inks, Curing and Surface Preparation for Reliable Marks
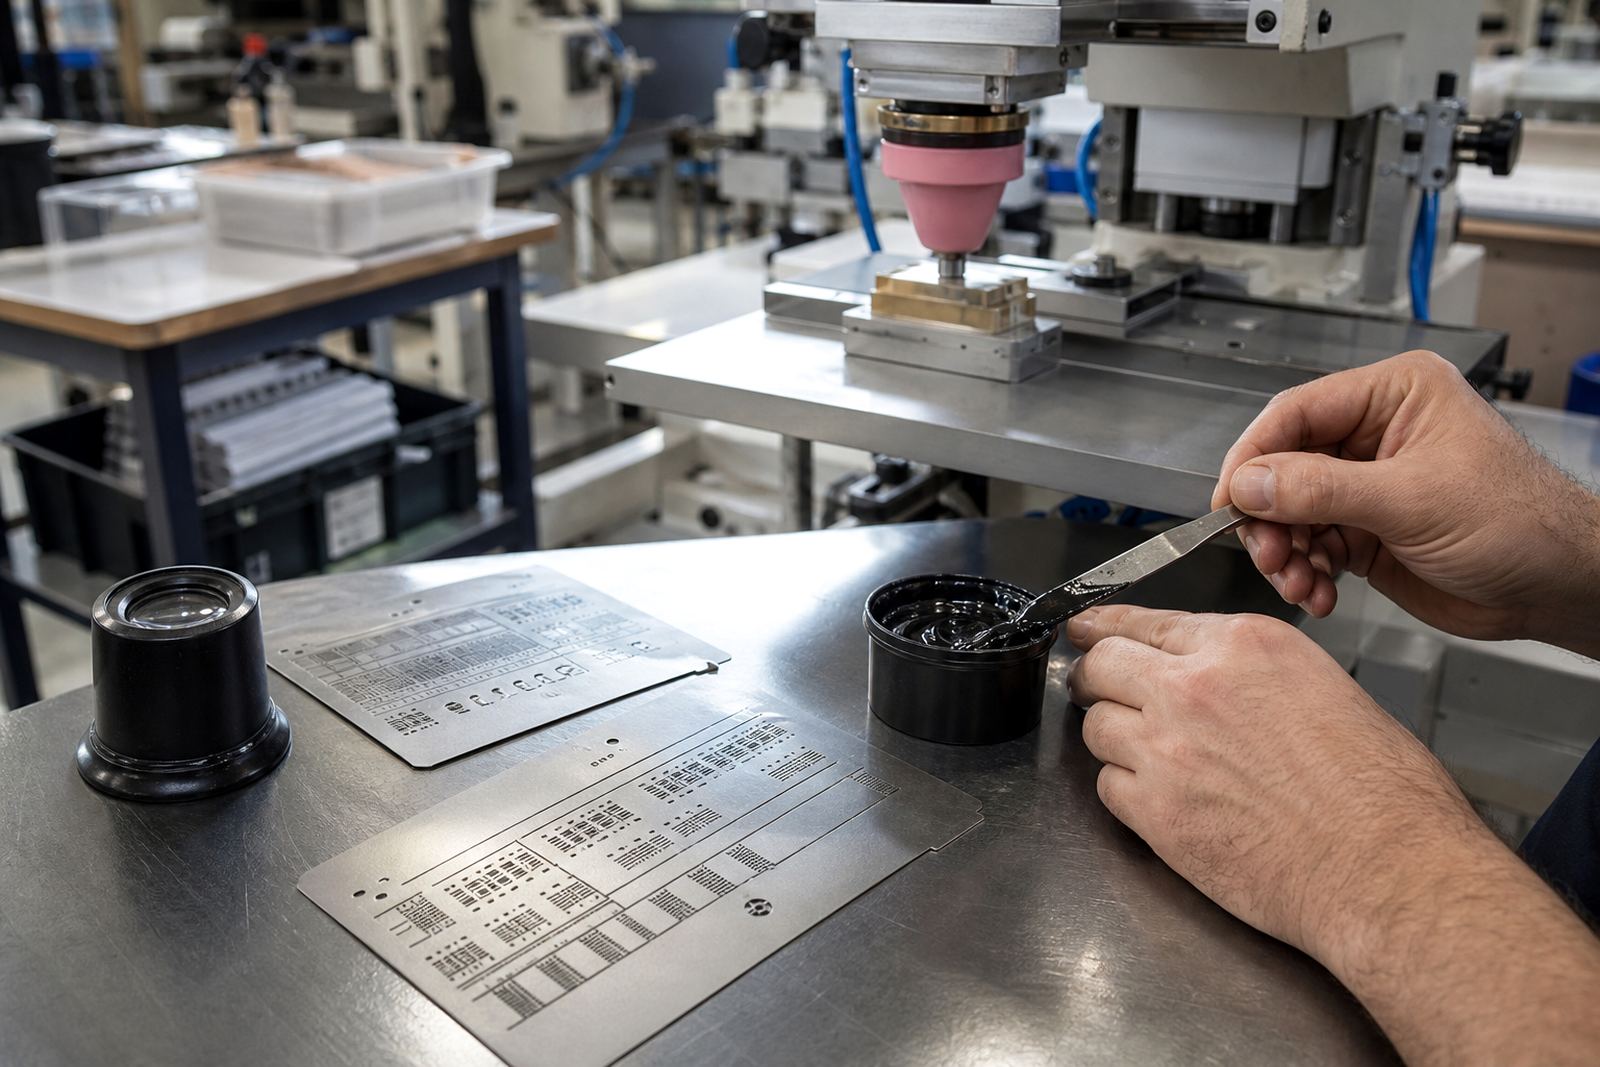
Ink choice is central to pad printing on medical and electronic parts, especially where the marking must survive handling, cleaning or regular movement. Some materials need surface preparation before printing, while others need a specific curing method after transfer. Depending on the part, curing may involve air drying, heat or a controlled process that helps the ink set properly. Coastal humidity around Durban can also affect drying times, so production planning matters.
We cover adhesion test samples, curing method selection and rerun job control. Practical production problems such as dust, mould release, static and fingerprints also need attention. On a busy line, a print can look acceptable but still rub off if the surface was not ready or the cure was rushed.
- Clean parts before print to remove oils and release agents
- Test adhesion on the actual substrate, not a similar one
- Allow for humidity and temperature on site
- Keep cure times consistent across reruns
Artwork, Logo Redraws and Print Area Planning
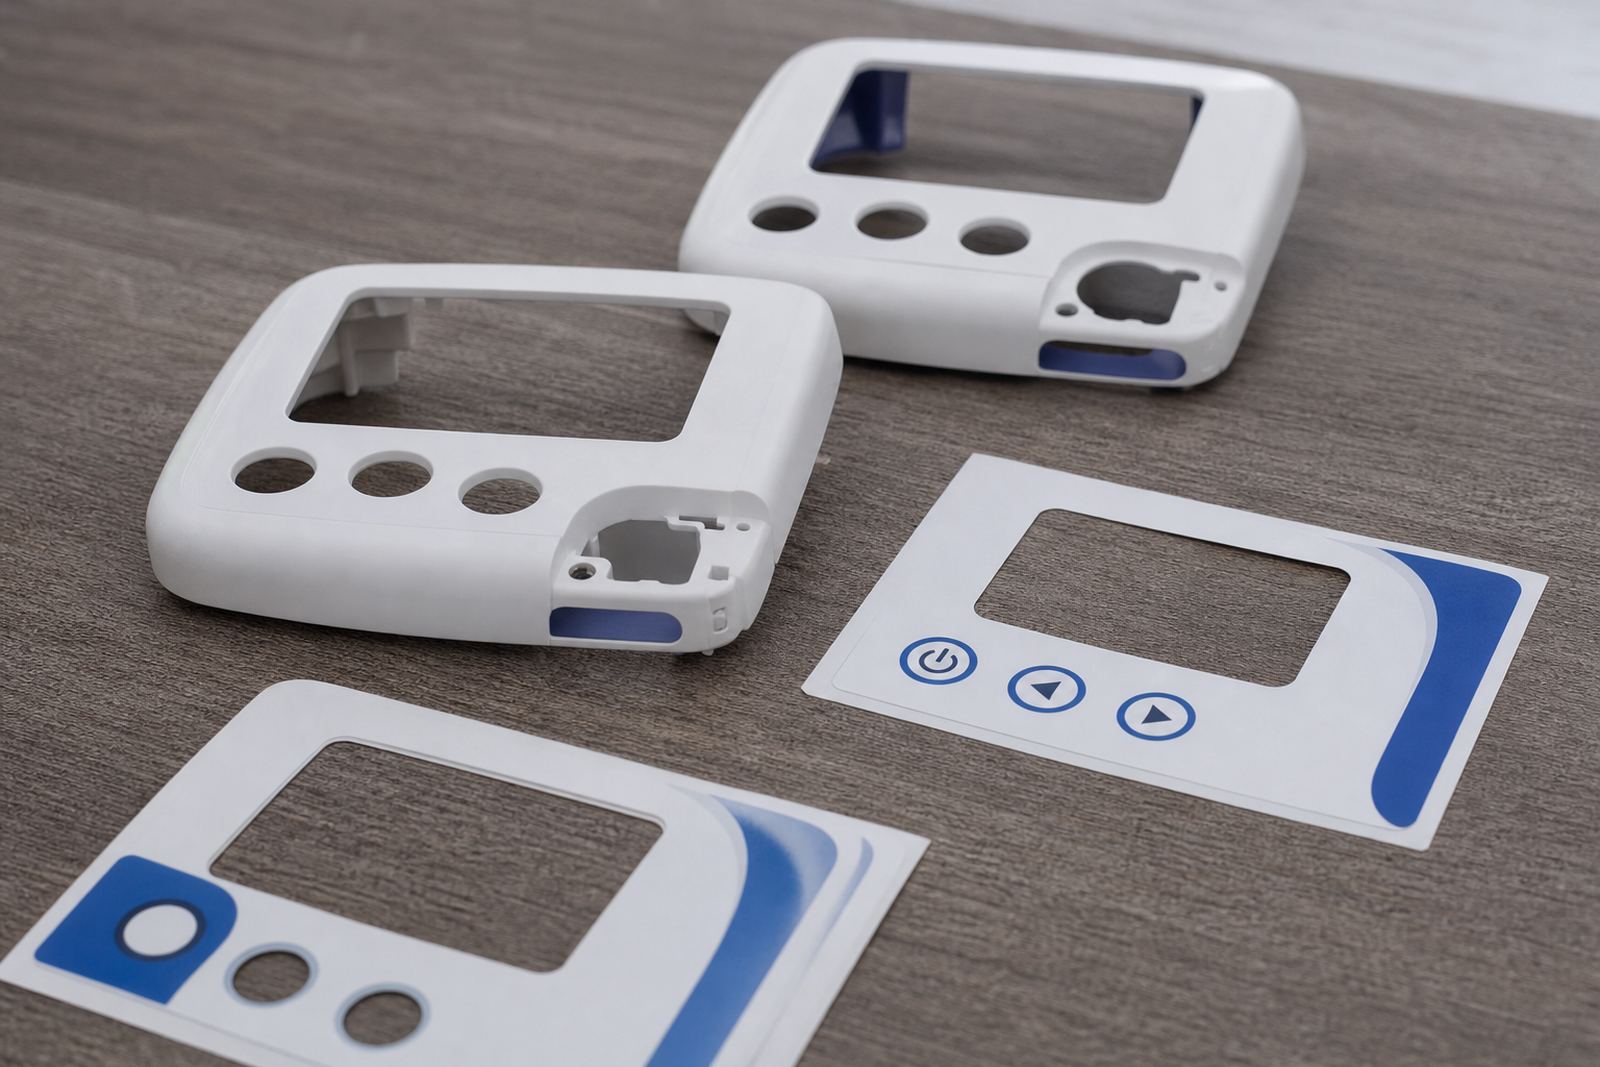
Good pad printing starts before the machine is set up. Artwork has to be prepared for the real print area, not just the drawing on screen. Fine text, small icons, serial marks and warning symbols need clean redraws so they hold their shape once transferred by the pad. If the part has curves, ribs or recessed areas, the print area must be planned with those features in mind.
This part of the journal is useful when a client is moving a mark from screen artwork or a rough sketch to a part that has tight tolerances. It also explains why colour matching is one thing and print clarity is another. The best-looking artwork can still fail if the line weight is too light or the area is too small for the pad to carry properly.
Production Control for Medical and Electronic Components
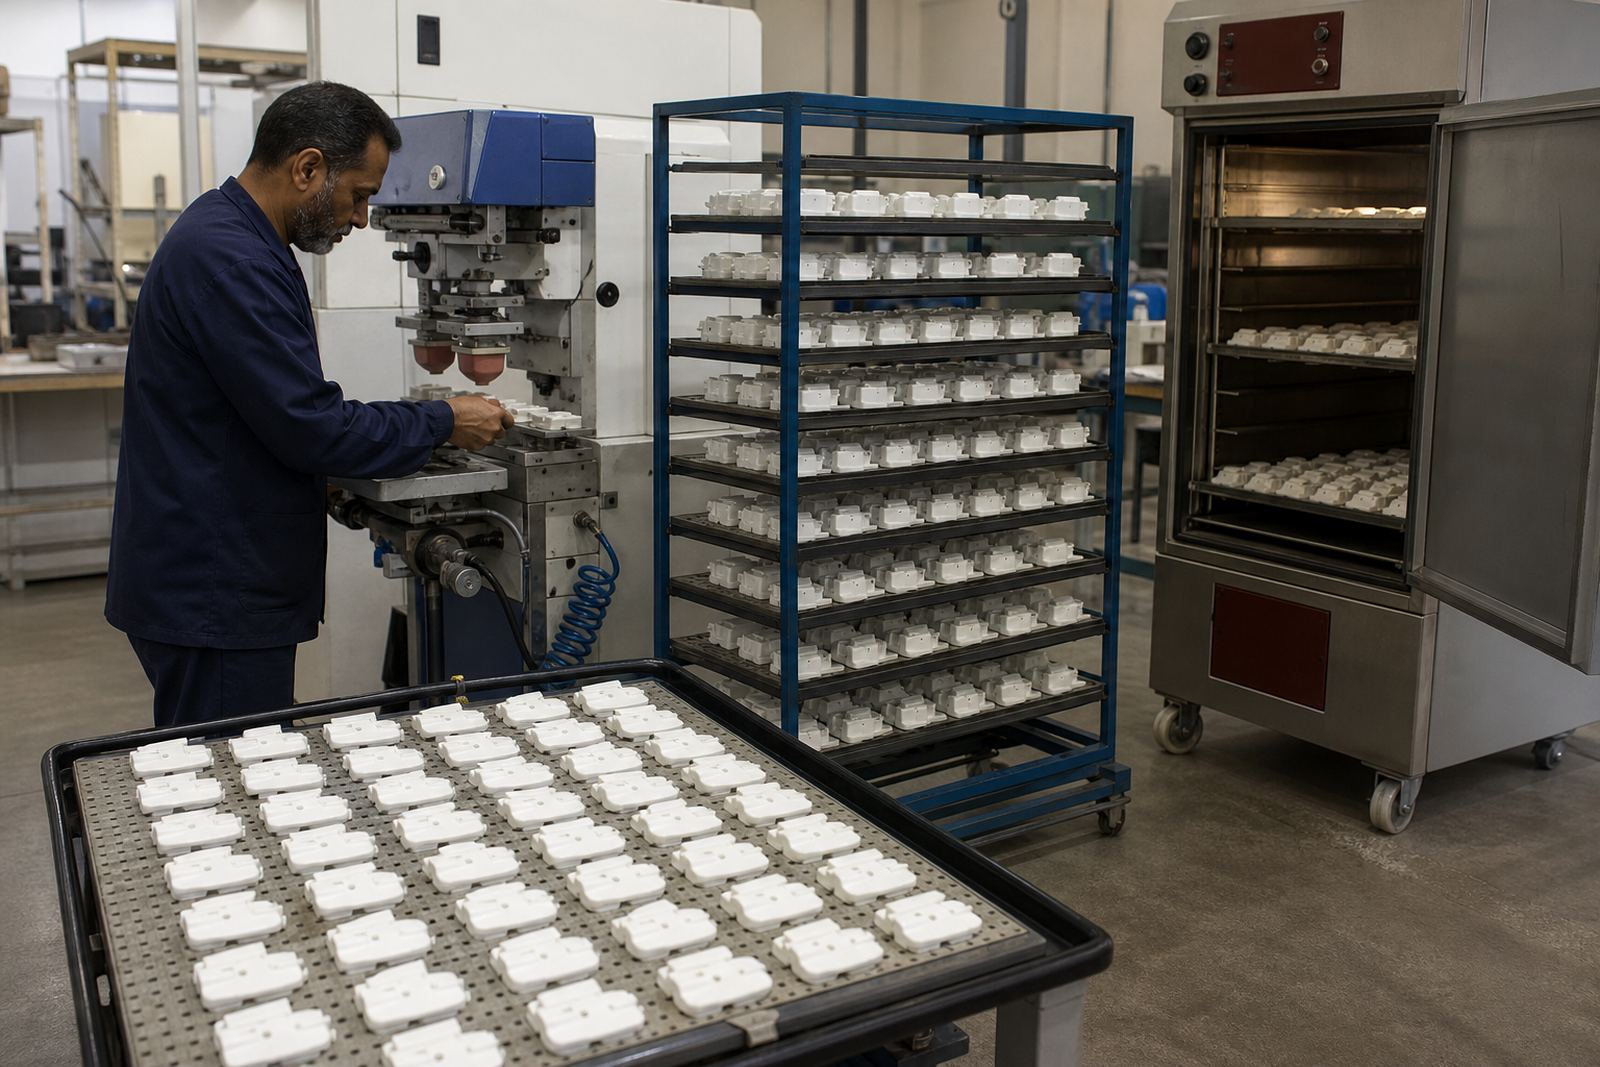
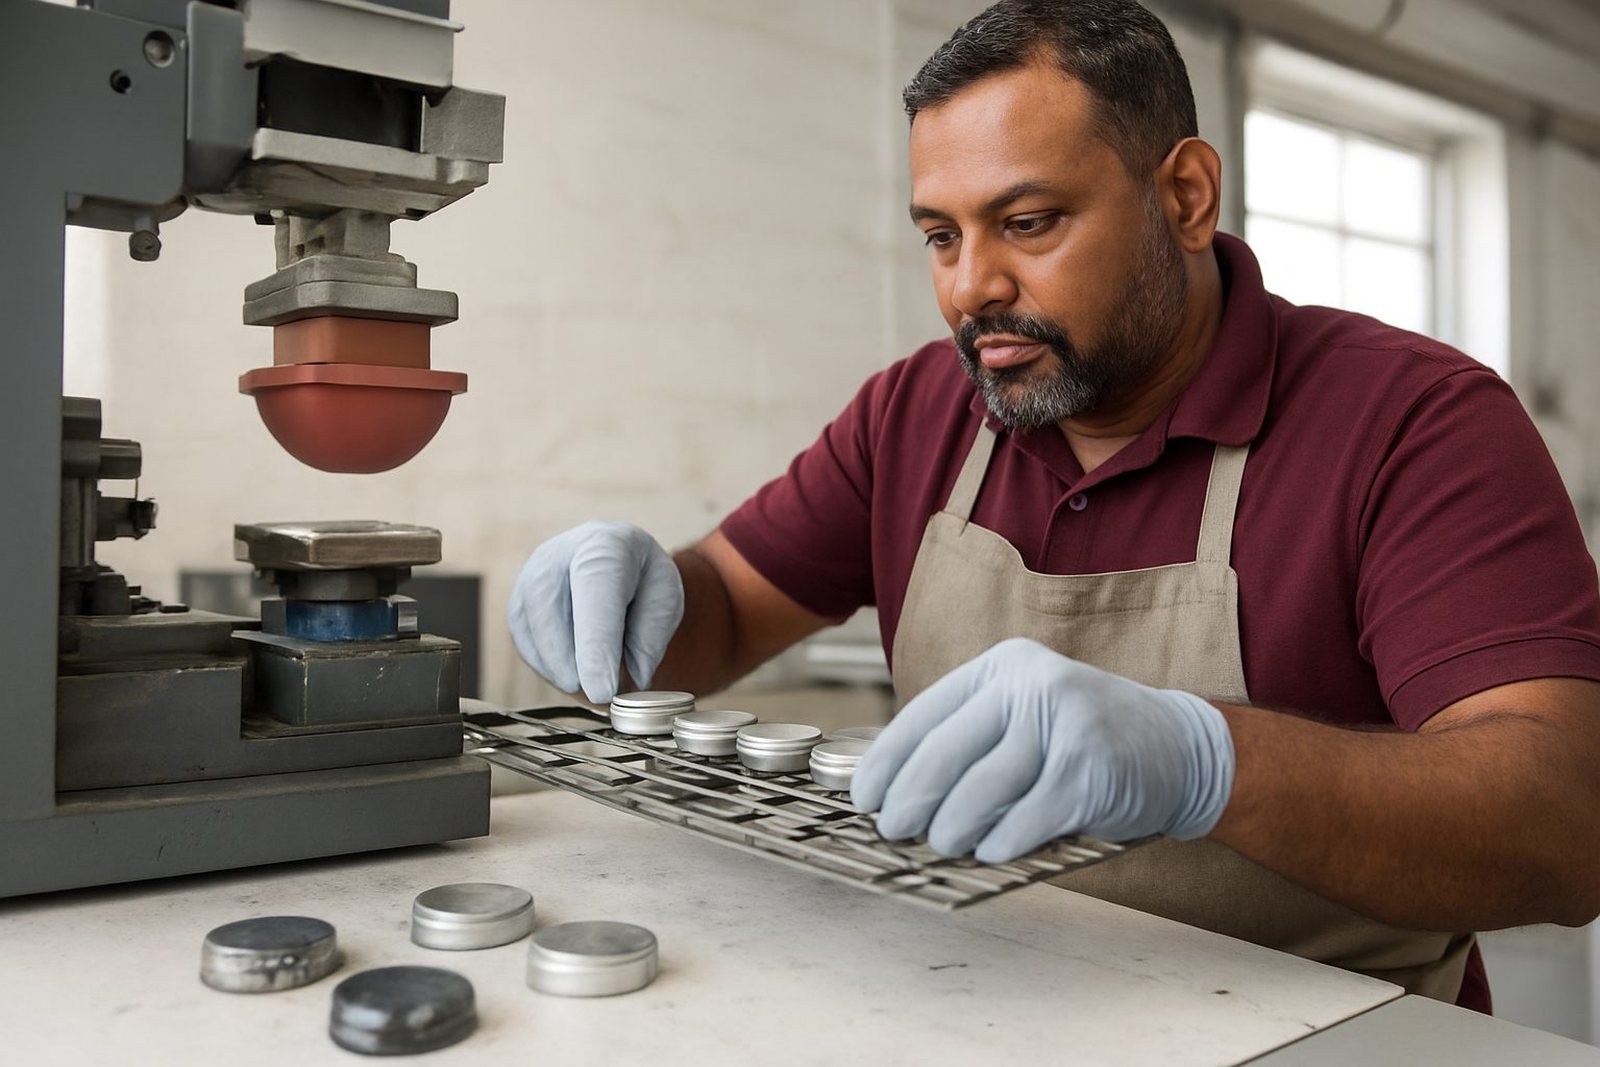
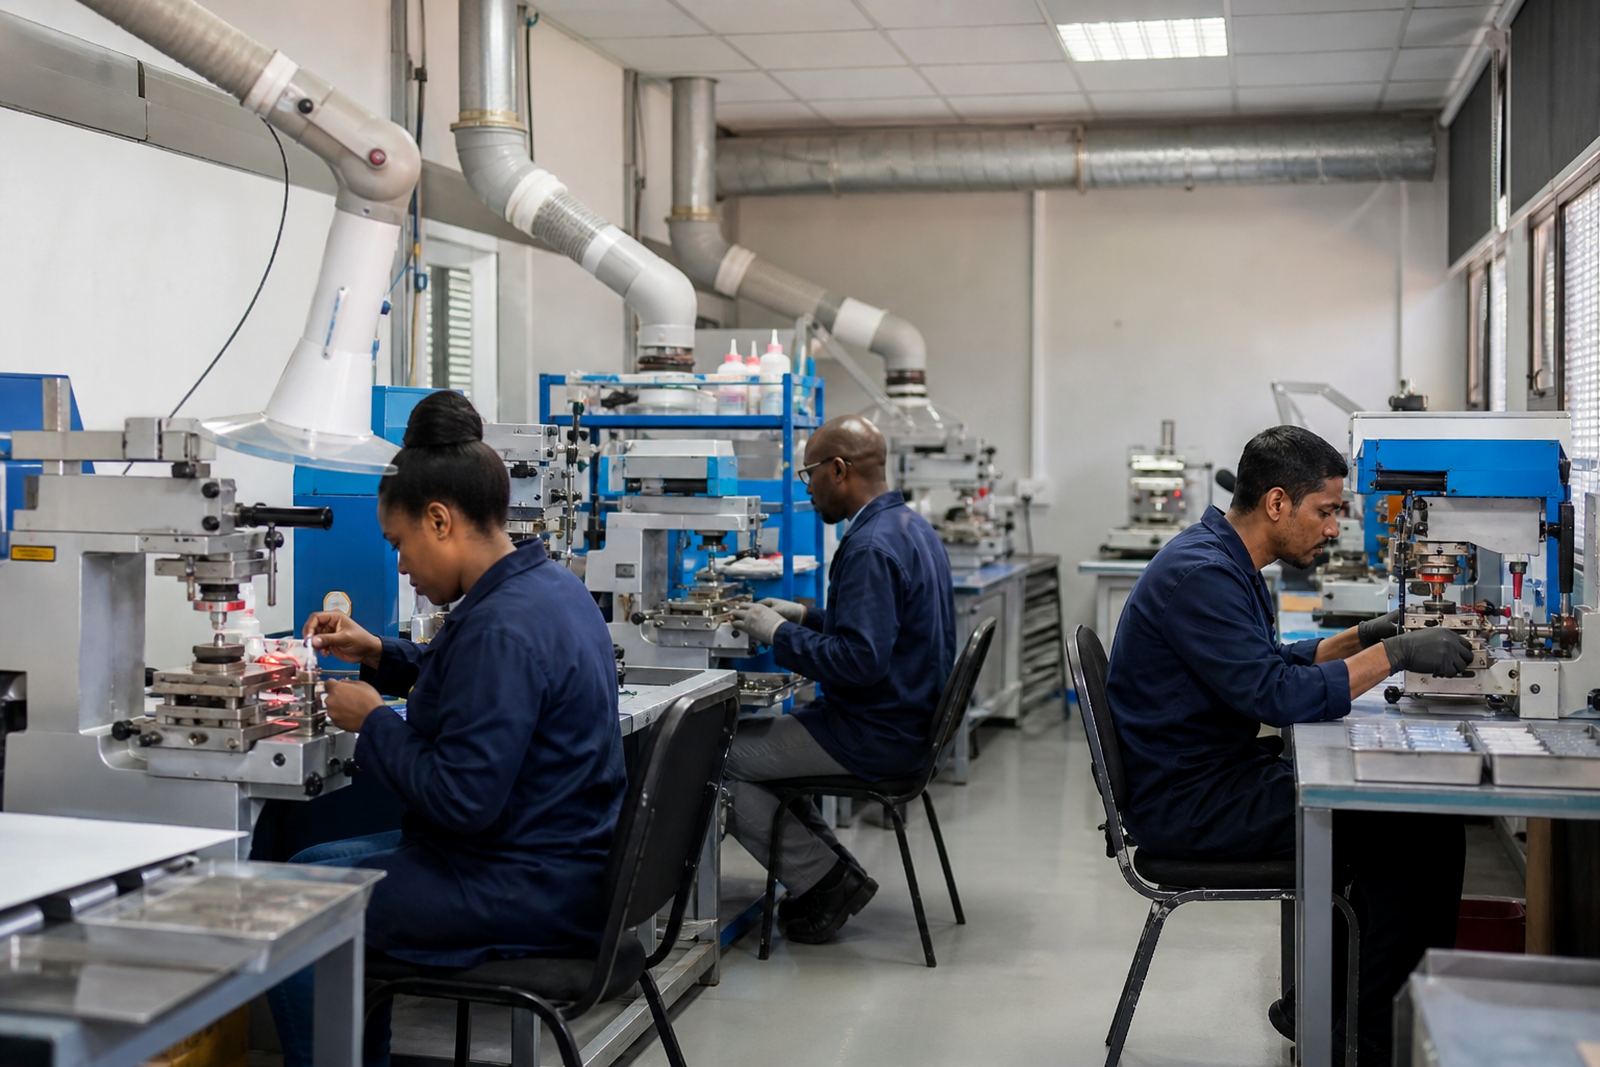
Once a job is approved, the real work is keeping it consistent from the first sample to the last box packed for dispatch. On medical and electronic parts, that means watching setup, plate condition, pad wear, ink mix, fixture positioning and the repeatability of each run. A journal article on process control should help teams decide when to rerun a sample, when to stop and reset, and how to keep records that support the production line.
Good pad printing practice makes device compliance and marking requirements easier to manage, while customers remain responsible for their own compliance. The right process gives a cleaner mark, fewer rejects and less back-and-forth between production and quality. In Westmead, Pinetown and across South Africa, that can save time on site when schedules are tight and equipment has to keep moving.
How to Use the Journal Before You Place an Enquiry
Use these articles to narrow down what your part needs before you submit an enquiry through the contact page. If you know the substrate, the print area, the finish and the end use, you can ask better questions and avoid unnecessary trial work. That is especially useful for manufacturers in Durban, Johannesburg, Cape Town, Pretoria and Gqeberha who need markings repeated across different batches or sites.
The journal is also a practical way to compare subjects such as fixture making, plate etching, trial sample runs and dispatch packing. If you are unsure which section to start with, look for the article that matches your part shape first then move to the ink and curing notes. Small setup differences can matter, so it pays to check the method before production starts.
- Confirm the substrate and finish
- Measure the print area and clearances
- Check whether the part needs sample runs first
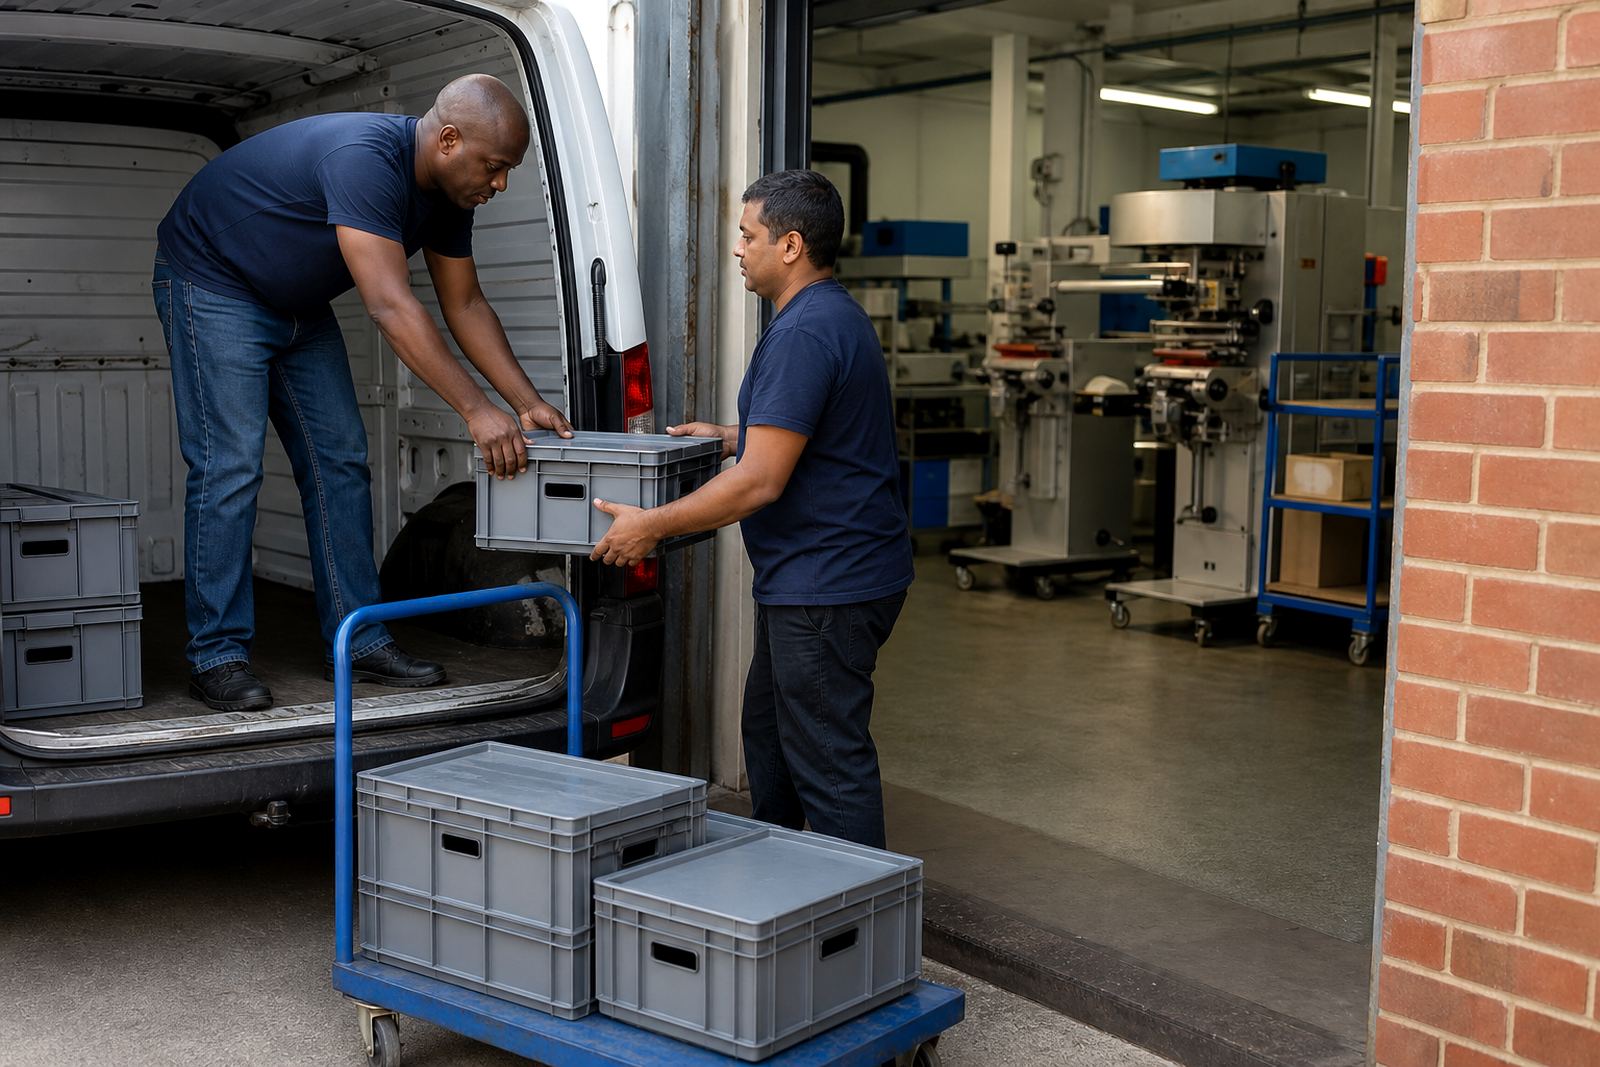
- Plan for pack-out and handling after print
What the Journal Covers From Week to Week
Pad printing is a practical process, and the journal reflects that. Expect notes on silicone pads, plate exposure, image transfer, curing, colour matching and artwork preparation, plus process control issues that come up in real production. The aim is not theory for its own sake, but clear guidance that helps teams choose the right setup for a specific medical or electronic component.
If you are comparing options for a new part or reviewing an old job that needs cleaner repeatability, these articles give a solid place to start. They are written for manufacturers, suppliers and production teams who need marks that stay legible and consistent in day to day use.