Why tiny parts move more than you think
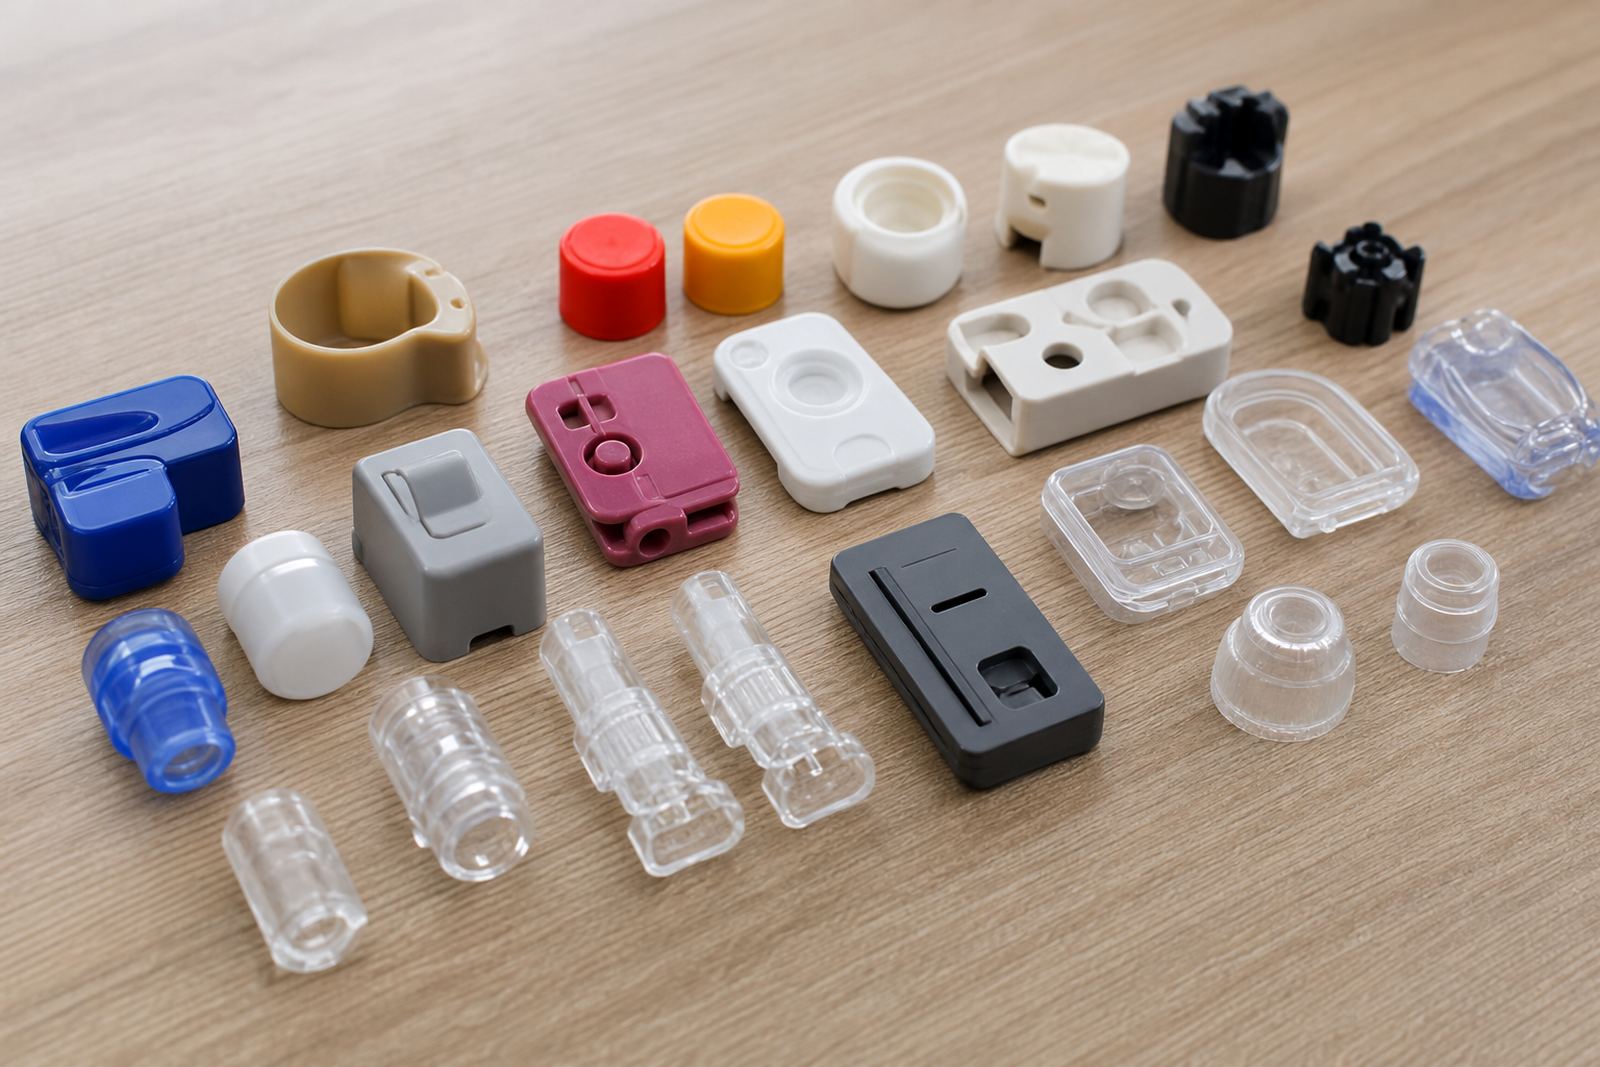
On small medical and electronic parts, even a fraction of a millimetre can change the result. A connector housing, switch cap, valve body or sensor cover may look simple on the bench but during printing it can twist, lift or shift as the pad makes contact. That is where the fixture earns its keep.
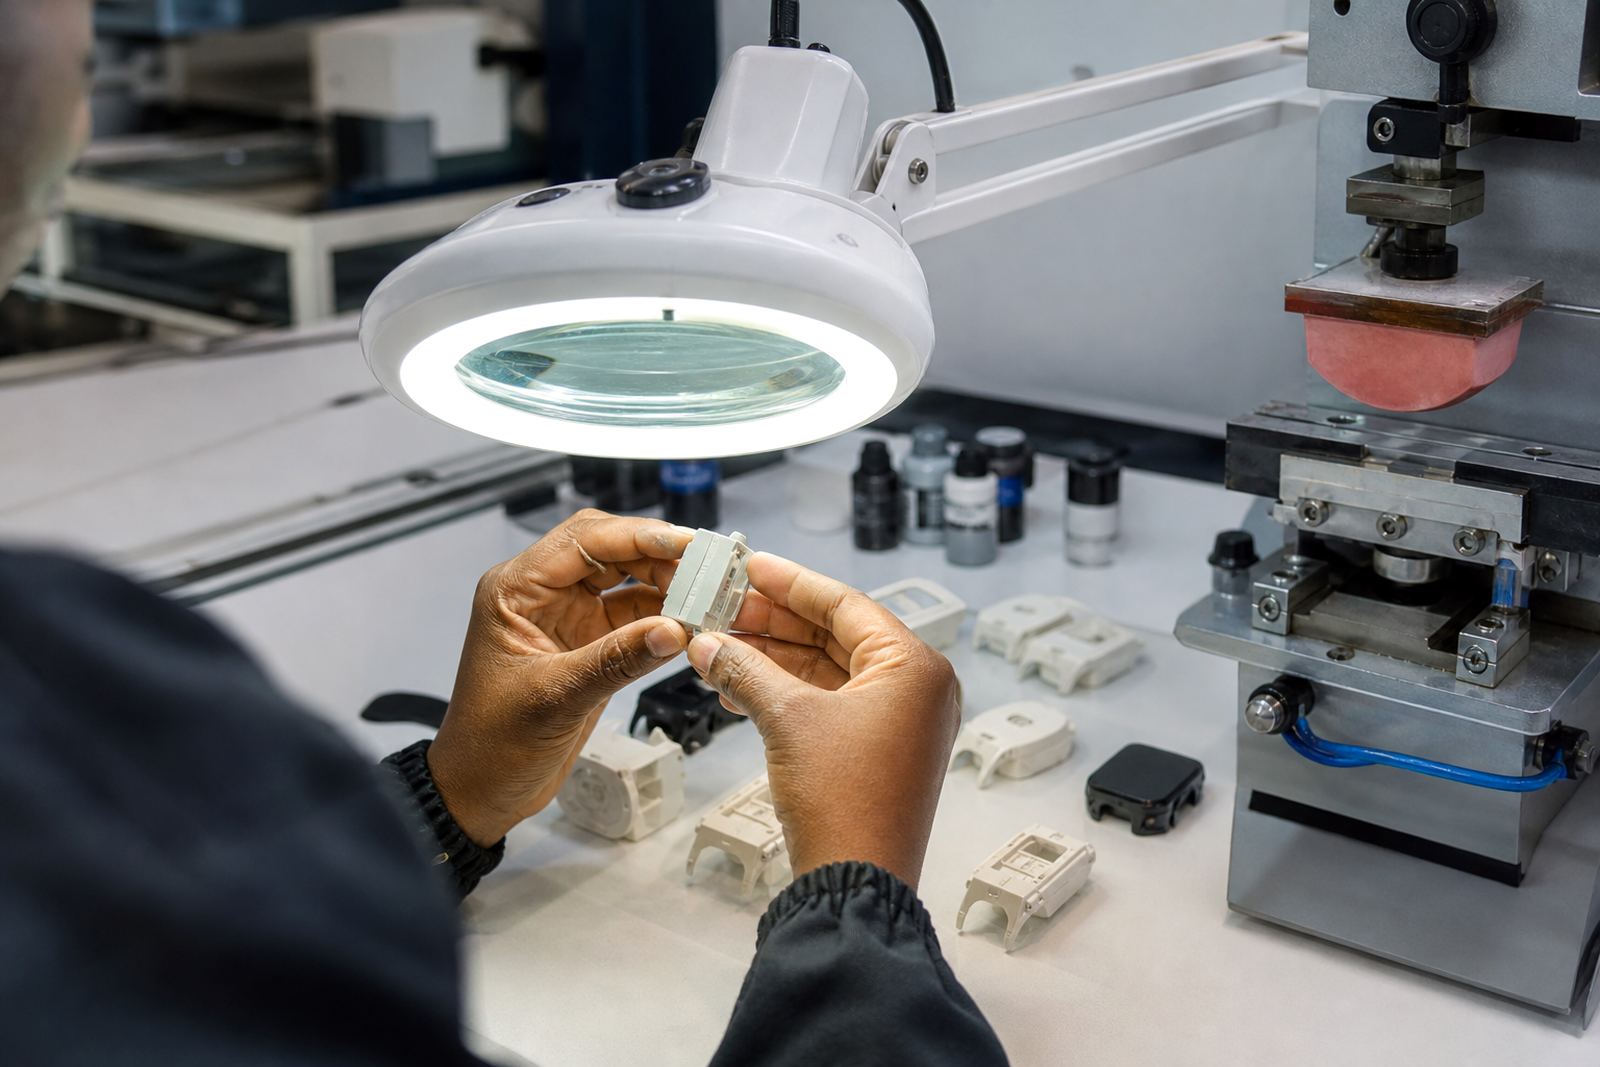
In pad printing, the ink image is transferred from an etched plate to the part by a silicone pad. The process works best when the part sits in exactly the same position for every cycle. If the part rocks, slides or sits slightly proud of the rest point, the printed logo, symbol or code can move out of alignment. For manufacturers, that means more rejects, extra handling and slower line speeds.
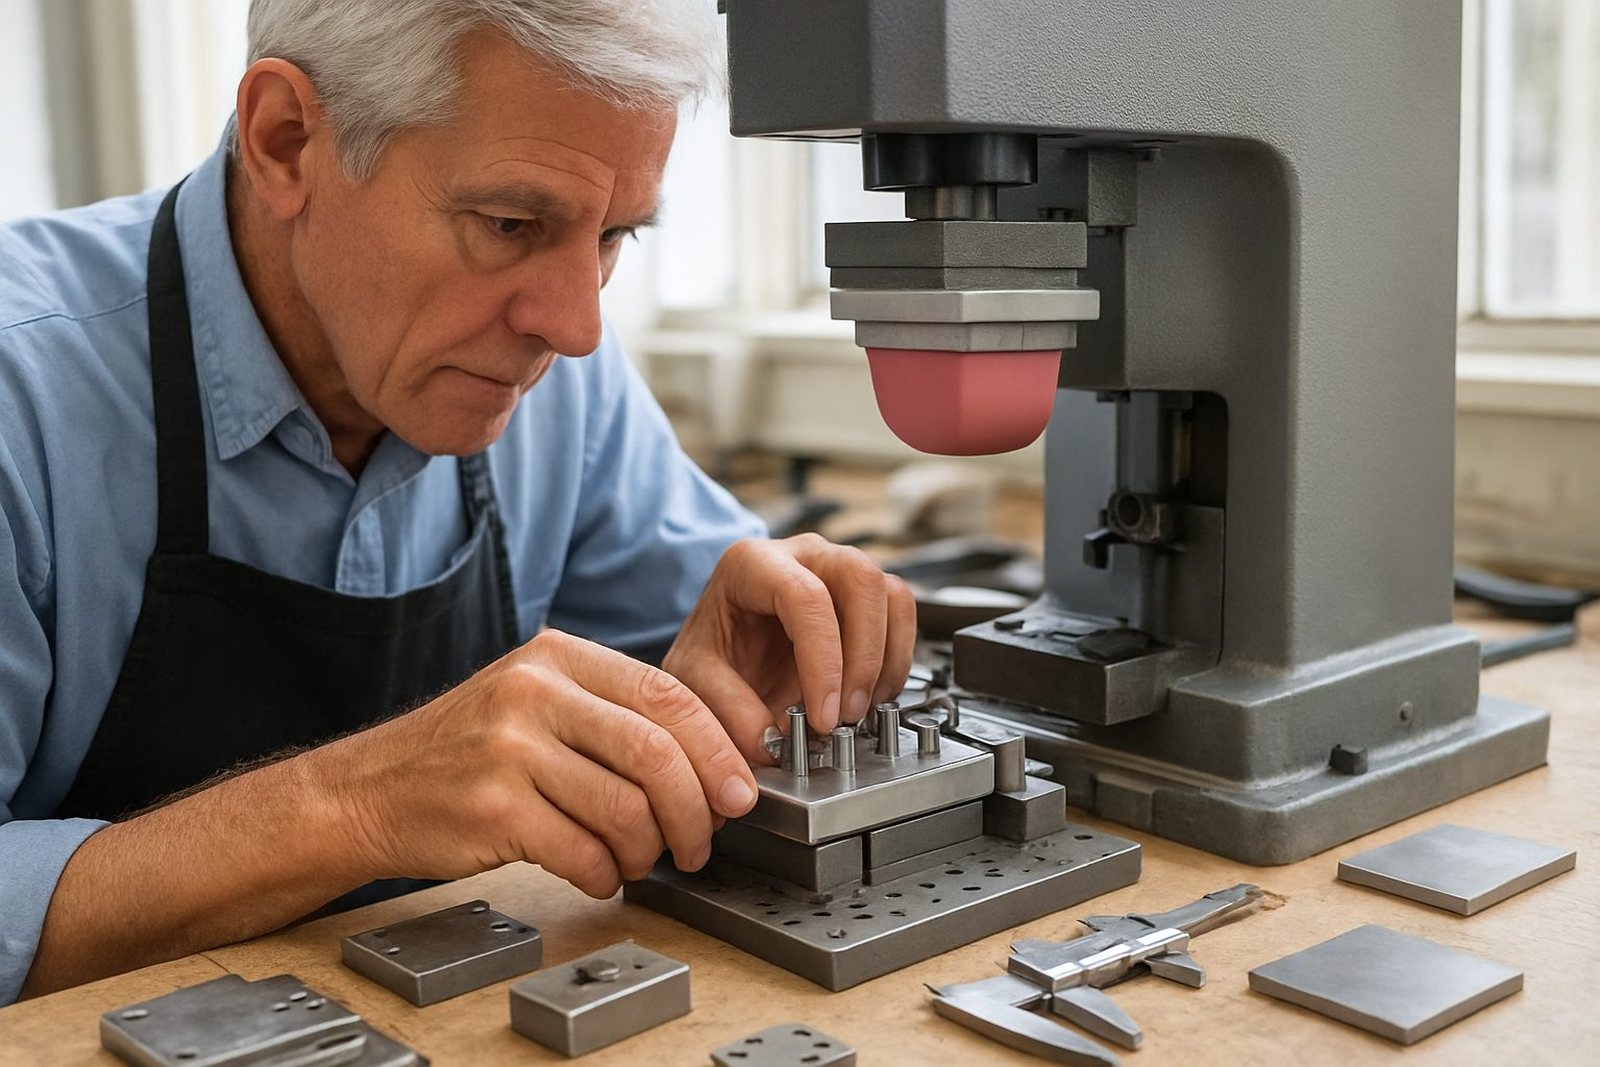
A well made fixture supports the component at the correct points, leaves the print area open and helps the operator load parts consistently. On small runs it saves time. On repeat jobs it protects consistency. It also helps with cured ink performance because the printed image is not being stretched or smeared by movement during transfer.
What a good fixture must do on the line
Fixture design starts with the part, not the machine. The shape, wall thickness, material and surface finish all matter. A soft plastic cap needs different support from a rigid moulding or a metal insert. In many cases the fixture also has to allow for airflow, easy cleaning and quick loading between cycles.
The main goal is simple: hold the part securely without marking it. That means avoiding over-tight clamping on delicate pieces and keeping contact points away from the print zone. On some jobs the best option is a custom nest. On others it is a simple stop block, pin location or vacuum hold down.
- Support the part at stable points, not on thin edges.
- Keep the print face clear of clamps and pins.
- Allow the operator to load the part the same way each time.
- Make room for ink curing and safe part removal.
- Choose materials that will not shed dust or leave marks.
When the fixture matches the part properly, the print position stays fixed and the operator can work with less strain.
Fixture choices for medical and electronics work
Medical and electronics components often have tighter tolerances than general industrial items. A small logo on a pen-shaped diagnostic part, a warning mark on a handheld device or a symbol on a circuit-related housing all demand clean registration. The fixture must help the print land in the same spot, even when the part shape is not forgiving.
For these jobs, we usually look at the following fixture styles:
- Nested fixtures for parts that can sit into a shaped pocket.
- Pin located fixtures for components with holes or reference points.
- Clamped fixtures for parts that need extra restraint during pad contact.
- Vacuum fixtures for lighter parts that move too easily by hand.
- Multi cavity fixtures when several small parts must print in one cycle.
Each method has trade-offs. A vacuum fixture can be quick and neat, but it needs good sealing. A clamp can be strong, but if the pressure is uneven it may distort thin plastic. For electronics parts, the fixture also needs to avoid trapping dust or creating static problems in the work area. In coastal areas like Durban, humidity can also affect handling so the fixture and work method have to suit the local conditions.
How we plan a fixture from artwork to trial run
Good fixturing starts before the first test print. We look at the artwork, print area, part drawing or sample component, then decide how the item should sit in the machine. If the logo, warning mark or code is too close to a curve or rib, the fixture may need to hold the part at a slight angle to keep the image legible.
After that comes the practical part. We make trial sample runs, check ink transfer and inspect the edges of the print. If the ink is lifting, smudging or landing too high or too low, the fixture is adjusted. Sometimes the fix is a deeper nest. Sometimes it is a better stop position or a small change to the loading method. Small changes can make a big difference.
We also consider curing method selection. Some inks need air drying, others need controlled curing after printing. If the part is removed too early, the print can be damaged. So the fixture should make removal easy and safe, especially for fragile items with thin walls or small tabs.
From the print room: The production floor
A Pinetown manufacturer bringing in small electronic housings often needs a repeat mark placed on a narrow face with very little margin for error. The housings may look identical, but if the part is loaded even slightly off centre the print drifts. In that situation a simple hand held approach is not enough. A proper fixture helps the operator seat each housing in the same position before the pad comes down.
For a job like that, the process usually includes artwork preparation, print area planning, plate exposure, then a fixture built around the part shape. We would run adhesion test samples, check the print against the sample part and confirm the rerun job control method for future batches. That keeps the result stable when the same component comes back months later.
Manufacturers in Durban, Johannesburg, Pretoria, Cape Town and Gqeberha often face the same issue with tiny parts: the smaller the component, the more the fixture matters. A sound setup reduces scrap, speeds up changeovers and gives the line team confidence that the print will sit where it should.
What to send us when a part is hard to hold
If a component is awkward to fixture, the more detail we have the better the result. A clear sample, a drawing if available and a note on where the print must land can save time during setup. It also helps if we know how the part is used, whether it is fragile, and whether the print must survive handling, cleaning or repeated contact.
- Send a clean sample part where possible.
- Mark the exact print position if the part allows it.
- Let us know if the part is soft, brittle or heat sensitive.
- Tell us whether the job is a one off or a repeat order.
- Explain if the part must fit into a larger assembly after printing.
At PadPrinters Medical in Westmead, Pinetown, our team handles small part fixturing as part of the wider pad printing setup. That includes artwork redraws, plate work, trial runs and dispatch packing, with support for manufacturers across South Africa. The aim is practical: hold the part properly, place the print accurately, and keep the process repeatable without making the line harder to run.