Why storage starts before the ink is fully set
In pad printing, the image is transferred with a silicone pad onto a formed or flat part, then the ink has to dry or cure properly before the part is handled in bulk. On medical and electronic components, that final stage matters just as much as the print itself. If parts are moved too soon, the print can scuff, gloss over unevenly, or leave a light smear that only shows up after packing.
For Westmead and Pinetown manufacturers working around daily production targets, storage should be planned into the job from the start. That means knowing how many parts come off the line at once, what surface they sit on, and how long they need before they can be stacked or bagged.
Trays that protect shape and print quality
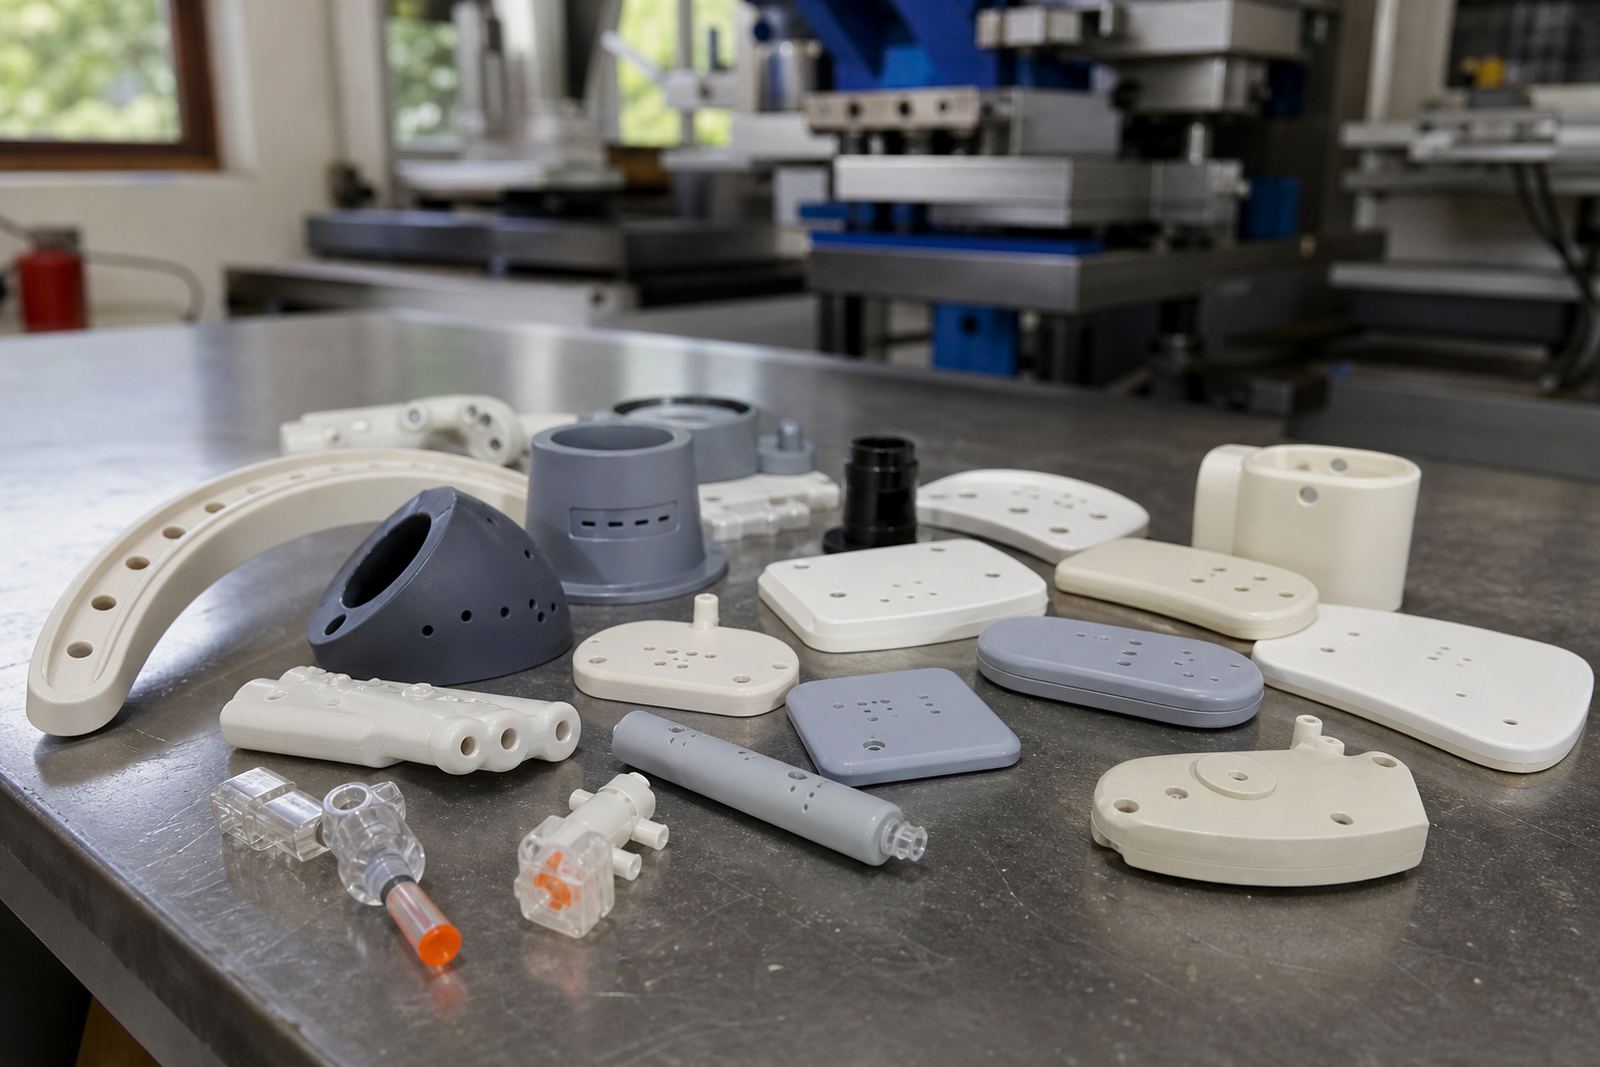
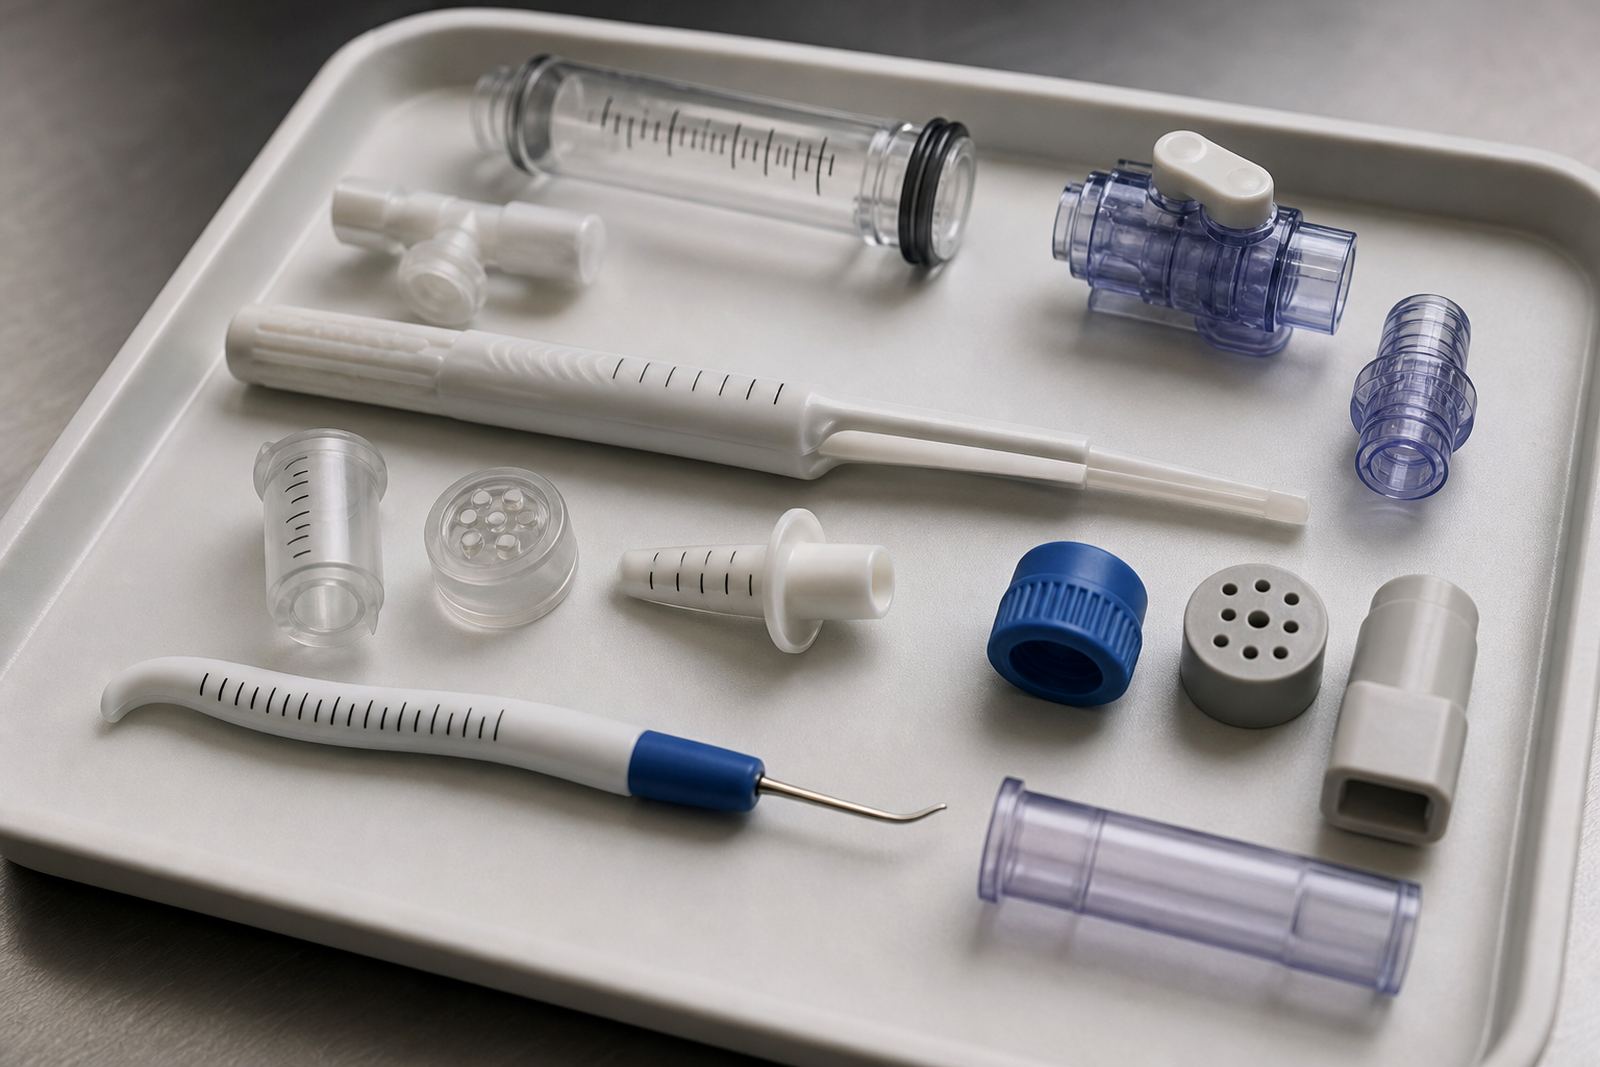
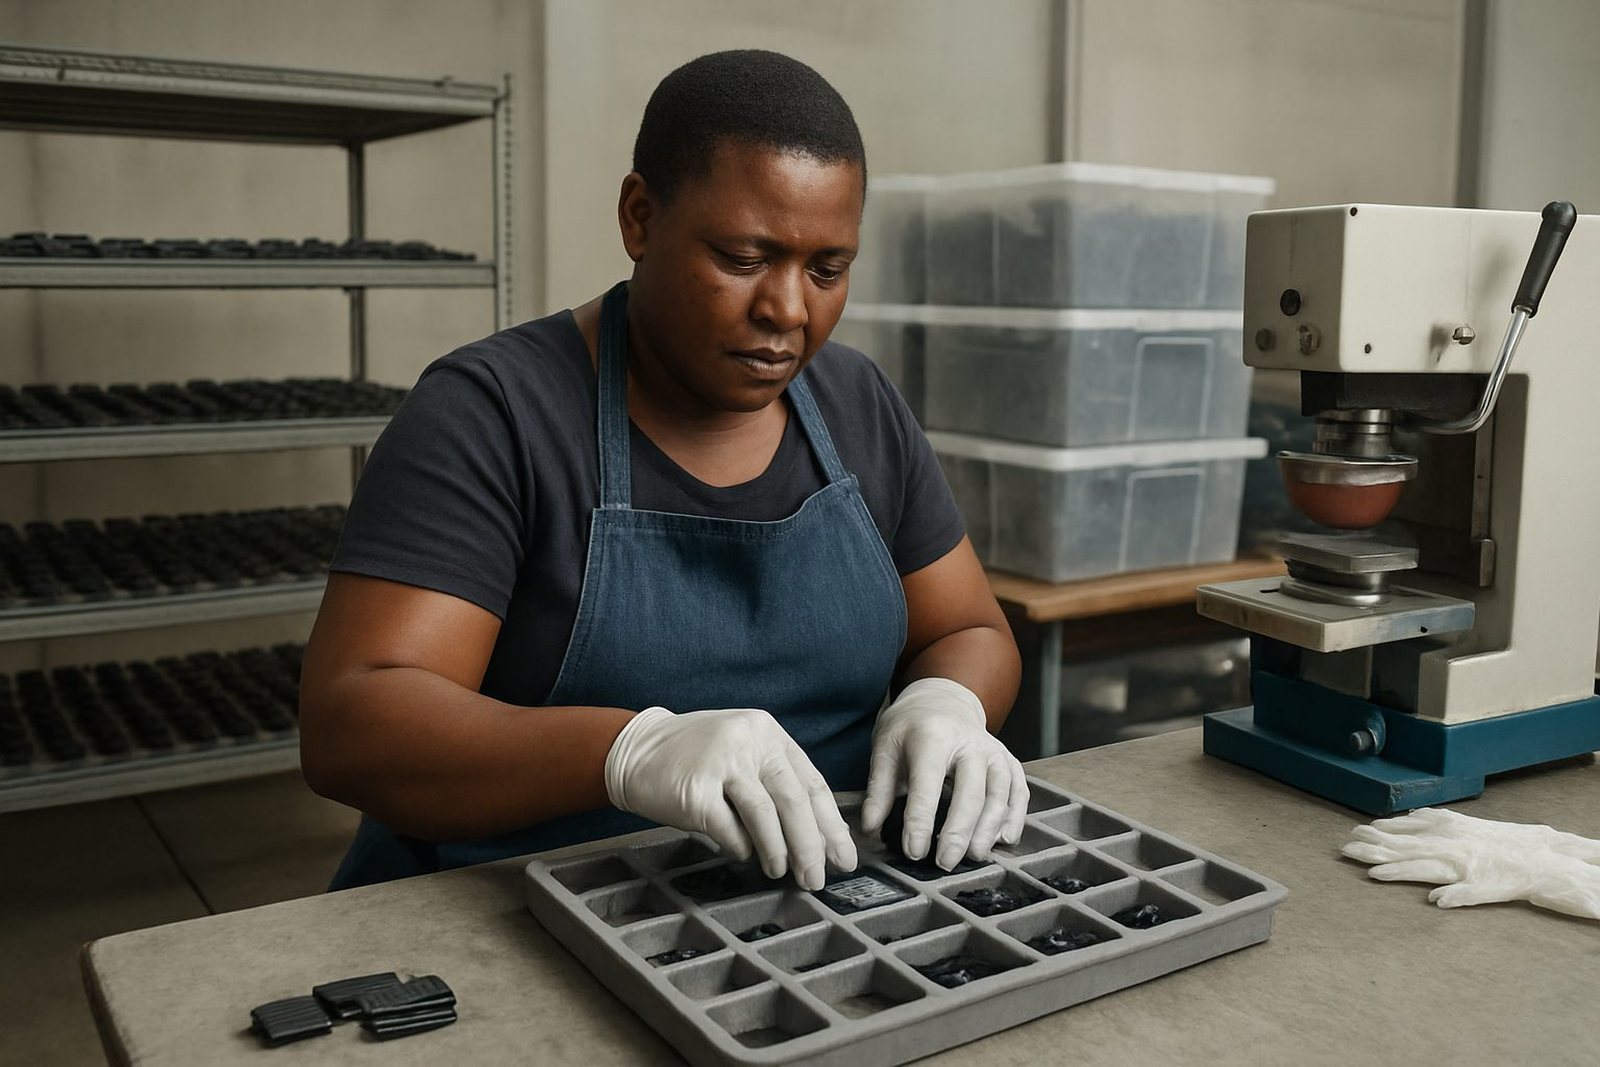
Good trays do more than carry parts from one point to another. They keep the printed area from touching another component, stop movement during transport, and help operators see if a job has mixed sizes or orientations. For small medical housings, sensor covers or control parts, a tray with the right pocket depth is often the difference between a clean dispatch and a box full of rubbed edges.
At PadPrinters Medical in Westmead, tray choice is usually matched to the part size and the print position. A shallow pocket may suit a rigid flat piece, while a deeper formed tray can protect a curved component or a part with a raised boss. If the tray flexes too much, the parts move and the print takes the knock.
- Use rigid trays for parts with a fresh print that still needs time to settle
- Match pocket depth to the highest point on the component
- Keep tray surfaces clean and free of dust or swarf
- Separate mixed jobs so one print colour does not transfer onto another part
Separators, inserts and when to stop stacking
Separators matter when parts must be packed in layers. A soft sheet, foam insert or shaped divider can prevent print-to-print contact, but it must suit the part. Too much pressure can still leave a witness mark on uncured ink, especially on gloss surfaces or flexible plastics. Too little support and the part shifts in transit, which is just as bad.
For manufacturers supplying assemblies into Durban, Pretoria or Cape Town, a simple rule helps: if the print can still be marked with a fingernail or lifted by tape test, it is not ready for close stacking. Some jobs need only a short wait, while others need longer drying or curing before they can go into a box with separators.
- Use separators that do not shed fibre or dust
- Avoid hard contact points directly above the printed area
- Keep heavy cartons off top of freshly printed trays
- Label jobs clearly if they need overnight curing before packing
Curing time changes with ink, material and weather
Curing is not just a timing issue, it is also about the ink system, the plastic or metal substrate, and the room conditions. In humid coastal areas like Durban, drying can take longer than expected. In a hot workshop, the surface may feel dry sooner, but the ink underneath may still need more time before the part can be handled or stacked.
That is why curing method selection is part of the print plan. Some parts can air dry, some need a controlled heat stage, and others need a longer rest before packing. If a medical device housing or electronic faceplate is stored too early, the result is often tiny marks that only appear once the part has travelled through dispatch and been unpacked at the next site. We have seen this happen on jobs moving between Pinetown and Gqeberha, where transport time gives an impression of safety but the cure stage was not complete.
A practical storage plan should include the waiting time, the tray type, and the handling route. That is how rerun job control stays under control instead of becoming a rush job later.
From the print room: The coast
A common situation in the Pinetown area is a run of printed electronic switch covers that must be packed the same day for a customer in Johannesburg. The parts look ready after the last print, but if they are stacked in a deep carton without separators, the upper rows can press into the lower rows before the ink has fully settled. The print may survive the trip, or it may not. That uncertainty is what good storage removes.
In practice, the workflow is simple: print, allow the correct curing time, place the parts into the right tray, and only then move them into dispatch packing. If the job includes curved surfaces or small raised details, a fixture made for that part helps keep orientation consistent during storage too. It saves time at packing and reduces sorting later.
For manufacturers working across South Africa, the aim is not just to keep the print visible. It is to keep every finished component in the same condition it was in when it left the press, whether it is going to New Germany, Pretoria Supply, Cape Town Supply or a plant farther afield.