Why the sealed cup matters on small parts
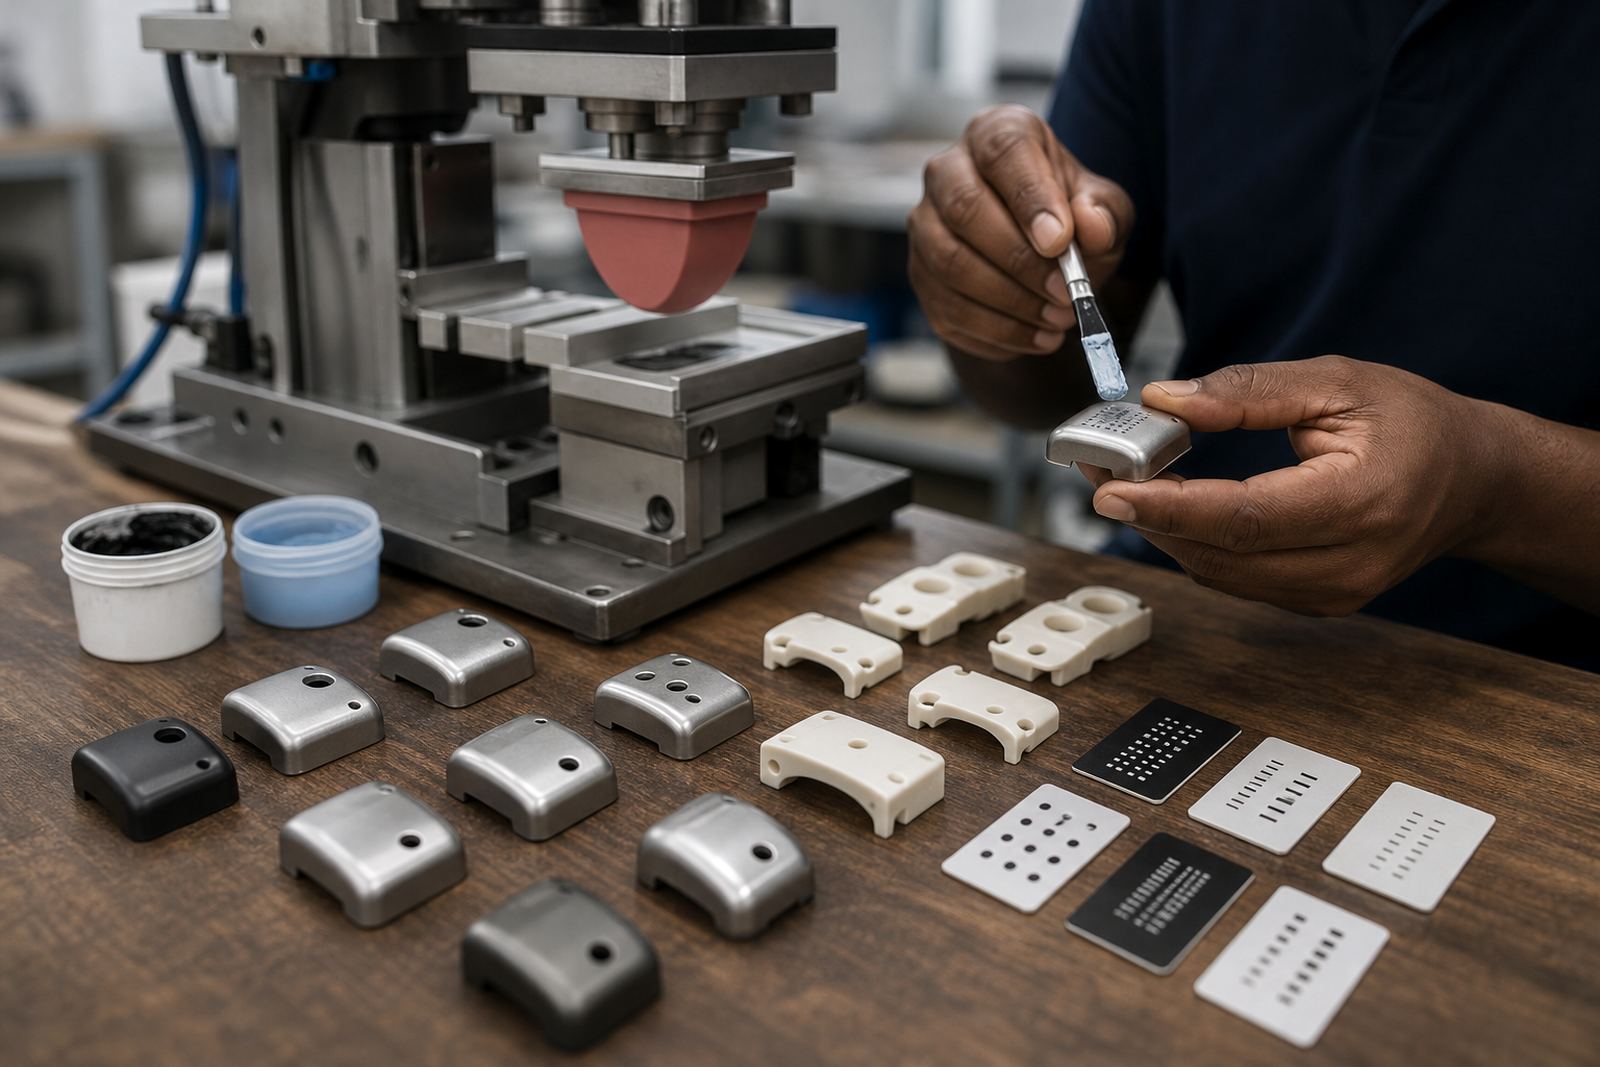
In pad printing, the sealed cup holds the ink and doctor ring together in a closed unit. The cup moves across the etched plate, picks up ink, then leaves a thin film behind for the silicone pad to lift and transfer onto the part. That closed setup helps limit evaporation and reduces the amount of open ink sitting around the machine.
For medical plastics, switches, housings and other electronic components, cleaner ink control can make a real difference. Small marks are often only a few millimetres high, so any extra drying on the plate or contamination on the ink surface can affect edge sharpness. A sealed cup does not solve every print issue on its own, but it gives the operator more control over the process.
In Westmead and the wider Pinetown area, where many jobs run in mixed workshop conditions, a closed cup can be easier to manage than open trays. It keeps the print station neater, which helps when jobs are changing over through the day.
How the system works in day-to-day production
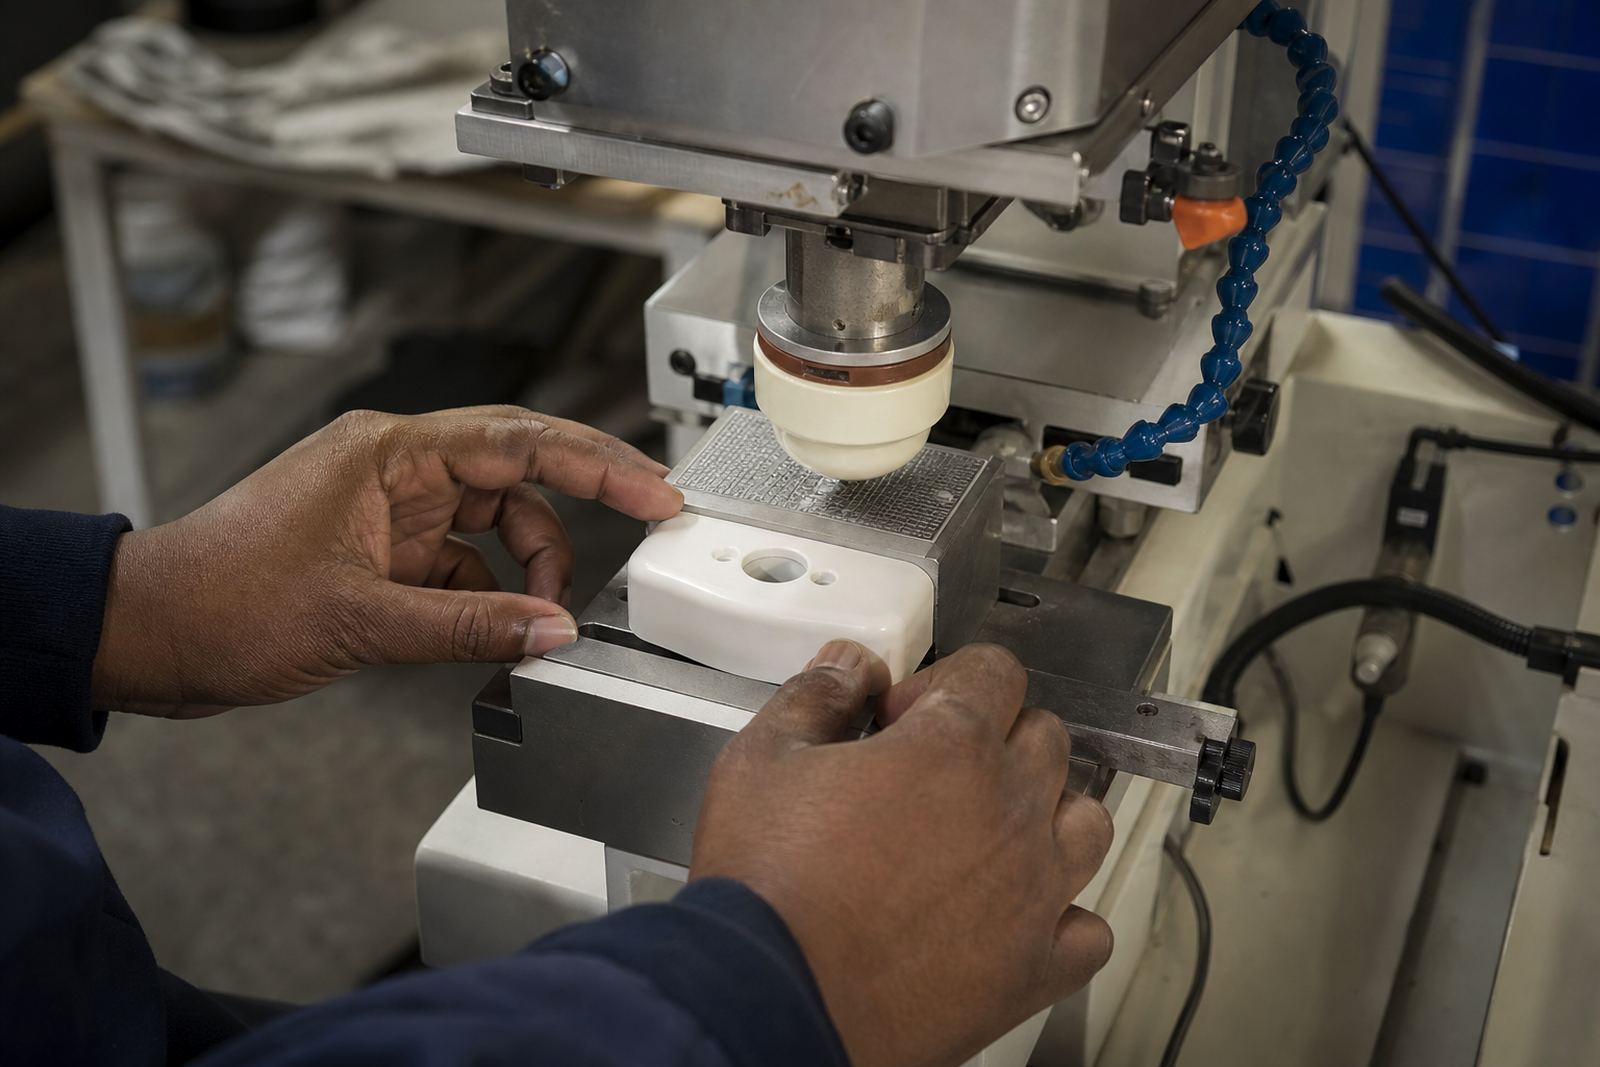
A sealed cup is only as good as the setup around it. The cup size, doctor ring condition, plate depth, ink choice and pad shape all need to suit the component. If the part has ribs, recesses or a curved face, the print may need a different transfer angle and a softer pad. The cup simply keeps the ink where it should be while that setup is being used.
- The cup closes the ink in a compact working area.
- The plate etching holds the image and controls ink release.
- The pad picks up the image and transfers it to the part.
- The operator checks drying, curing and repeat placement.
On a typical run, the team will test ink flow, image fill and pad release before a full batch starts. If the mark is too light, the issue may be the plate depth or pad contact, not the cup itself. That is why trial sample runs matter before production is released.
Cleaner operation in hot workshops and coastal air
South African workshops often deal with heat, dust and humidity, especially in Durban and other coastal areas. Open ink can skin over faster in warm air, while a sealed cup helps slow that down. It also reduces the chance of debris settling into the ink between cycles, which is useful on long print runs or when machines pause for changeovers.
If the line stops for a while, a sealed cup can keep the ink protected better than an open system, though the operator still needs to check the plate and ink condition before starting again. A proper restart routine matters, because a print that looked fine at 10am may behave differently after a long pause.
- Less exposed ink during breaks and stoppages.
- Better control in warm or humid conditions.
- Cleaner machine area around the print station.
- Reduced risk of airborne dust affecting fine marks.
Choosing ink and curing for the product
Sealed cup systems are often used with inks that need careful drying or curing control. The right choice depends on the substrate, the print area and how the finished part will be handled. Medical components may need a print that can survive cleaning, handling and assembly without smudging. Electronic parts may need marks that stay legible after fitting, packing and transport.
The curing step is just as important as the print itself. Some jobs rely on air drying, while others need heat or another controlled curing method. If the curing is too slow, the print can mark during packing. If it is too aggressive, the part itself may distort or the ink bond may change. For that reason, curing method selection should be matched to the part, not guessed at the machine.
Device compliance remains the customer's own responsibility. The print service can support the marking process, but the end product still has to be checked within the customer's own technical and regulatory requirements.
Setup details that save time on repeat jobs
Once a job is approved, the best sealed cup setup is one that can be repeated without guesswork. That is where fixture making, plate control and rerun job records become useful. If the same housing comes back in six months, the operator should know the print area, pad size, ink mix and curing method used last time.
At PadPrinters Medical in Westmead, Pinetown, repeat work for medical and electronic parts often begins with artwork preparation and logo redraws. A clean file helps with plate exposure and plate etching, but the physical setup still has to be right. A small change in cup size or pad shape can shift the print enough to affect alignment on a narrow panel or a curved cap.
- Record the ink type, pad choice and curing method used.
- Keep fixture notes for each part number.
- Check the print area after any tooling change.
- Use dispatch packing that protects the cured print.
A Durban example from medical and electronics work
Consider a manufacturer in Durban supplying a small plastic housing with a printed identification mark and simple symbols. The part is light, the print area is limited and the batch needs steady output over several shifts. A sealed cup helps keep the ink covered while the line is running, and it also makes it easier to pause and restart without a lot of exposed solvent smell around the operator.
For a similar part going to Johannesburg or Cape Town, the same approach can support cleaner handling during packing and transit. The mark has to survive the trip and still be readable when the product arrives for assembly. That is where trial sample runs, adhesion test samples and careful rerun job control pay off. The cup is only one part of the process, but in a busy production room it can make the whole job easier to manage.
For manufacturers across South Africa, the practical value is straightforward: less exposed ink, tidier operation and more consistent repeat work. In pad printing, small process choices tend to show up in the final mark, so a sealed cup is often worth using when accuracy matters.