Why registration matters on small parts
When a printed mark has more than one colour, each pass has to land in the same place every time. On a medical handle, switch body or small electronics housing, even a slight shift can make the mark look blurred or out of line. In pad printing, the silicone pad picks up the image from the etched plate and transfers it onto the part, so the repeatability of that movement is what holds the colours together.
The part itself is often the first source of movement. Rounded edges, textured plastics and curved surfaces all affect how the pad lands and releases the ink. That is why colour registration is not only about the artwork. It starts with how the component is held, how the pad compresses, and how the print sequence is set out. Customers remain responsible for their own device compliance, but the print method still needs to support a clean and repeatable result.
Stable fixtures are the starting point
A good fixture keeps the part in the same position through the full job. If the component rocks, slips or sits at a slight angle, every colour pass will follow that error. For multi colour work, a fixture must locate the part positively and allow access for the pad without forcing the operator to adjust it between impressions.
A well made holder reduces set up time and cuts down on rerun jobs. It also helps when the same marking has to be repeated on several batches over a month.
- Use repeatable locating points, not loose hand placement.
- Keep fixture surfaces clean so dust does not lift the part.
- Check that the clamp pressure is consistent across the full run.
- Allow for the part shape, not just the artwork size.
Artwork prep and plate exposure affect colour fit
Before the first sample run, the artwork must be prepared with registration in mind. Each colour needs clear separation, the correct trap where needed, and a print area that suits the actual part surface. If the image is drawn too close to an edge or wraps over a curve without allowance, the colours can fight each other on press.
Plate exposure and etching also matter. A plate that is uneven or poorly cleaned can carry too much or too little ink, which changes how the second colour sits on top of the first. On medical and electronic parts, where markings are often small, the tiniest change in ink film thickness can show up as a halo or a gap.
- Keep the line weights strong enough for small details.
- Leave sensible spacing between each colour block.
- Build in traps where the design needs overlap.
- Test the plate image before full production starts.
Ink choice and curing must work together
Colour registration is not only a positioning issue. Ink behaviour changes how the second pass sits on the first. Some inks flash off quickly, others stay open longer, and that affects whether the next colour bites cleanly or smears at the edge. The curing method also matters, because a print that is still soft will move if it is handled too soon.
For parts used in Durban or coastal areas, moisture and heat can change drying times from one week to the next. That is why process control is so important. A job that looks perfect in the morning can drift by the afternoon if the ink skin forms too fast or the curing cycle is inconsistent.
When setting up a multi colour job, it helps to confirm three things before bulk printing begins: the ink adhesion, the dry time between colours, and the final cure needed for handling and dispatch.
Trial samples save time later
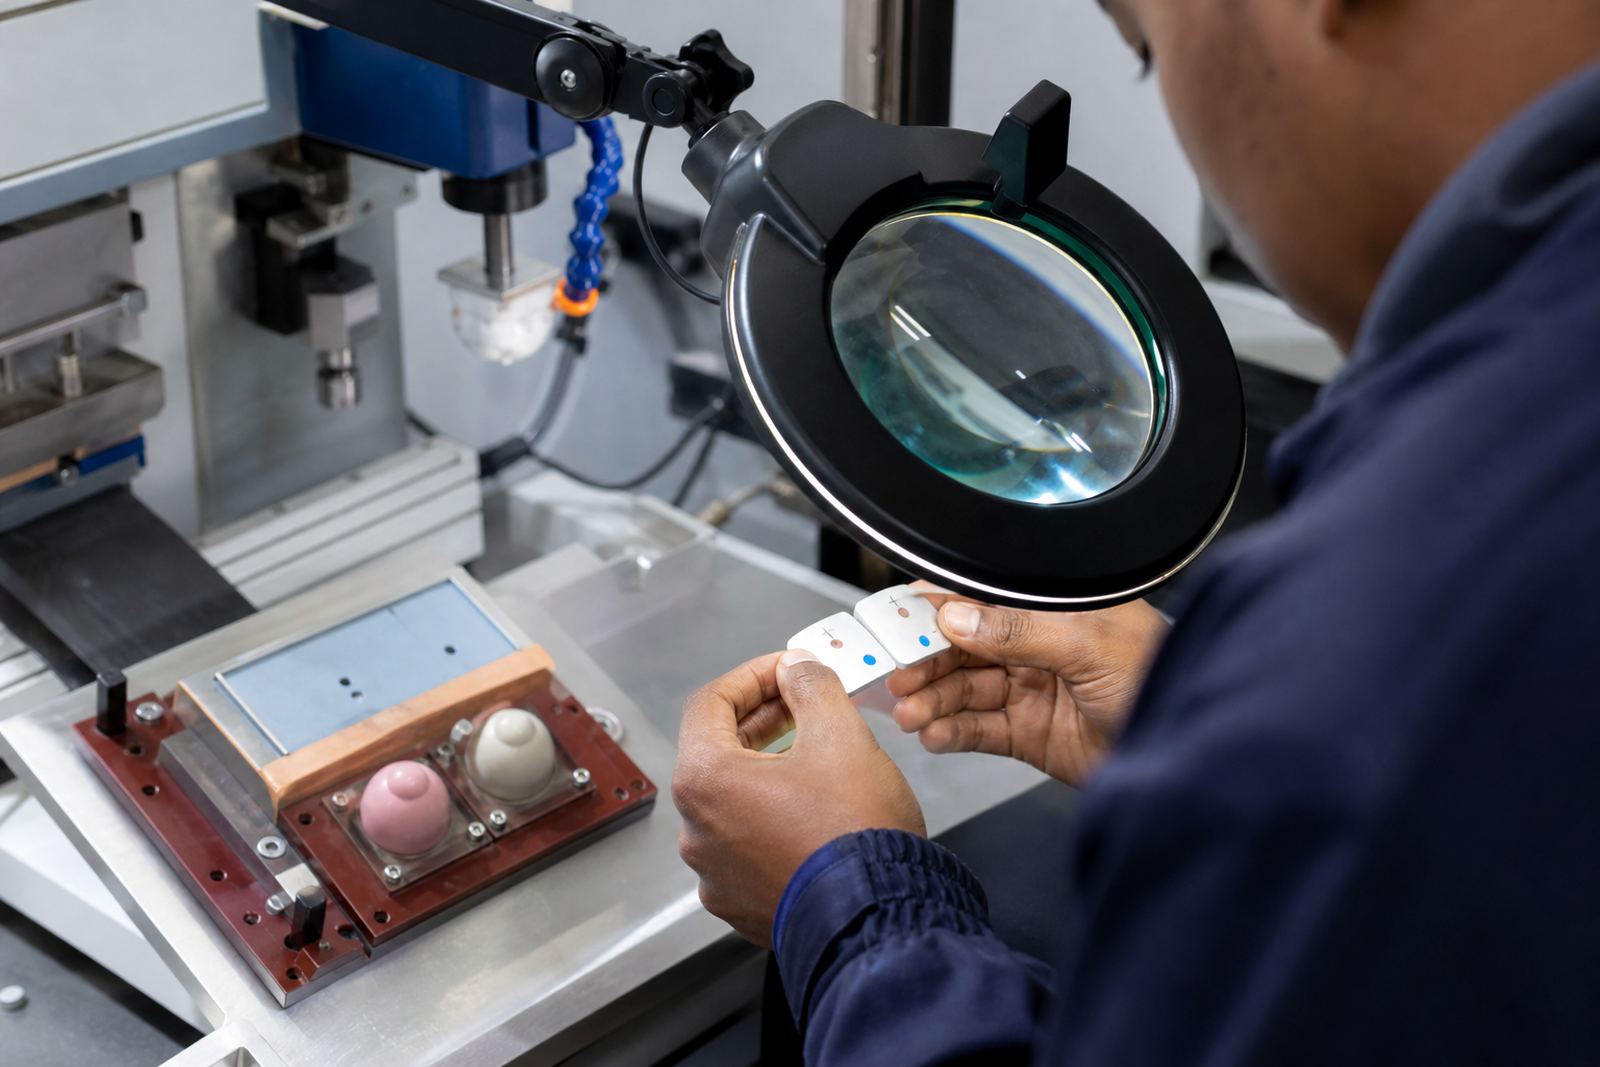
Trial sample runs are one of the best ways to catch registration faults early. A sample shows whether the pad is landing square, whether the fixture is holding the part firmly, and whether the colours are meeting as intended. It is much easier to adjust the setup on five parts than on five hundred.
At PadPrinters Medical, sample work usually leads into fixture making, plate exposure checks and rerun job control if the design needs tightening. That is practical on jobs for Johannesburg, Pretoria, Cape Town and Gqeberha because the same marking often has to travel through different supply chains and still look identical when it arrives.
- Check the first print under normal working light, not only under the machine lamp.
- Inspect the edges of each colour, not just the overall image.
- Test handling after cure before approving the run.
- Record the final machine settings for future repeat work.
What manufacturers should watch during repeat runs
Once a job is approved, repeatability becomes the main concern. If the same part returns weeks later, the print needs to match the earlier batch in position, colour balance and finish. That means keeping records of the plate, ink mix, pad type, curing settings and fixture setup. Small differences in any of those can shift the registration enough to be noticed by the customer or the end user.
Manufacturers should also think about transport and dispatch packing. A well printed part can still pick up damage if it rubs against another component before the cure is complete. Clean packing, proper drying time and controlled handling all support the final result. For enquiries from Pinetown, New Germany, Westville and the wider South African market, the main aim is the same: hold the part steady, keep the process consistent, and protect the print right through to dispatch.
A practical Durban example for medical parts
A small electronics housing coming through Westmead for a two colour mark might seem simple at first glance. But if the part has a slight curve, the pad shape has to suit that surface, the fixture has to lock the body in place, and the drying time has to match the weather on the day. On a humid Durban afternoon, a job that looked perfect in trial may need a slight process adjustment to keep the second colour from creeping.
That is the real lesson behind colour registration basics. Good alignment is not luck. It comes from clear artwork, sound plate preparation, stable fixtures and careful curing. When those pieces work together, the print stays where it should and the component leaves the line looking consistent from one batch to the next.