

How to read these recent jobs
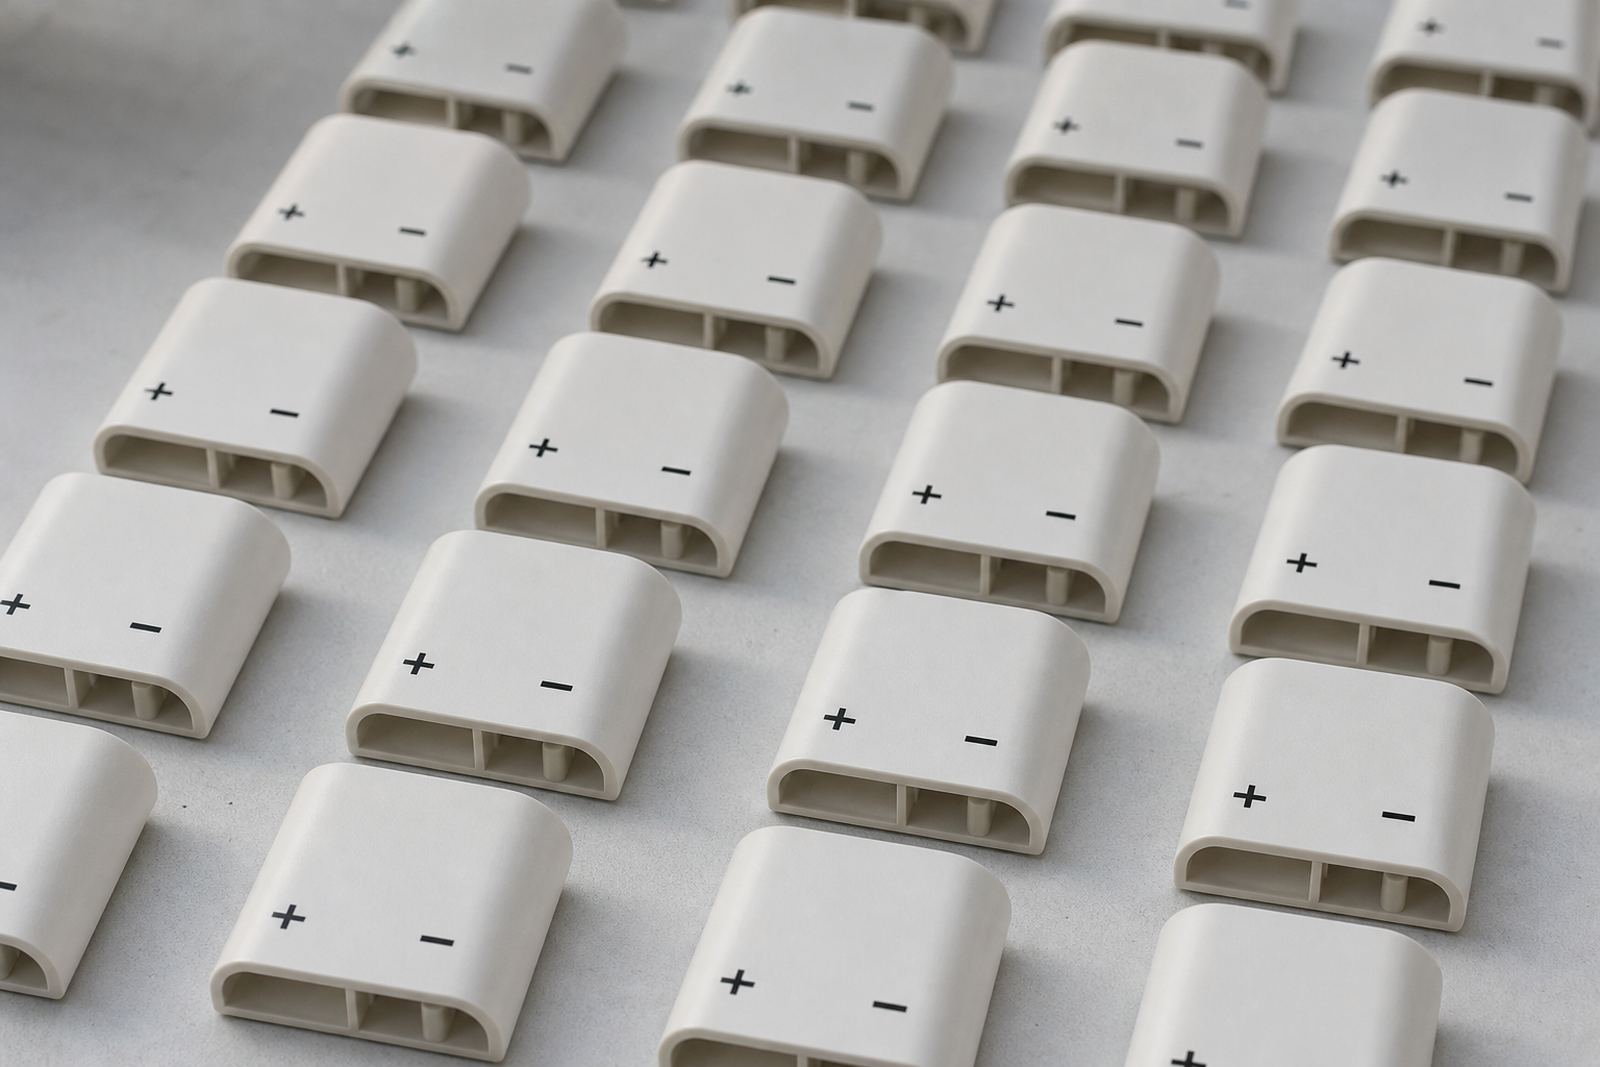
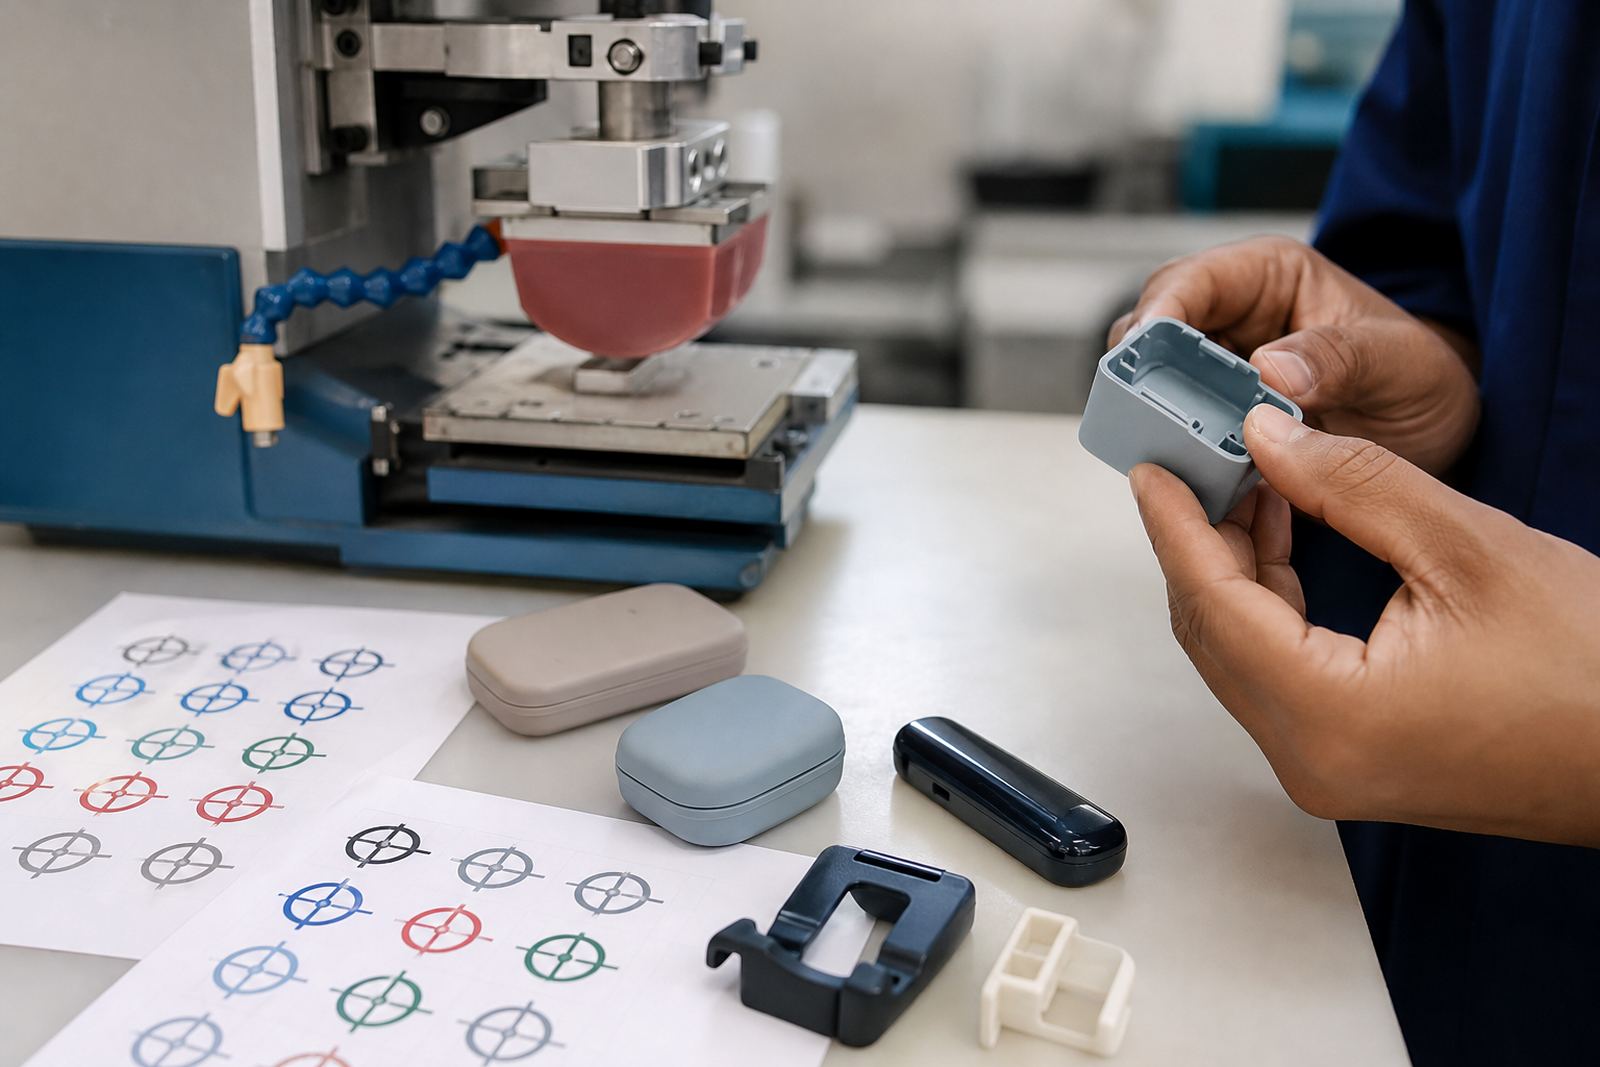
Each project below is a practical example of pad printing on moulded parts, housings, control pieces and small assemblies. Some jobs needed fine lettering, others needed barcodes, icons, batch marks or colour blocks that had to sit cleanly on curved or uneven surfaces.
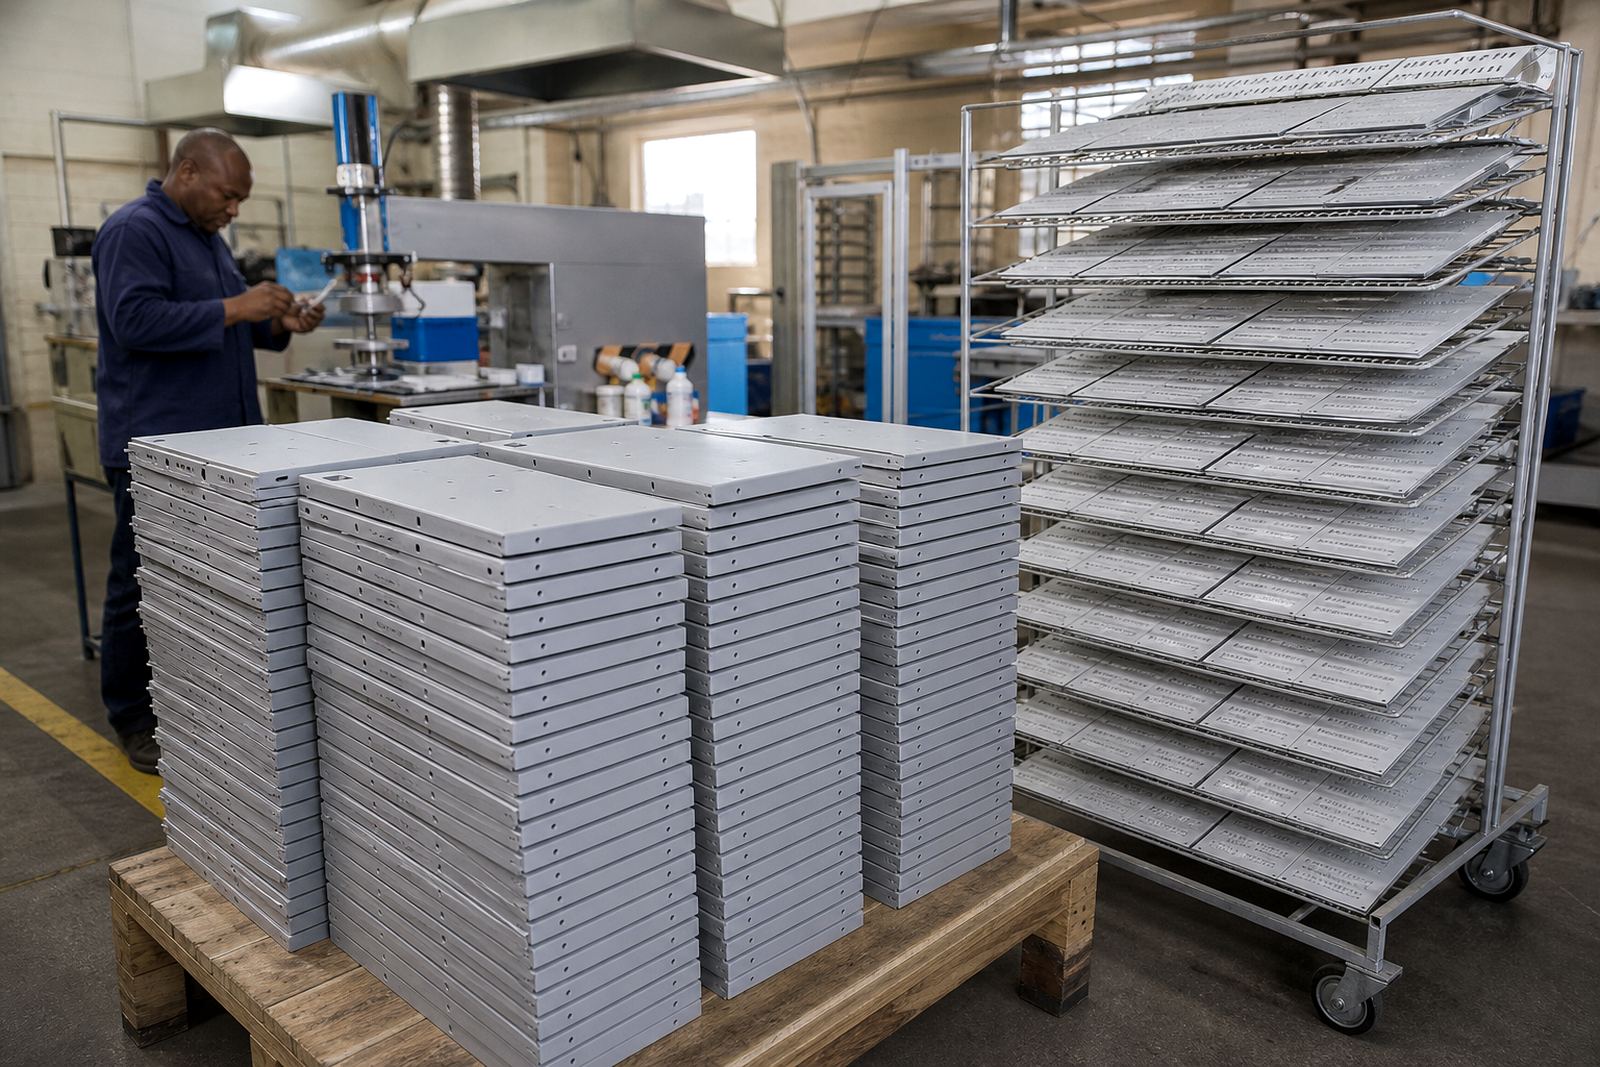
When you compare jobs, look at the substrate type, print area, the number of colours, and whether the part needed a curing stage after printing. Those details matter because plastics, coated surfaces and metal parts all react differently to silicone pad transfer and ink adhesion. A good match on one component may need a different plate depth or curing method on another.
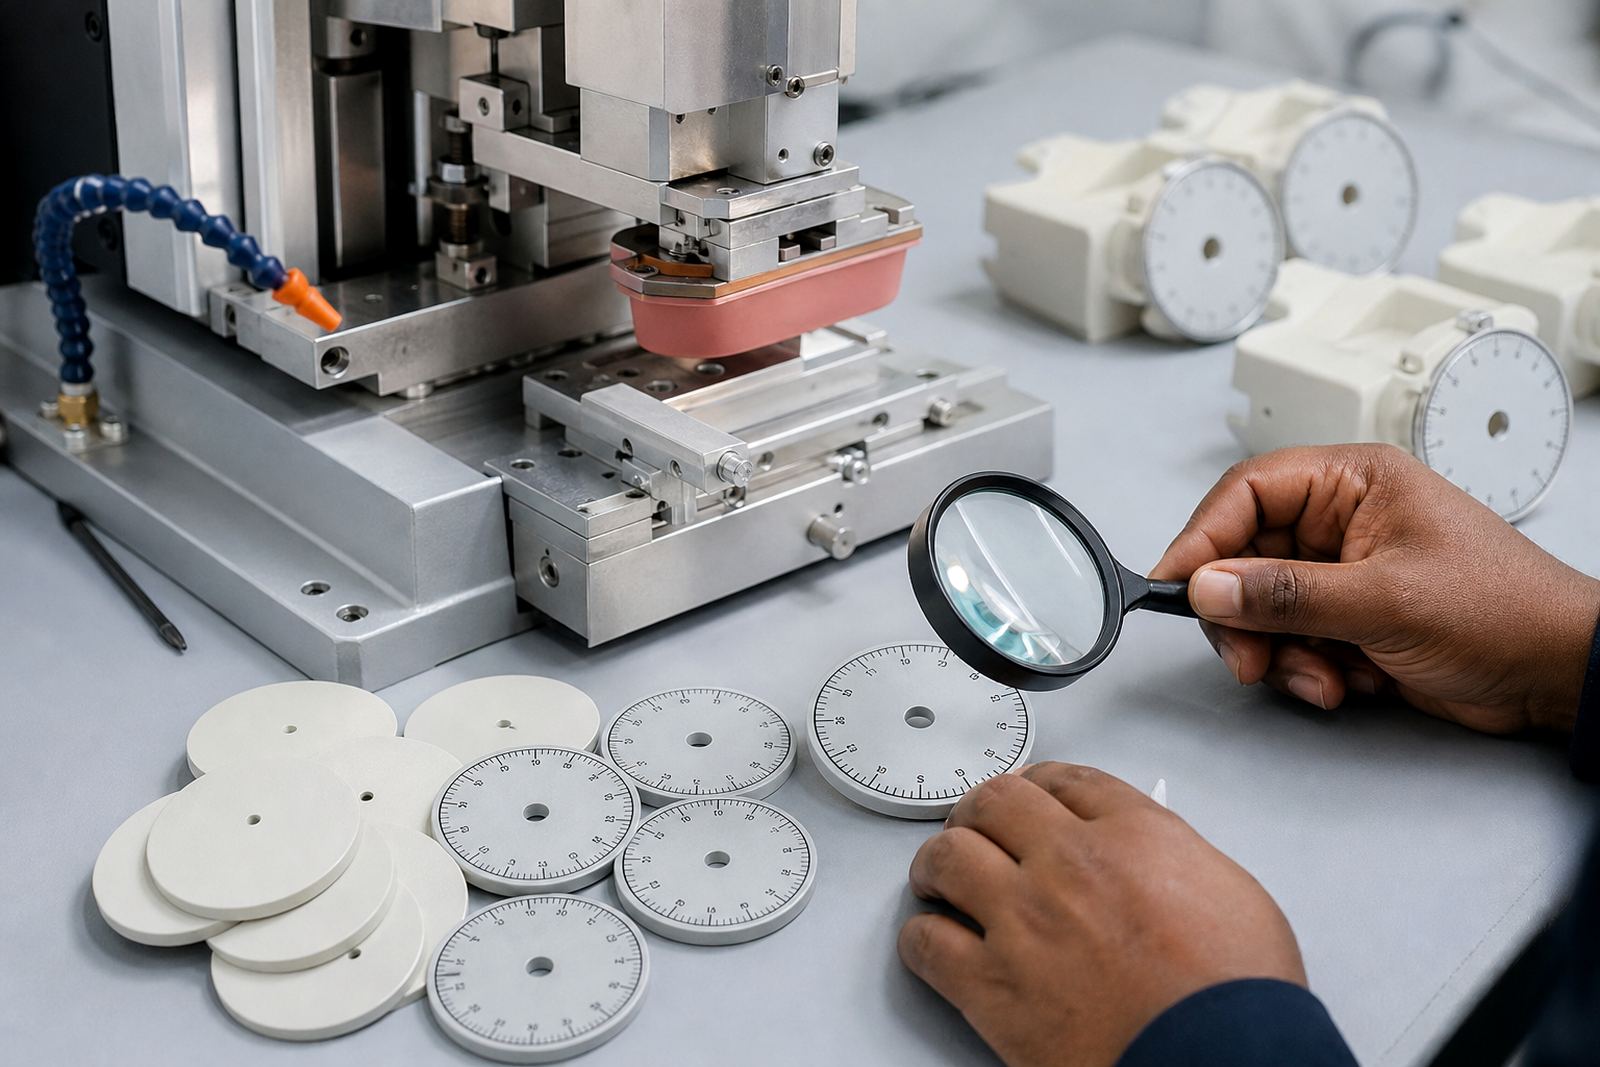
Medical component markings that stay readable
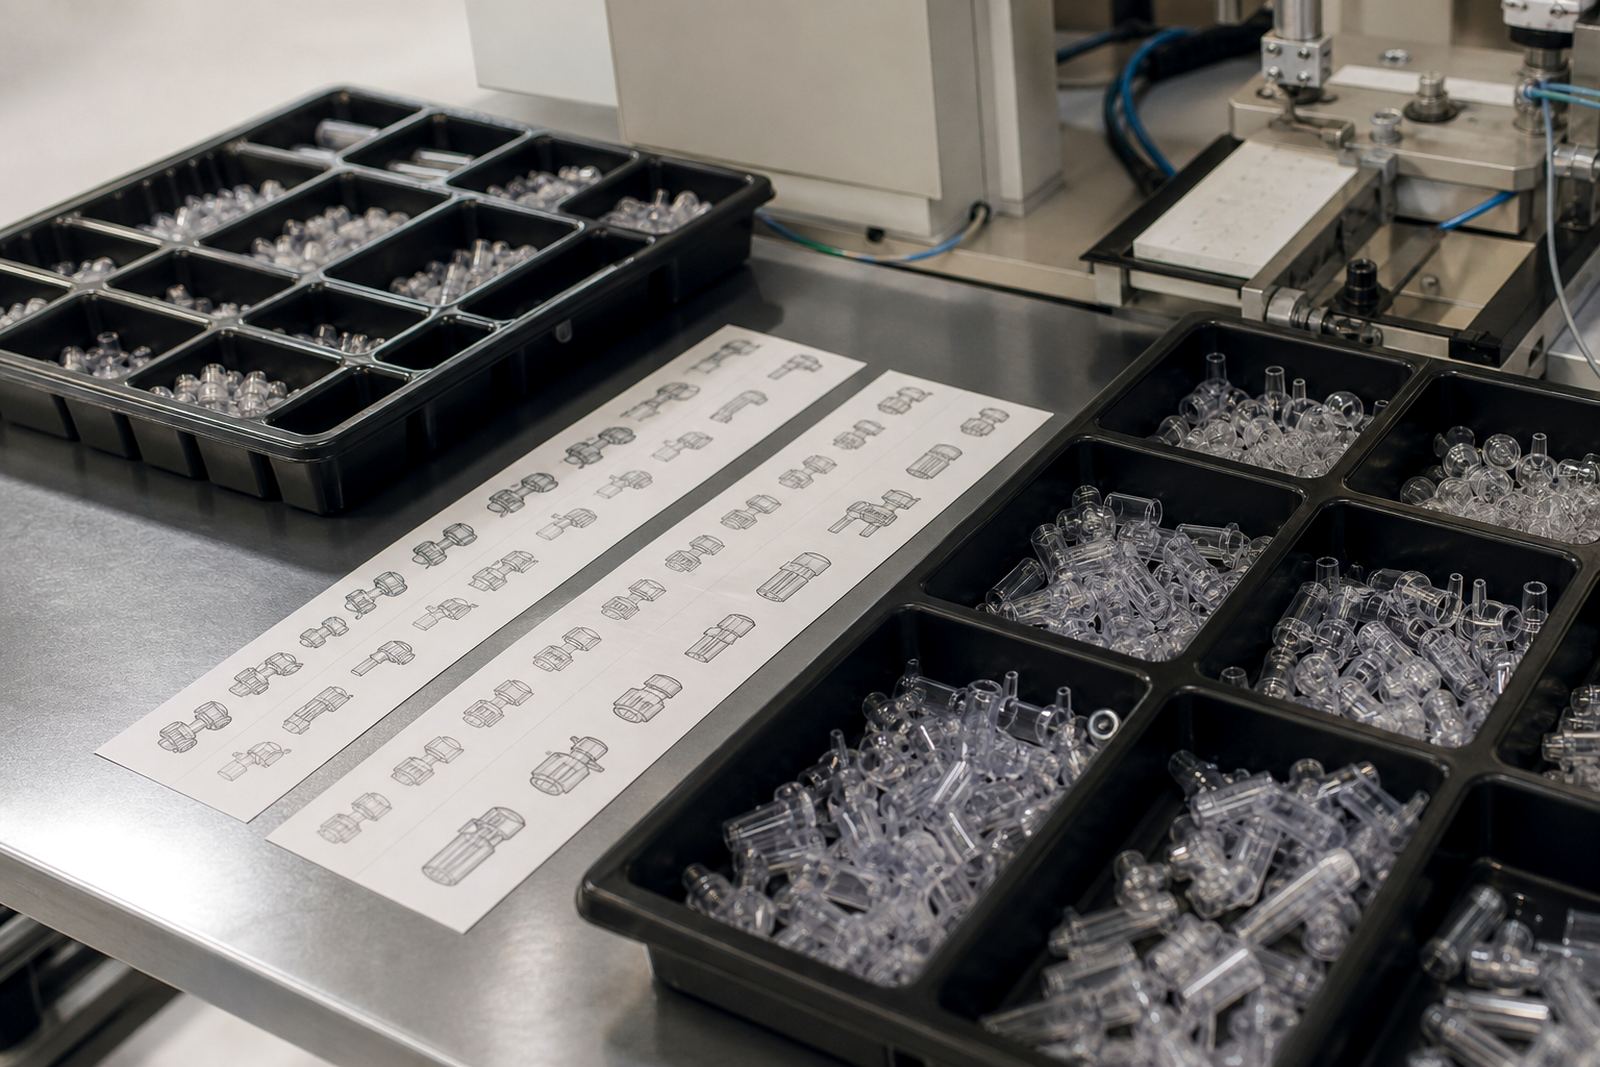
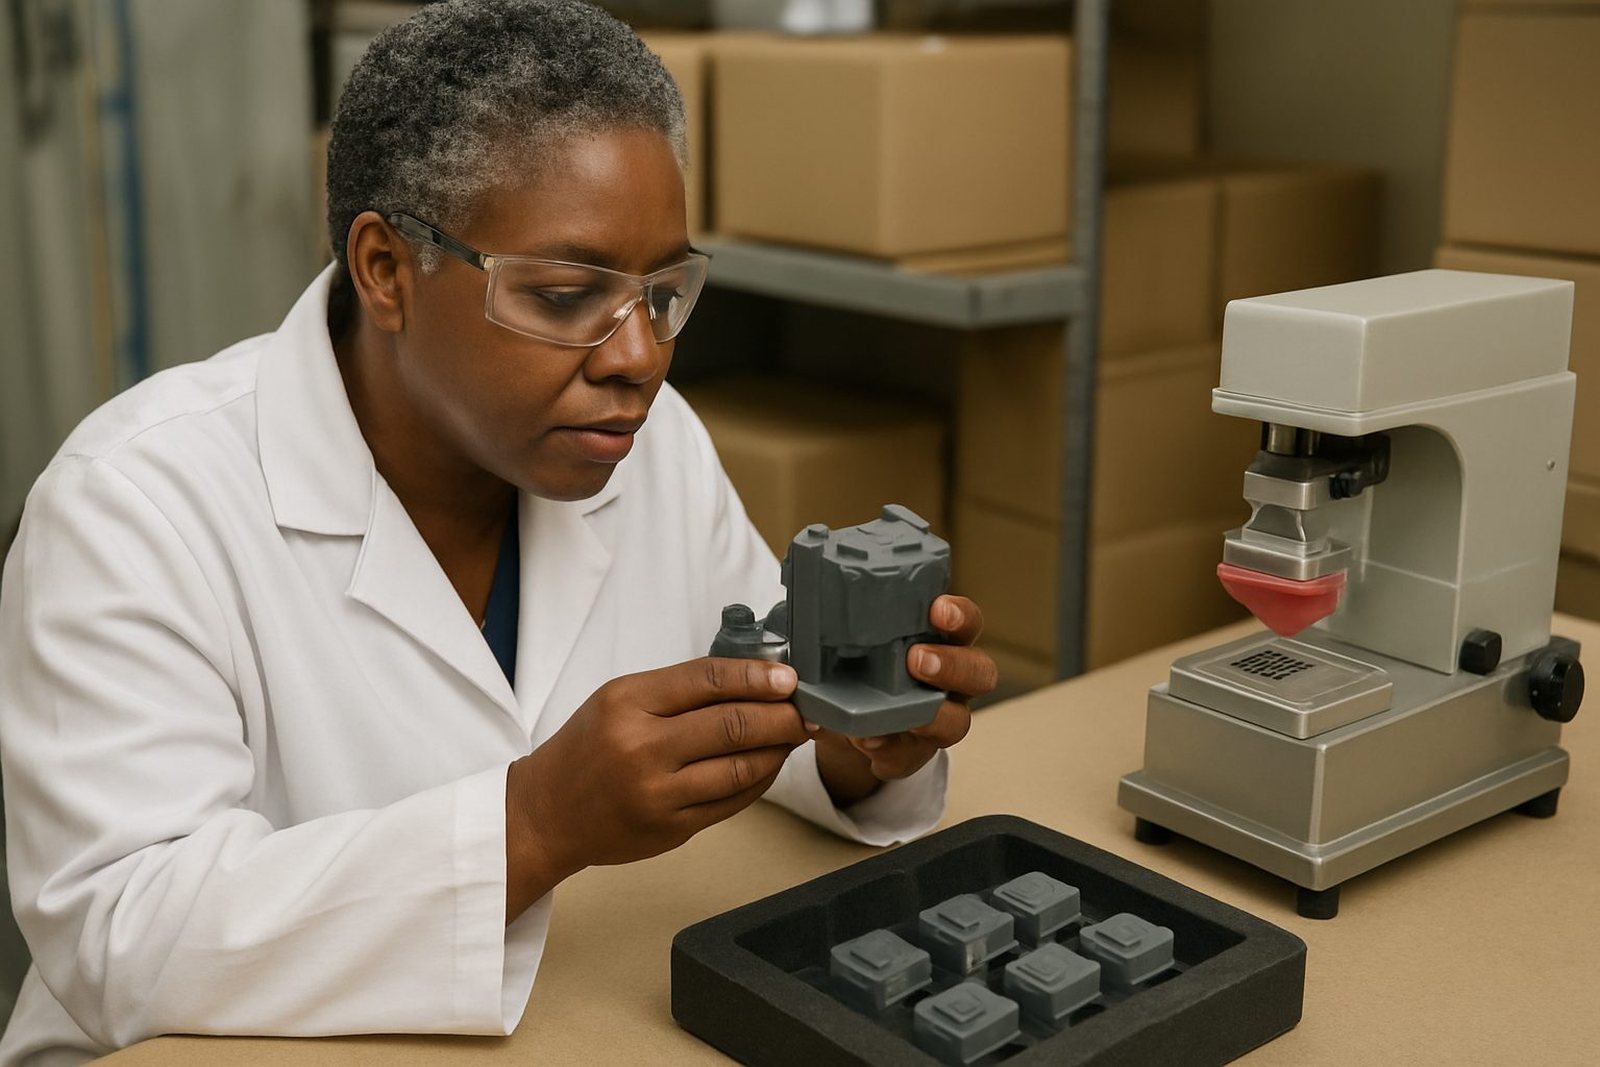
Medical parts often need clear identification without adding bulk or affecting how the part fits together. Common work includes small logos, reference marks, measurement lines and operator labels on handles, housings and inserts. The print must stay legible after handling, cleaning and repeated use, so ink choice and surface preparation matter from the start.
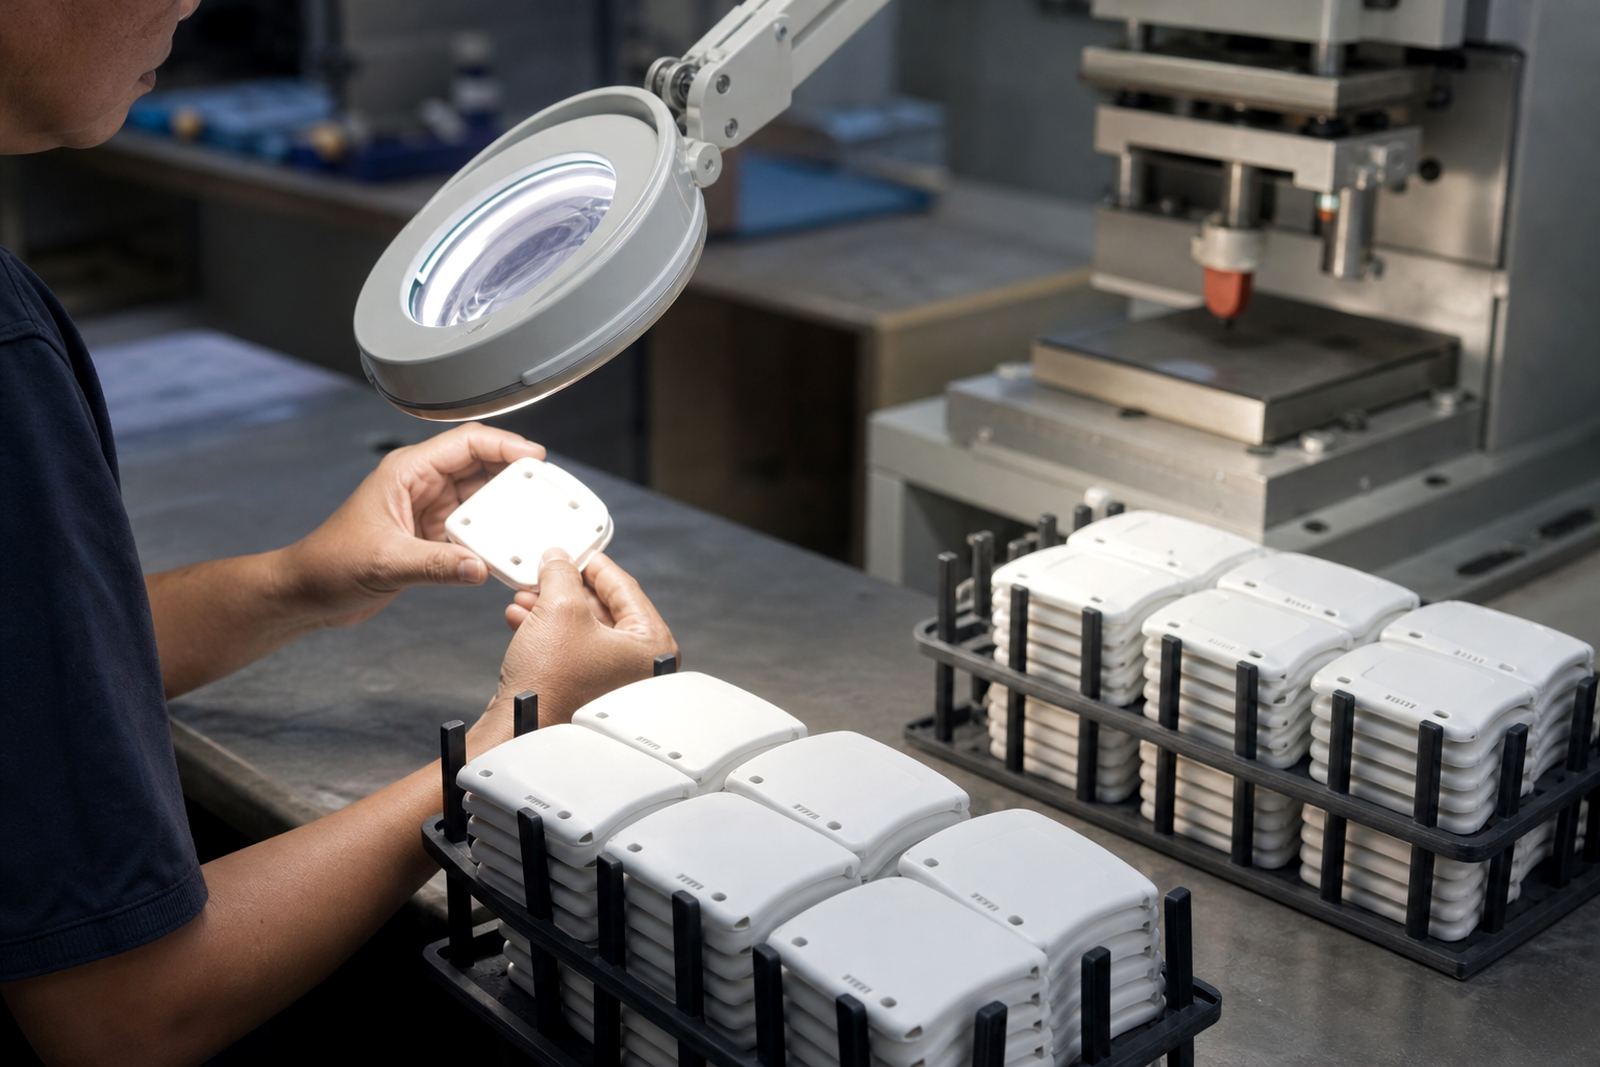
For these jobs we normally check the part finish, whether the surface needs a light pre treatment, and if the mark should be low gloss or more visible under working light. Trial sample runs help confirm the result before the full batch is released.
- Fine text on small curved areas
- Positioning for buttons, vents and inspection points
- Ink selection for handling and cleaning resistance
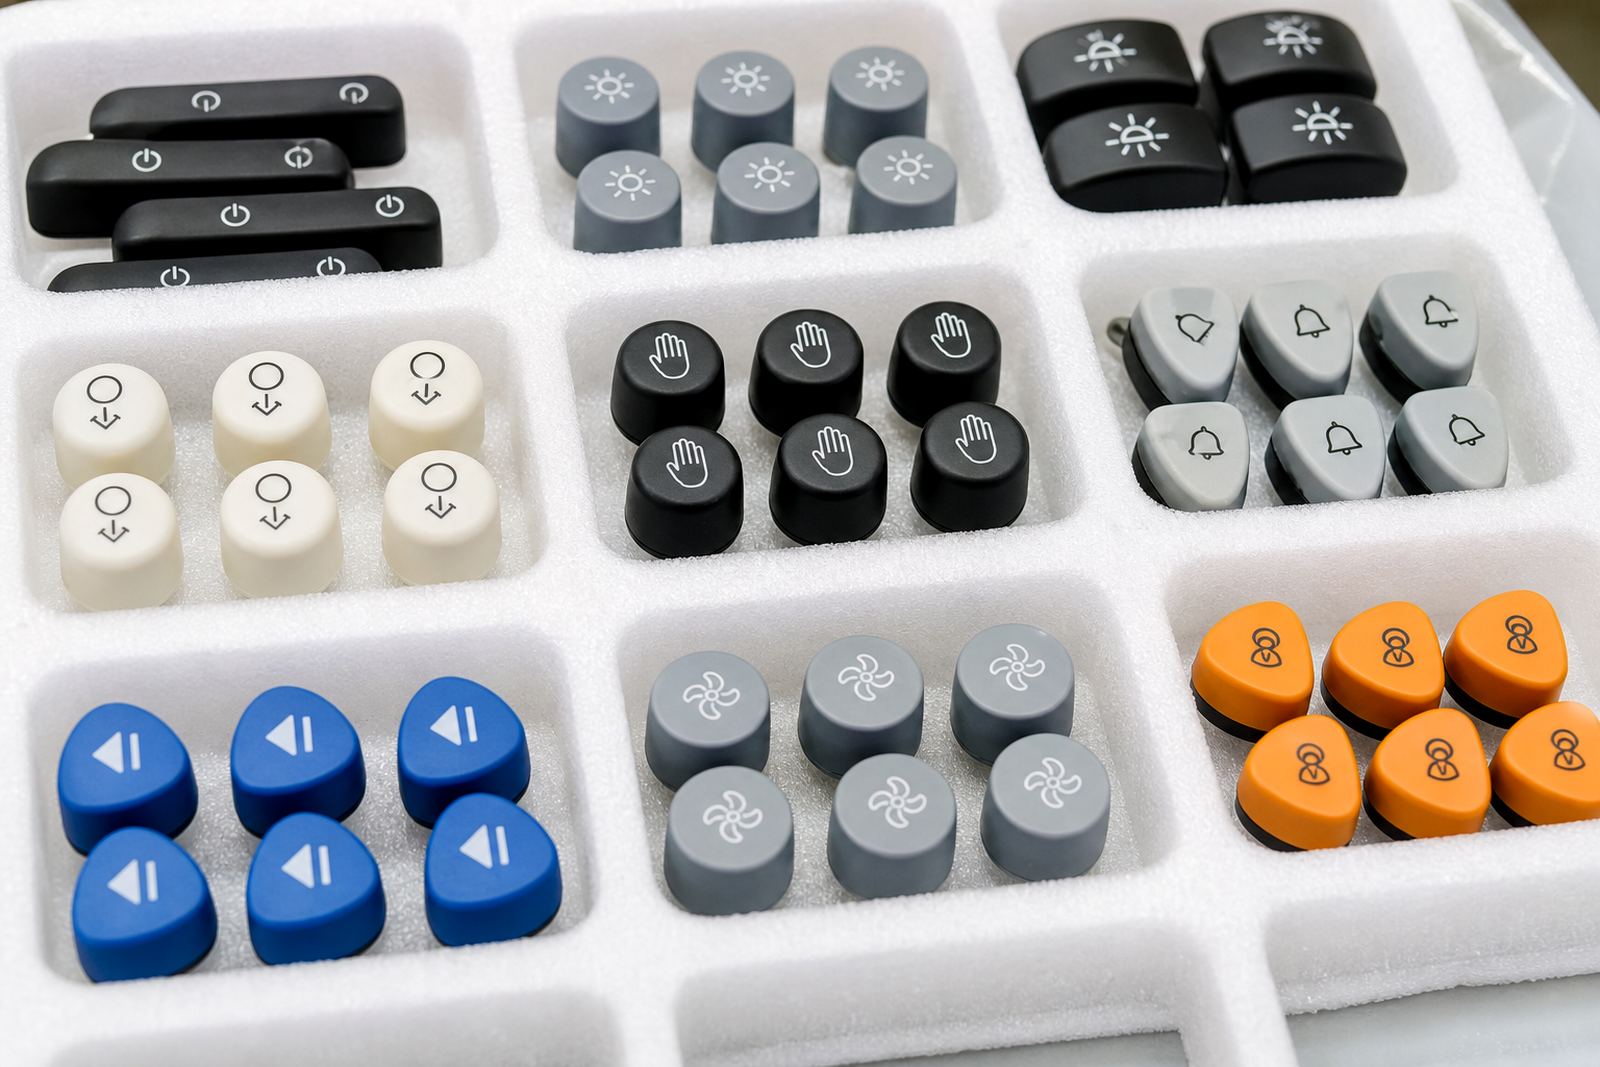
Electronic parts with small print areas
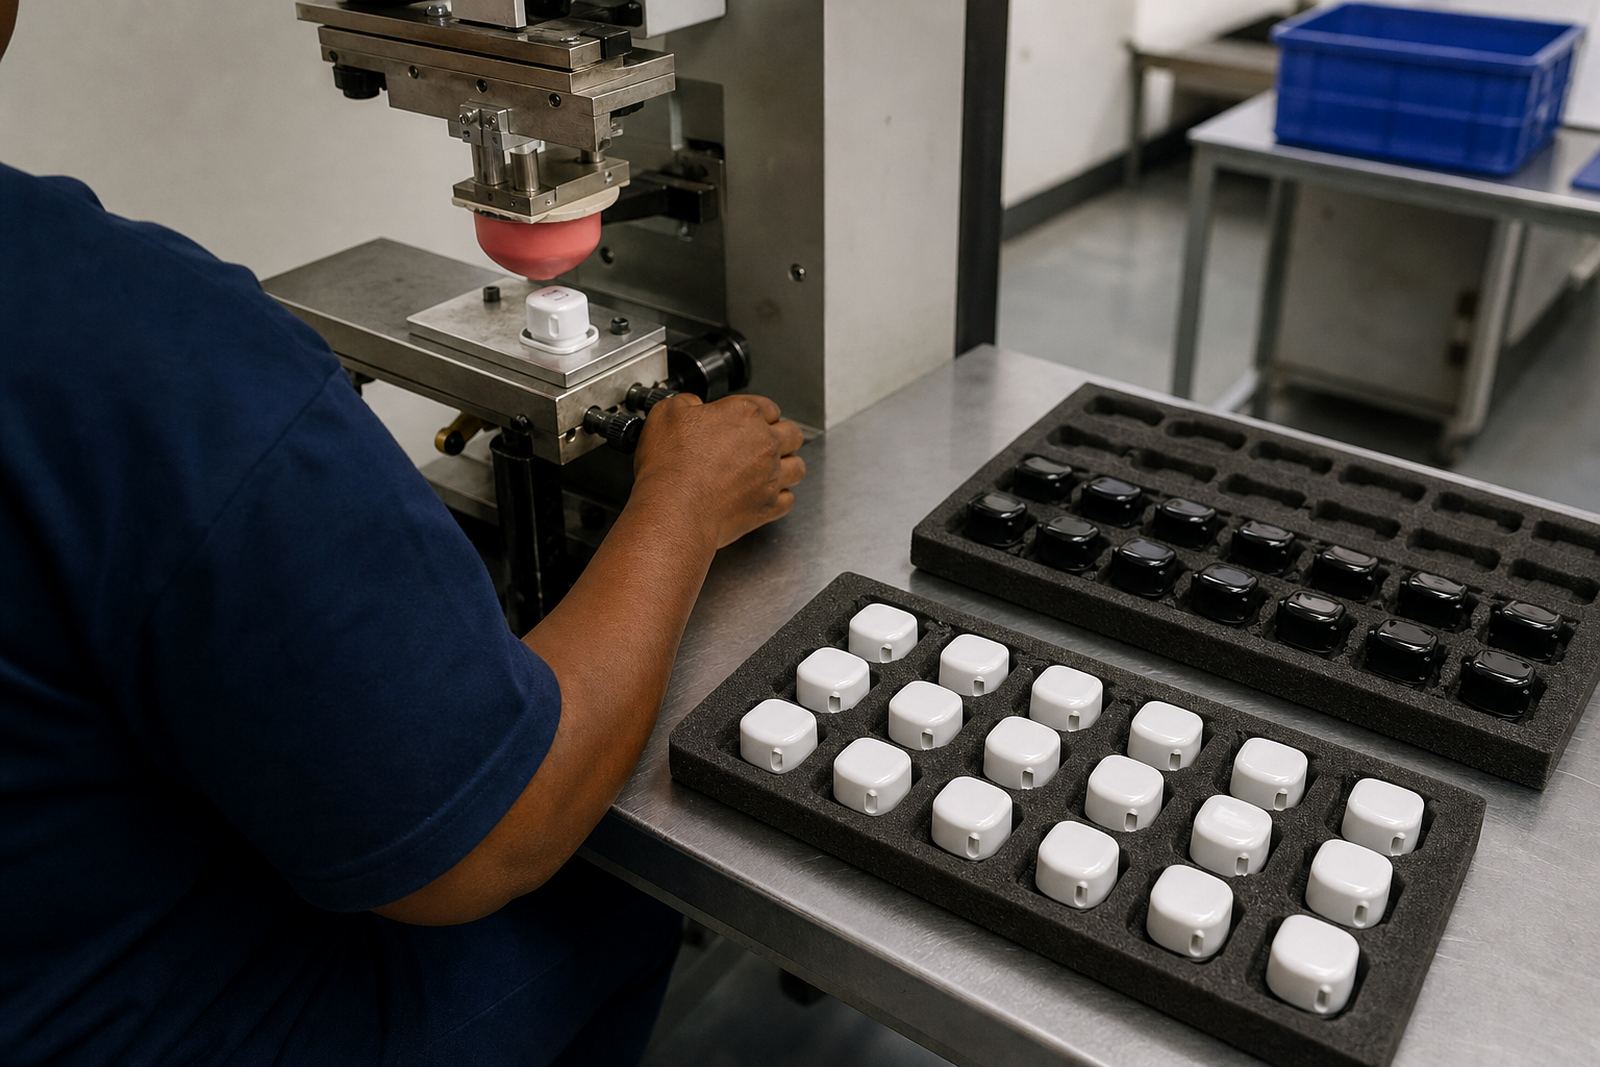
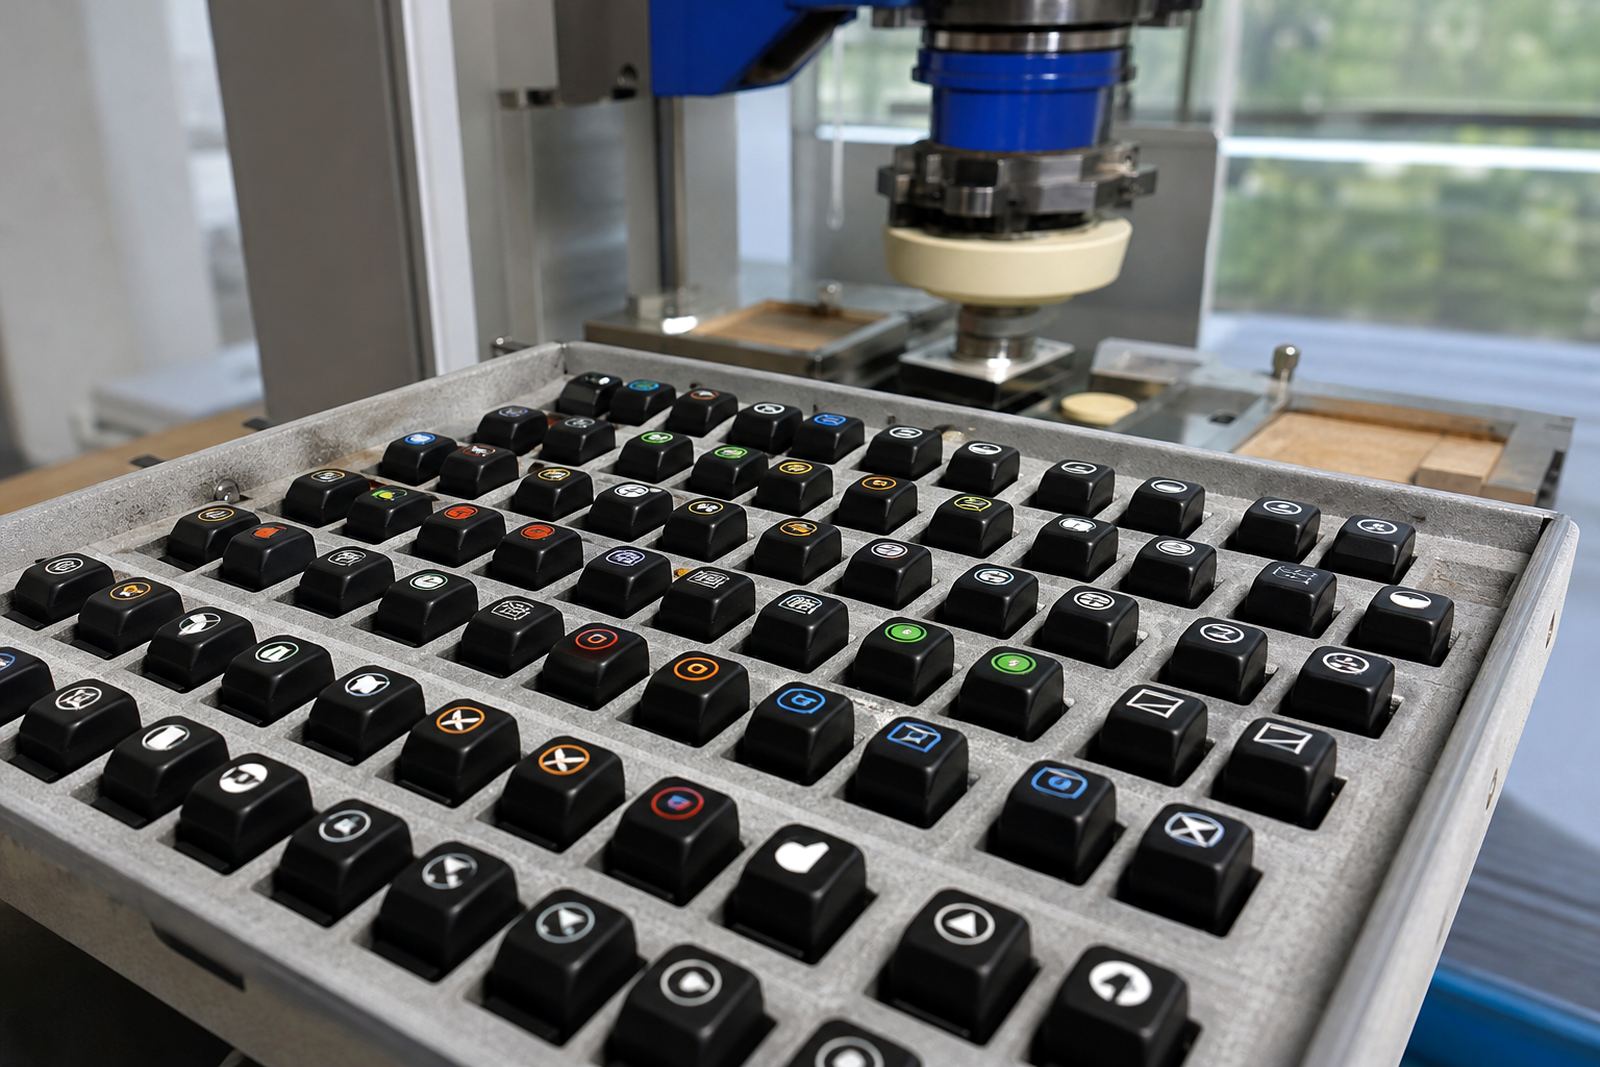
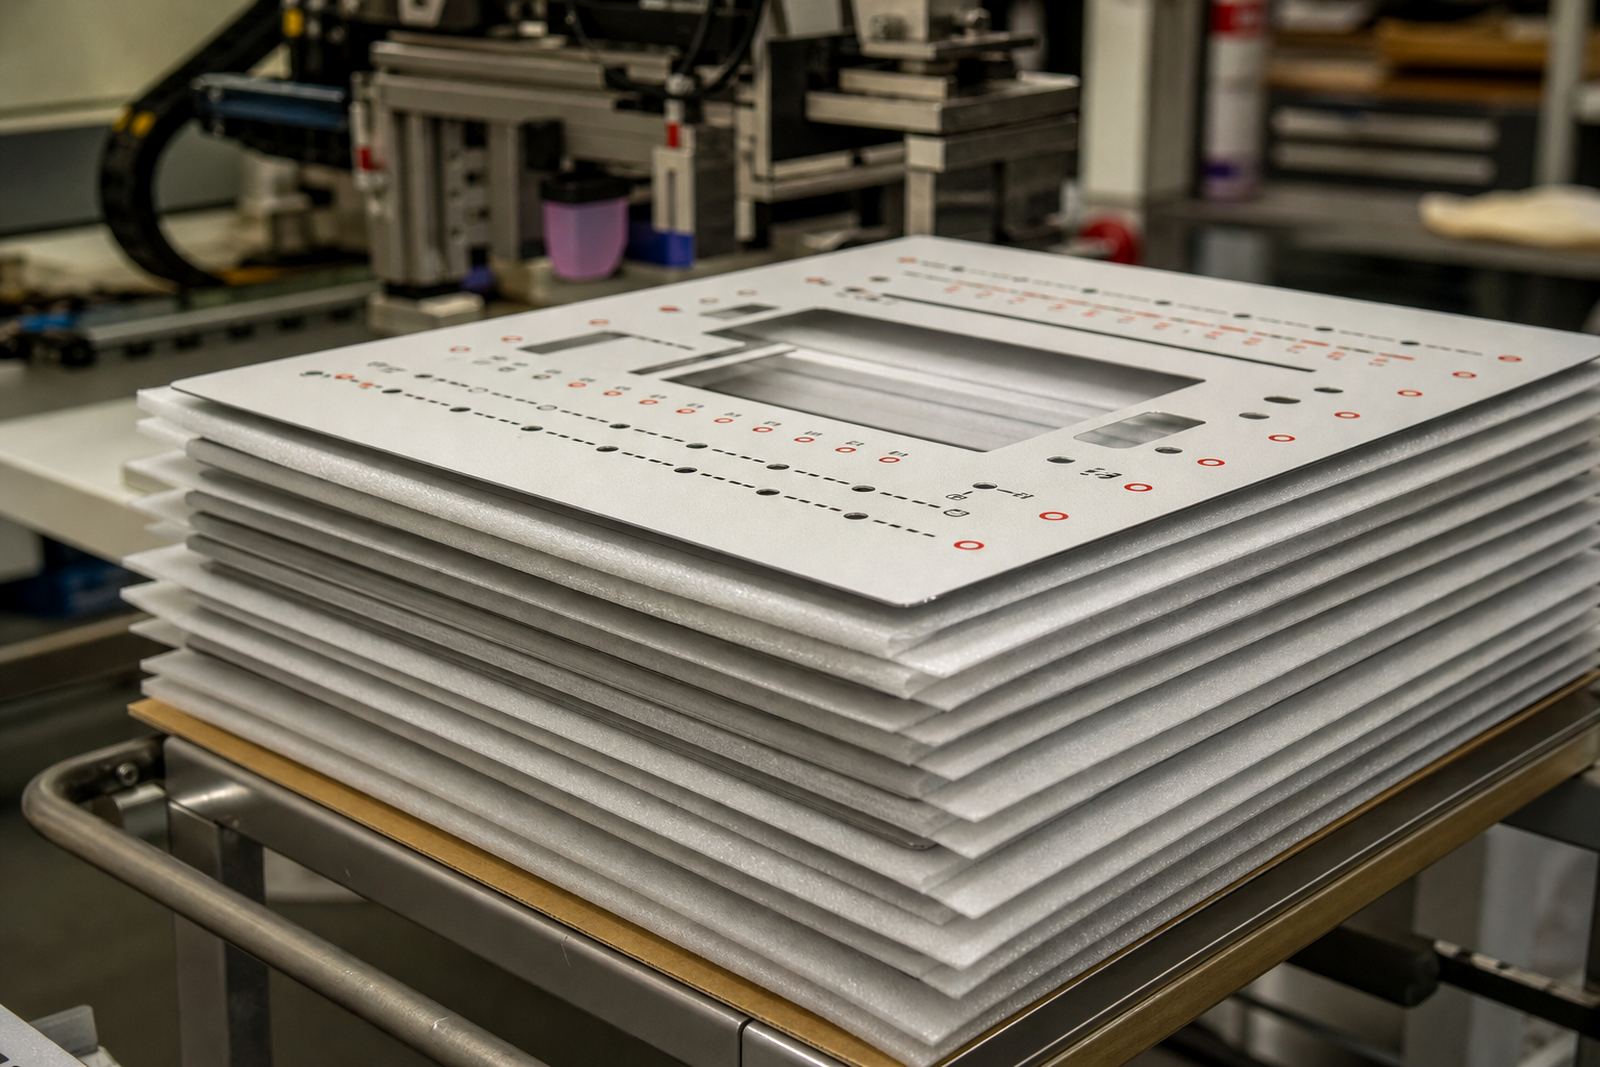
Electronic components bring their own challenges because the print area can be very small and the shape may change from one moulded part to the next. We regularly print icons, control symbols, connector references and panel labels on casings, bezels, switches and covers. The work often needs sharp edges and consistent placement across a full run.
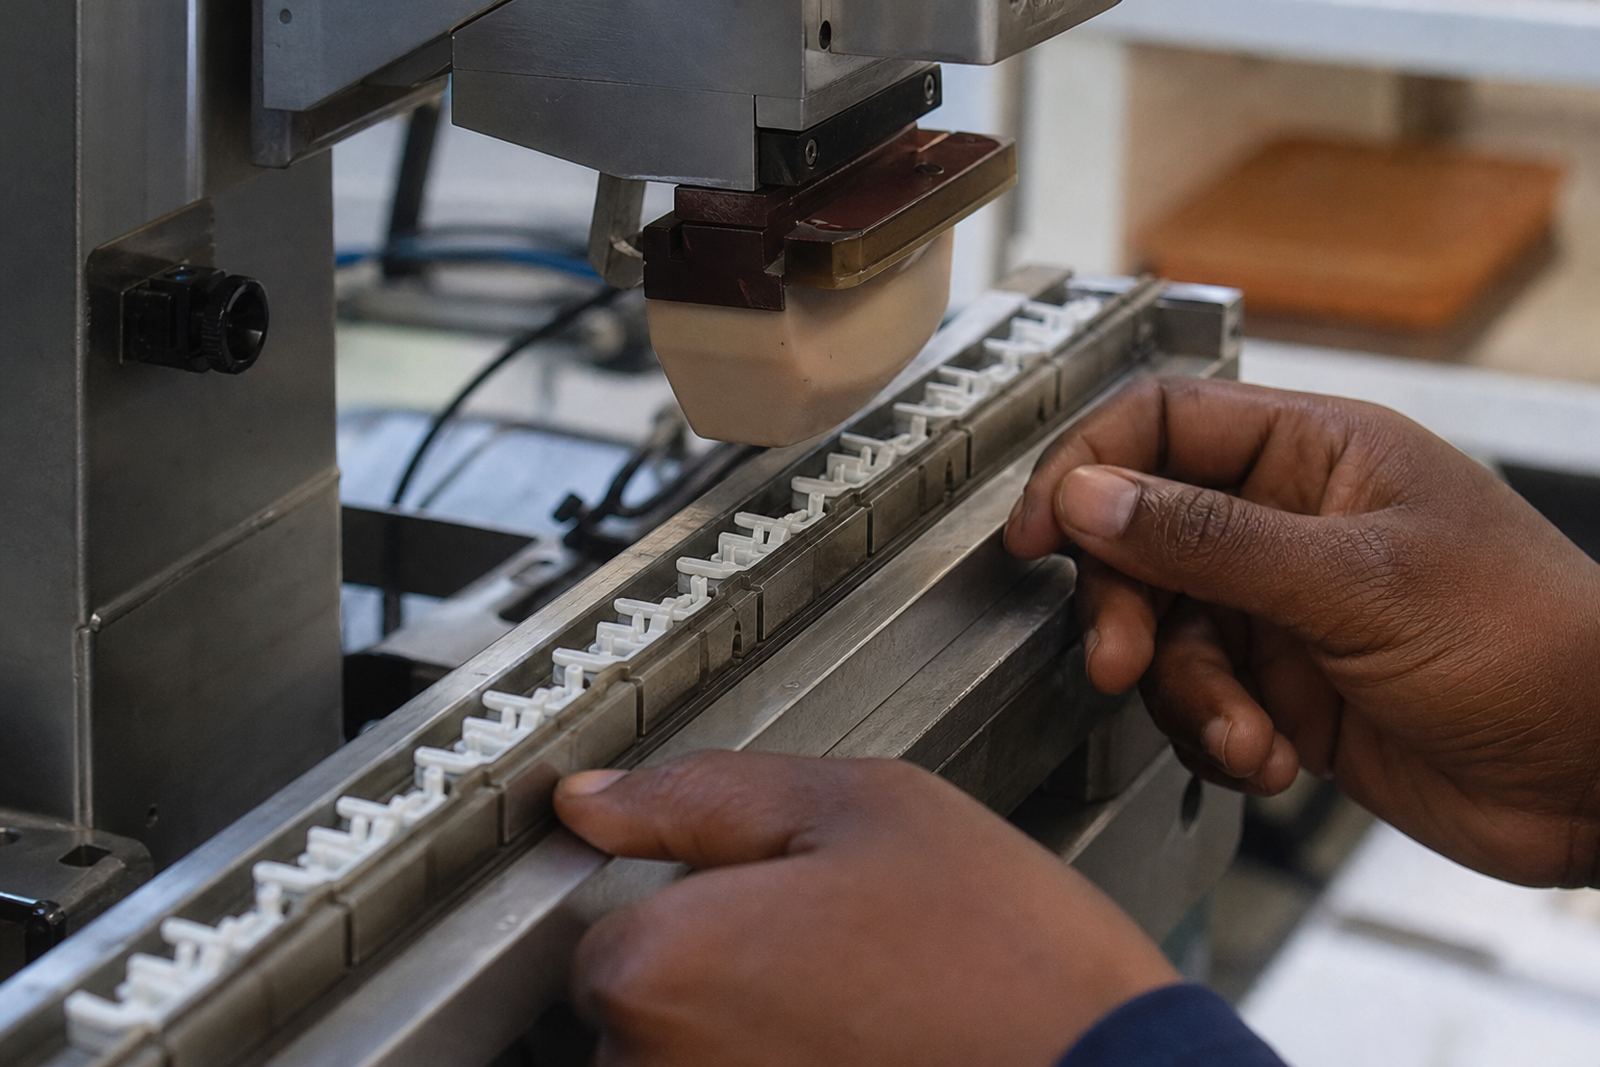
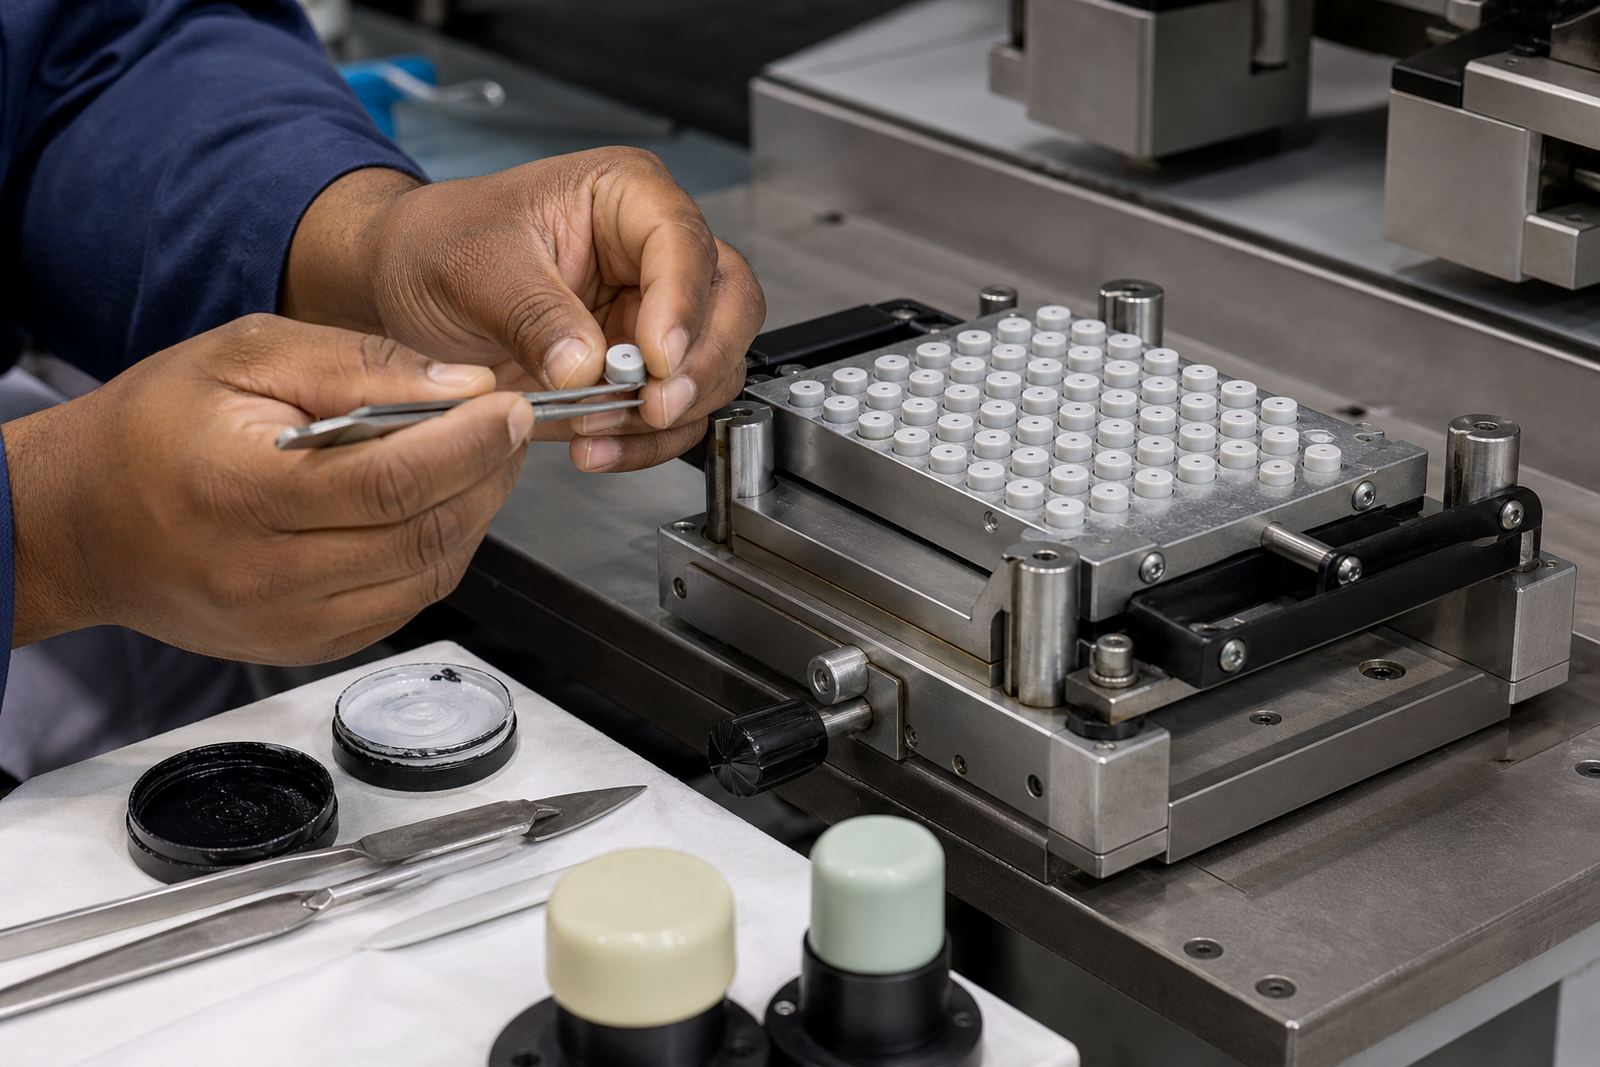
To keep the print stable, we plan the fixture carefully, match the ink to the substrate, and set the plate and pad pressure so the image transfers cleanly. On some parts, a two stage cure is the better option, especially where the item will be packed soon after printing or handled again during assembly.
- Logo redraws for worn or incomplete artwork
- Print area planning for tight component layouts
- Rerun job control where repeat batches must match
What the process usually includes
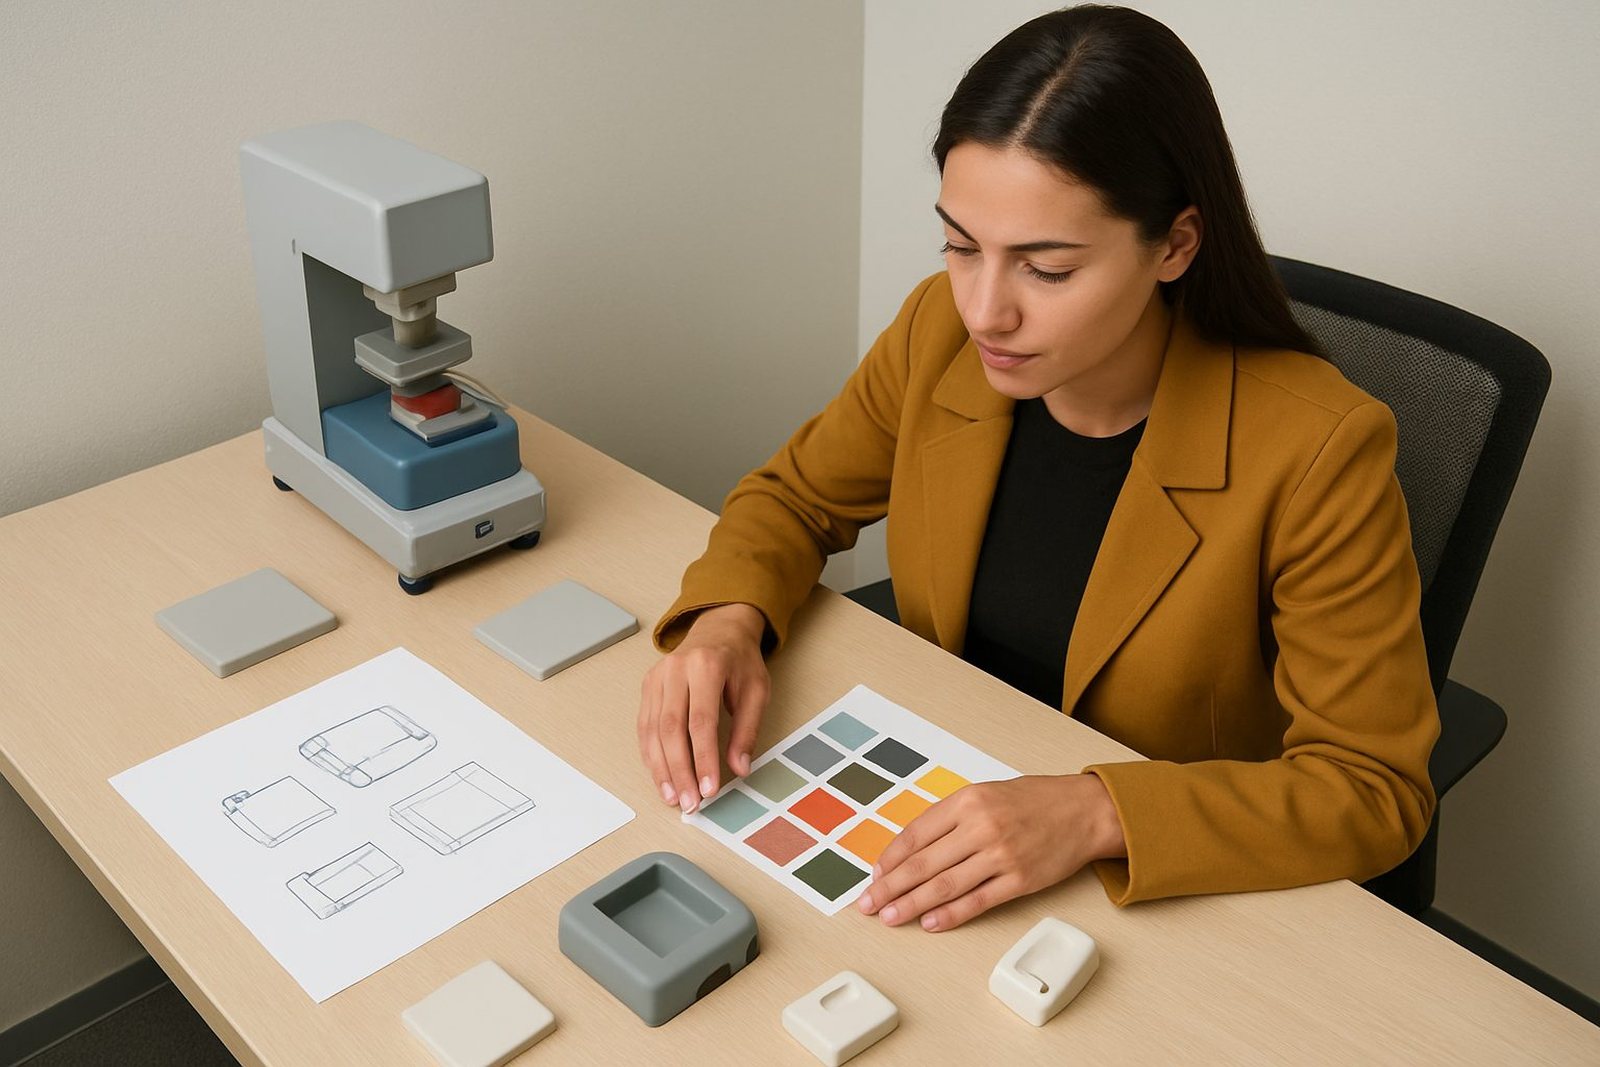
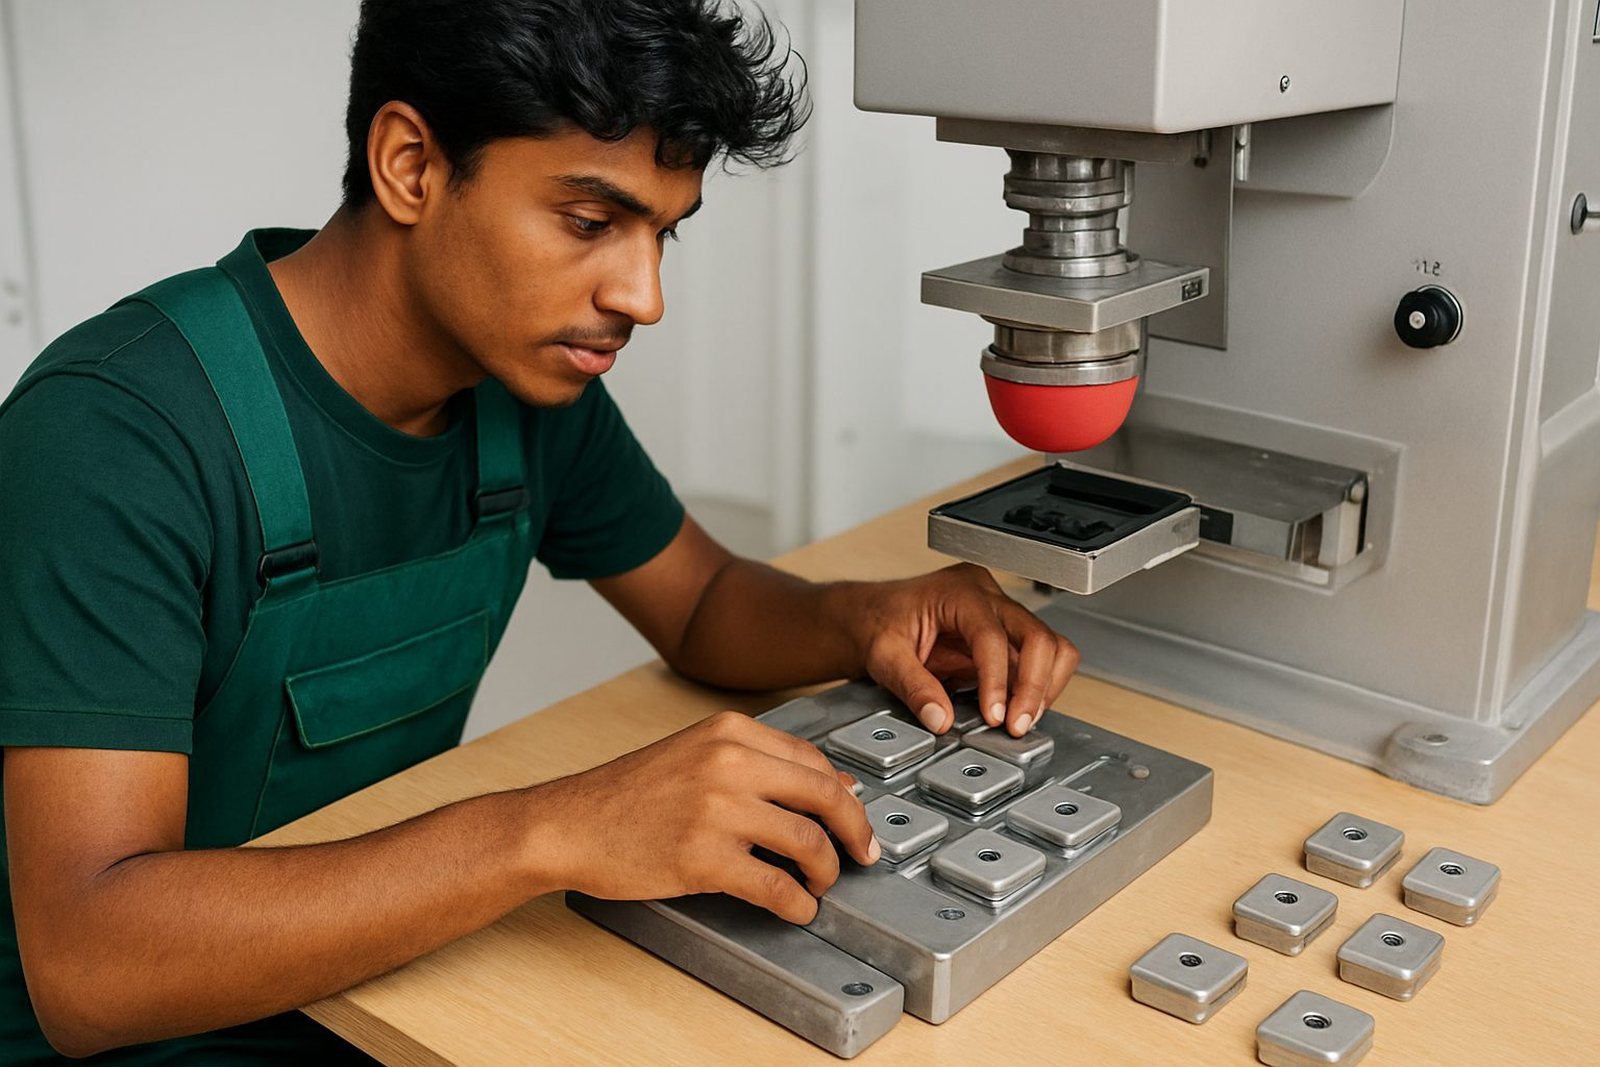
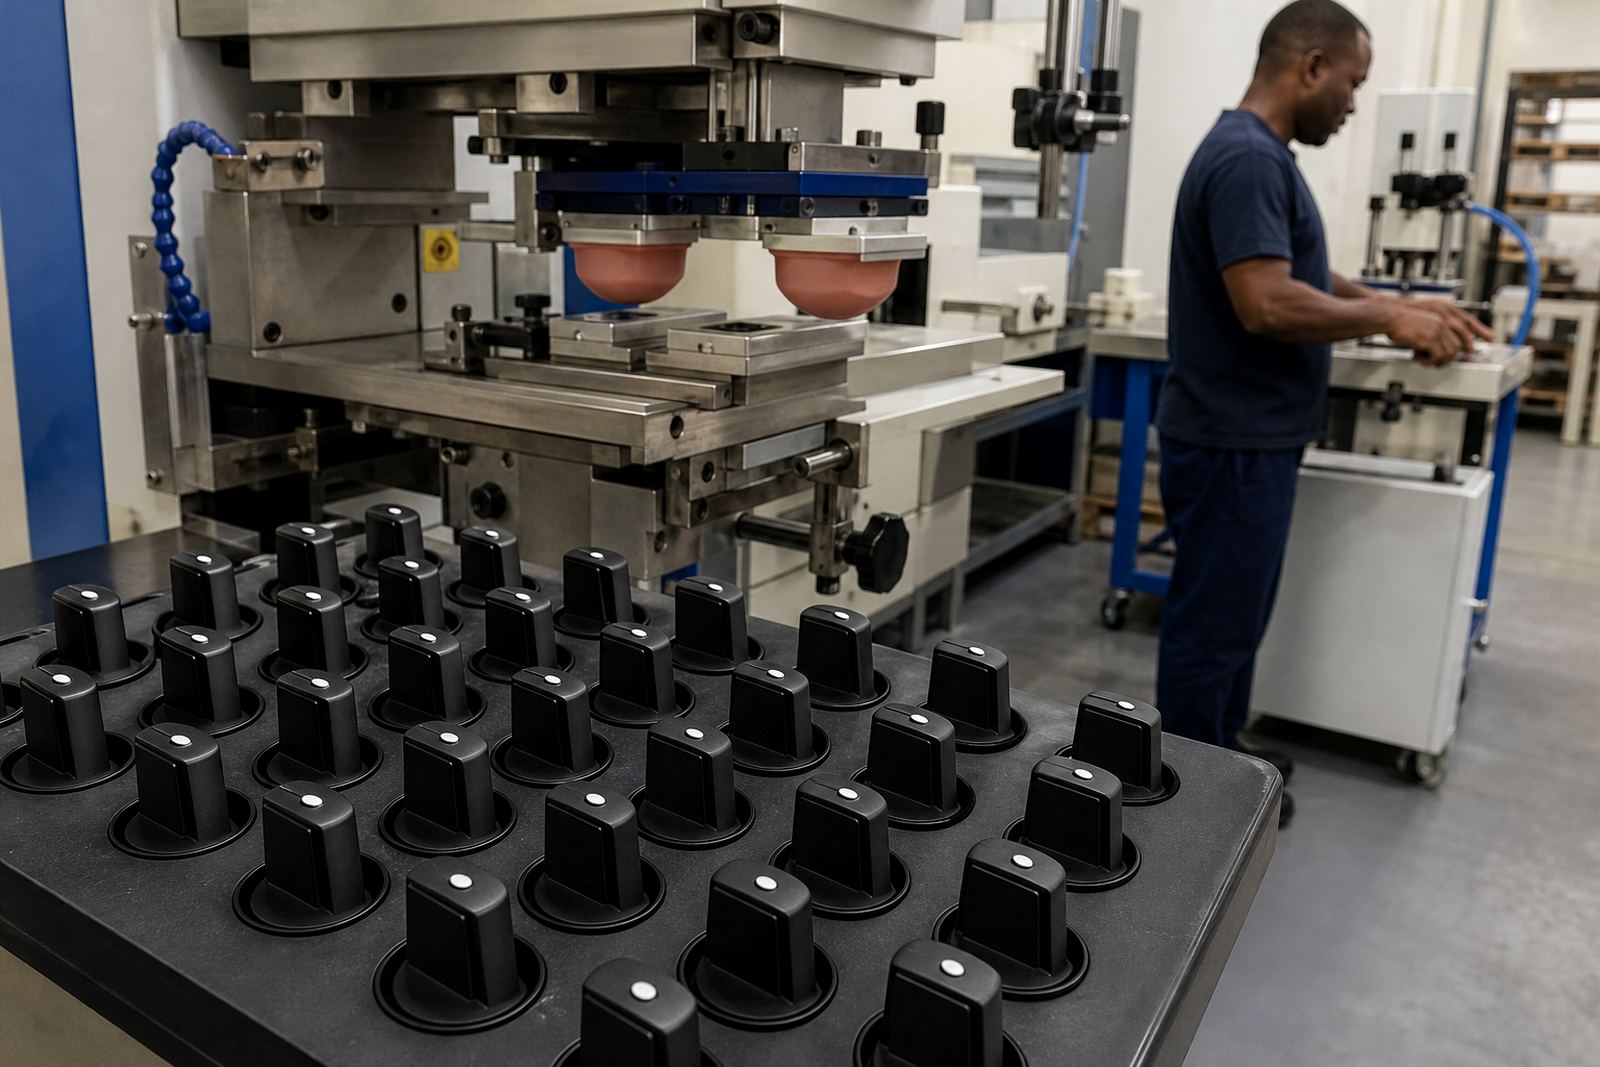
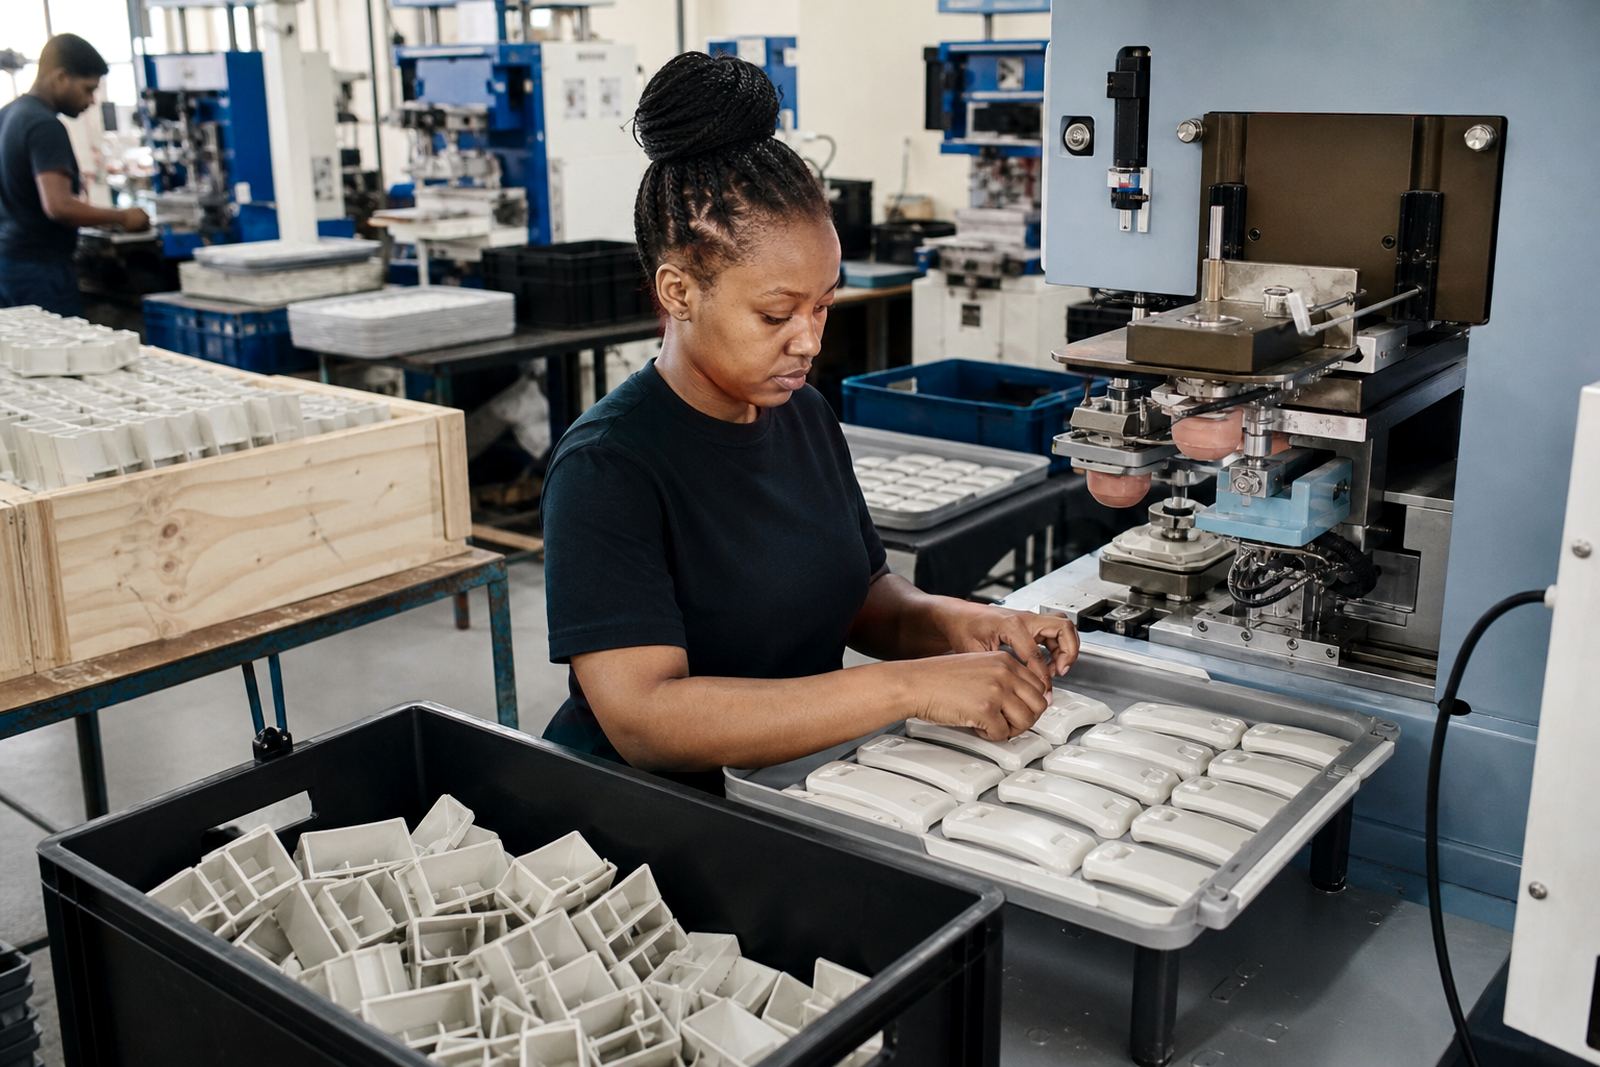
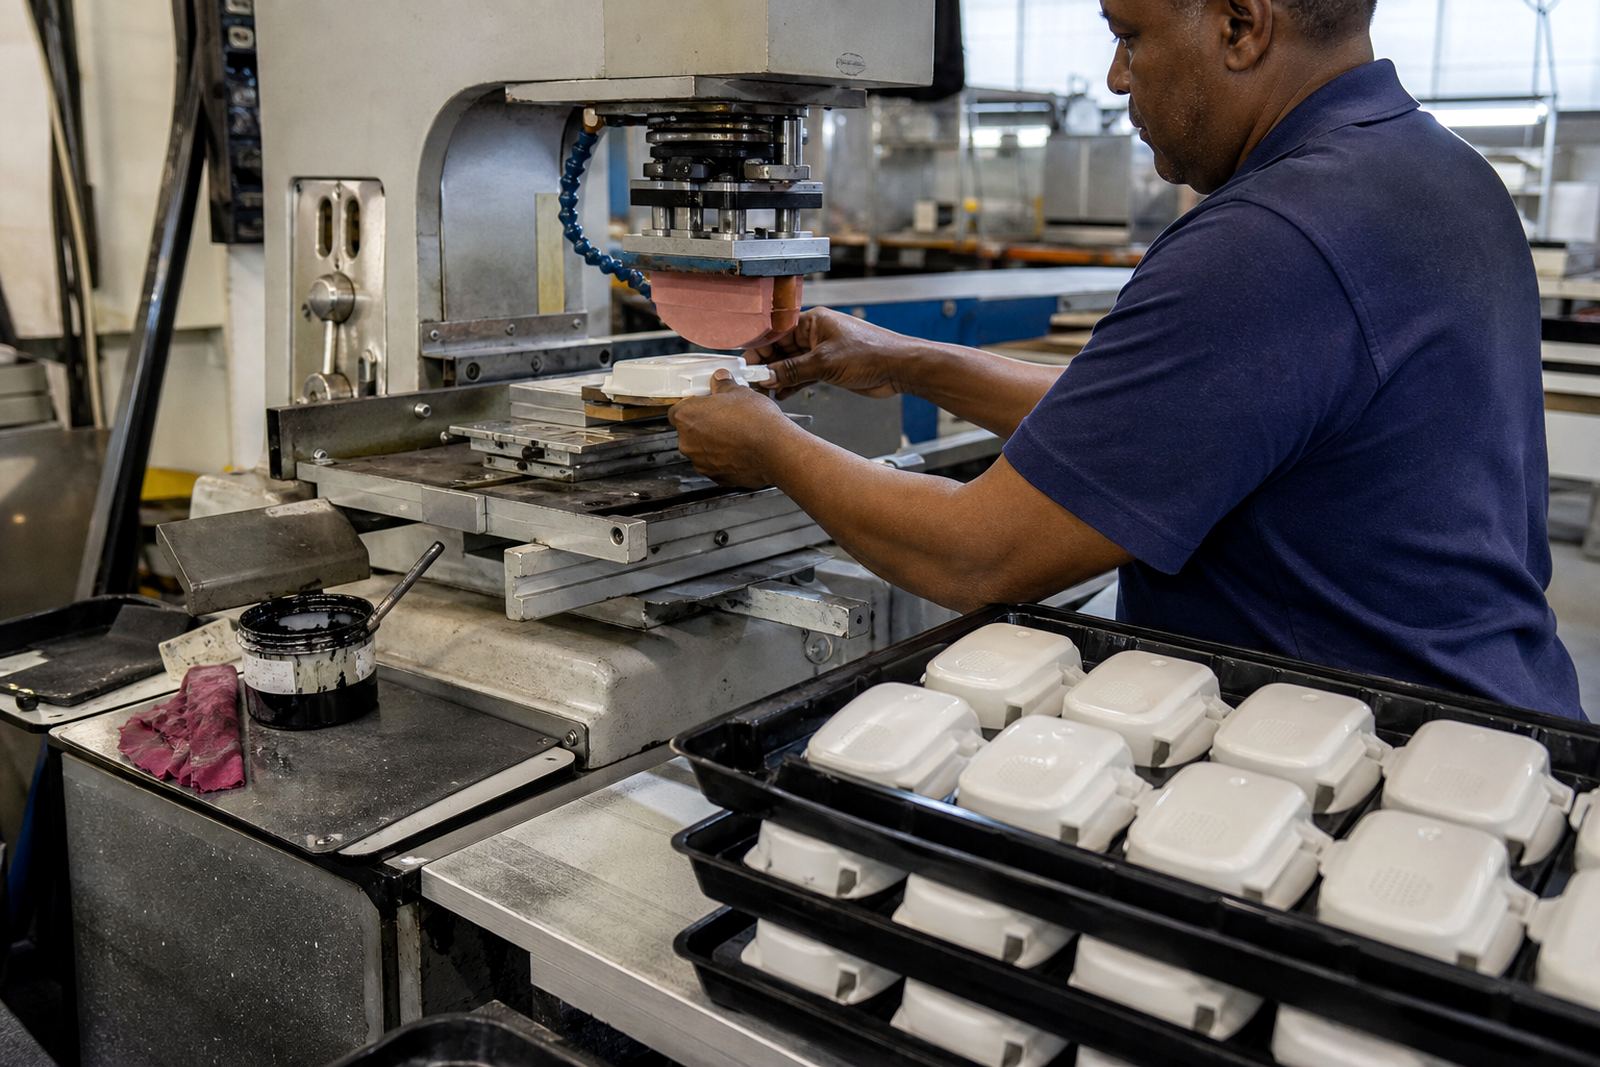
Most recent jobs follow a similar path even when the parts are very different. We start with artwork preparation, then move into plate exposure and plate etching so the image holds the correct detail. After that, fixture making and sample runs allow us to test placement, curing and finish before production continues.
Because pad printing works by lifting ink from an etched plate with a silicone pad and transferring it onto the part, the setup has to suit the shape of the component. On a flat surface the transfer is simple enough, but on a rounded or recessed section the pad size, ink viscosity and drying time all need attention. If the weather is hot and humid, especially in Durban or along the coast, drying times can shift a little.
Jobs from Pinetown to Cape Town and beyond
Our recent print jobs come from manufacturers and product developers in Durban, Johannesburg, Cape Town, Pretoria and Gqeberha, with support work handled from Westmead, Pinetown. Some clients need a one off trial sample, while others need repeat batches with careful rerun control so every part looks the same.
This mix is useful if you are comparing your own requirements to past jobs. A small medical clip may need different handling from a printed control panel, and a component for export may need a different pack-out method to protect the mark in transit.
- Pinetown Printing Support and Westville Support for local production runs
- Durban Manufacturers and New Germany Support for nearby factories
- Johannesburg Supply, Pretoria Supply, Cape Town Supply and Gqeberha Supply for national orders
Choosing the right sample for your own part
If you are planning a new product or changing an old one, compare your part to the jobs closest in shape, size and material. That will give you a better idea of whether the mark should be applied in one pass or several, and whether the finish will need extra curing before packing.
It also helps to decide early on where the print must sit, how much contrast you need, and whether the marking is for identification, branding or assembly guidance. Customers remain responsible for their own device compliance, so the print method should be chosen alongside their own product checks and release process. Send your requirements through the contact page form and we can work from the actual part, not just a sketch.