Why curved parts need a different printing method
Flat panels are straightforward, but many medical and electronic components are moulded with ribs, recesses, domes, clips and gentle radii. Those shapes make traditional direct printing difficult because the ink film needs to transfer cleanly onto a surface that is not sitting level. Pad printing is suited to this work because a soft silicone pad can pick up the image from an etched plate and press it onto the part, conforming to the curve as it lands.
That flexibility matters when the marking must sit in a tight space, such as a switch bezel, handset casing, catheter accessory body, connector housing or control button. The aim is not just to place a logo or reference mark somewhere on the item. The marking must stay legible, align correctly and survive handling, cleaning and packaging. On curved parts, a small shift in pad shape or pressure can change the result, so setup is as important as the print itself.
In Westmead, Pinetown, we often see jobs where a component has a shallow curve across the face and a stronger radius at the edge. The print area looks simple at first glance, but the surface changes direction and the ink transfer has to follow that movement. That is why trial sample runs are part of the process before a full batch is released.
How silicone pads help the image follow the surface
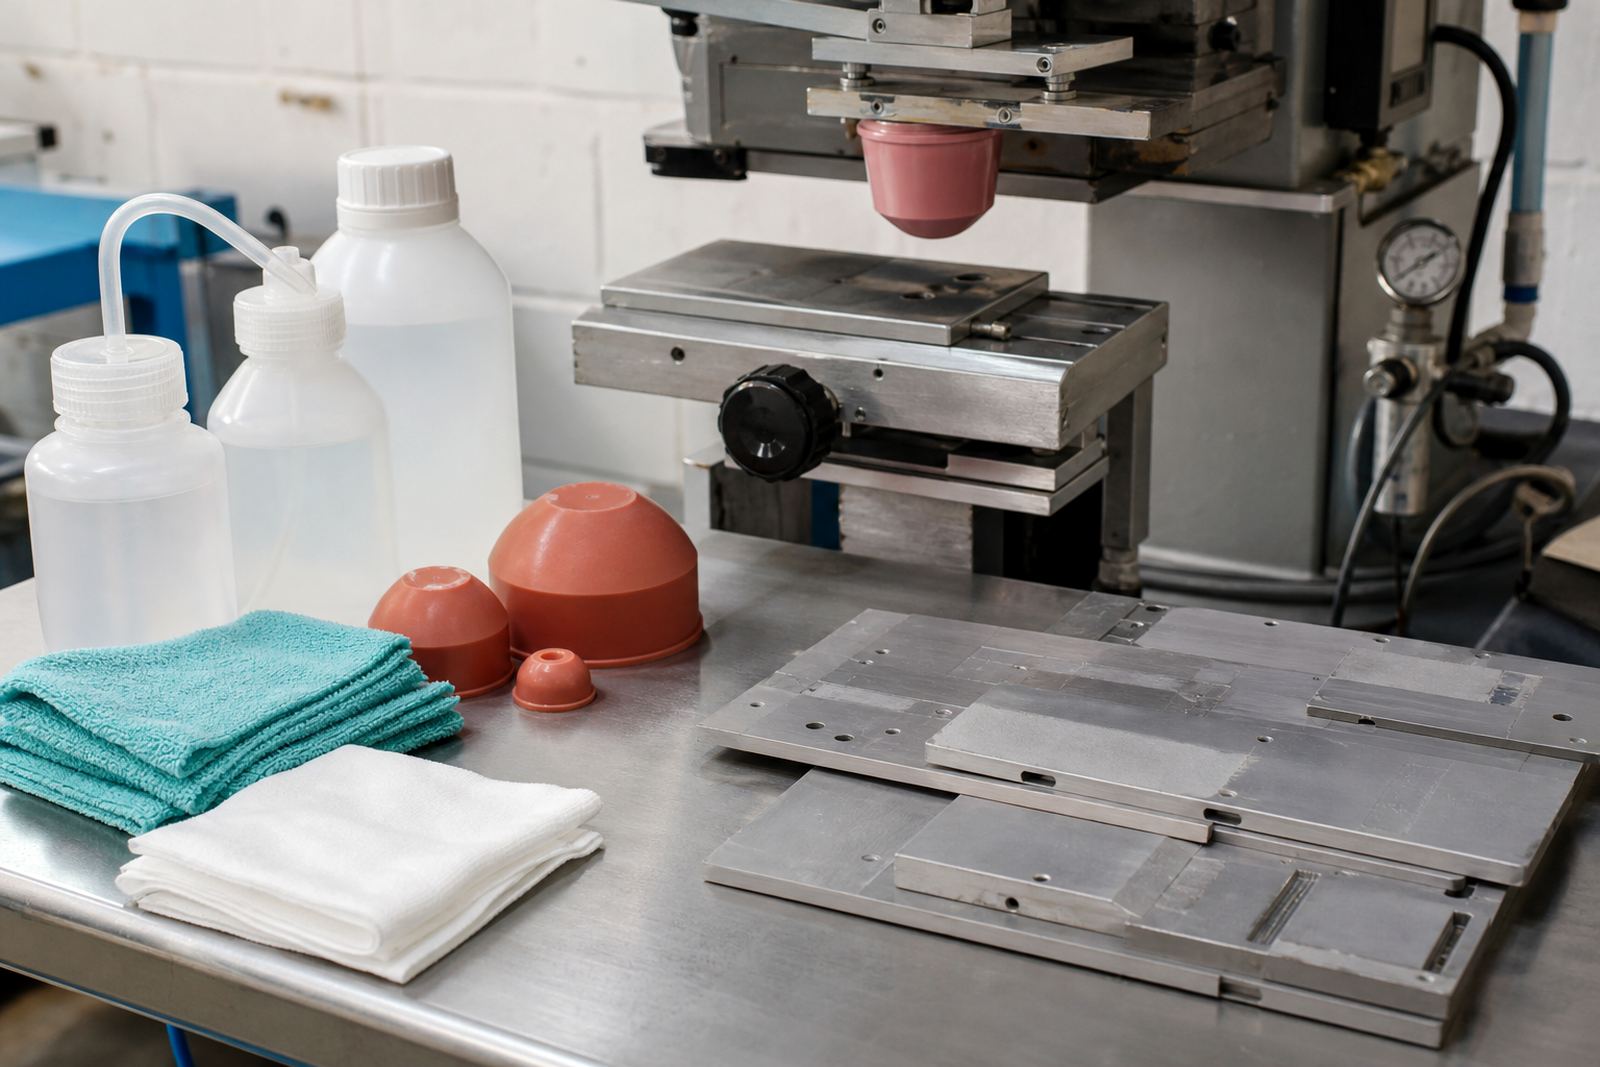
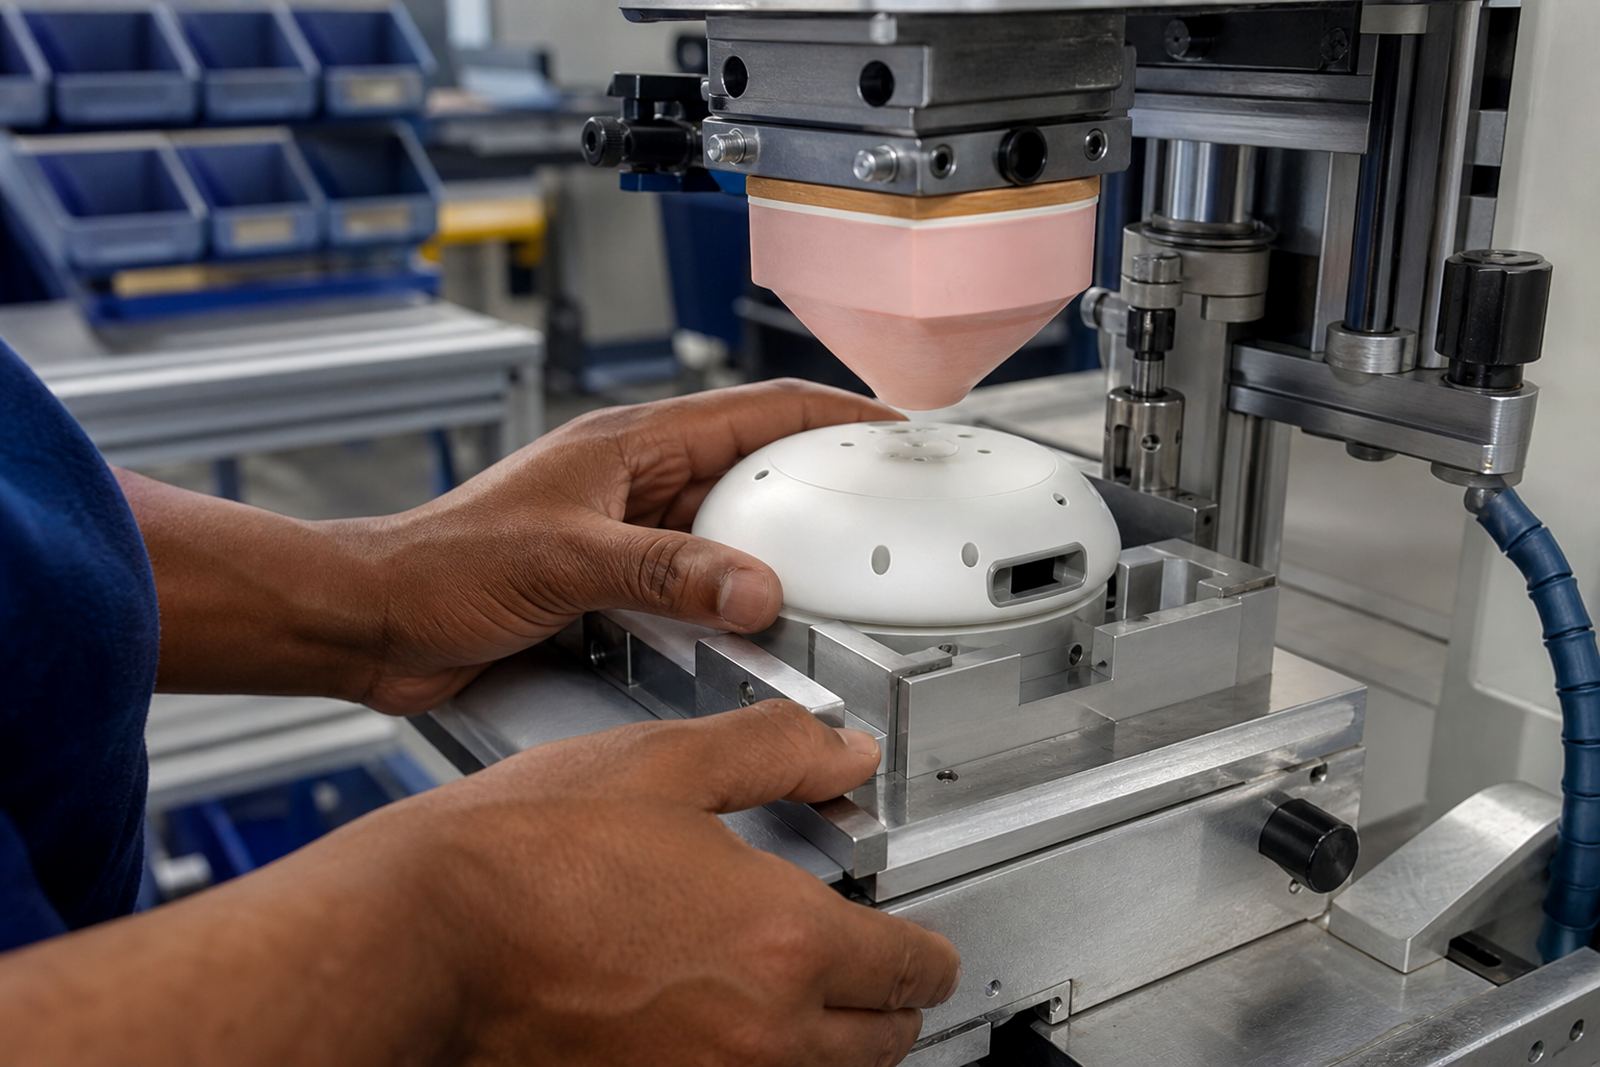
The silicone pad is the working part that gives pad printing its name. It compresses, rolls slightly and lifts away from the etched plate with the image attached. When it contacts the component, it bends to suit the profile of the item rather than forcing the item to suit the print method. That makes it useful for rounded plastics, small housings and parts with mixed curves.
For curved parts, the pad must be matched to the job. A pad that is too hard may miss the low point of a recess. A pad that is too soft can distort the image or cause a blurred edge. Size matters too, because the pad needs enough surface area to transfer the full image while still maintaining even pressure across the shape.
- Shallow curves usually need a pad that spreads pressure across the face of the part.
- Deeper curves or stepped surfaces may need a more pointed pad profile.
- Small parts often benefit from fixture making so the item sits consistently for every print.
- High-volume jobs need machine setup that keeps the stroke, dwell and pick-up point steady.
When the pad, plate and fixture are aligned correctly, the image lands in the same position from part to part. That consistency is a major reason manufacturers choose pad printing for repeat work on moulded components.
Ink choice and curing on medical and electronic components
Curved parts do not only challenge the transfer process. They also affect how the ink behaves once it is on the part. The printed area may be smaller on one section and slightly stretched on another, so the ink must be chosen for the substrate and the handling conditions the part will face. Plastics, coated metals and engineered polymers do not all accept ink in the same way.
A neat, readable finish that resists ordinary handling is often needed on medical and electronic components. Depending on the material, curing method selection can be a hot air, ultraviolet, or other suitable process matched to the job. The point is to get the ink properly set without damaging the part, changing the surface, or affecting dimensional tolerance.
Adhesion test samples are useful here. A curved surface may look fine on day one, then show weakness after wiping, packaging friction or heat. Testing helps identify whether the print needs a different ink mix, longer curing, or a cleaner surface preparation routine. Customers remain responsible for their own device compliance, but the marking itself must be made as consistent and practical as possible for the intended use.
- Surface cleaning should remove mould release, dust and oils before printing.
- Trial samples show whether the print stays sharp on the actual curve.
- Drying or curing time must suit the substrate, not just the production target.
- Finished parts should be handled carefully before full cure is complete.
Artwork, plate exposure and print area planning
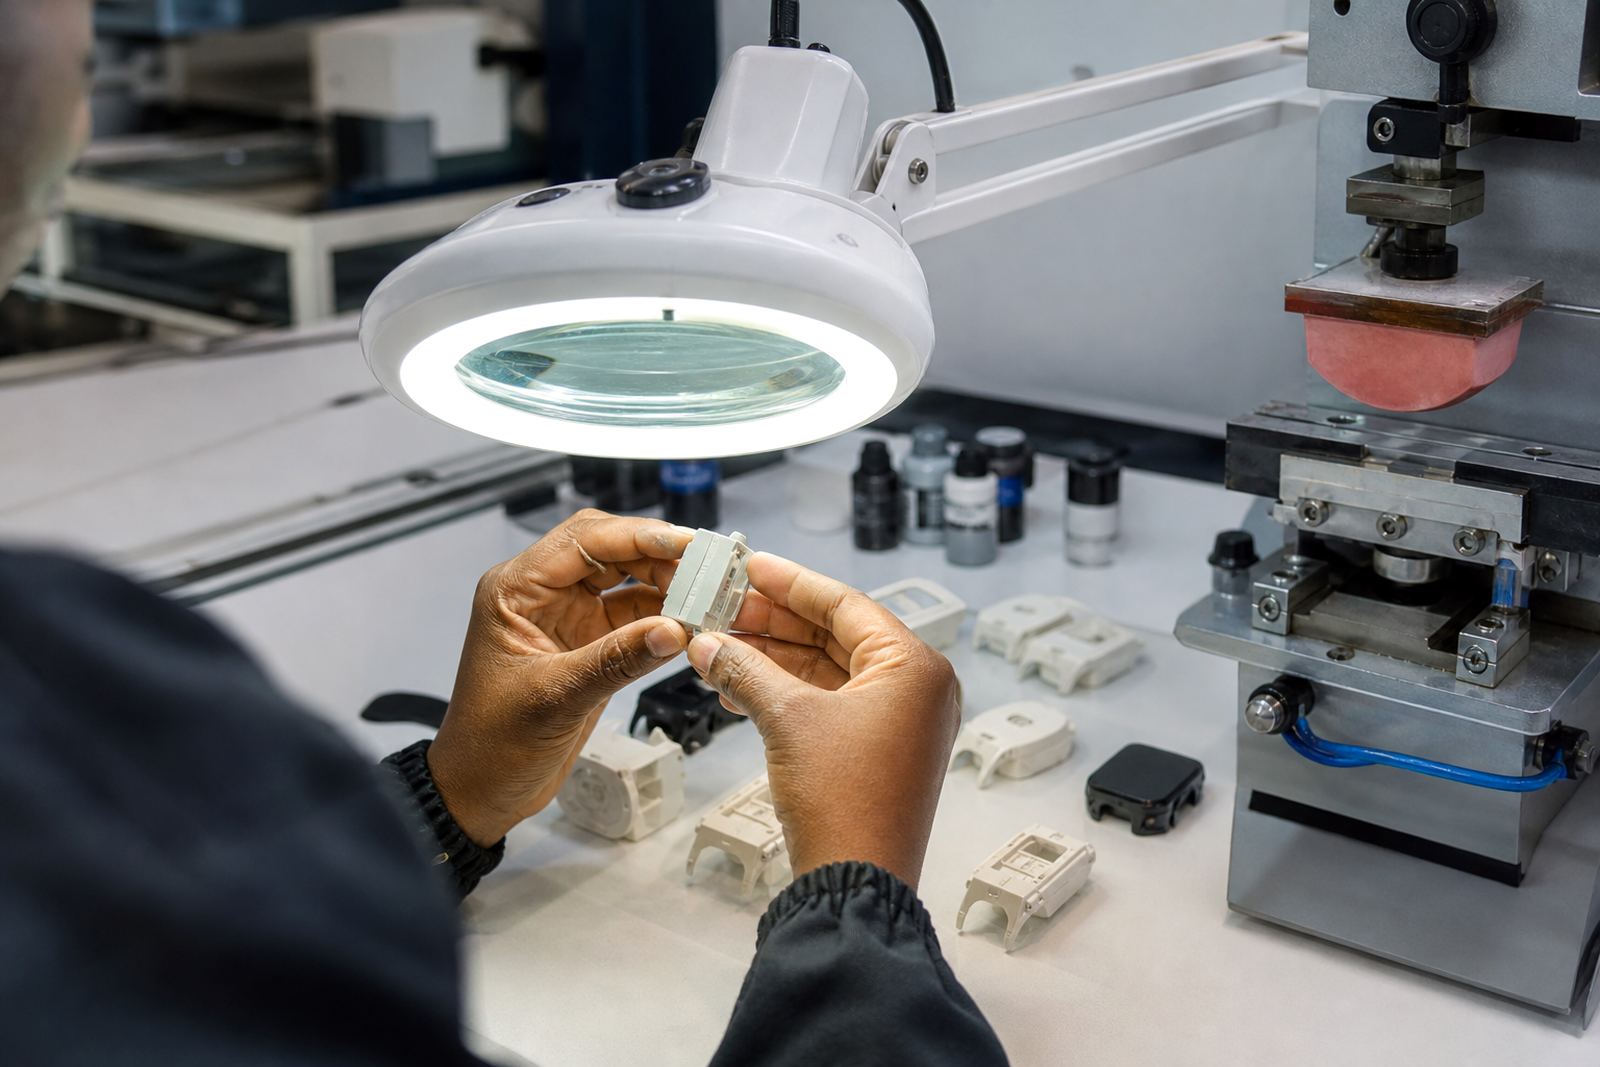
Good results on curved parts begin long before the machine starts. Artwork preparation matters because text that reads well on a flat proof can become difficult to read once it sits on a rounded face. Fine lines, small type and close spacing need to be checked against the actual print area, especially where the surface narrows or rolls away at the edge.
Logo redraws and plate exposure should take the part shape into account. A mark placed too close to an edge may distort or drop off the side of the curve. If the image must sit across a radius, the artwork may need adjusting so the final print looks balanced from the main viewing angle. Plate etching also needs to suit the detail in the image, because shallow etching can affect ink loading and transfer.
We plan for these points early so rerun job control stays predictable later. Once a curved part has been proven, the same fixture, plate and settings can be kept for repeat supply. That is especially useful for manufacturers sending parts between Durban, Johannesburg, Cape Town, Pretoria and Gqeberha, where batches need to match even if they are packed and dispatched at different times.
Common curved items we print and what to watch for
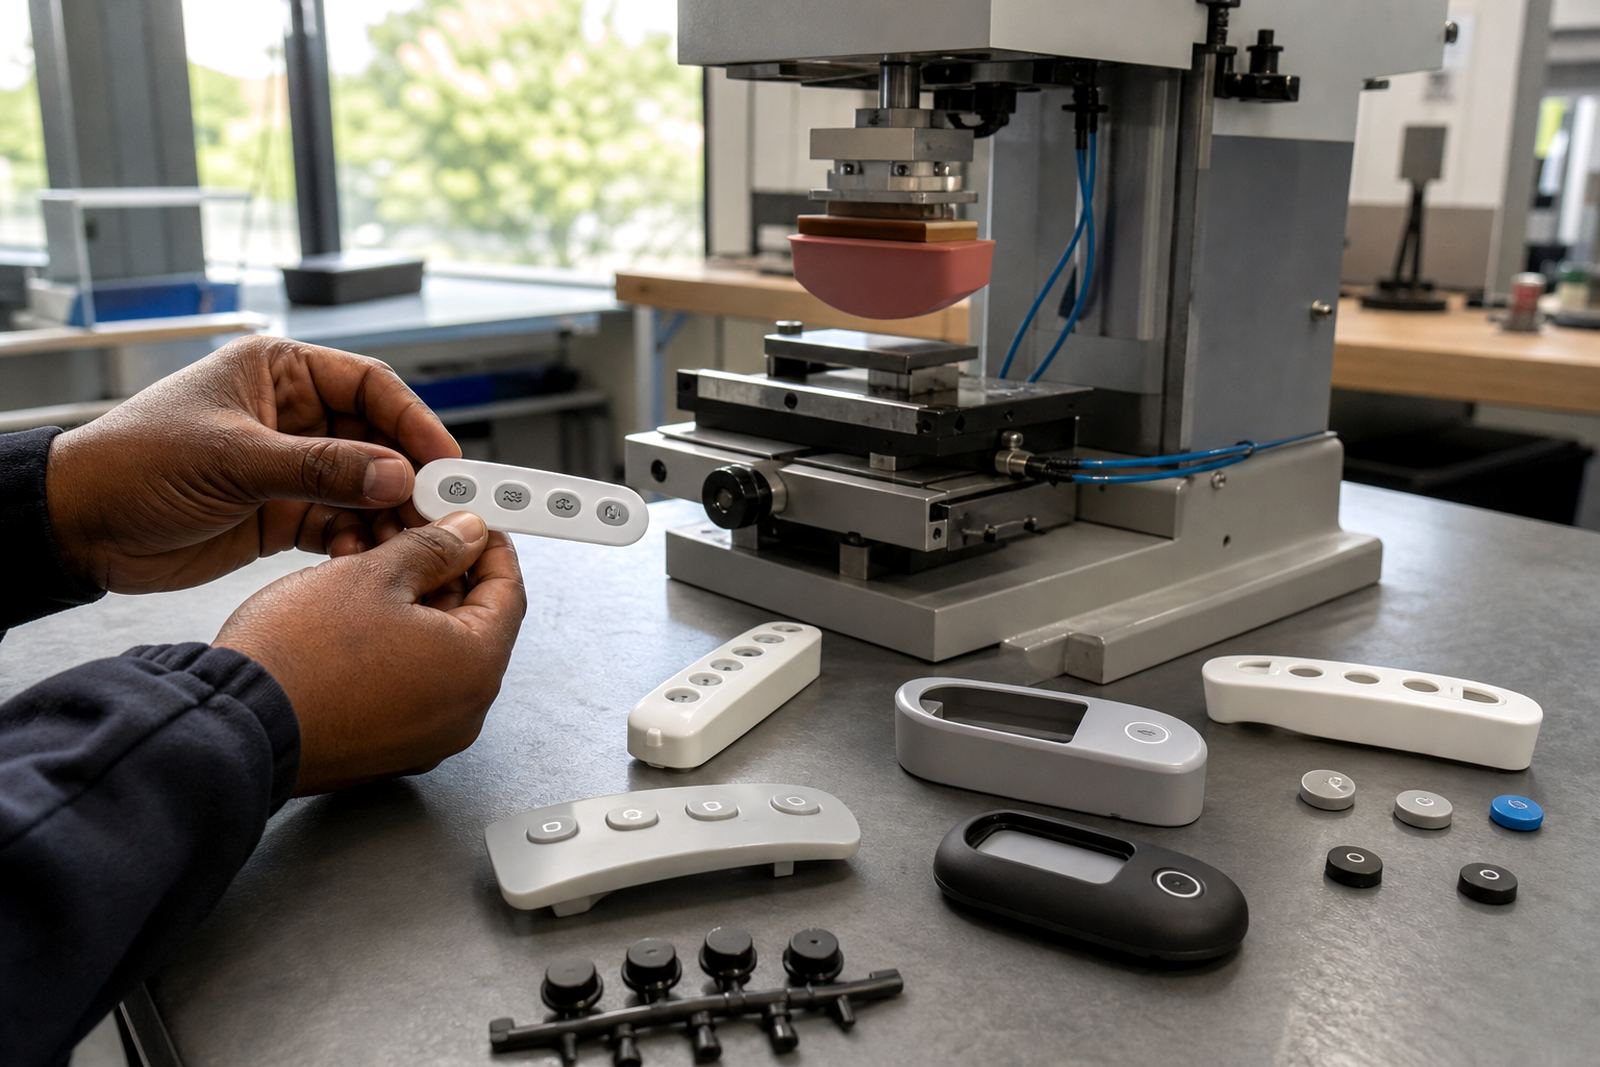
Pad printing is often used on parts that are small, lightly contoured or awkward to mark by other methods. In medical and electronics work, the component might be a housing, cap, control face, button, accessory body or connector component. The challenge is usually the same: the part is not flat, the marking area is limited and the client needs reliable repeatability.
There are a few practical issues to keep in mind with curved items:
- Parts should sit in a fixture that prevents rotation during the print.
- Glossy surfaces may need extra attention during adhesion testing.
- Deep curves can require more than one setup if the image wraps around the part.
- Batch packing should protect freshly printed surfaces from rubbing together.
On coastal jobs around Durban, humidity can also affect handling and drying times, so storage and dispatch packing need a bit more care. In practice, the print may be sound but still suffer if parts are packed too soon or stored in a warm area before cure is complete.
From the print room: The rest of South Africa
A manufacturer in Pinetown may bring in a small curved plastic component for a control assembly. The face is not flat, the text must sit neatly below a moulded lip, and the part will be handled often during assembly. The job starts with print area planning, then artwork checks to keep the characters legible on the radius. After that, a plate is prepared, a fixture is made to hold the part steady, and trial sample runs are used to check alignment and transfer.
Once the right pad and curing method are set, the print becomes repeatable. That matters for supply into Durban, Johannesburg, Cape Town, Pretoria and Gqeberha because the part has to look the same every time it reaches the line. If the component changes slightly between batches, the setup can be reviewed and adjusted without starting from scratch.
For curved parts, the best outcome usually comes from simple discipline: clean parts, correct fixtures, matched pad shape, checked artwork and proper curing. When those pieces are in place, pad printing is an efficient way to mark awkward surfaces that would otherwise be difficult to label clearly.