From a loose sample to a signed-off batch
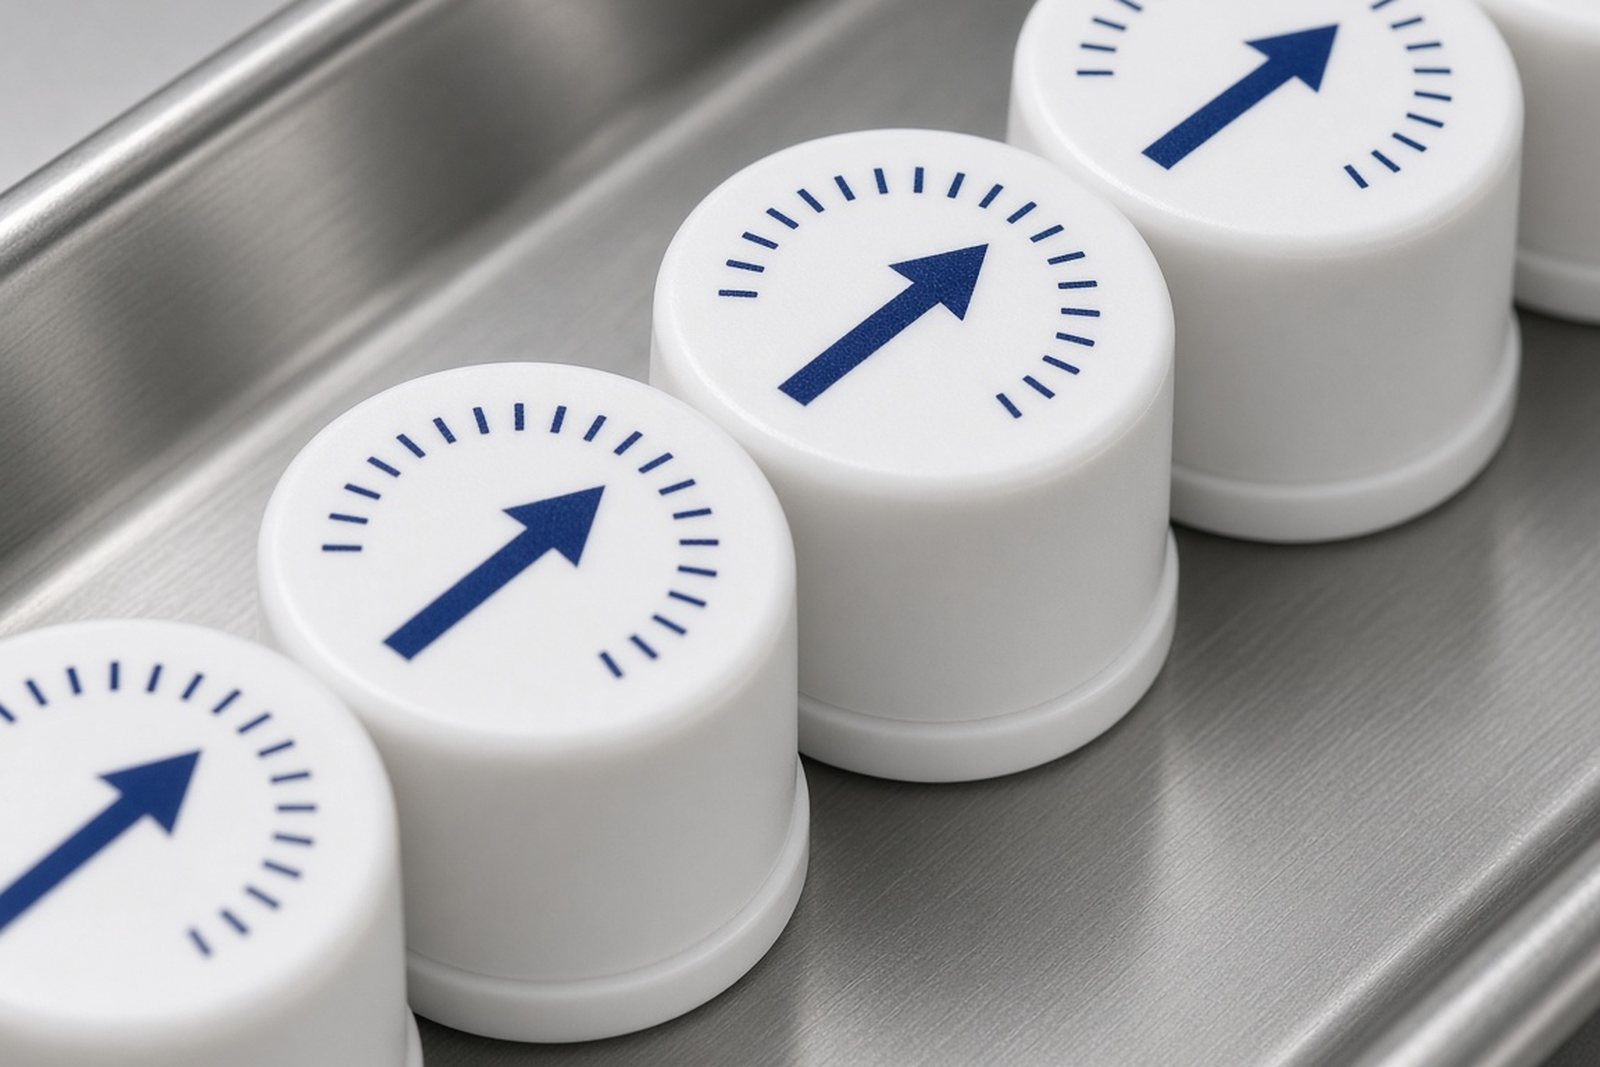
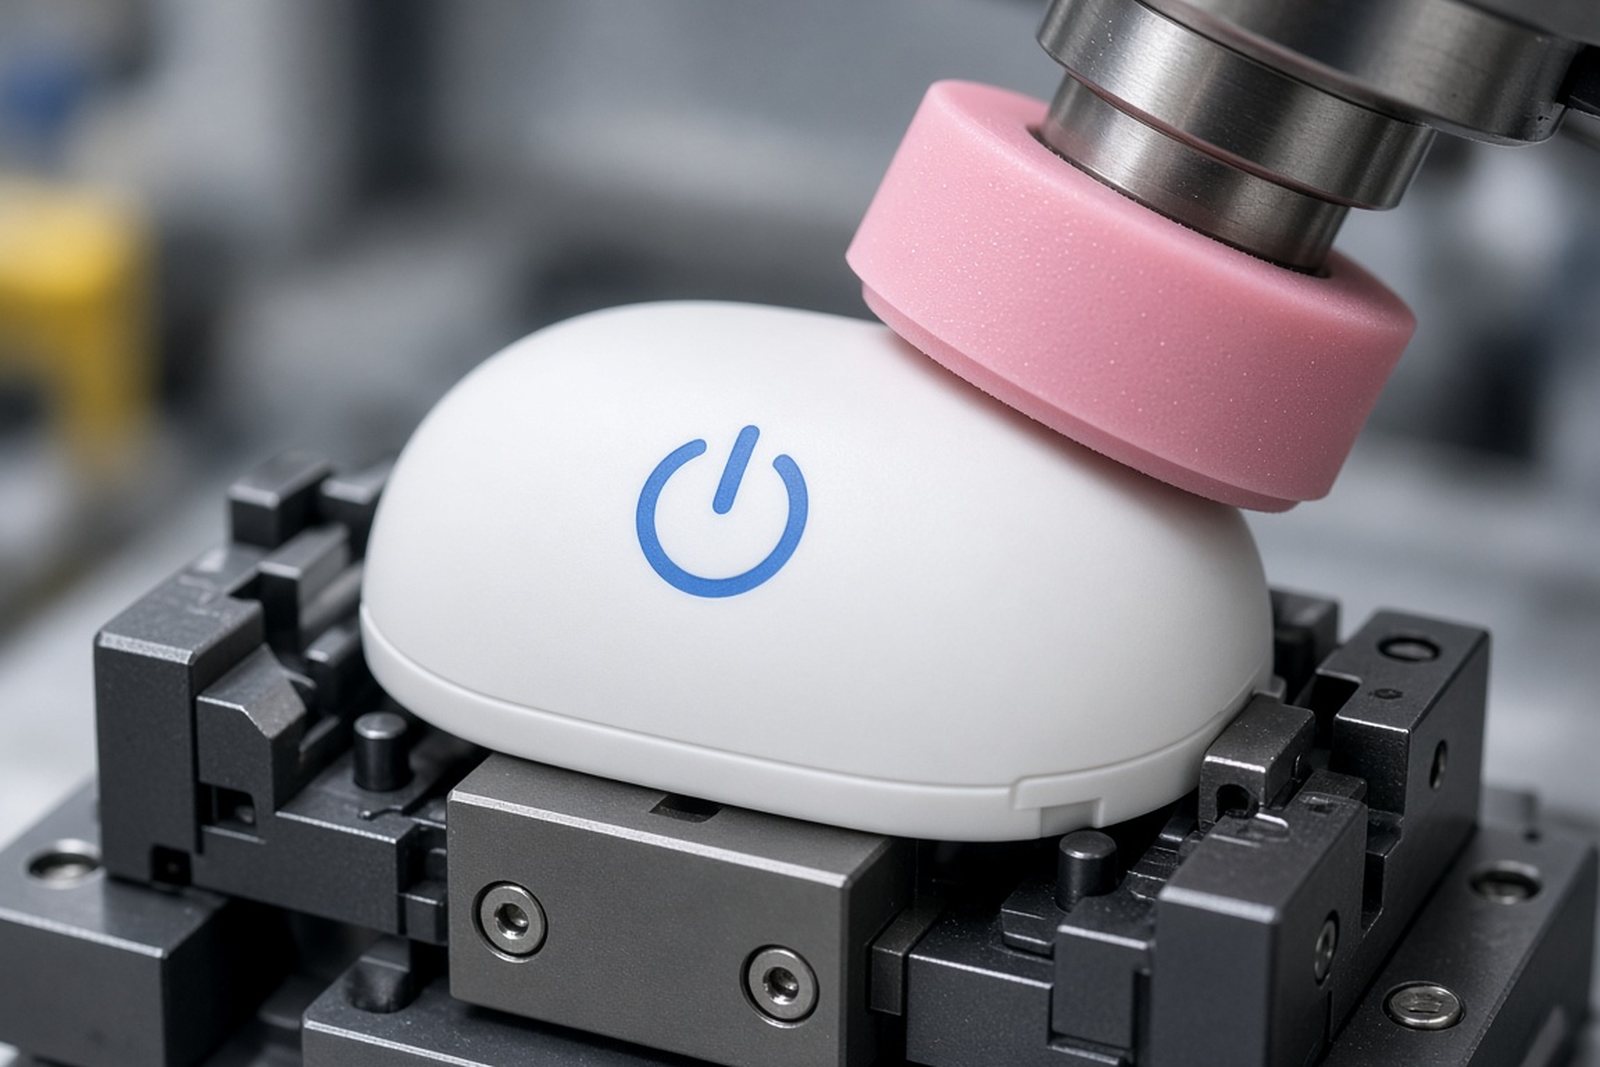
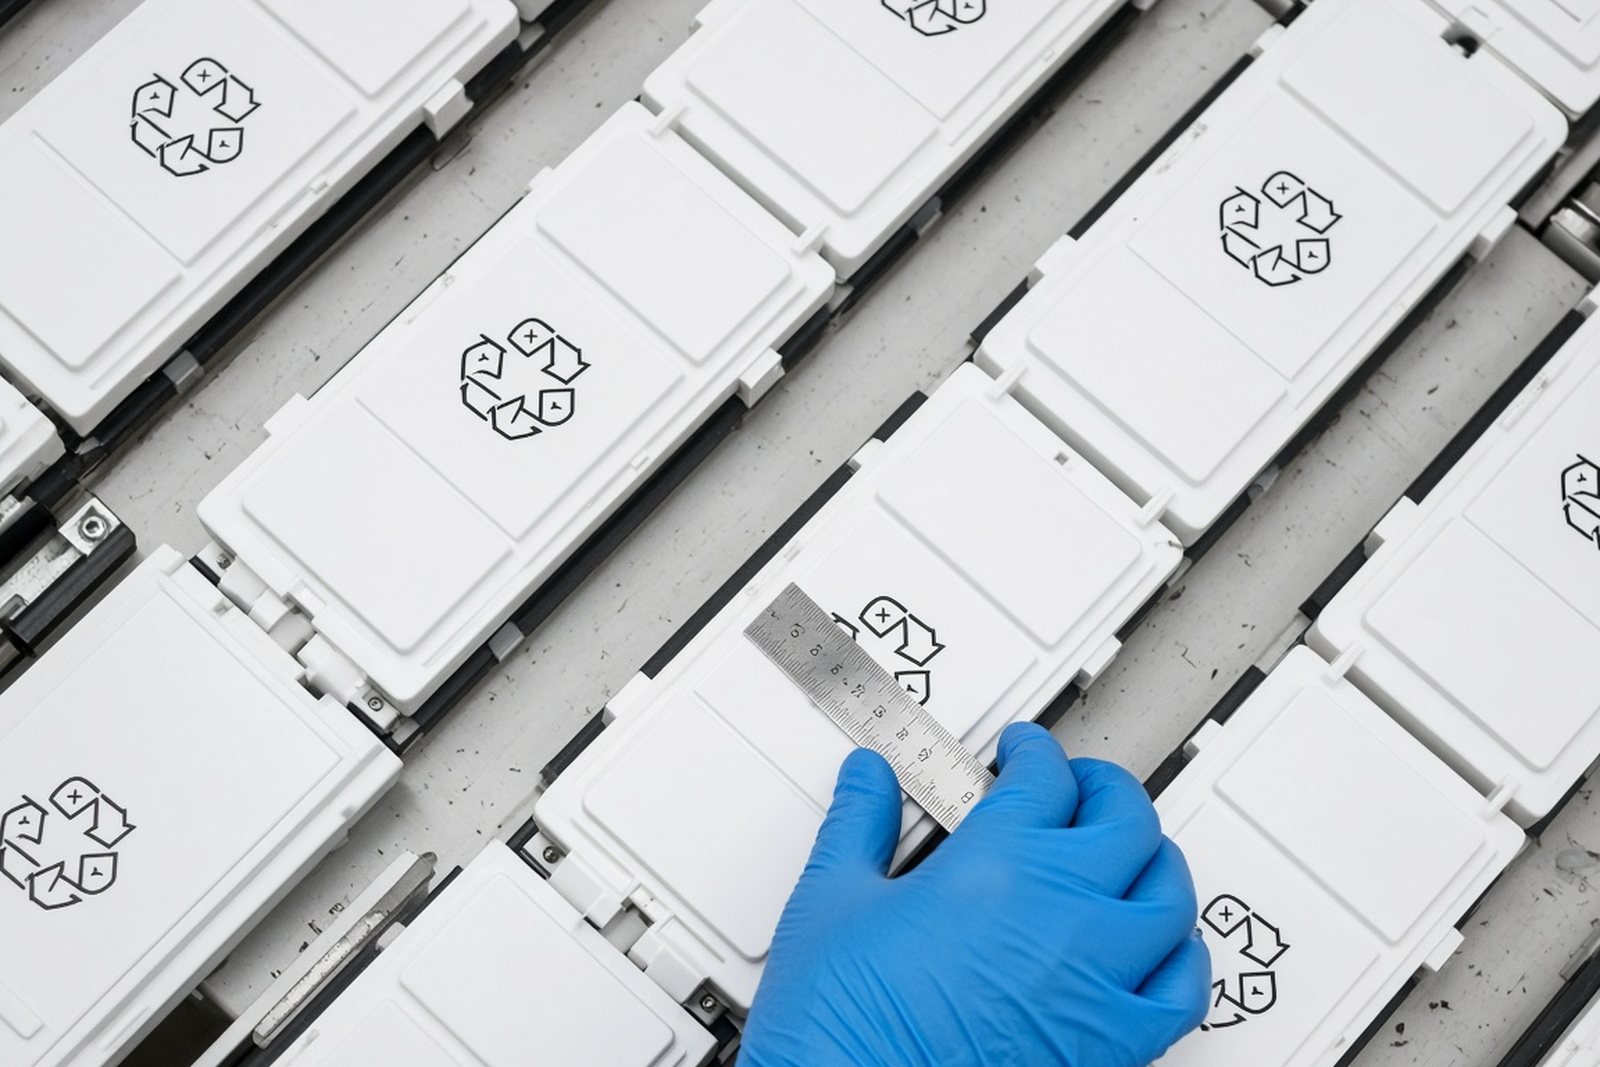
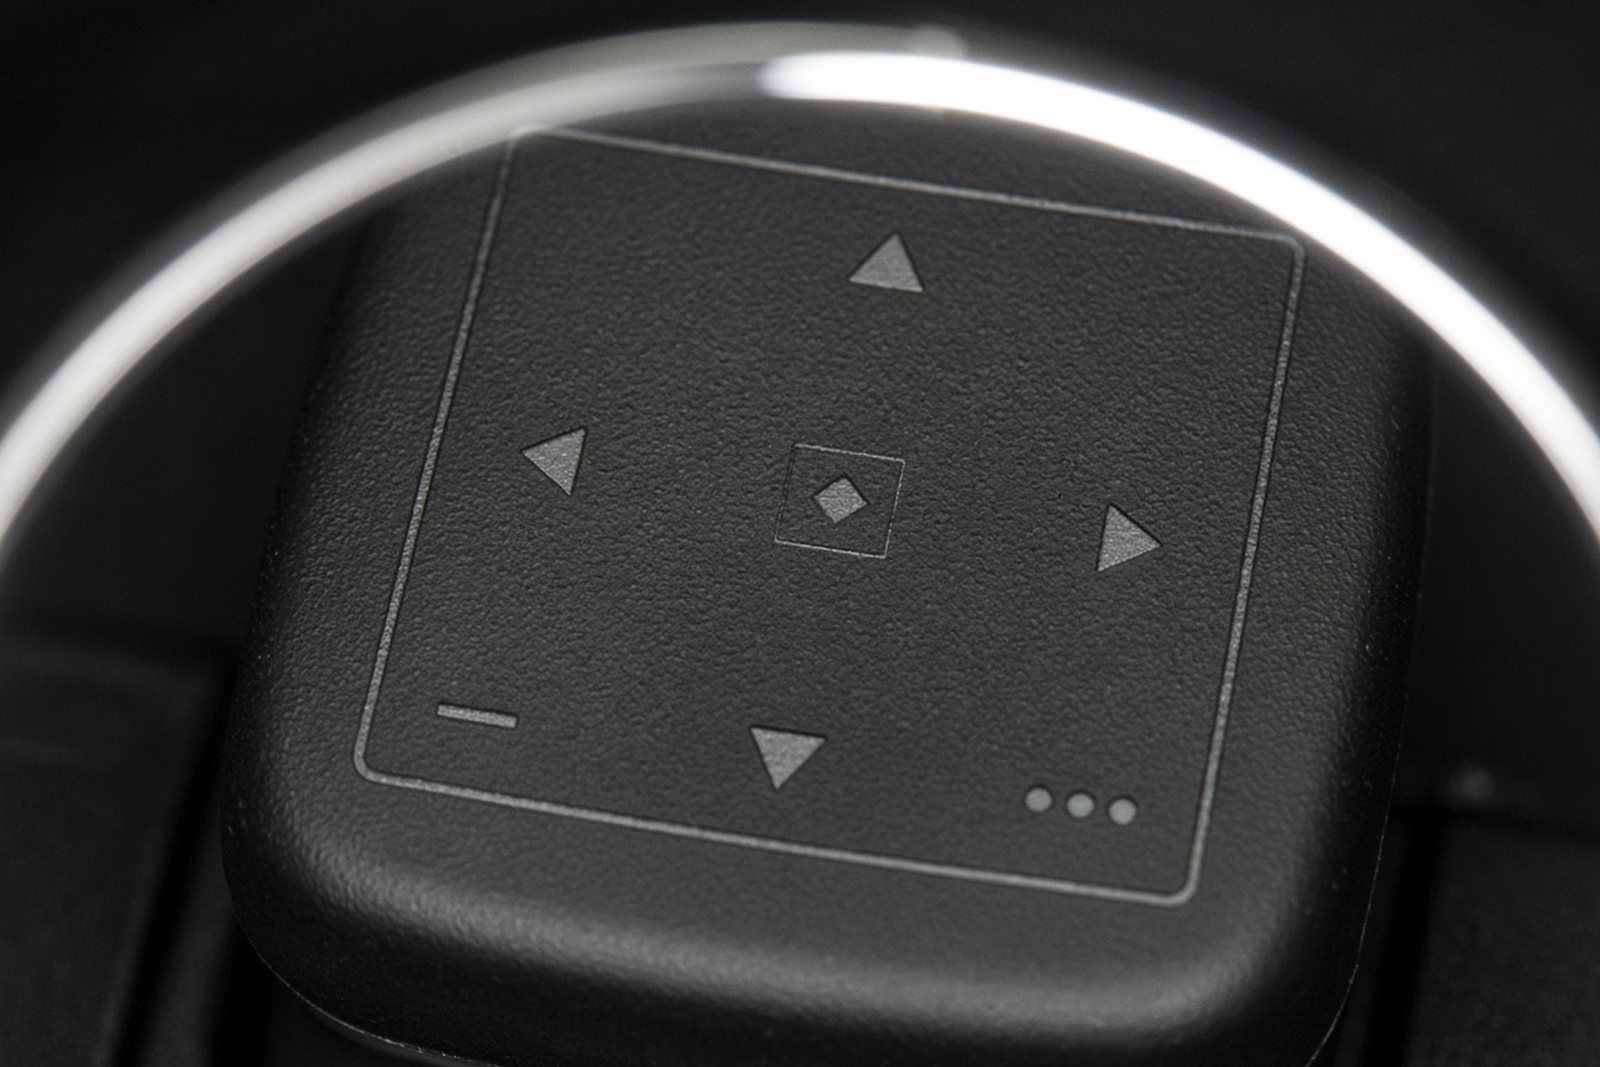
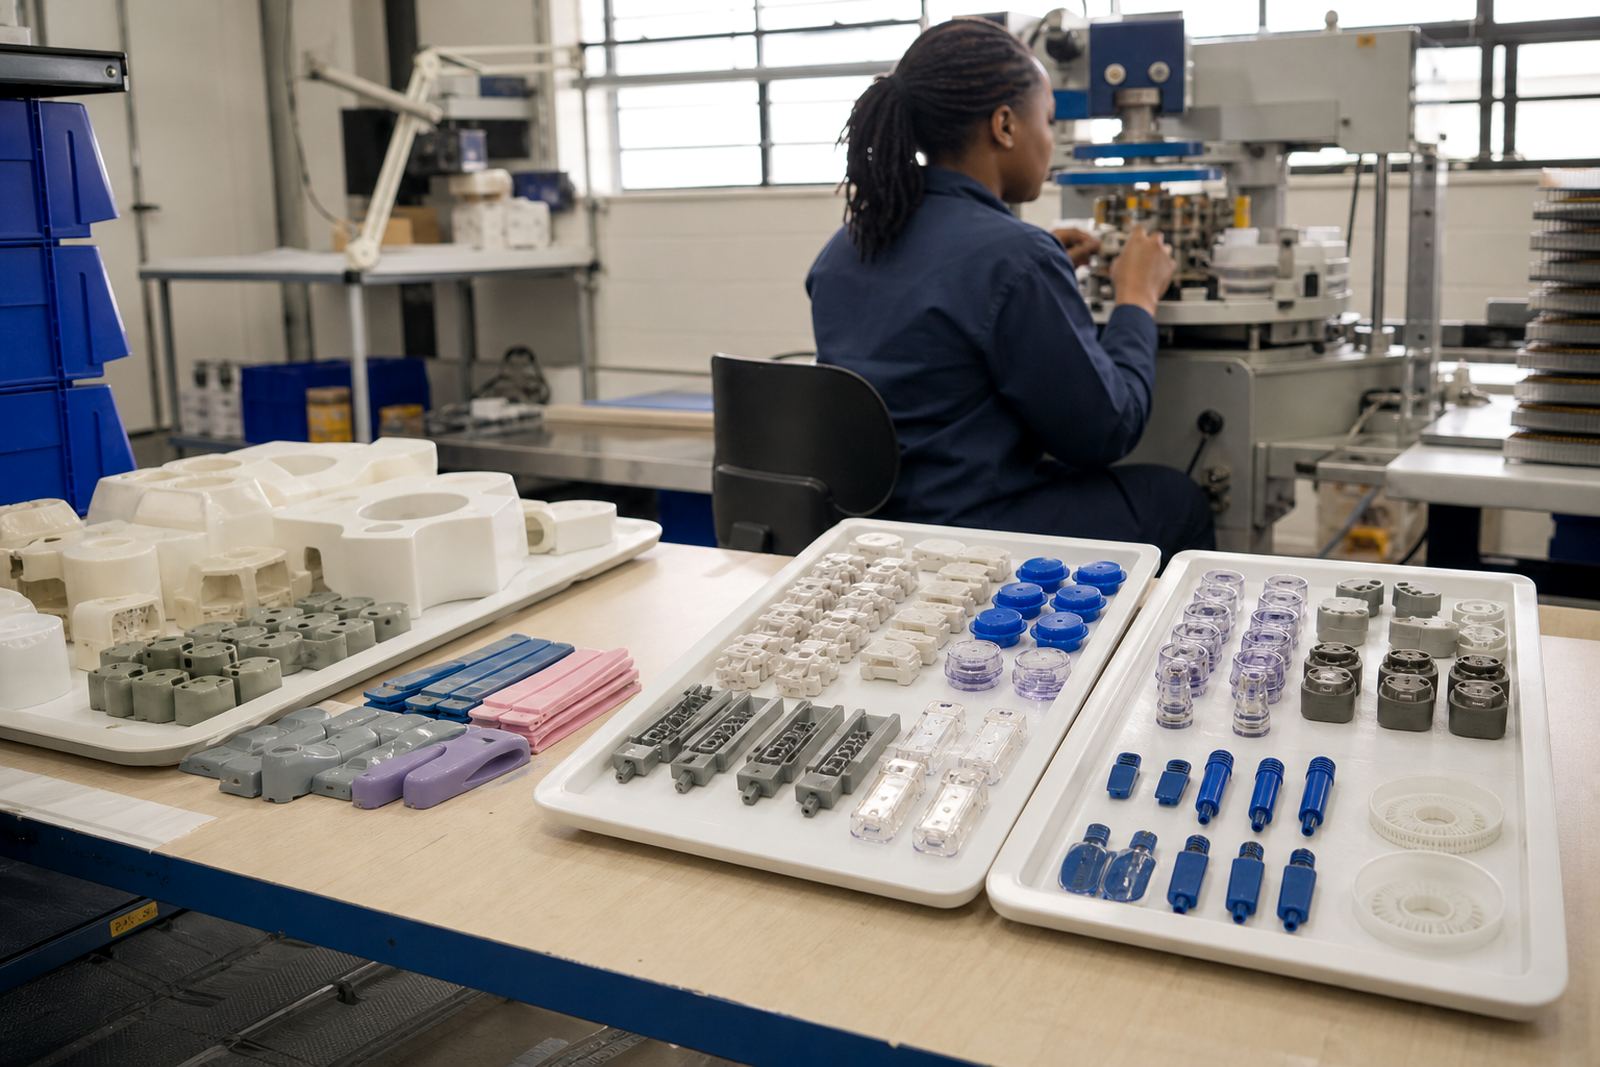
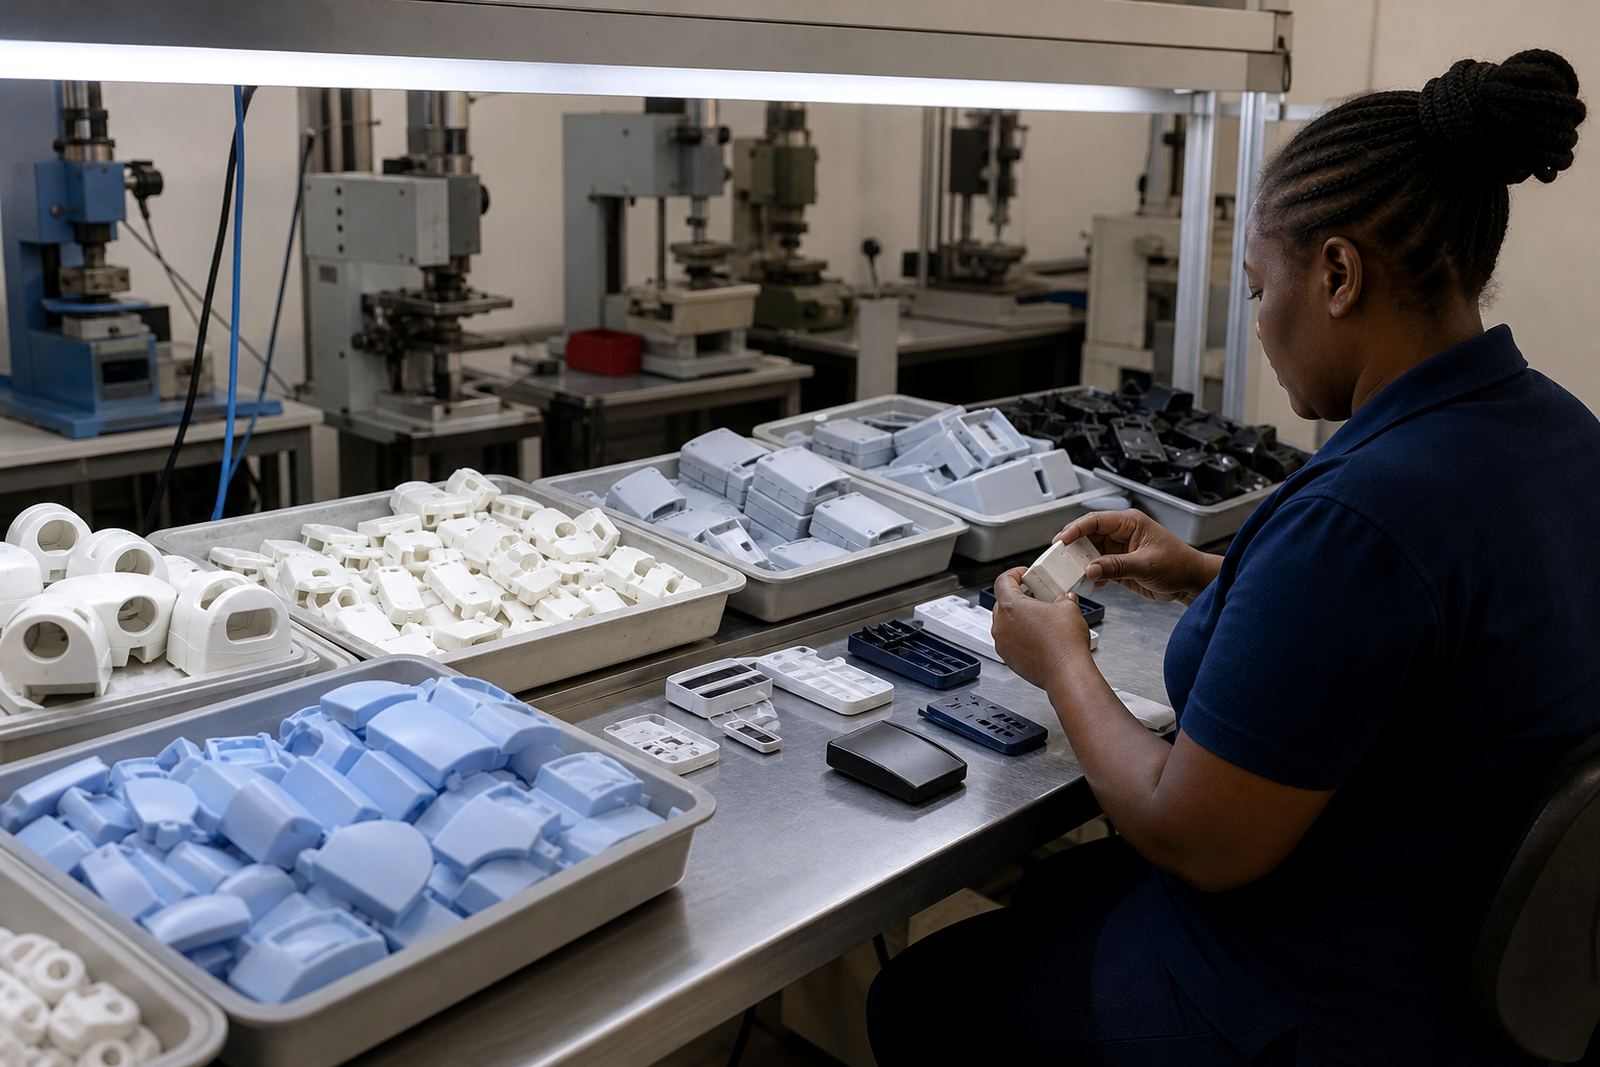
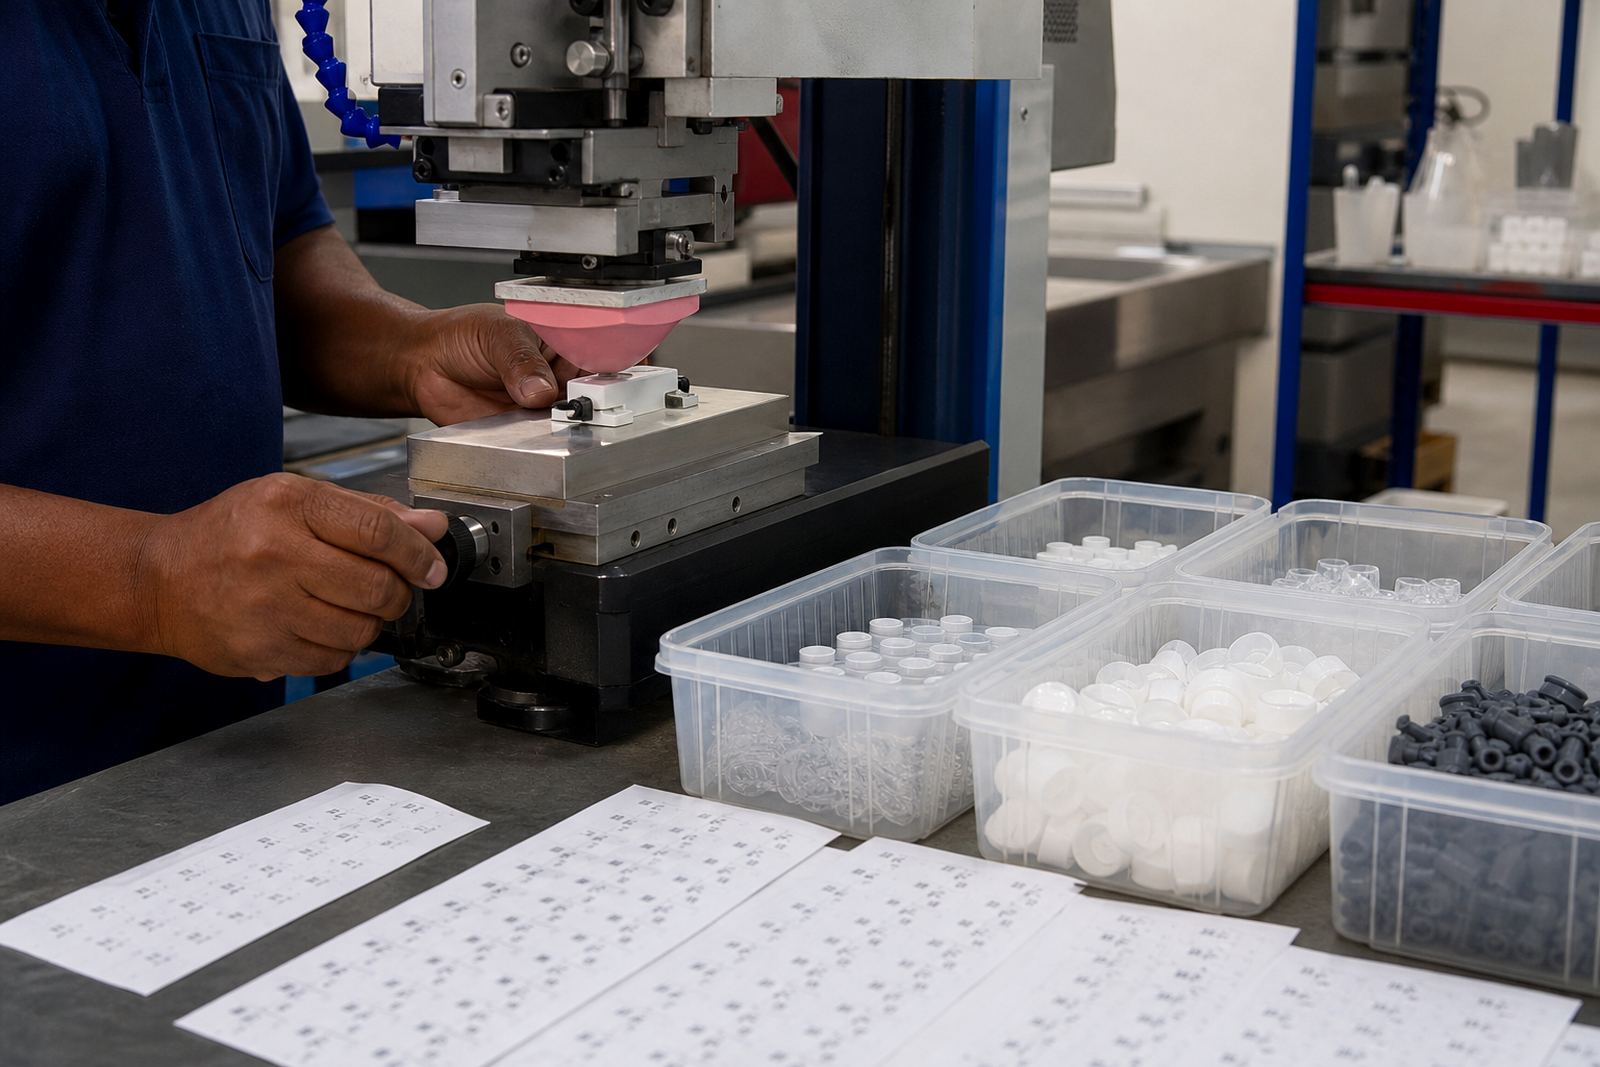
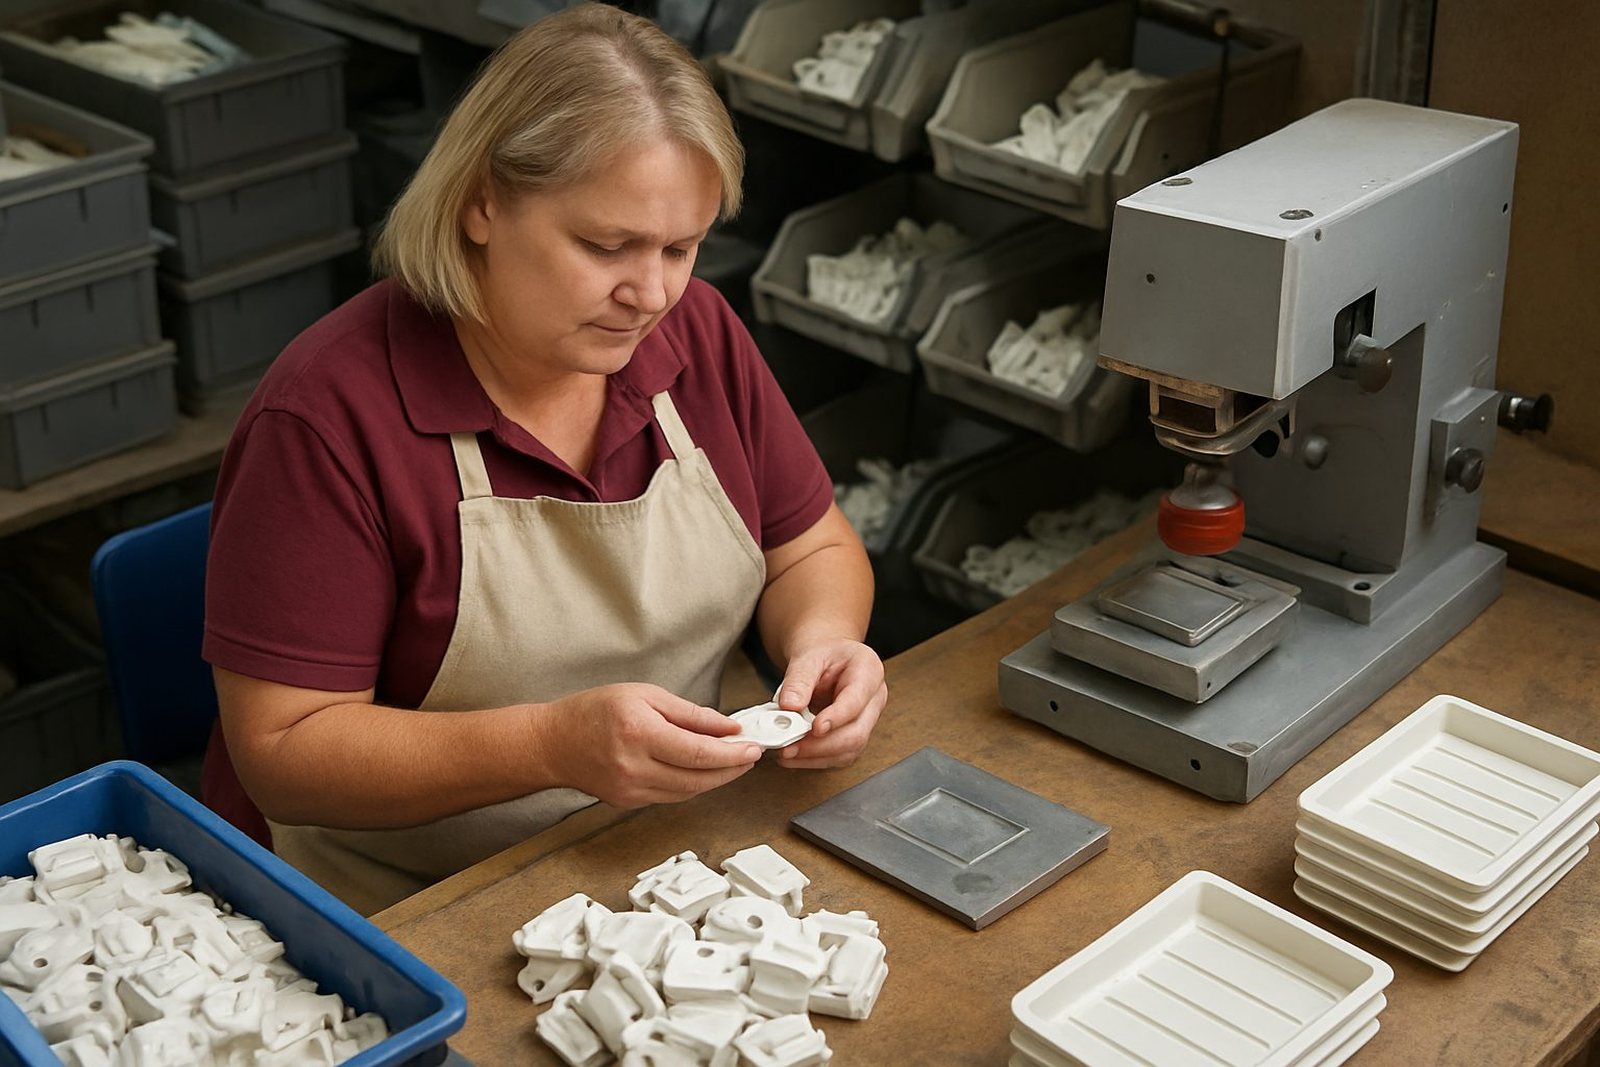
Most jobs reach our Westmead floor as a bag of moulded parts and a logo file that was drawn for a brochure, not a 6 mm cap. We start by holding a real part under the loupe, measuring the flat or curved area the mark has to sit on, and redrawing the artwork so fine lines and small type survive the pad transfer.
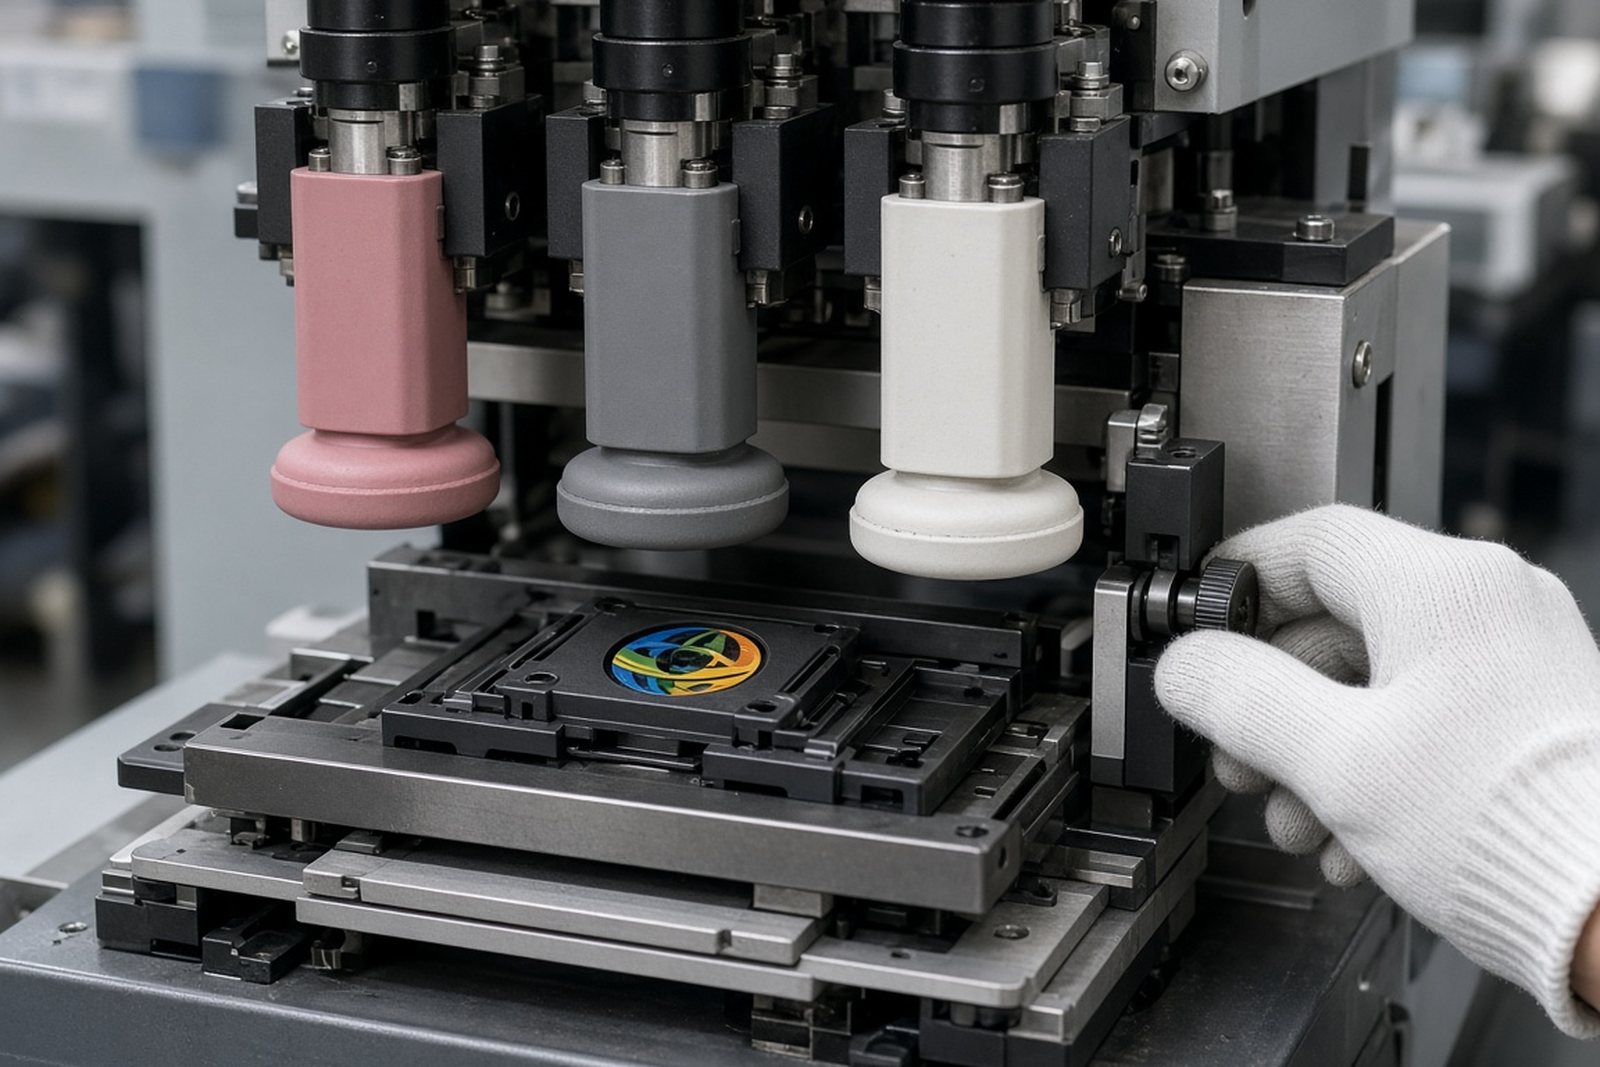
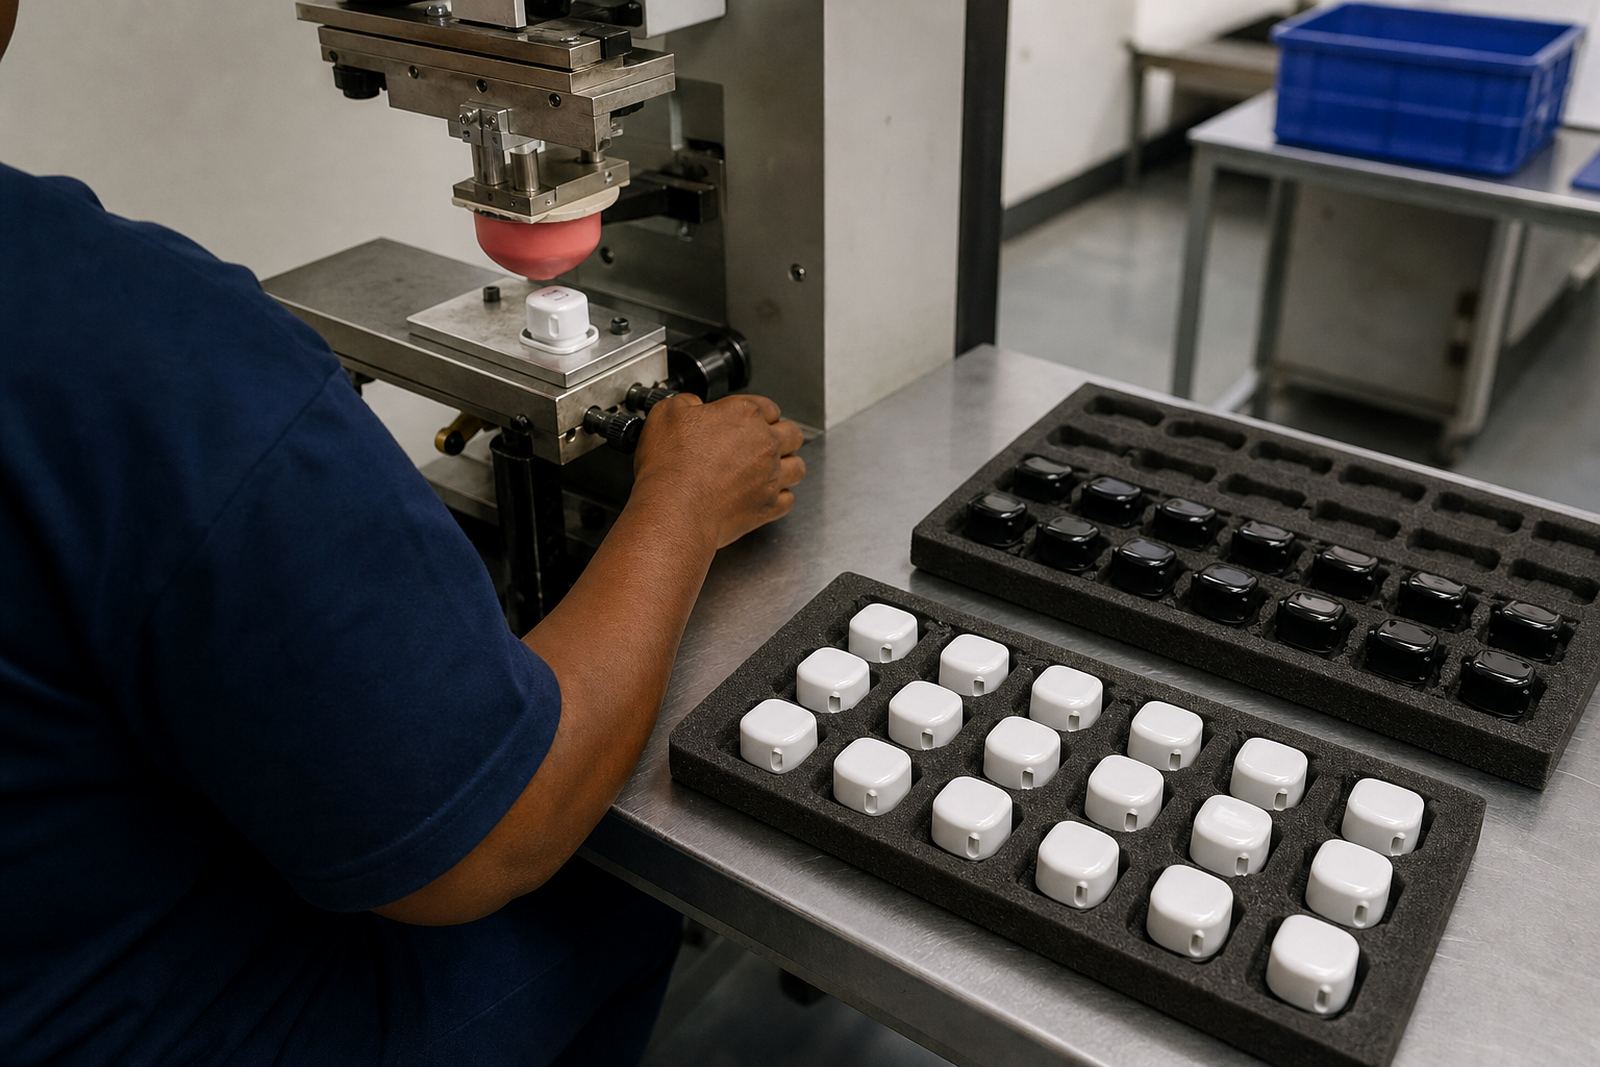
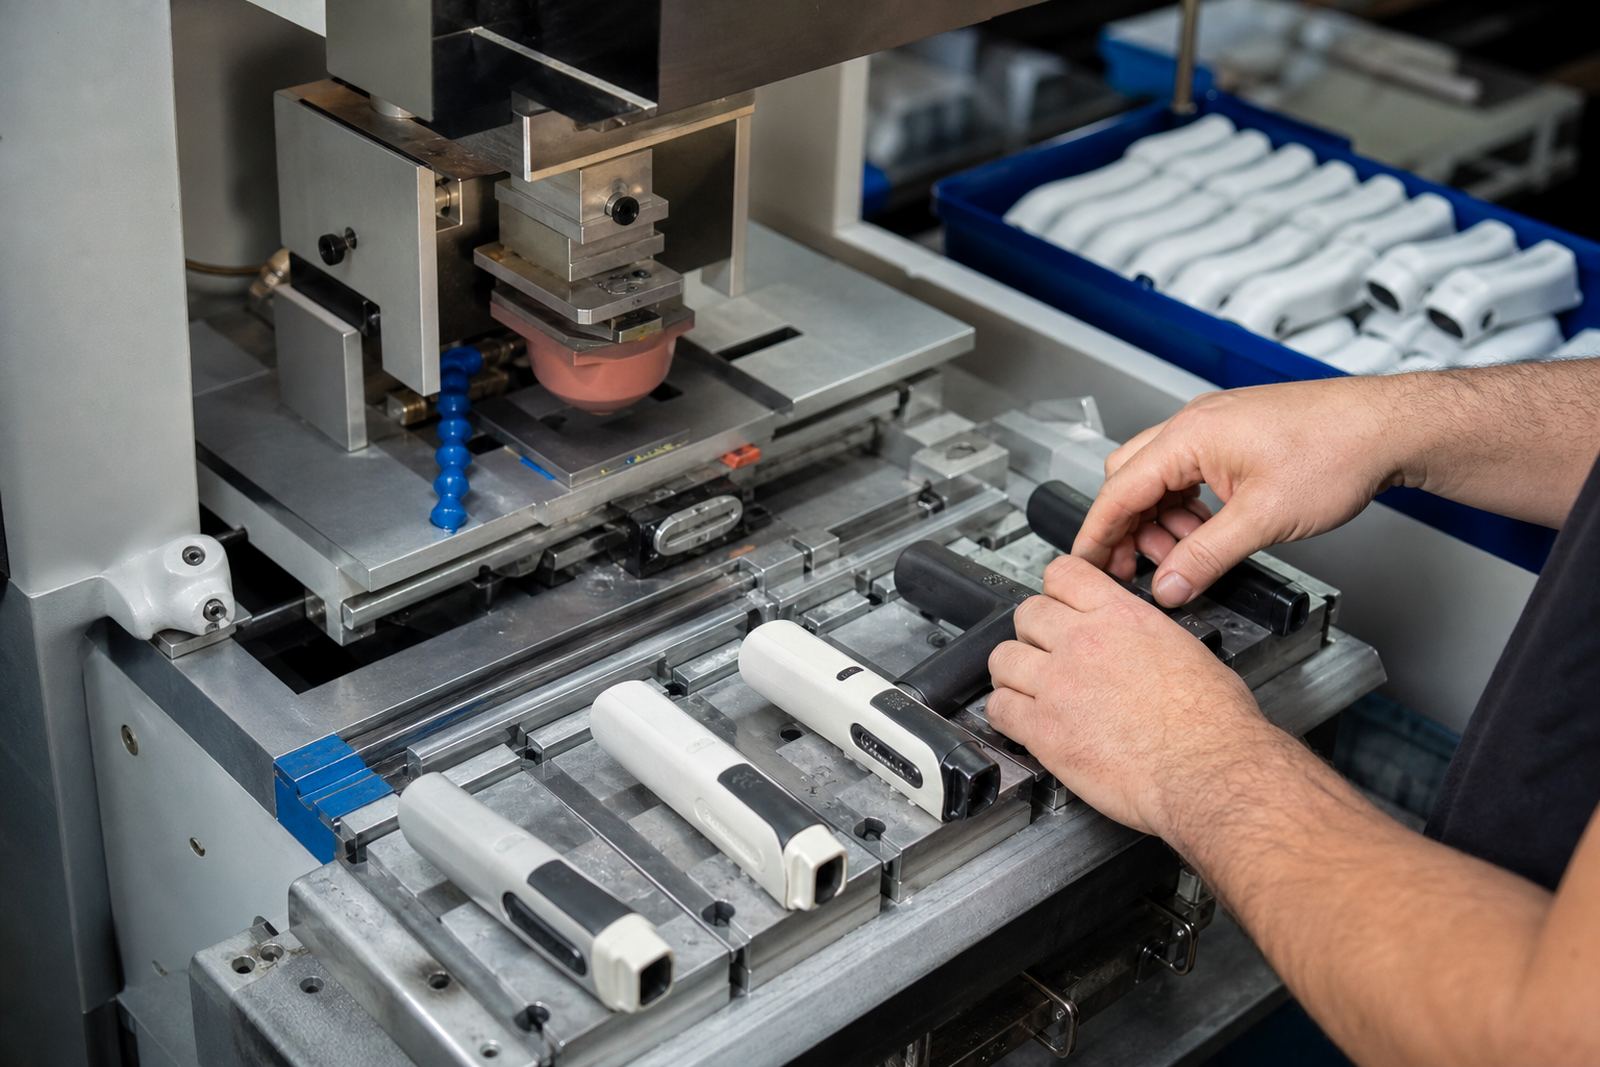
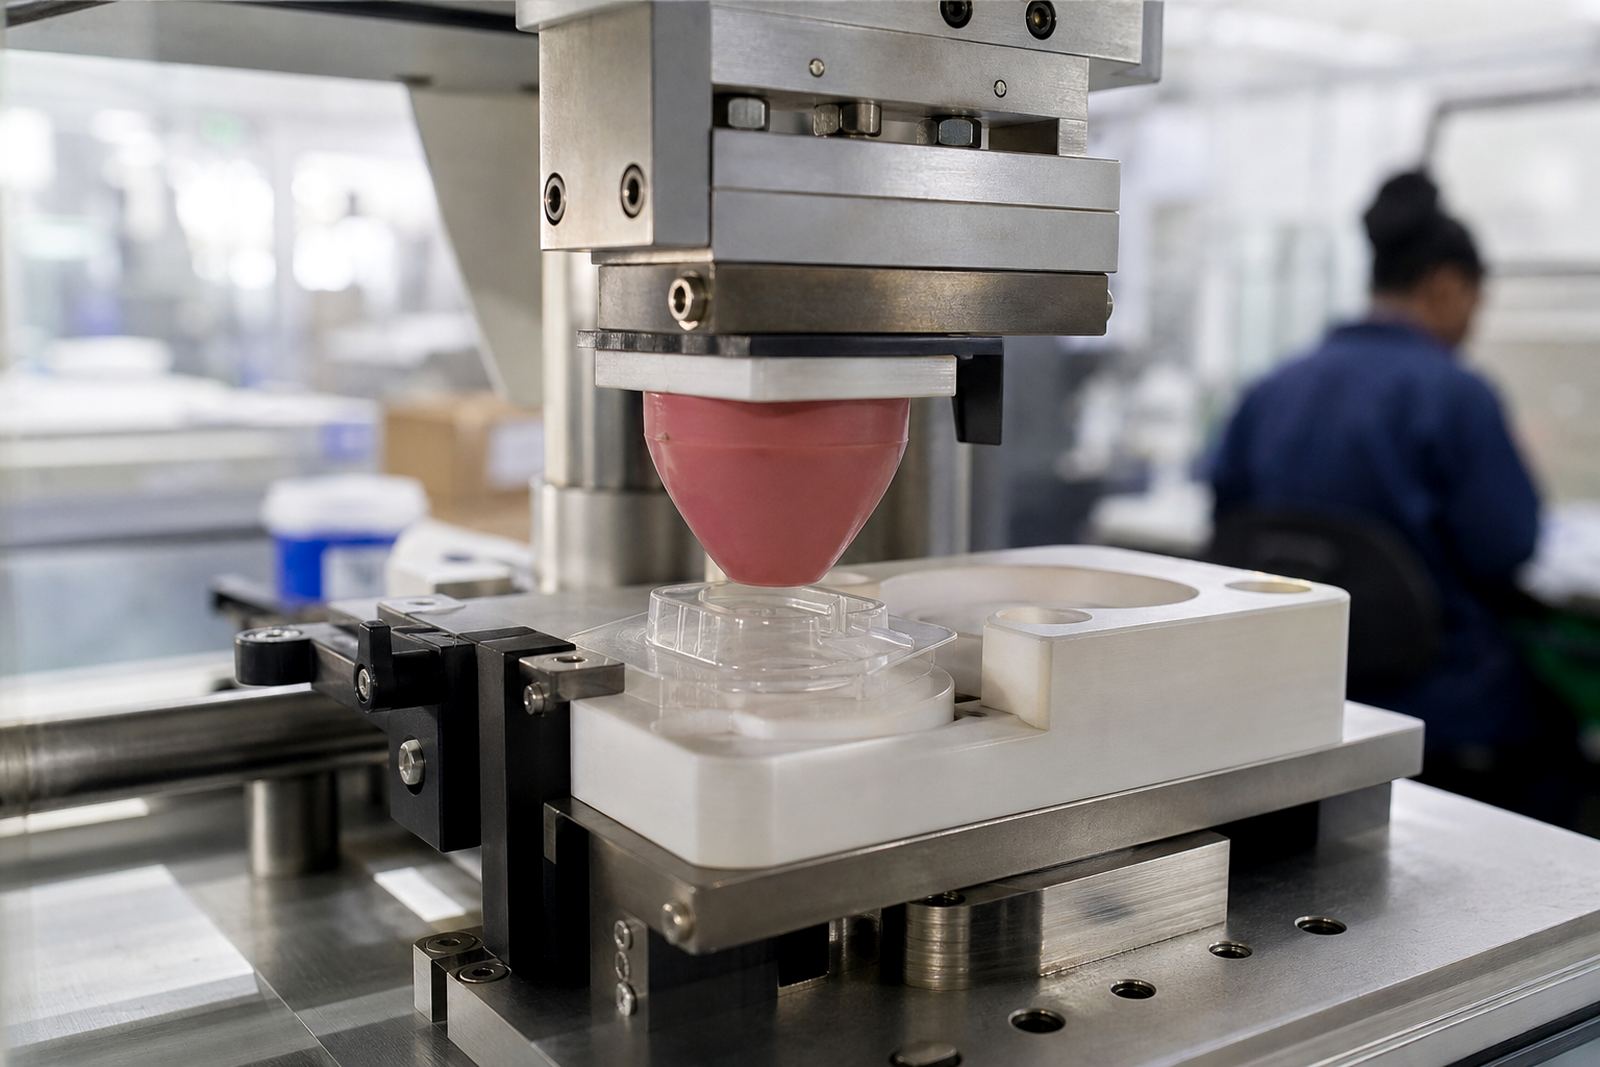
Next we cut a test cliché and build a nest that holds the part the same way every time. A short sample run goes back to you with the print on your actual material, so adhesion, opacity and placement are judged on the part that will ship, not on a proof.
- Part check and artwork redraw for the real print area
- Cliché etch and a fixture made around your part
- Sample run on your material, with rub and tape checks
- Approved settings filed so the repeat batch matches the sample
Materials we mark most weeks
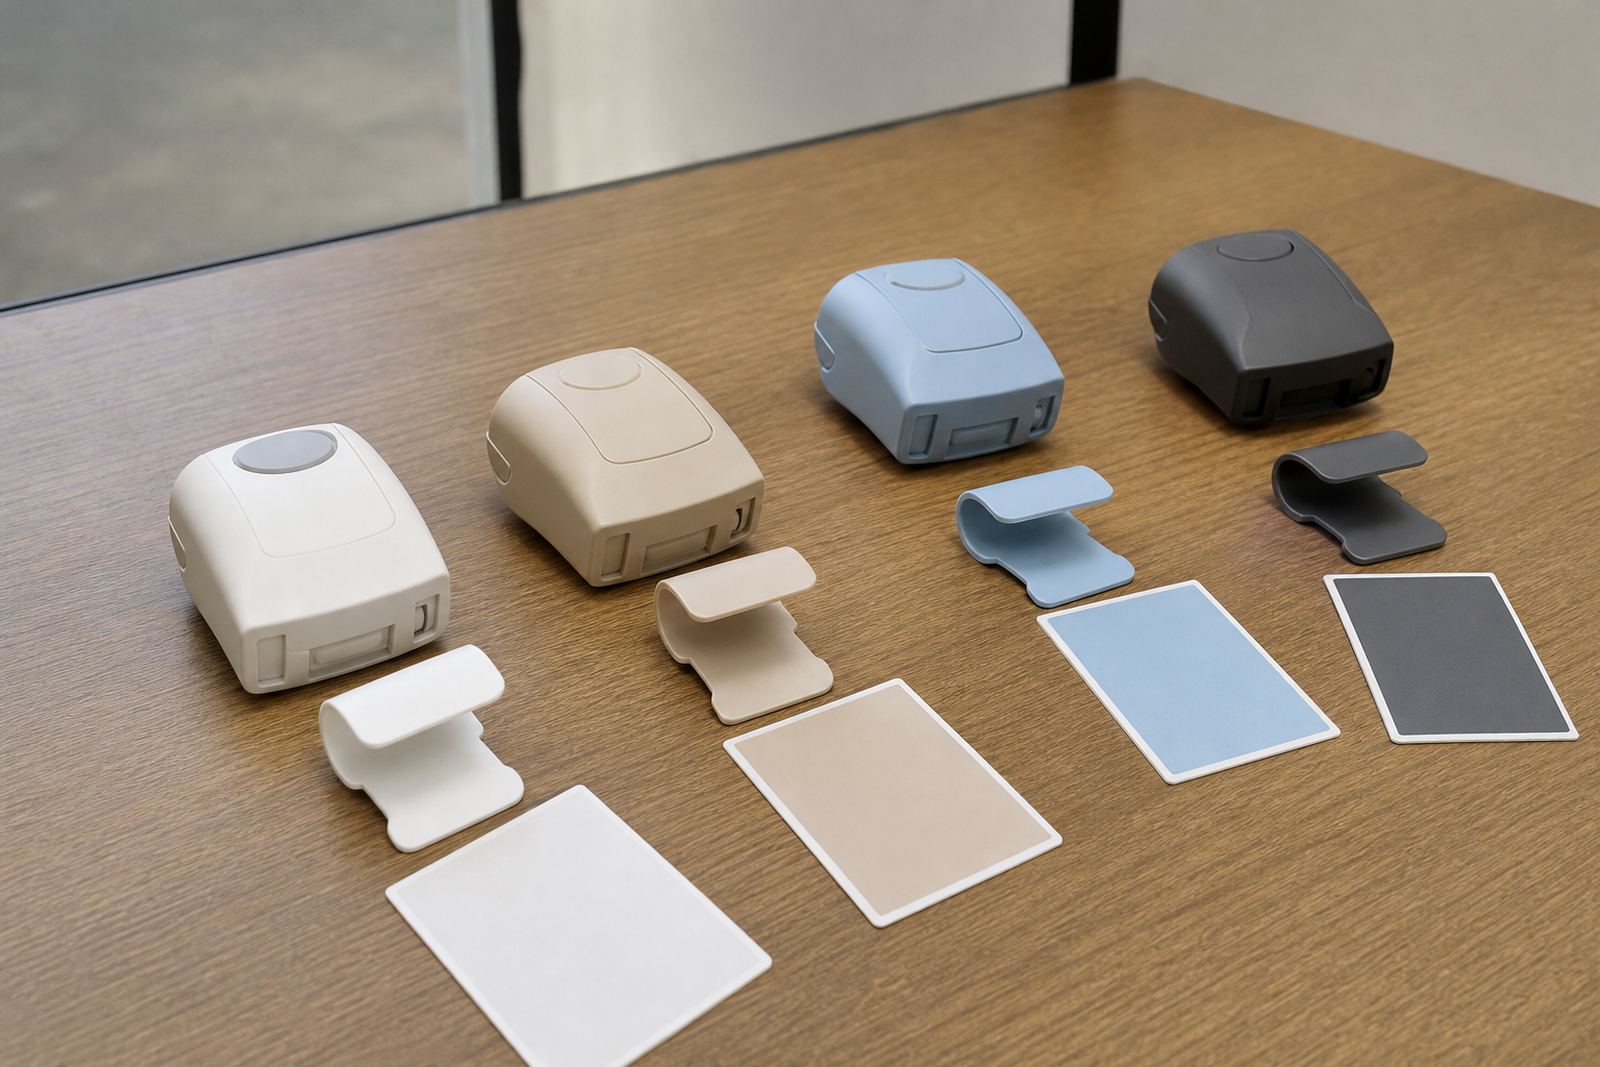
Polypropylene, ABS, polycarbonate, nylon and coated metal parts make up most of the work, and each takes ink differently. Low-energy plastics such as PP and PE often need flame or plasma treatment before the ink will key, while polycarbonate windows usually print cleanly with the right two-part ink. We note the treatment, ink and cure used on every job card.
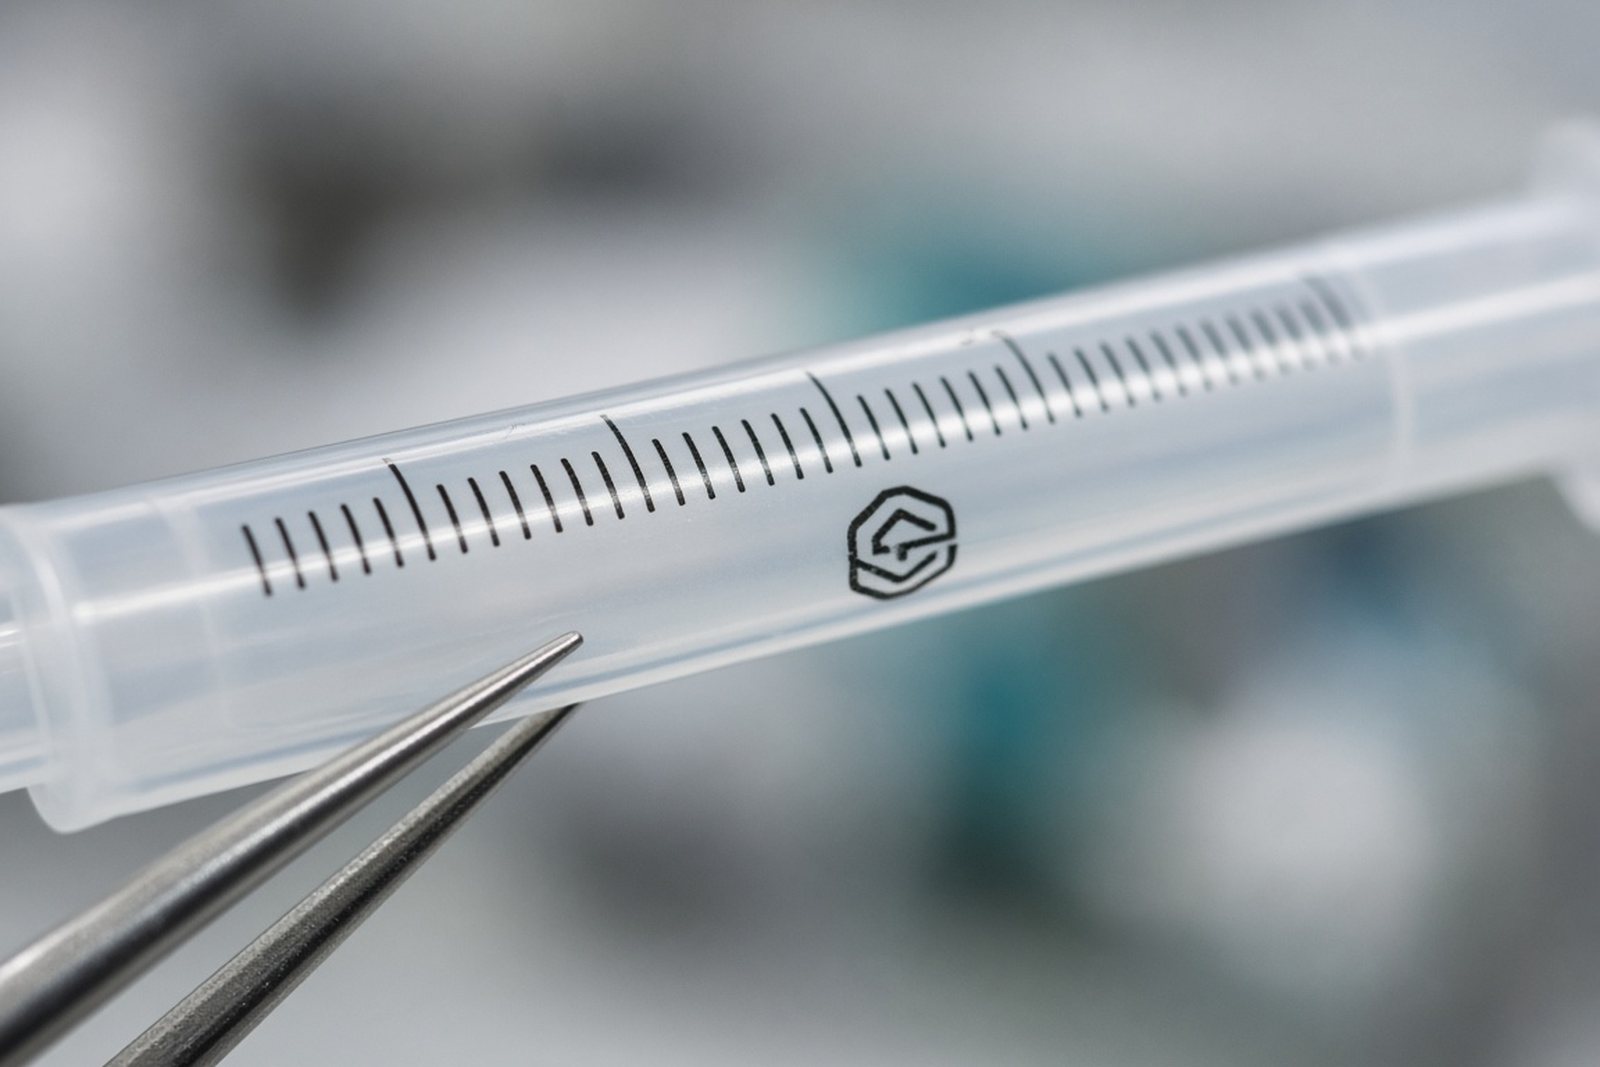
- Syringe barrels, caps and luer parts
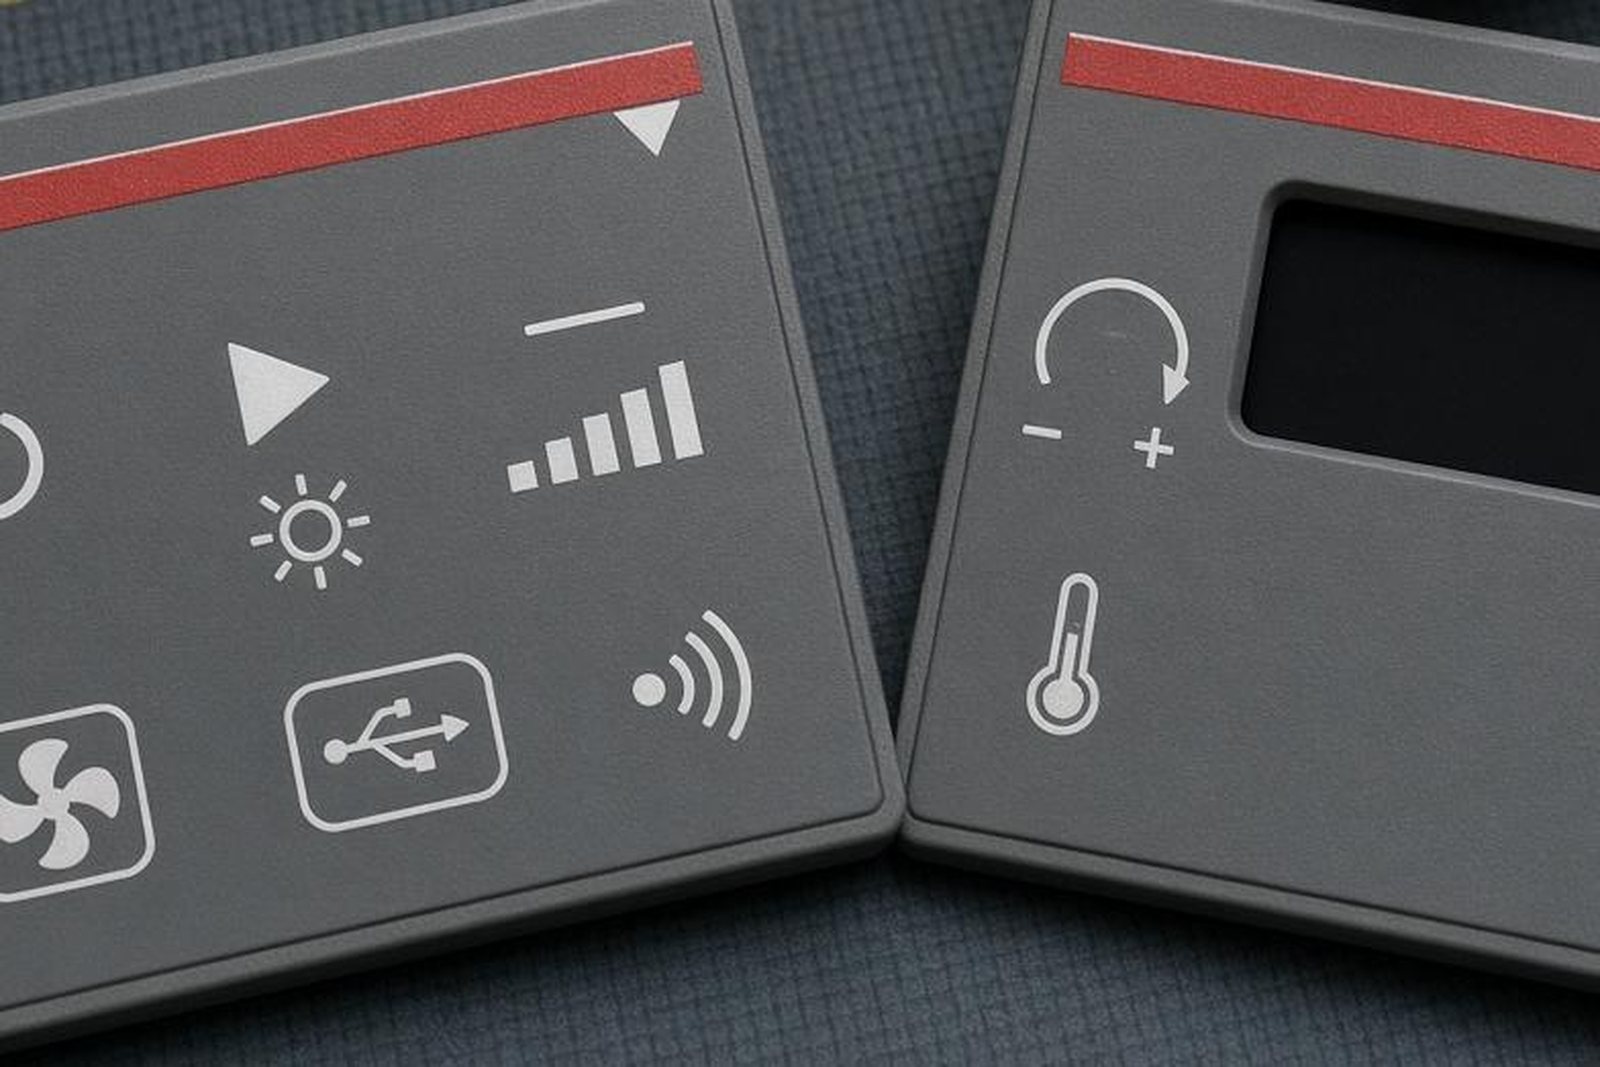
- Instrument housings and enclosure fronts
- Switch caps, keypads and connector bodies
- Lab tubes, racks and specimen containers