

How To Scope A Pad Printing Job Properly
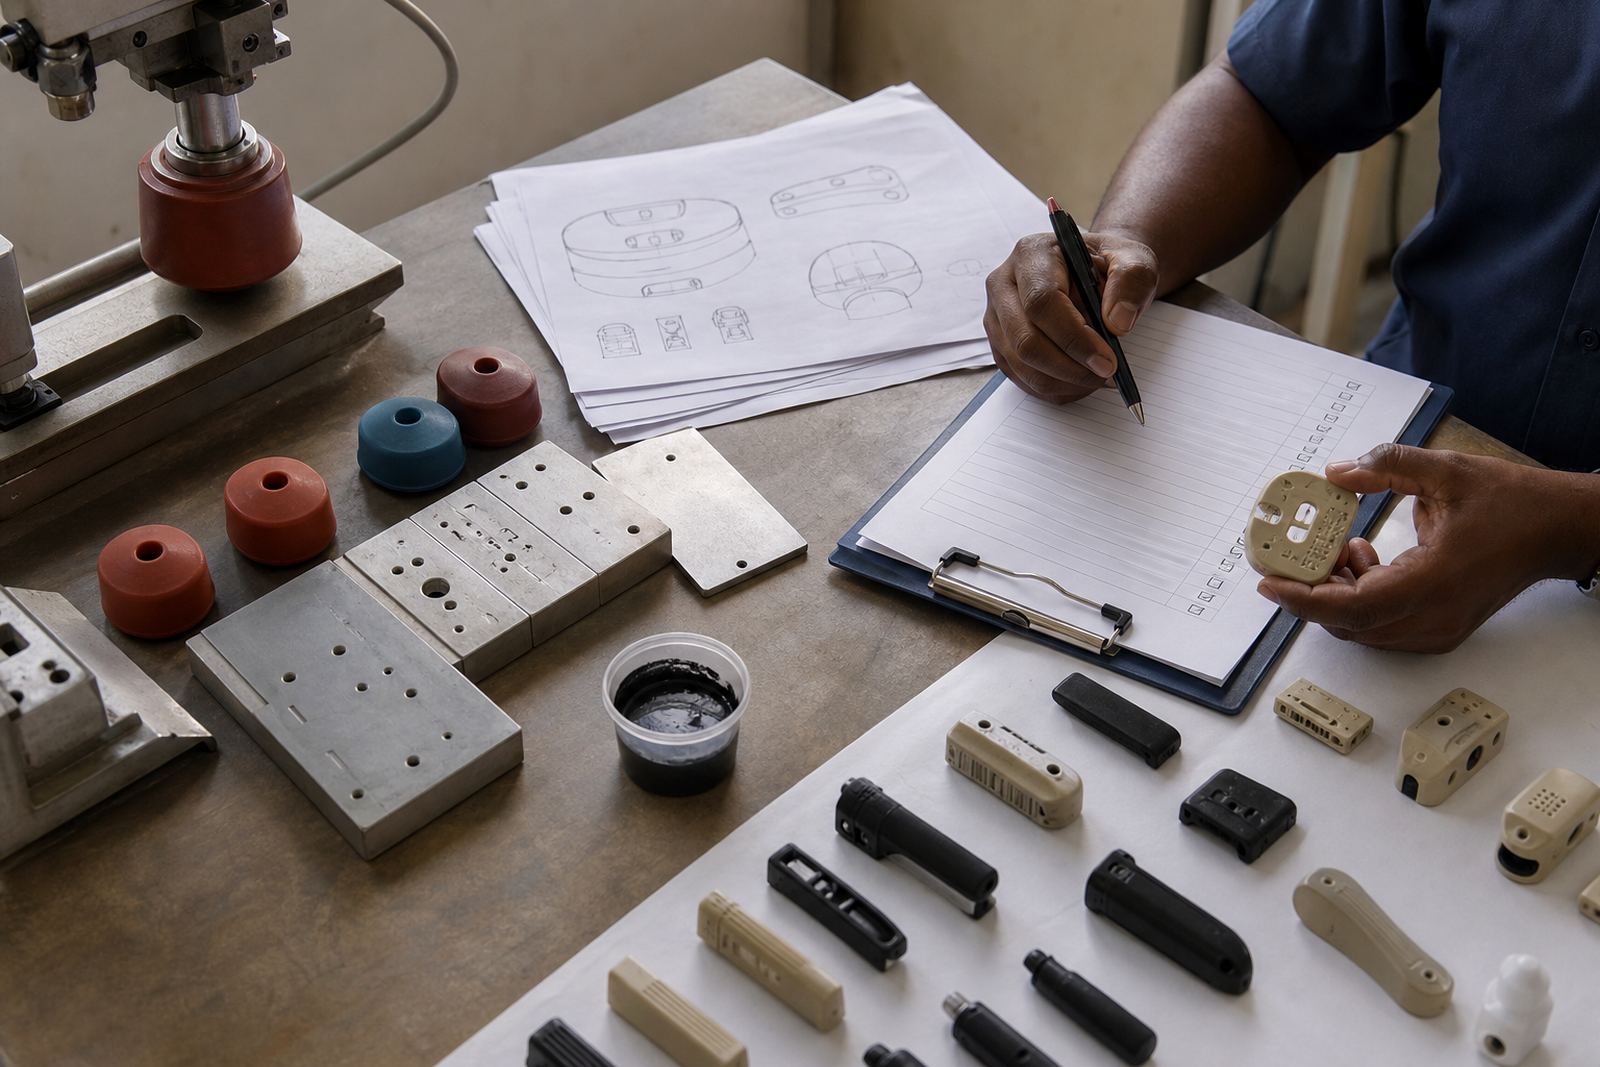
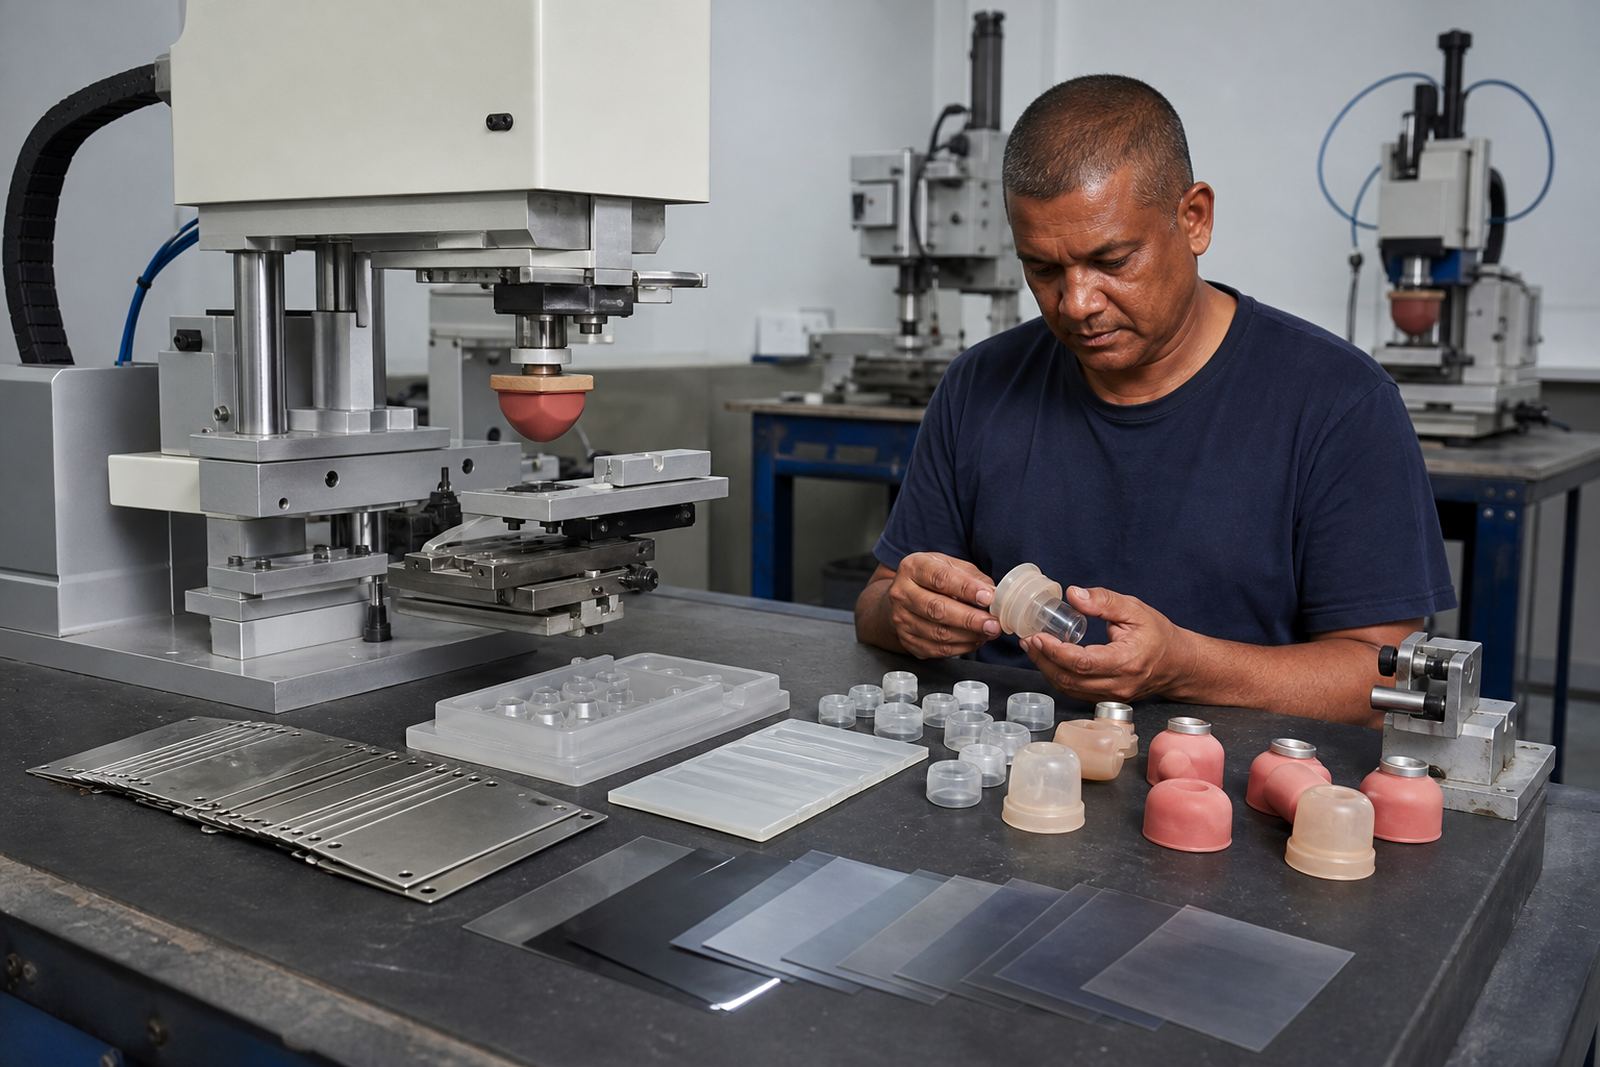
Pad printing is often used where a part has curves, recesses or a small print area that screen printing cannot cover neatly. A silicone pad lifts ink from an etched plate and transfers it onto plastic, coated metal, rubber or other suitable component surfaces. For medical and electronic parts, the first step is to define what must be marked, where it must sit, and how durable the mark needs to be in service.
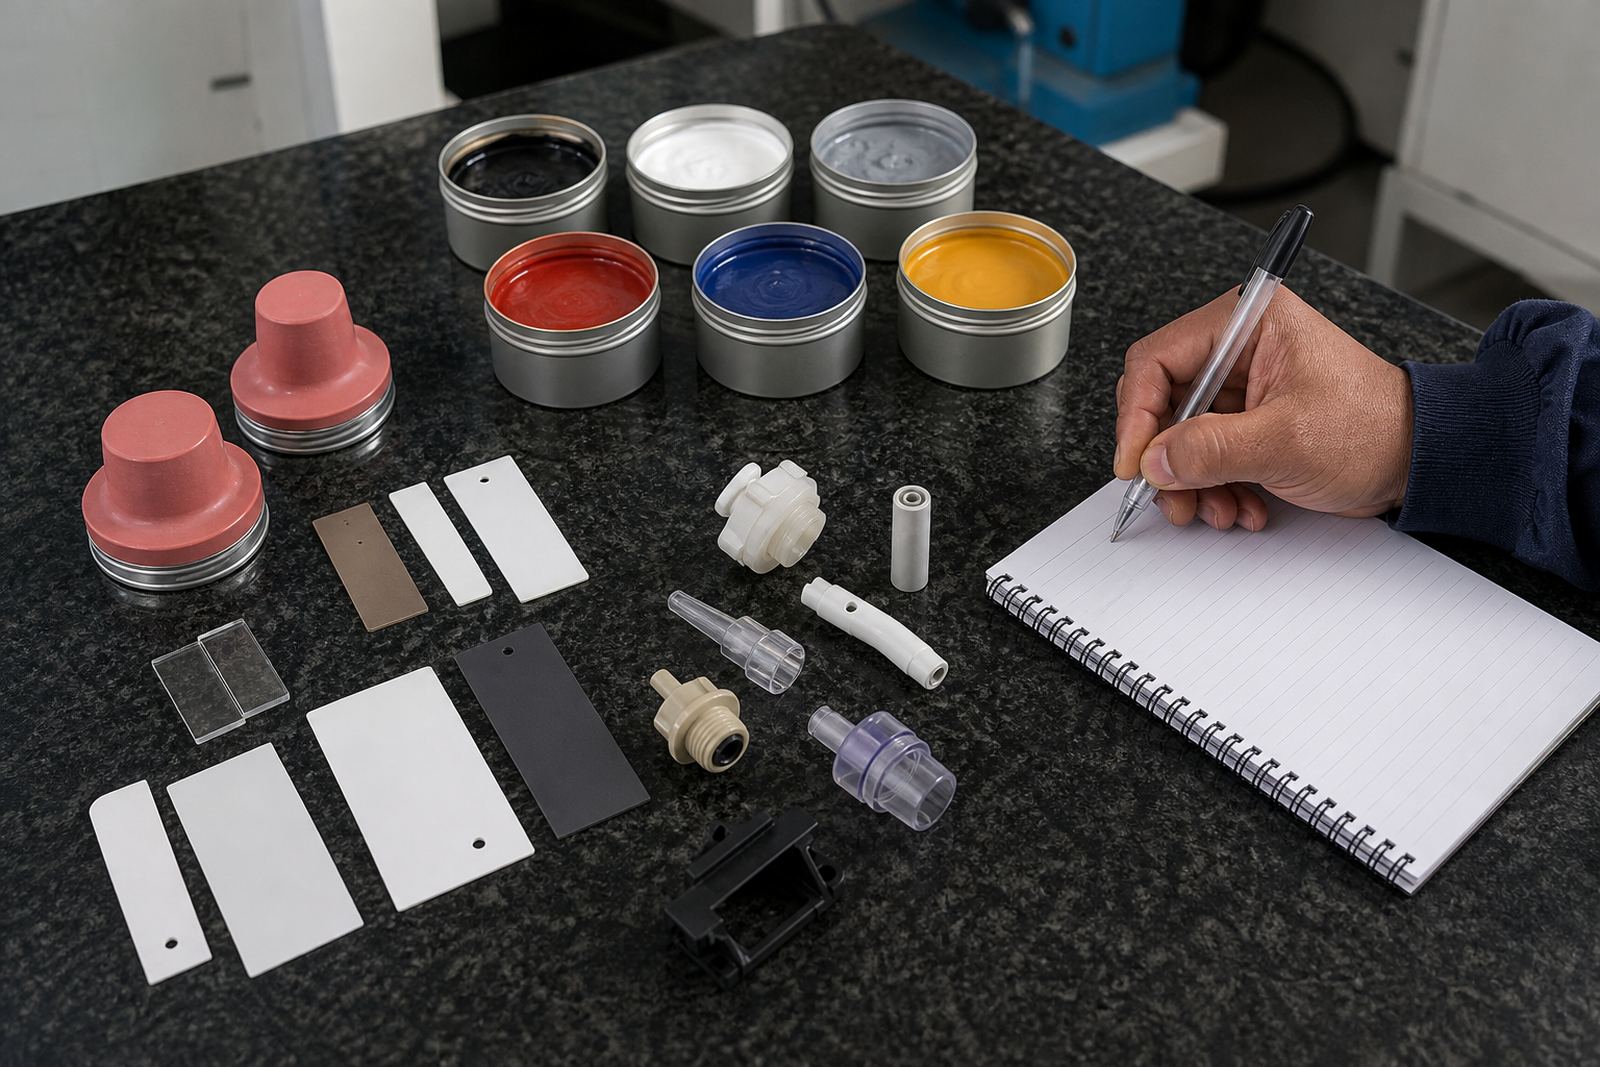
Before a quote or sample run, it helps to confirm the substrate, surface finish, part size, expected handling, and whether the item will face cleaning agents, heat, moisture or repeated abrasion. In coastal areas like Durban and Pinetown, humidity can affect ink behaviour and drying times, so the process setup needs to reflect local conditions not just the drawing.
- Part material and surface texture
- Print area dimensions and curvature
- Required colour, opacity and legibility
- Cleaning, sterilisation or wear exposure
- Quantity for trial samples and production
Artwork, Logos And Marking Details That Print Cleanly
Good pad printing starts with artwork that is simple enough to transfer cleanly, but accurate enough to stay true to the original mark. Small text, fine lines and tiny symbols often need redraws or cleanup before plate exposure. If the print is going onto a medical or electronic part, the artwork should also consider the size of the available flat or curved area, because cramped details can blur when the silicone pad compresses.
Colour matching is usually best handled against a physical sample or approved reference part. Where exact brand colour is important, the job may need more than one sample pass. A practical artwork check at the start saves reruns later and keeps the print area realistic for the production line.
- Send vector artwork where possible
- Flag any tiny text or thin stroke lines
- Confirm orientation, alignment and print size
- Provide an approved sample if colour matching matters
Samples, Adhesion Tests And Trial Runs
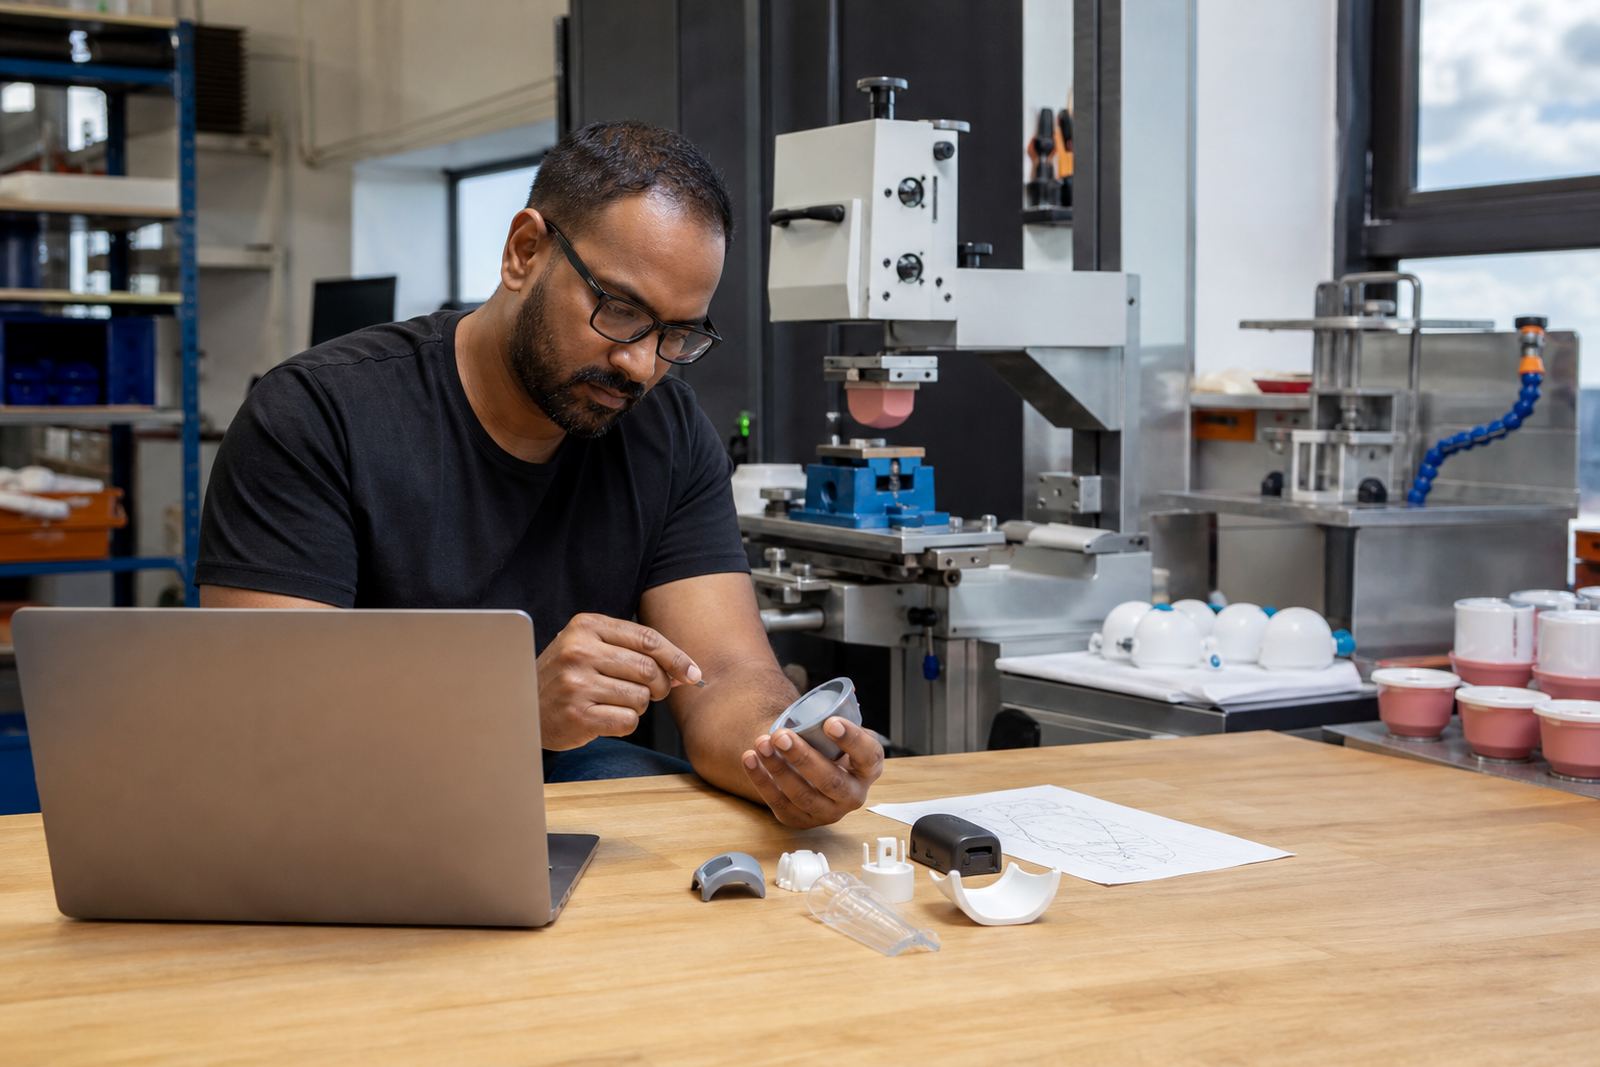
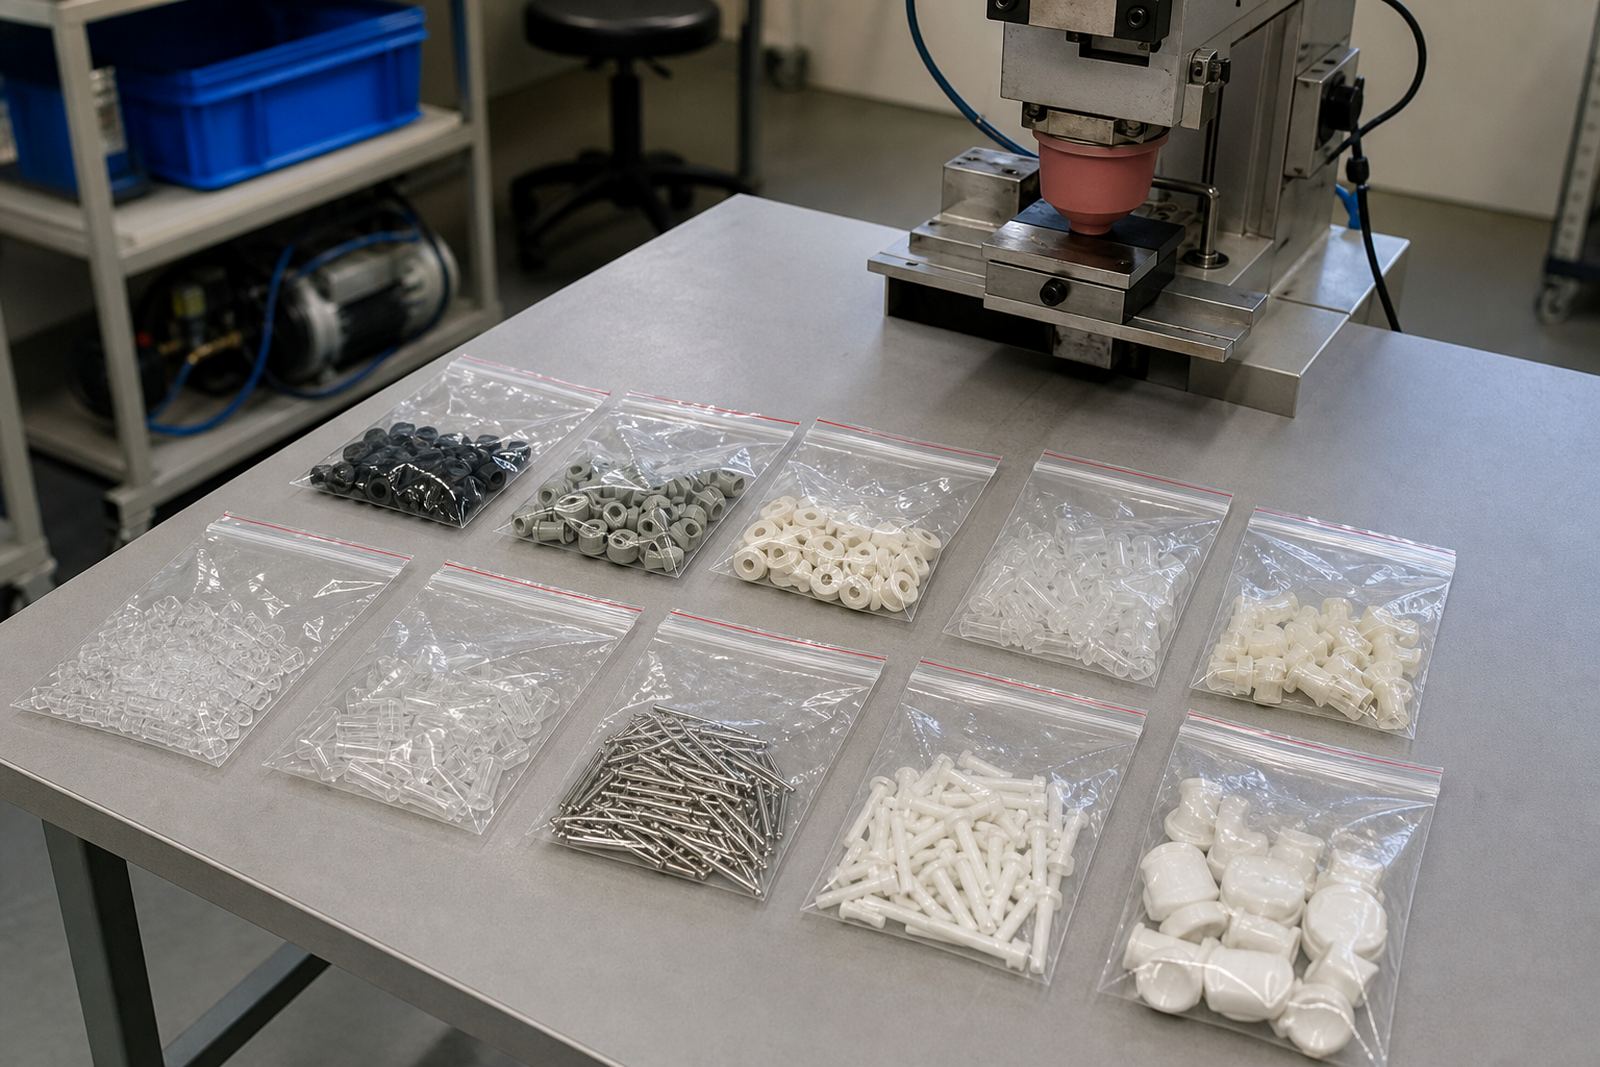
Trial sample runs are useful because they show how the ink behaves on the actual part, not just on paper. On some materials, the surface energy is low and the ink may need adjustment or pre-treatment before it grips properly. Adhesion test samples help confirm whether the chosen ink, cure method and handling sequence are suitable for the job.
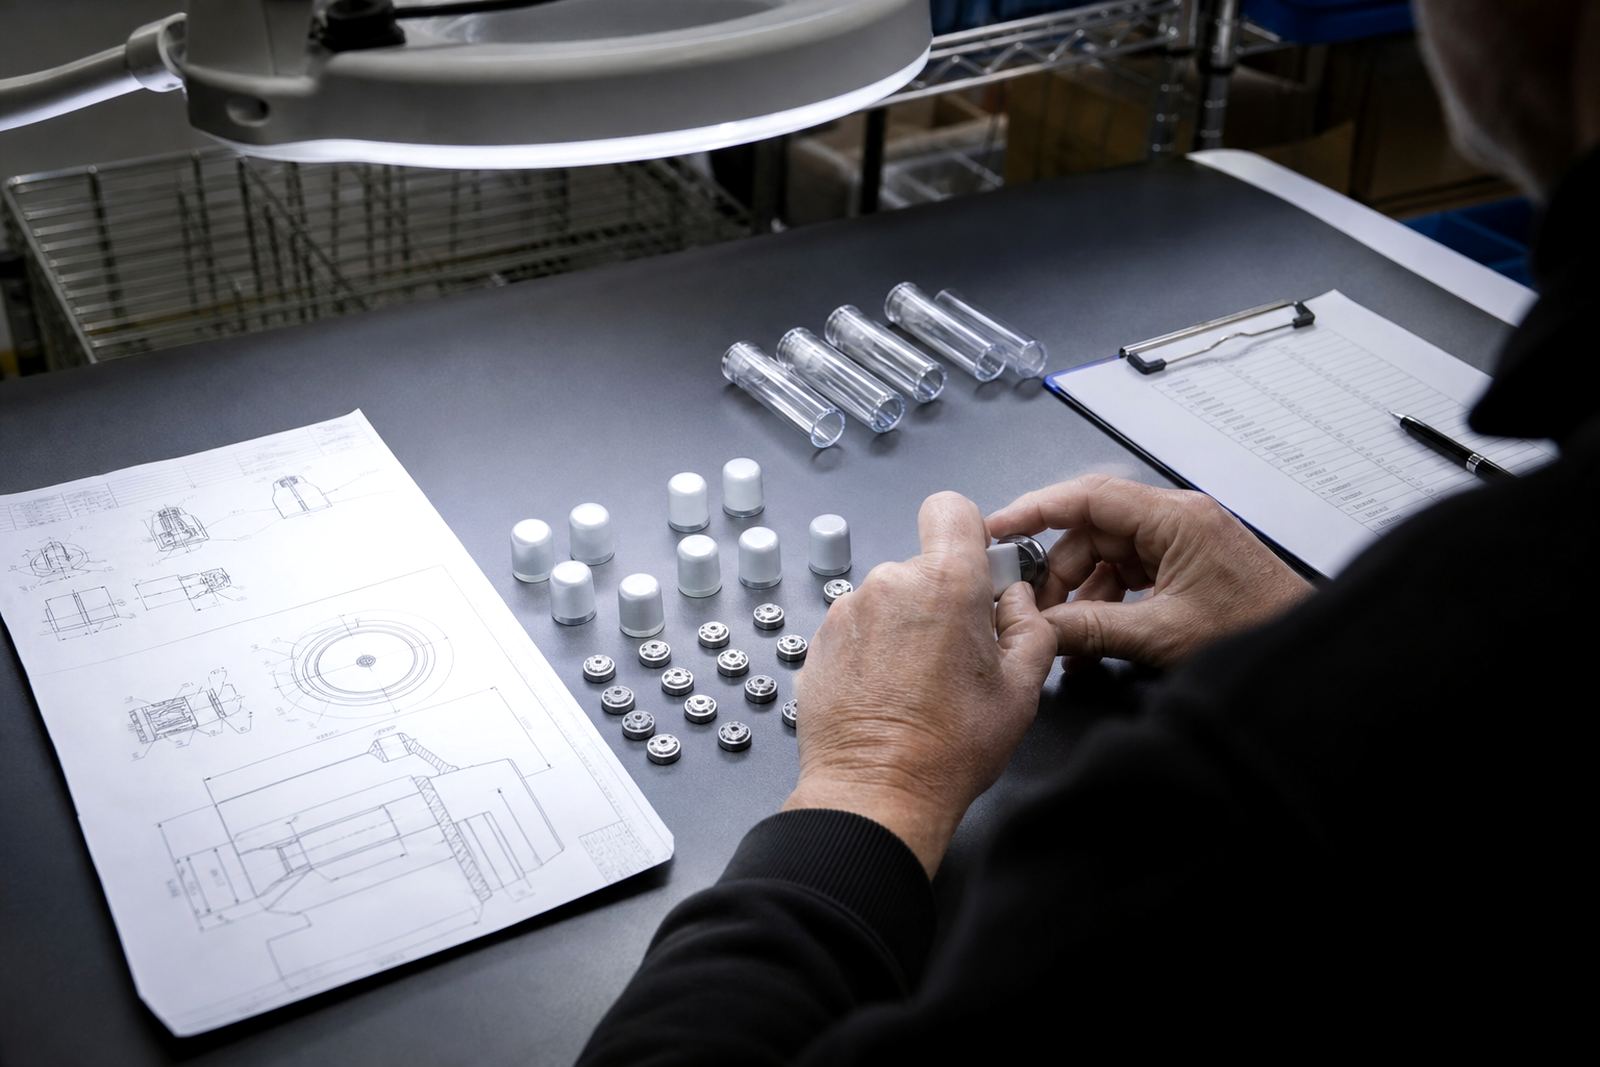
For buyers and engineers, a sample run also reveals whether the fixture holds the component correctly, whether the print lands in the right place, and whether the final mark survives normal handling. It is better to find out during sampling than after a full batch has already moved through production, packing and dispatch.
- Check for smudging, lift-off or poor edge definition
- Inspect registration on curved or uneven parts
- Confirm drying or curing time before handling
- Repeat the sample if material or finish changes
Curing, Drying And Production Timing
Pad printing ink must be dried or cured correctly to reach the intended finish and durability. Some jobs rely on air drying while others need heat or a different curing method, depending on the substrate and ink system selected. The choice affects turnaround time, handling strength and resistance to wear.
Production teams should plan for the full cycle, including setup, plate exposure, test prints, cure time and packing. That keeps reruns and rushed packing to a minimum.
- Allow for setup and first-off checks
- Confirm drying racks or cure equipment capacity
- Keep handling instructions clear for operators
- Plan extra time for rerun job control if approvals change
Fixture Making And Repeatable Print Control
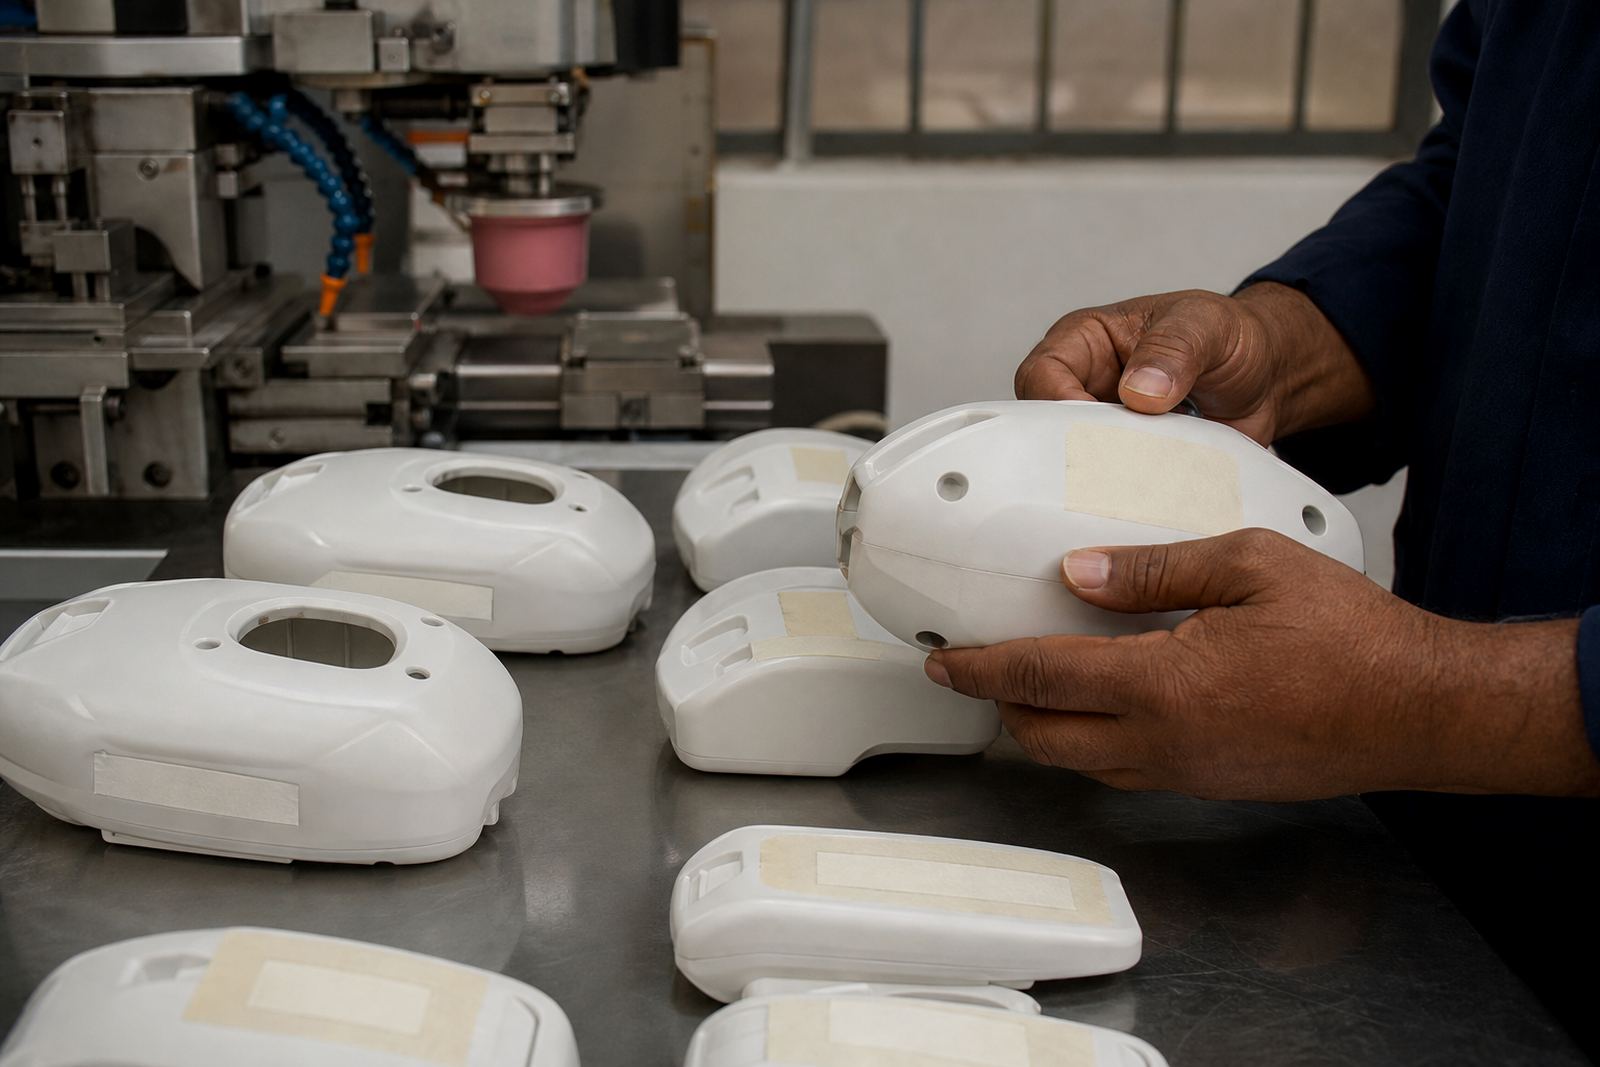
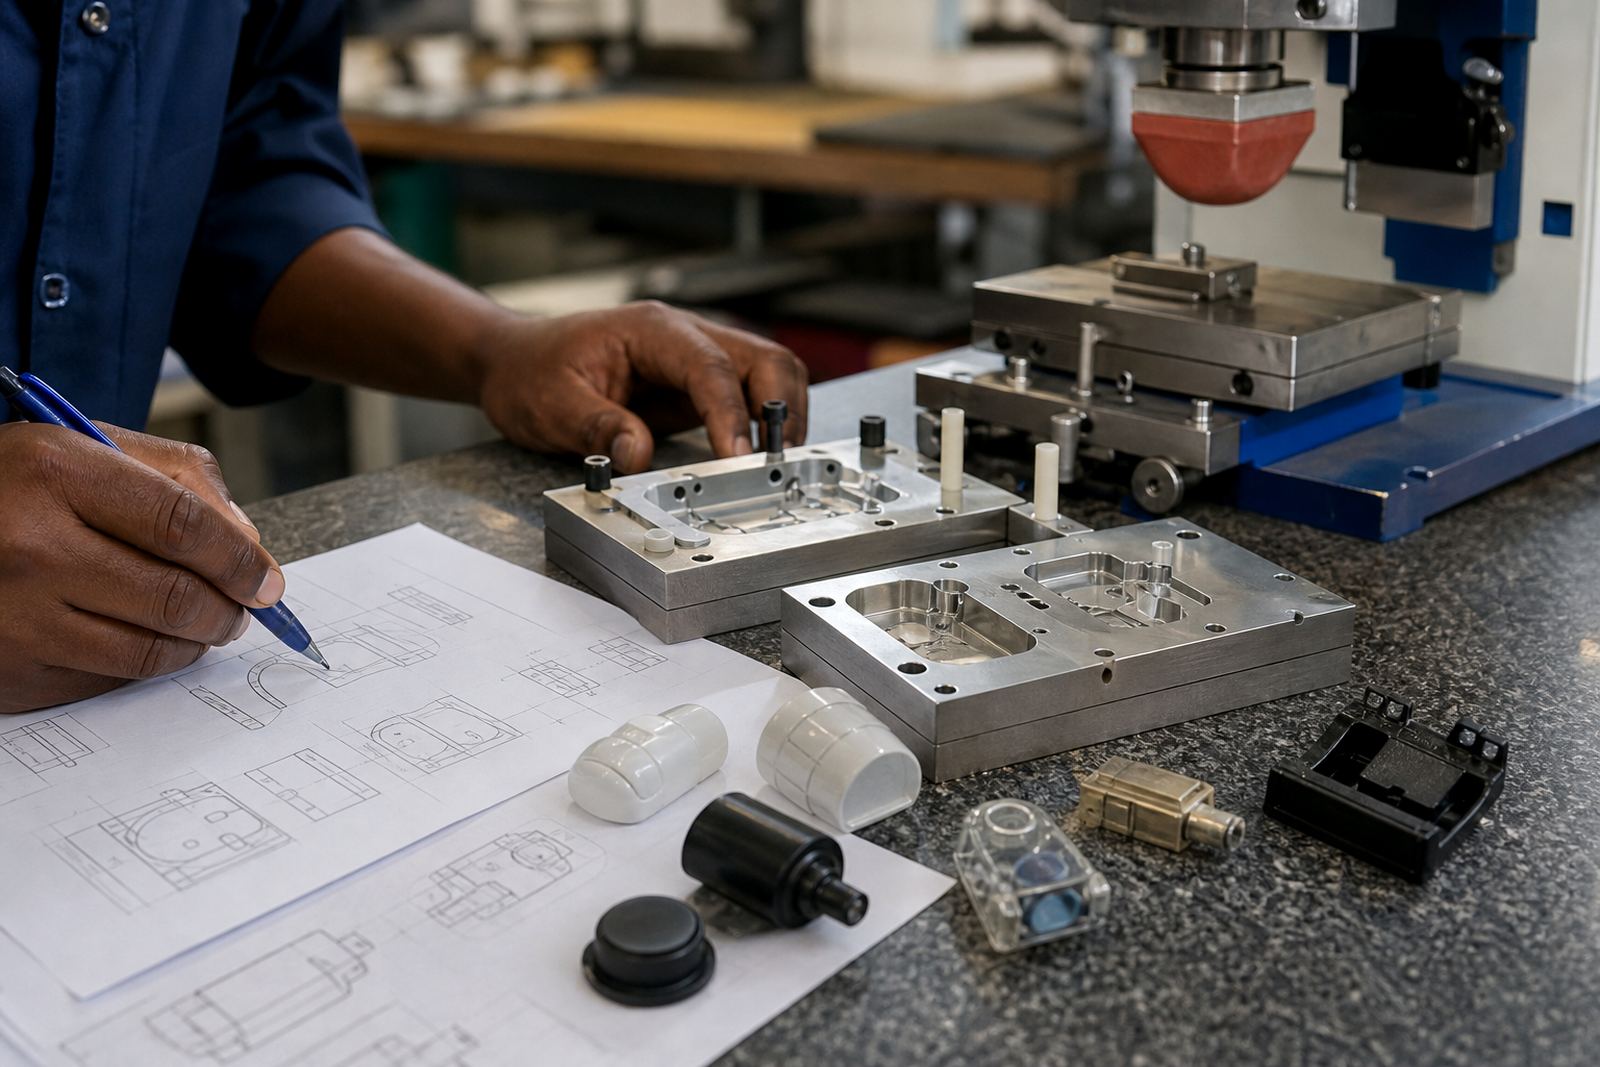
Once a job moves beyond samples, the fixture becomes important for keeping parts steady and repeatable. A well-made fixture holds each component in the same position so the pad lands consistently from one part to the next. This matters on medical and electronic items where a slight shift can make a logo, warning mark or reference line look off centre.
Repeatable control also depends on plate etching, pad condition, ink viscosity and machine setup. If any of these drift, the print result can vary. That is why production planning should include checks for long runs, reruns and packing so the job stays consistent from the first part to the last.
- Use fixtures that suit the exact part geometry
- Check alignment at the start of each batch
- Monitor pad wear and plate condition
- Keep batch records for follow-up jobs
What Buyers Should Prepare Before Enquiry
When sending an enquiry from Pinetown, Durban, Johannesburg, Pretoria, Cape Town or Gqeberha, the more detail you provide the easier it is to assess the job. A clear brief helps us advise on artwork preparation, print area planning, curing method selection and whether the part needs a trial sample before production.
Device compliance and product approval remain the customer's responsibility. Our role is to support the print process, from plate exposure and plate etching to dispatch packing, while keeping the mark legible and consistent on the actual component. If the component travels between branches or sites in Westmead, New Germany or Westville, that can also be factored into the packing and handover plan.
- Part drawings, photos or physical samples
- Required print position and area size
- Expected order quantity and repeat schedule
- Any handling, cleaning or curing constraints