Why the part shape decides the process
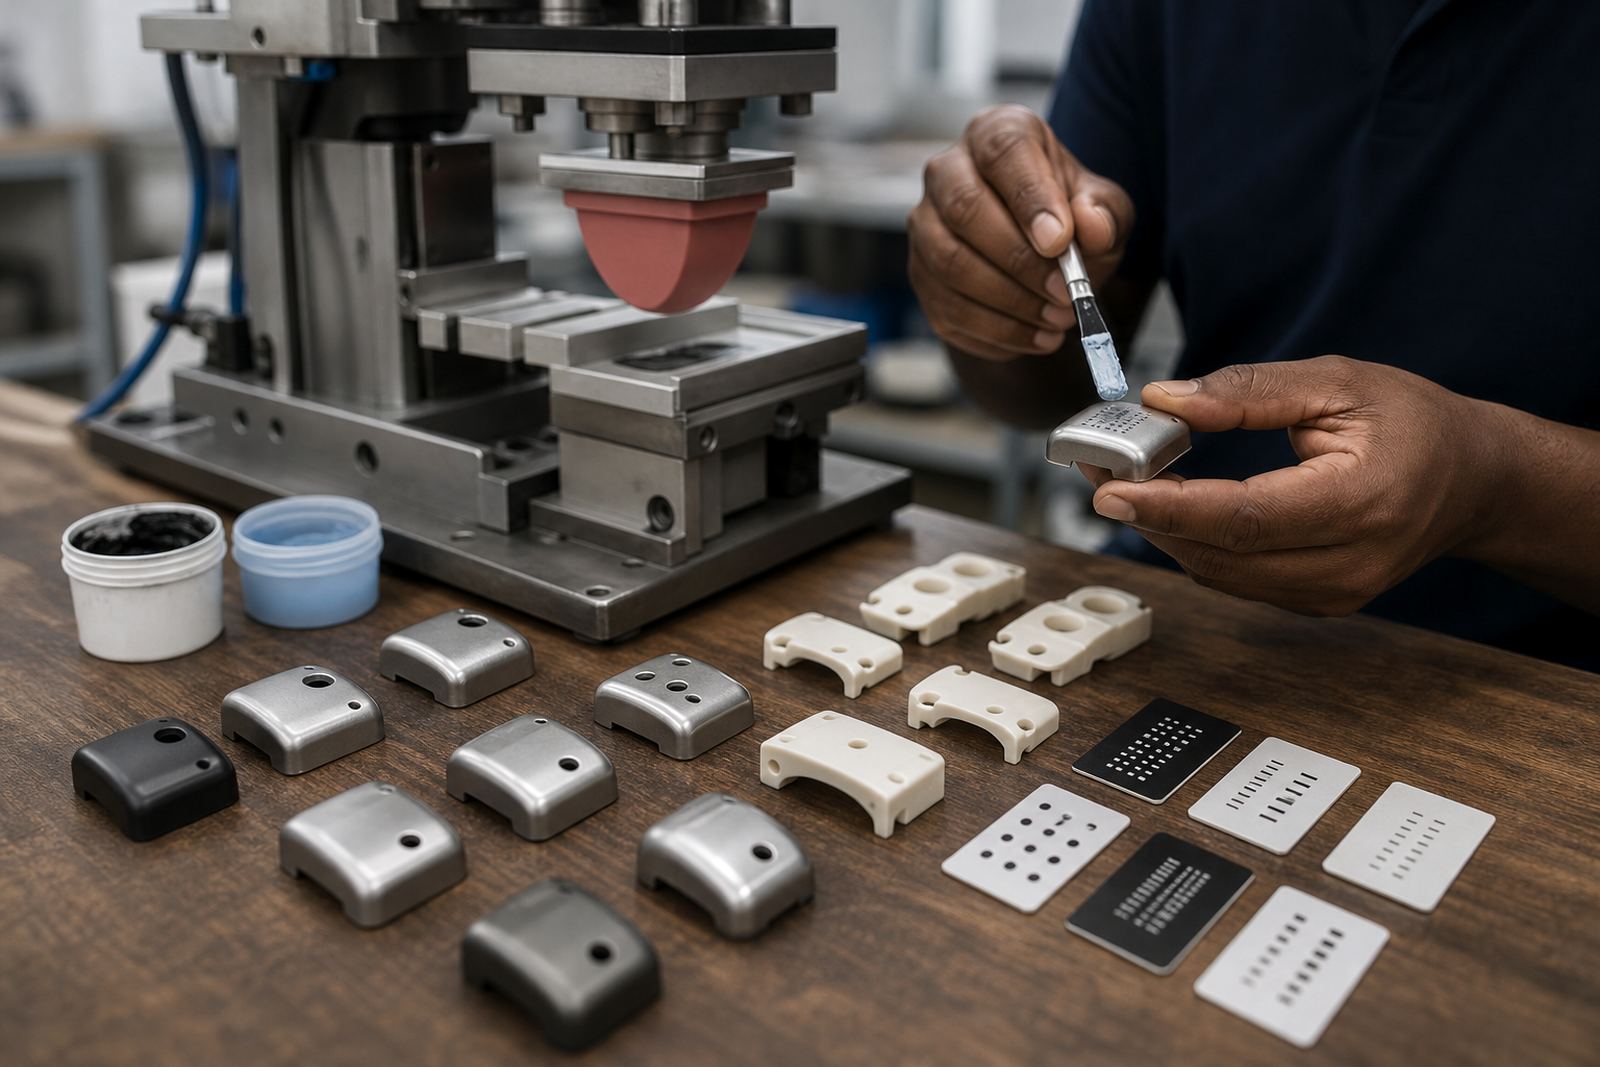
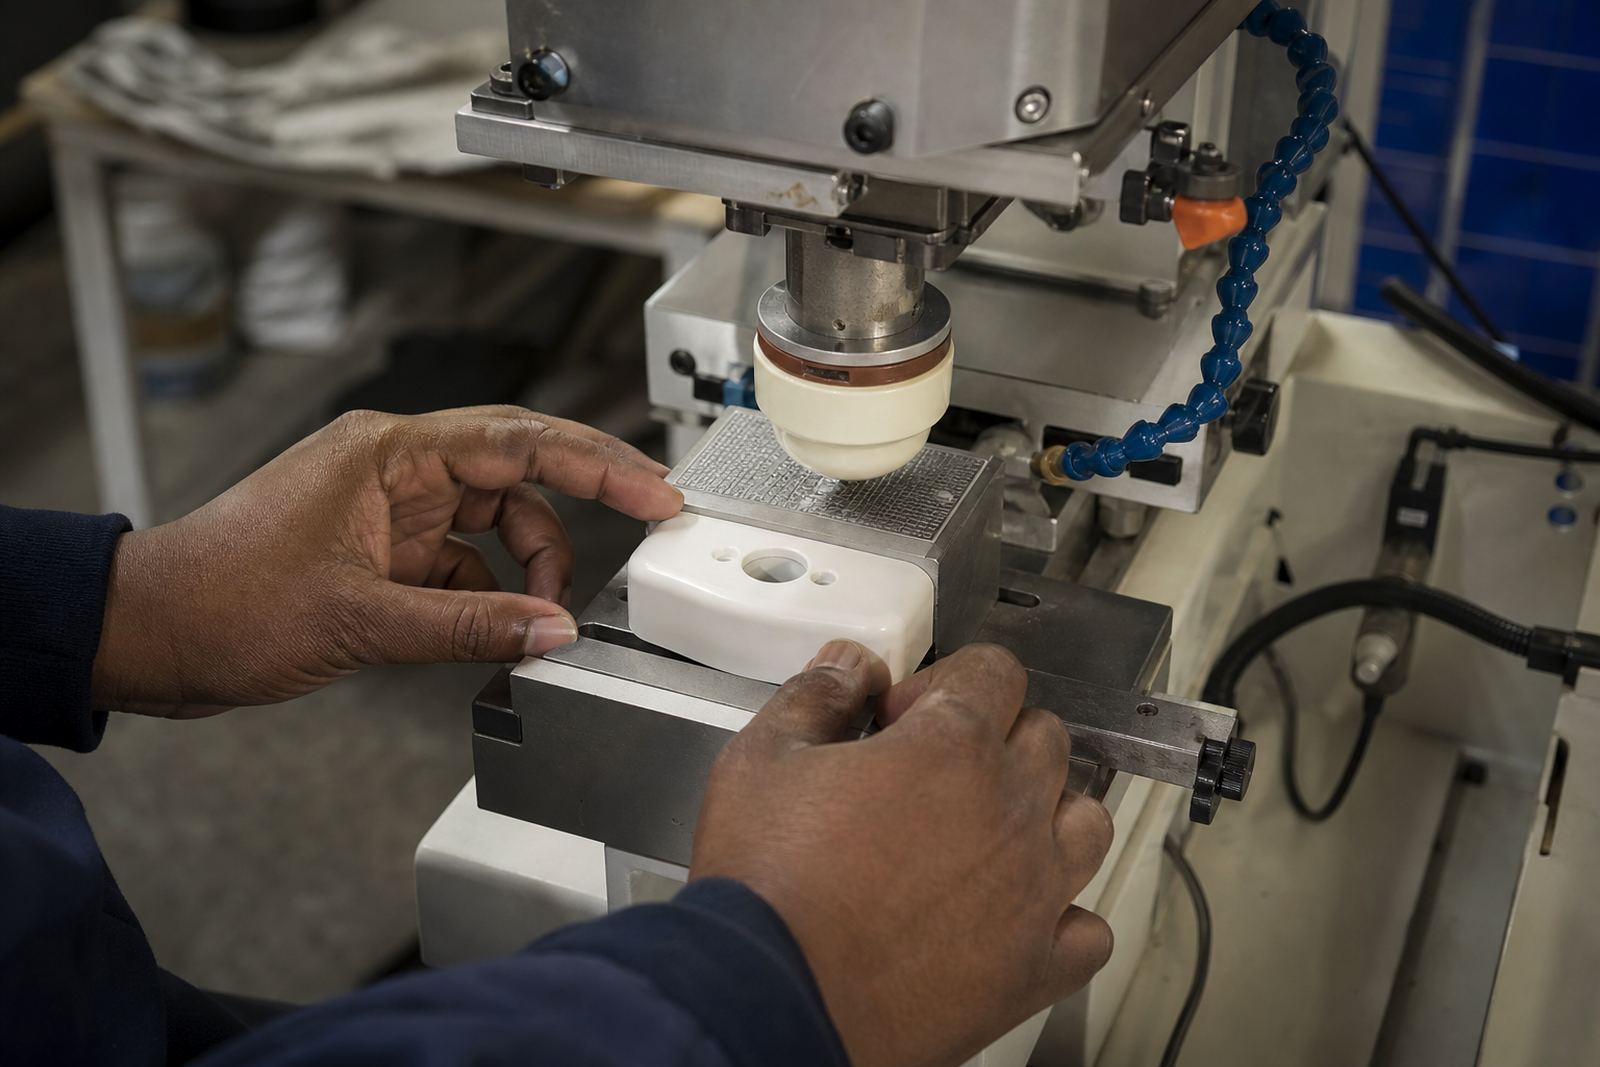
The first question is not what the artwork looks like, but what the part looks like. Pad printing uses a silicone pad to pick up ink from an etched plate and transfer it onto curved, stepped, recessed or irregular surfaces. Screen printing uses a mesh screen and works best when the print area is flatter and more open. For many manufacturers in Pinetown, Durban and further afield, that one difference makes the choice clear.
If a housing has ribs, a slight dome, a socket edge or a narrow face, pad printing usually gives better contact and cleaner placement. Screen printing can still be the better option where the logo, legend or instruction block is larger and sits on a broad flat panel. The right call depends on the part geometry, the usable print area and how the item will be handled after printing.
- Use pad printing for curved, uneven or small component faces
- Use screen printing for larger flat areas with more open artwork
- Check how much space surrounds the mark for fixtures and handling
- Allow for assembly tolerances so the print does not land too close to an edge
Ink, curing and finish matter more than people think
On medical and electronic parts, the print is only part of the job. Ink choice, curing method and surface preparation all affect whether the marking stays legible after cleaning, handling and storage. Pad printing often uses inks matched to the substrate and then cured by air drying, heat or another suitable method. Screen printing follows similar principles, though the screen process can place a heavier ink layer on a flat surface.
A good result starts with a sample on the actual part material. Plastics, coated metals and engineered housings can react differently to the same ink. In coastal areas like Durban, humidity can also change drying times, so a job that looks fine in the morning may need a different cure window in the afternoon. That is why trial samples and adhesion checks are worth doing before a full run.
- Surface condition affects adhesion more than artwork size alone
- Curing must suit the part material and the daily factory conditions
- Humidity and dust can affect drying and final finish
- Trial samples help confirm whether the mark will hold during use
When pad printing is the safer choice
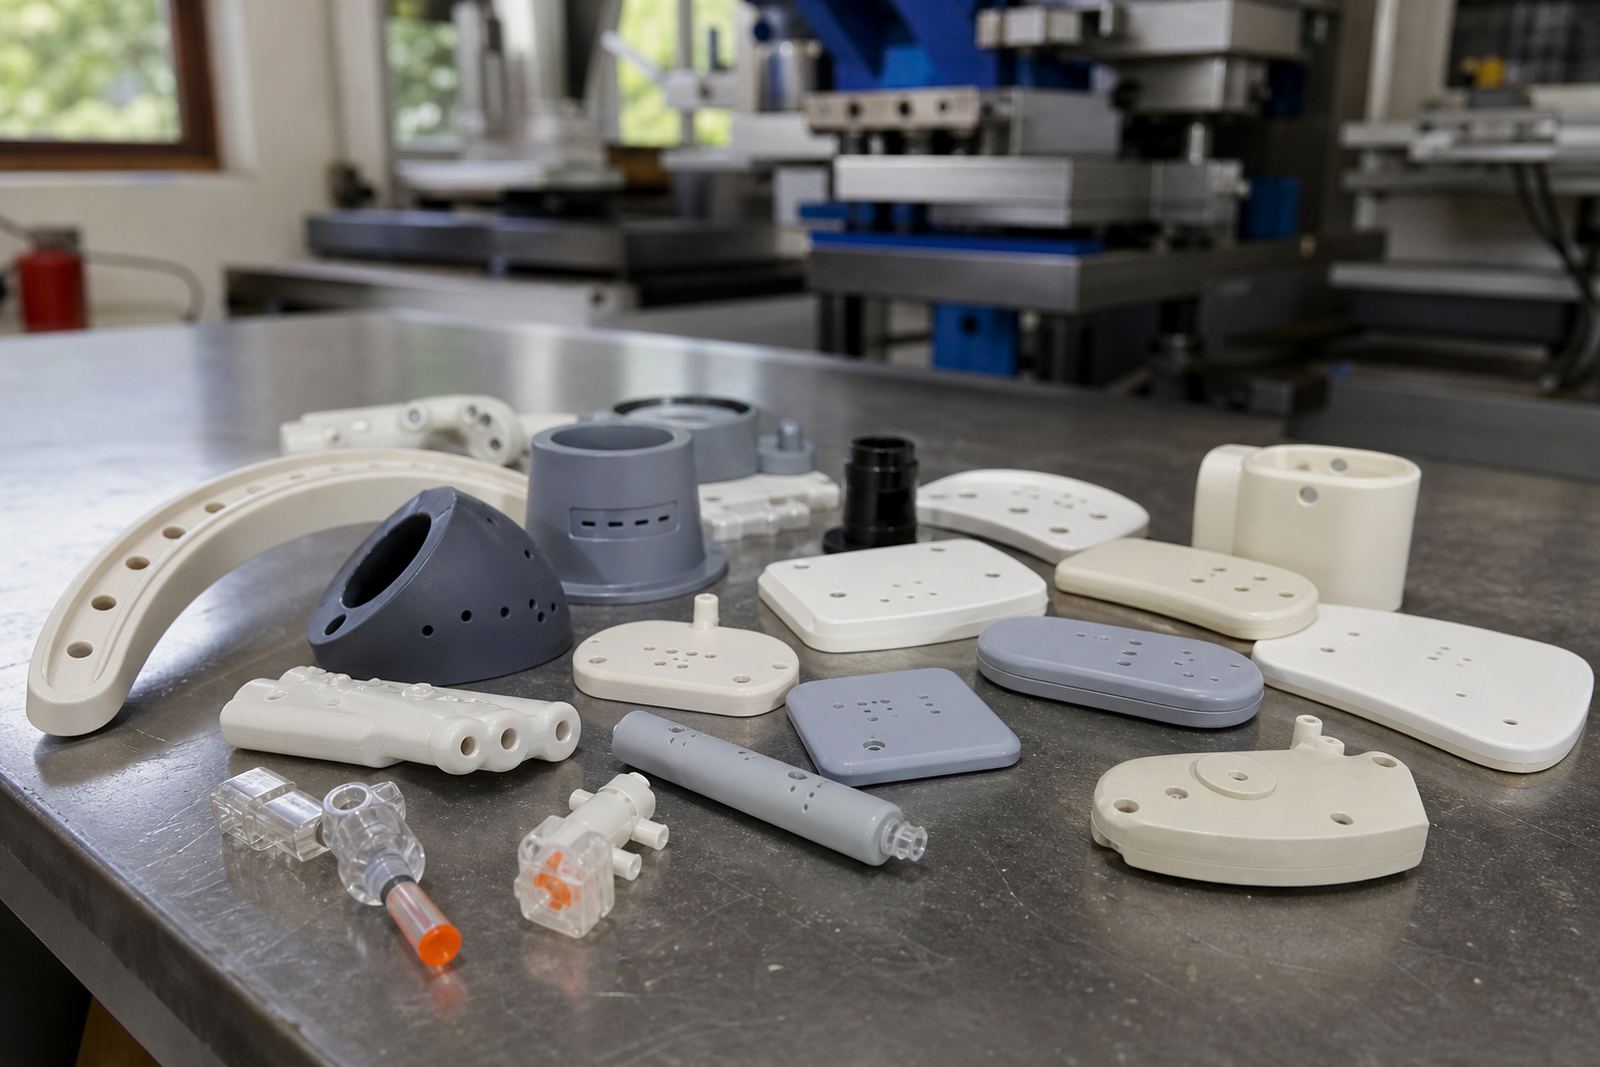
Pad printing is usually the safer option when the part has a small mark area or a tricky shape. Think control knobs, device covers, inspection caps, connector bodies, switch housings and moulded components with slight contours. The silicone pad can compress into the shape and still deliver a sharp transfer where a screen would struggle to contact the whole surface.
For electronics, this matters when markings need to sit in a tight zone without bleeding into adjacent features. For medical components, it matters when the print must remain clear on small, handled parts that go through assembly, cleaning and packaging. Our team in Westmead, Pinetown often plans the artwork around the actual fixture first, because the fixture and the part are what make the print repeatable.
- Better for small legends, symbols and serial style marks
- Works on recessed, curved and uneven surfaces
- Useful where the print must sit close to moulded details
- Suitable when repeat placement matters across many parts
When screen printing still makes more sense
Screen printing remains useful where the image is larger and the panel is flat enough to accept a direct pass of ink. A flat lid, a broad label panel or a faceplate with enough open space can suit screen printing well. It can produce a strong, even deposit across a bigger area, which is helpful for simple branding, large text blocks or graphic elements that need a bold finish.
Screen printing is not the answer for every panel though. If the surface is uneven, the mesh can leave gaps or inconsistent edges. If the part has too many raised features, the print may need extra handling or a different process entirely. For manufacturers in Johannesburg, Pretoria or Cape Town who send jobs across the country, it is better to plan around the real part than force a process that does not suit it.
- Best for flatter parts with a wider print zone
- Useful for bolder graphics and larger text areas
- Less suited to curved or highly featured surfaces
- May need careful setup where the panel is large but the tolerance is tight
Practical checks before you release a job
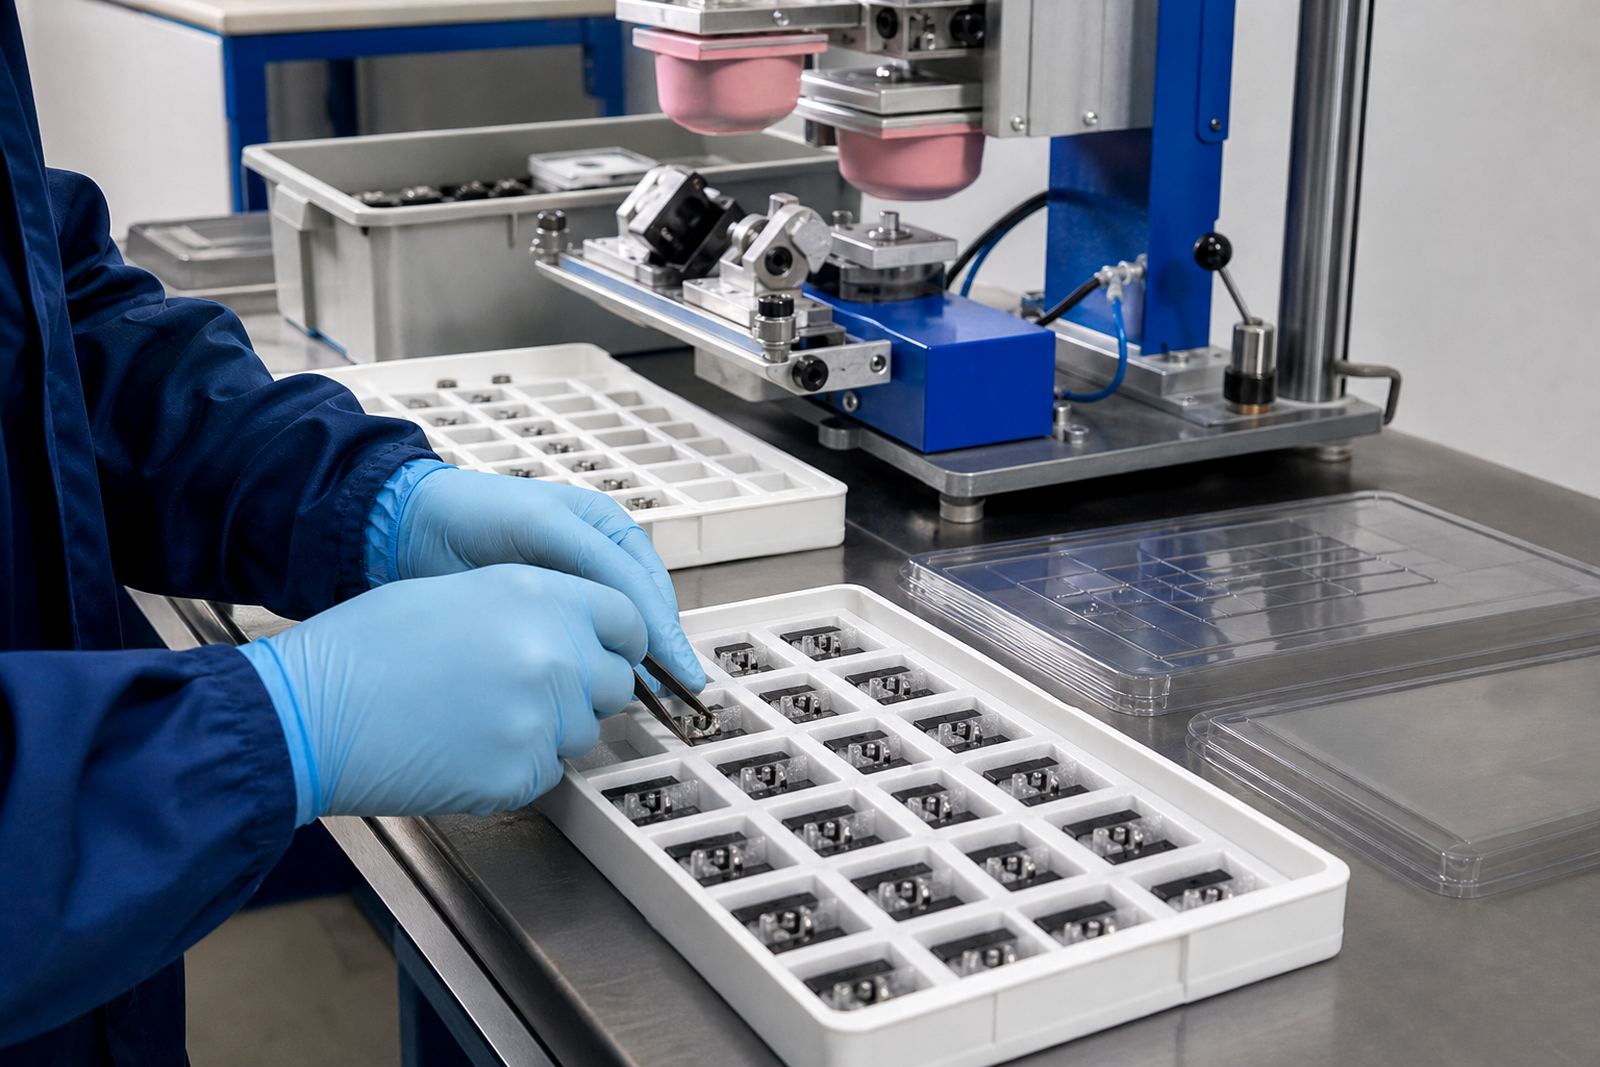
Before production starts, the print method should be matched to the part, the ink and the handling after printing. That is the practical part people sometimes skip. A job can look fine on screen or on paper, then fail once the component is cleaned, packed or assembled. At PadPrinters Medical, artwork preparation, logo redraws, print area planning and adhesion test samples are all part of getting the job ready.
The safest route is to confirm mark requirements early and keep the print consistent from the first sample to the final batch, while customers remain responsible for their own device compliance. If the job needs fixture making, plate exposure, plate etching, trial sample runs or rerun job control, those steps should be part of the plan from the start. That saves time and avoids last-minute changes when stock is already on site.
- Confirm substrate, print position and size before approval
- Check if the artwork needs redraws for fine lines or small text
- Ask whether the part needs a fixture for stable placement
- Use trial samples to confirm finish and legibility before volume work
From the print room: The rest of SA
Picture a manufacturer in New Germany needing marks on two items. One is a smooth flat cover with a large logo and operating icons. The other is a small curved control piece with a narrow marking zone. The flat cover may suit screen printing because the image area is open and the panel is even. The curved control piece is more likely to suit pad printing because the silicone pad can reach the shape without distorting the mark.
That kind of mixed job is common across Durban, Gqeberha and the inland centres too. The right answer is not about which process sounds better, it is about which one fits the part, the ink and the production flow. For South African manufacturers working to tight schedules, especially when dispatch packing and rerun control matter, choosing the correct process early keeps the line moving and cuts waste.
So if you are deciding between pad printing and screen printing, start with the part in your hand. Look at the surface, the available area and how the item will be used. Then choose the print method that gives the cleanest result with the least handling.