Why small amounts of residue change the whole print
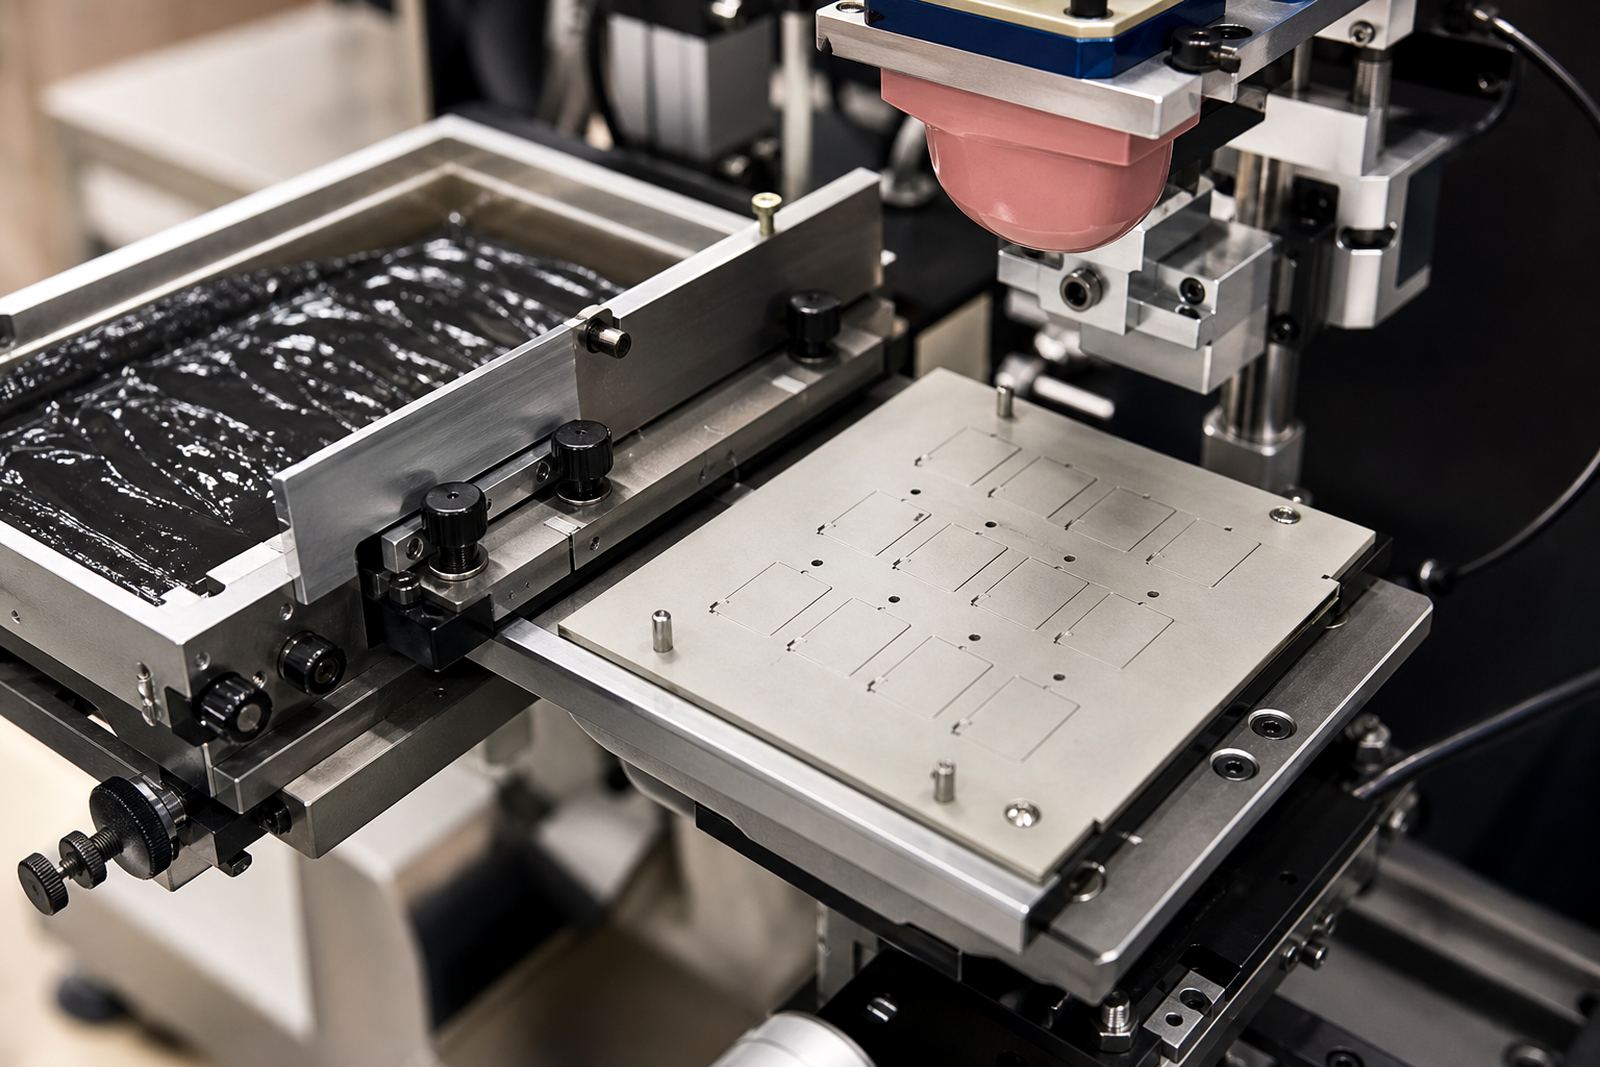
Pad printing depends on a clean, controlled ink film on the plate and a pad face that can pick up and release the image cleanly. When dried ink, dust or silicone residue starts to build up, the transfer changes in ways that are easy to miss at first. Fine text may look heavier on one run and faint on the next, and small logos can pick up edge drag or pinholes.
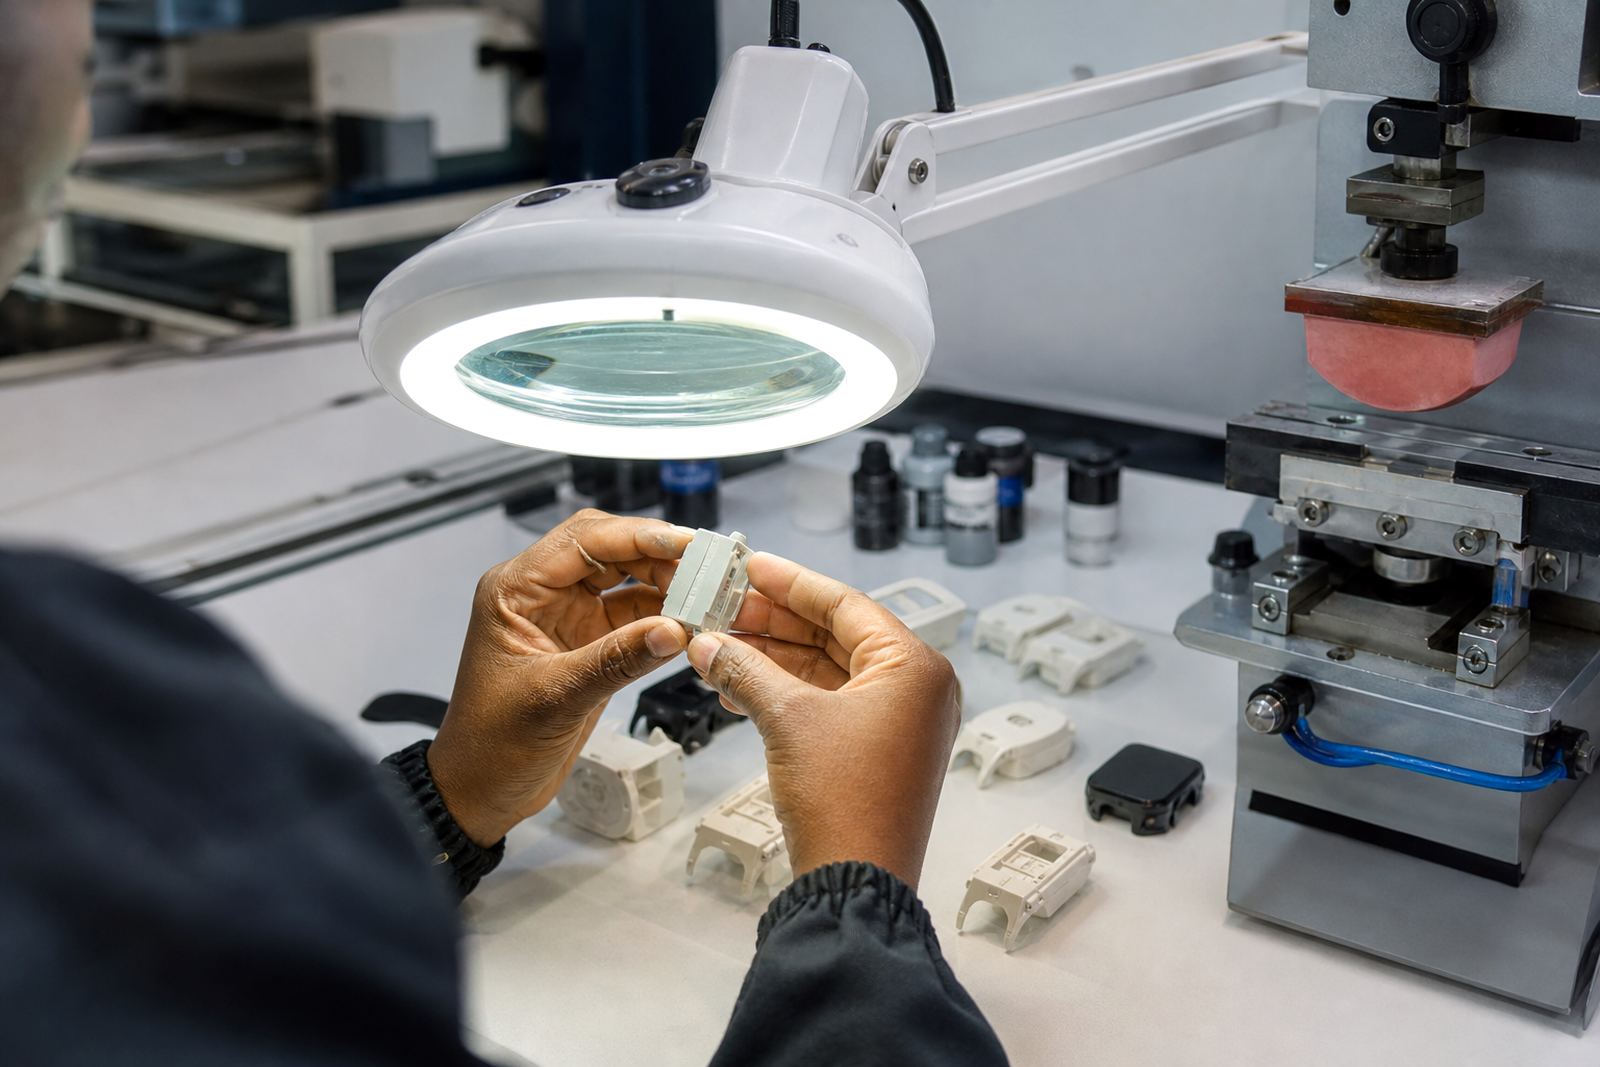
In medical and electronic parts work, those shifts matter because the marking often sits on a small curved or textured surface. A clean plate helps the solvent or curing system behave as planned, while a clean pad keeps the contact area even. The result is less rework, fewer rejected samples and more stable output over longer runs. It is simple work, but it protects consistency.
What to clean after each shift and what to check during the run
Good cleaning is not only about wiping everything down at the end of the day. Some parts of the system need attention while the job is still running, especially on longer batches or when the workshop is warm and the ink starts flashing off faster. In Westmead, where the air can get warm and dusty, a plate left too long between pulls can pick up a skin of partly cured ink and that affects the next impression.
Operators should watch the plate surface, the pad face and the surrounding fixtures. If a component has mould release, handling oil or fine dust on it, cleaning before the first print is often just as important as cleaning after the last one. On sensitive jobs it helps to set a repeatable check point, rather than waiting until the print quality has already drifted.
- Wipe the plate surface before setup to remove dust and handling marks.
- Check the pad face for dried ink rings or tiny cuts that trap residue.
- Clean fixtures and nests so debris does not transfer back onto the part.
- Inspect the doctoring area so the ink film stays even across the image.
Safe cleaning methods for plates without damaging the image
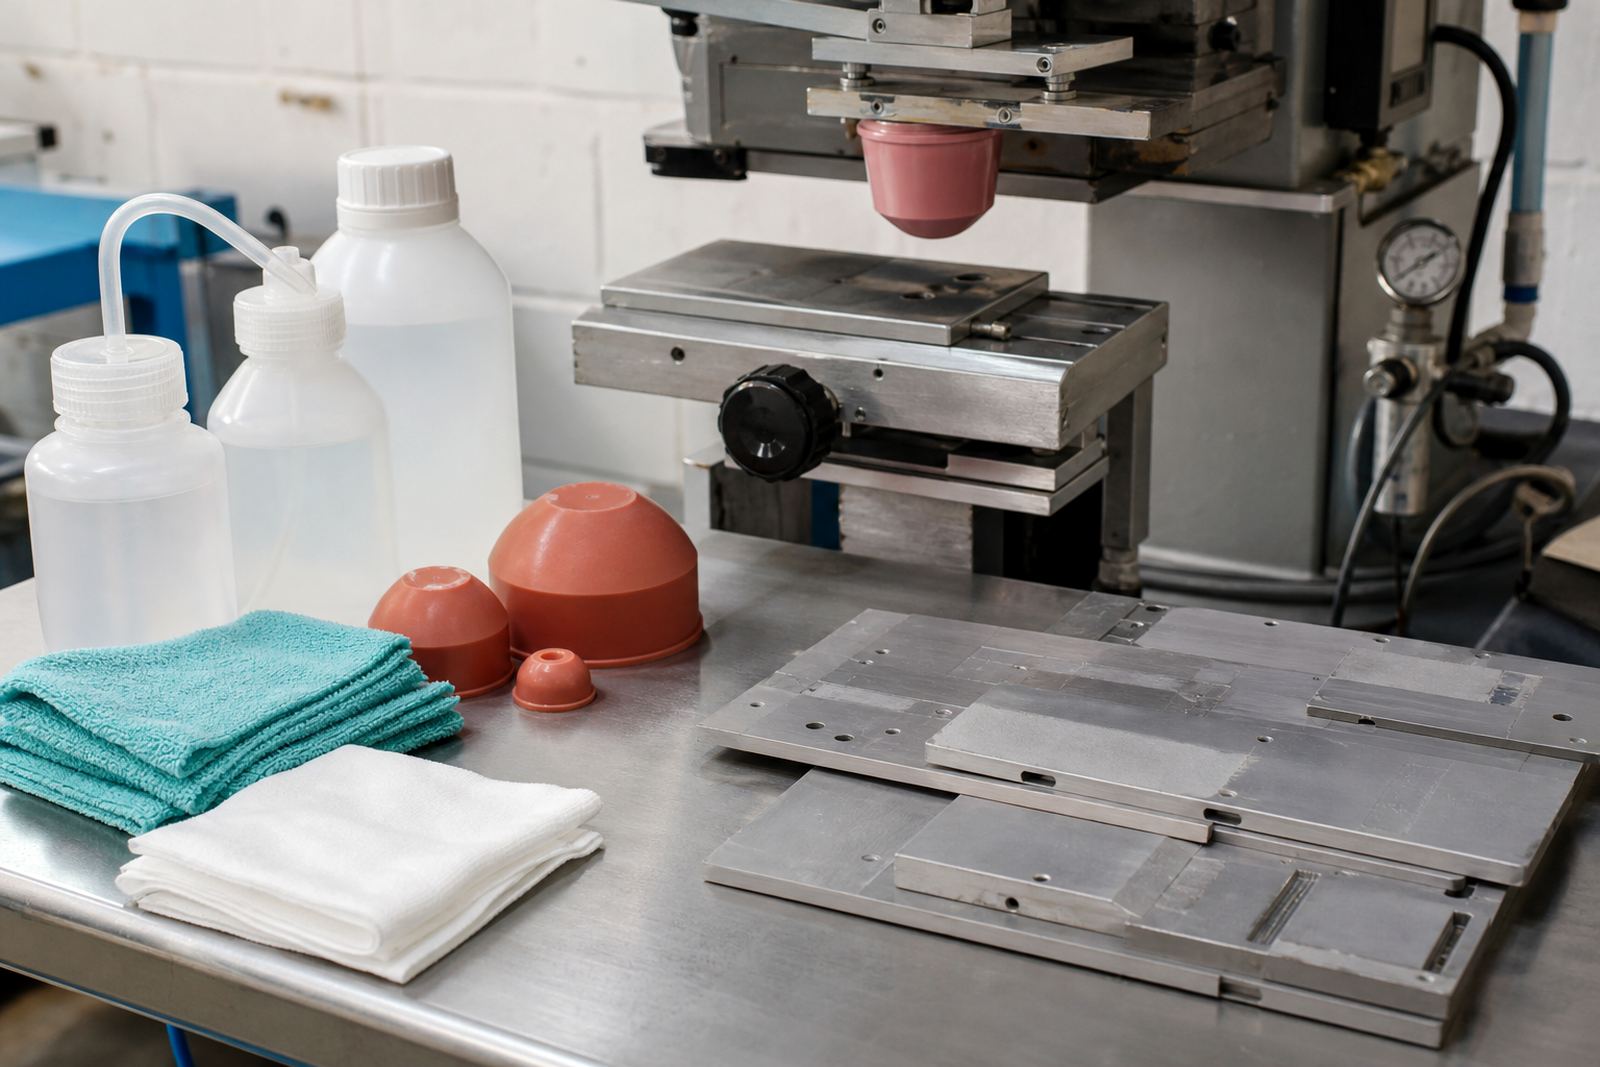
Plates carry the engraved or etched image, so aggressive cleaning can shorten their useful life. Strong scrubbing tools, coarse cloths and harsh solvents may leave fine scratches or soften details on the image area. A better method is to use lint-free wipes, approved cleaning fluids and light pressure, especially around small text and line art. The aim is to remove ink from the non-image areas while leaving the etched image intact.
For plate maintenance, the cleaner should be applied in a controlled way and wiped off before it dries into streaks. If residue is stubborn, several light passes are better than one heavy one. It also helps to keep the plate off rough benches and away from metal swarf or grit. A plate that stays clean prints better and lasts longer, which keeps artwork changes and reruns easier to manage.
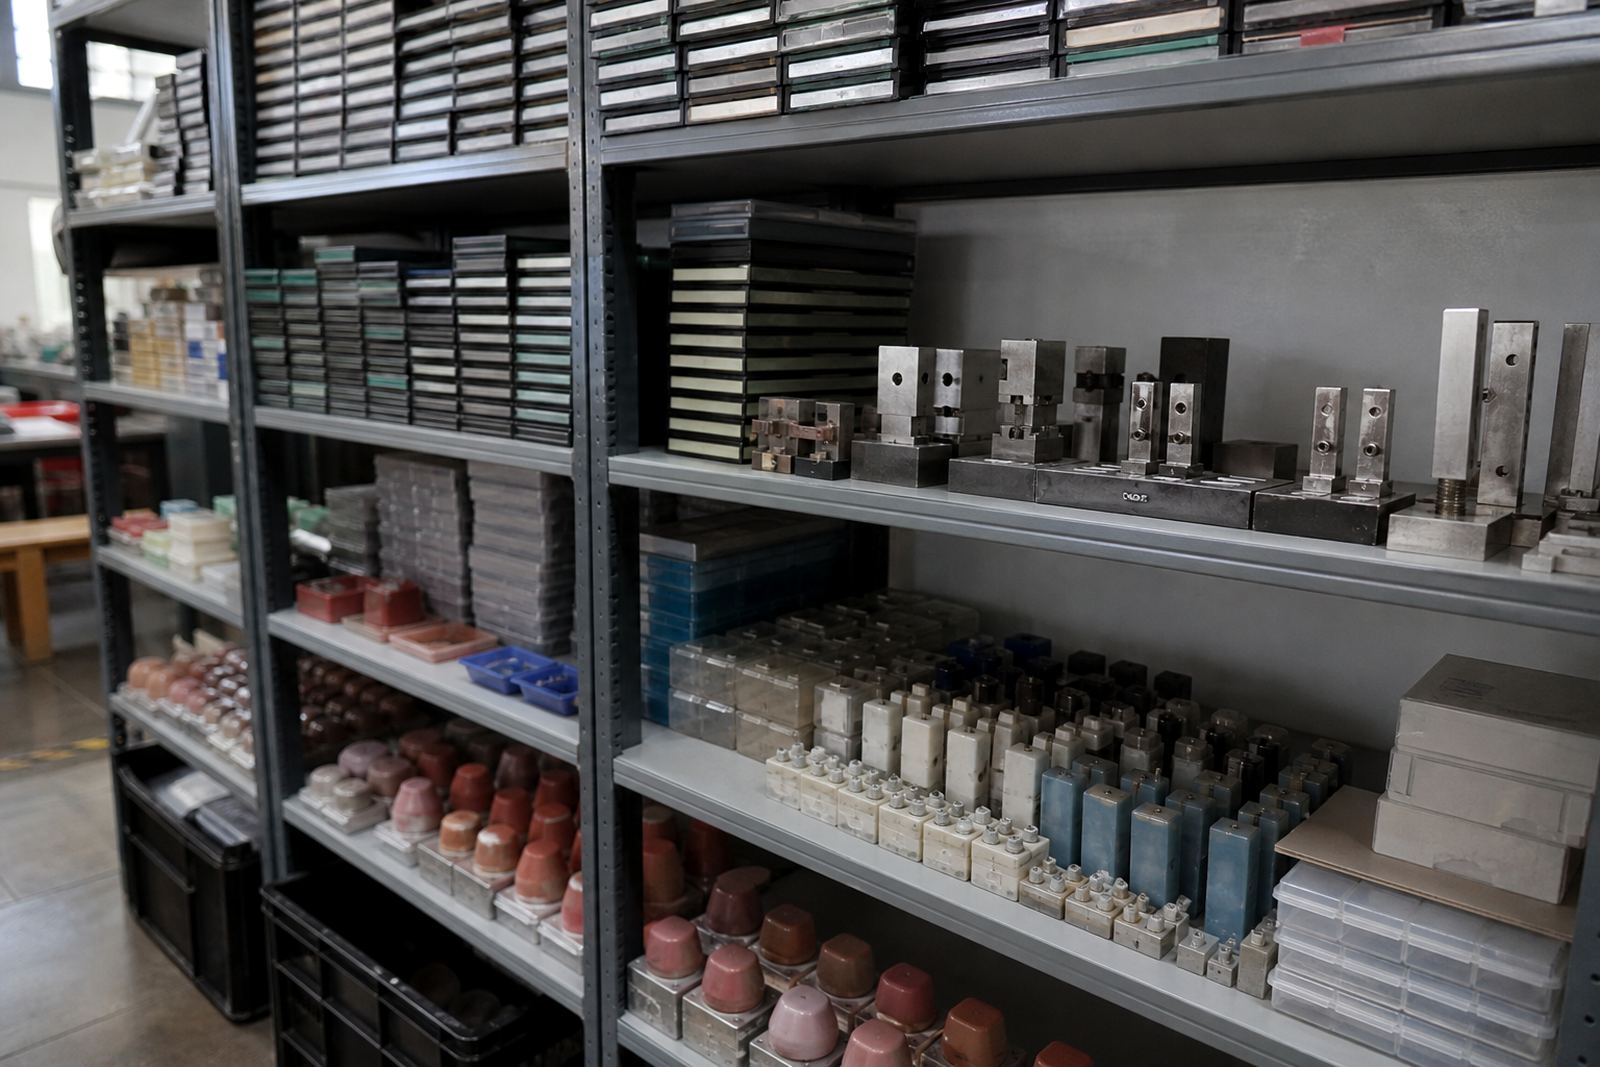
When jobs change often, label the cleaned plate properly and store it flat in a dry place. A plate scratched during storage can cause trouble on the next run, even if the artwork is correct. That is one of those problems that looks like an ink issue at first, but is really a handling issue.
Pad cleaning and pad condition go hand in hand
The silicone pad does more than lift ink from the plate. It also carries the transfer pressure and shape needed to reach curved or uneven areas. If the pad face has a glazed layer of ink, fine dust or a chemical film on it, the pad may stop releasing the image evenly. This is often seen as ghosting, patchy edges or a duller print than expected.
Cleaning the pad gently helps, but it also pays to look at wear. A pad with nicks, swelling or hardening does not recover properly after cleaning. In that case the issue is not only dirt, it is the pad itself. Production teams should watch for changes in release behaviour and replace the pad before the image starts failing regularly.
- Use light wiping rather than soaking the pad face.
- Avoid sharp tools that can mark the silicone surface.
- Keep pads free from excess solvent that may change the texture.
- Replace pads that no longer return to shape cleanly.
How cleaning supports curing, ink adhesion and rerun control
Cleaning also affects what happens after transfer. If a plate leaves too much residue in the image area, the ink film can change thickness and that can alter curing time. On some jobs the mark may look fine immediately after printing but still cure unevenly, which is not ideal for handling, assembly or packing. A stable, clean transfer gives the curing stage a better chance to do its job properly.
For reruns, a clean record matters too. When a job is repeated weeks later, the same plate and pad setup should behave in a similar way. That only happens if the equipment is cleaned, stored and checked in a routine manner. It sounds basic, but it saves time when a client in Johannesburg or Cape Town needs a repeat batch and expects the same mark to match the earlier run. Small differences in cleaning can become visible very fast.
It is also worth keeping the cleaning method aligned with the ink system being used. Some inks need quicker wipe-downs, while others cure sooner and leave harder residue. The operator should test the cleaning timing on the actual job, not assume one method fits every run.
From the print room: A mixed medical and electronics run
A typical day in Westmead might include a batch of marked housings for an electronics component and another batch of medical parts with small product codes. The first run may print well for the initial hour, then the image starts to lose sharpness because the plate has a thin dried edge building up on the fine detail. If that residue is not cleared early, the later parts show heavier corners and a slightly uneven finish. Not ideal when the parts are heading to assembly.
In that kind of mixed run, the team usually stops long enough to clean the plate, inspect the pad and check the fixture before restarting. That short pause often saves the whole batch. It also reduces the risk of sending out parts with inconsistent marking that the customer then has to sort manually. Good cleaning is not extra work, it is part of keeping the line moving.
For manufacturers across Durban, Pretoria, Gqeberha and beyond, the lesson is the same: cleaner transfer comes from cleaner equipment, not from pushing the run harder. A little care at the plate and pad stage keeps the print more predictable and the job easier to control.