How an open ink cup system works on small parts
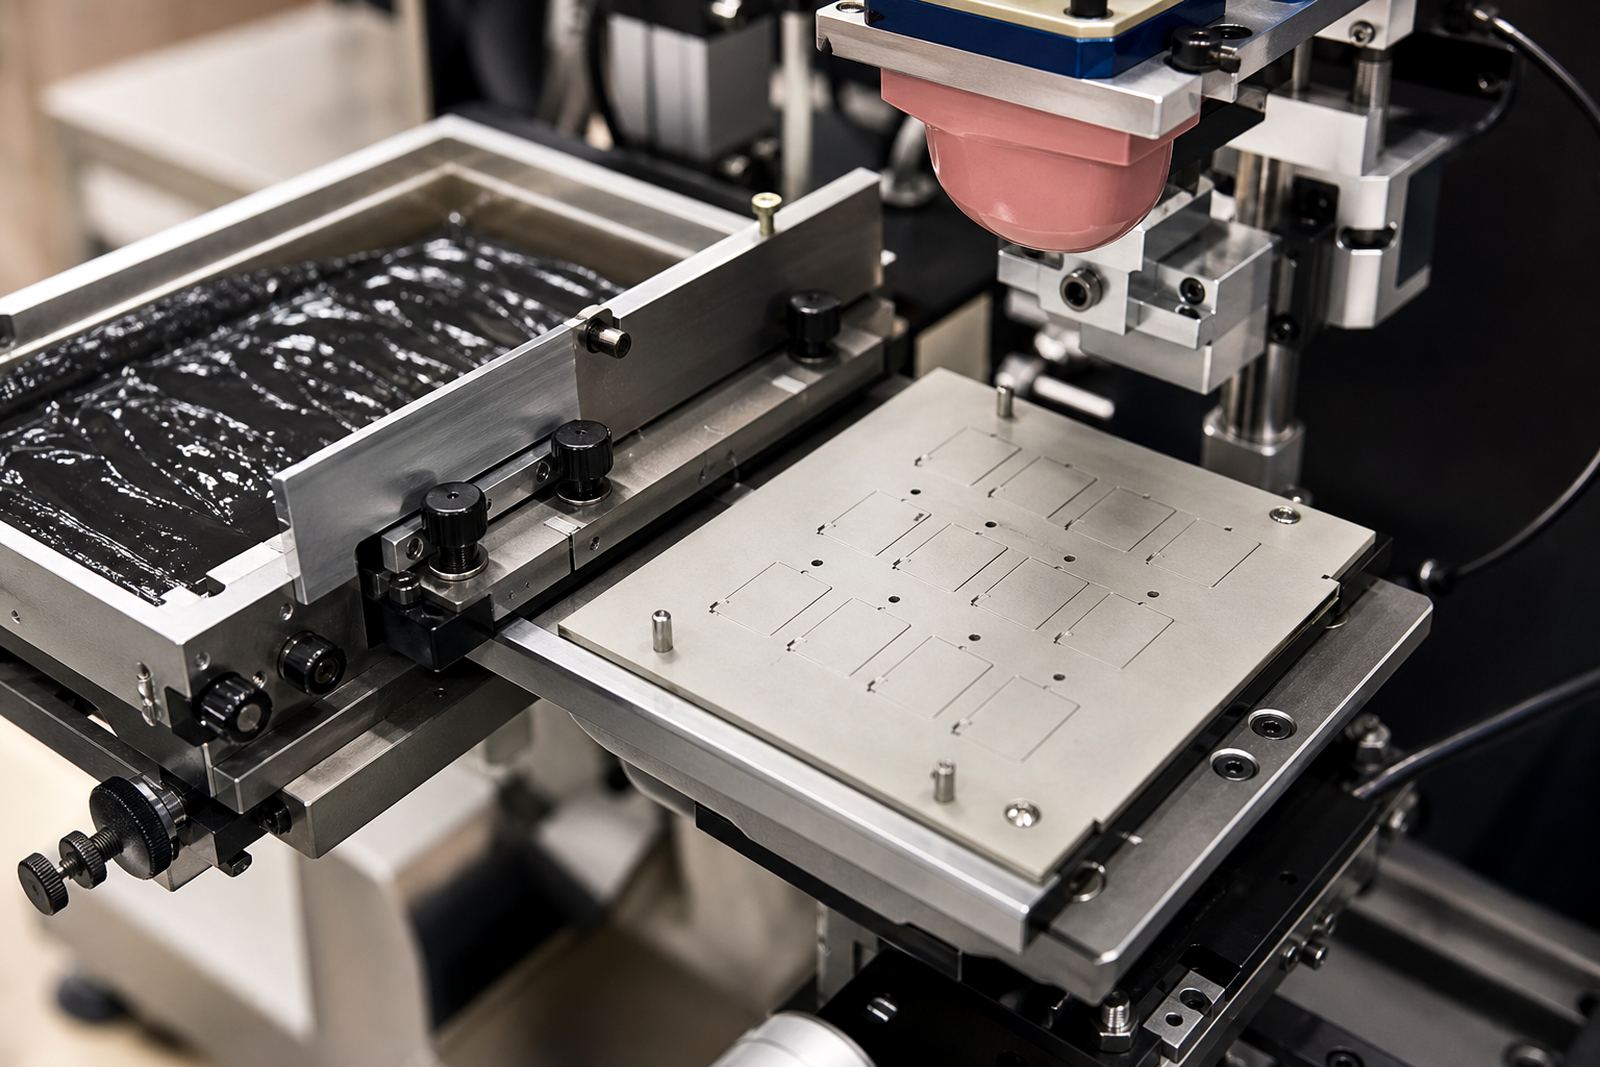
An open ink cup setup uses a tray of ink and a doctoring edge to keep the etched plate filled and ready for transfer. A silicone pad picks up the ink image from the plate, then presses it onto the part with enough pressure to move the print without distorting the shape. For medical housings, switches, connectors and small control parts, that controlled transfer is often the reason the method gets picked in the first place.
The basic cycle is straightforward. Ink sits in the open cup or reservoir, the plate image is flooded, the excess is wiped back, and the pad lifts the prepared image. That image then lands on the component, whether it is a curved plastic body, a flat faceplate or a small recessed area. On a line in Westmead, Pinetown, that same cycle can be repeated across short runs and ongoing production, provided the setup is kept stable.
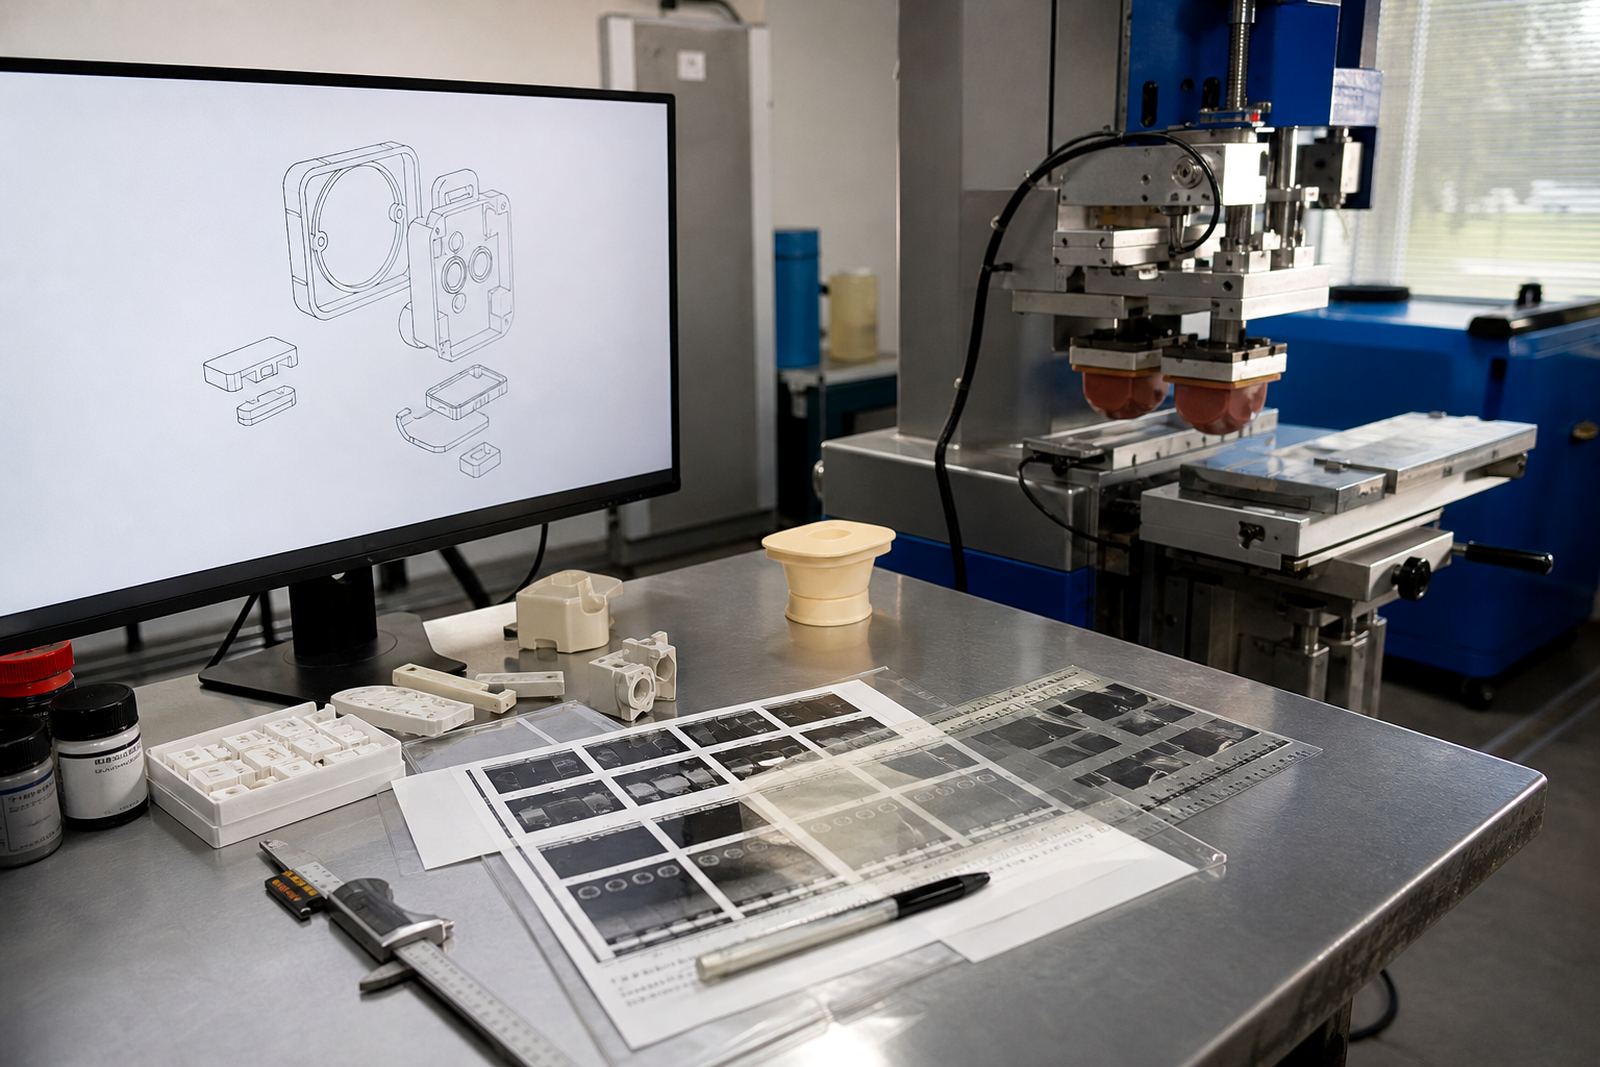
What makes it practical is the amount of control it gives over deposit size and placement. On electronic parts, even a small shift can affect legibility or alignment with other markings. On medical items, the print often has to fit very tight spacing around moulded features, icons or operating labels. That is where plate quality, ink choice and fixture design all matter just as much as the press itself.
Why ink reservoir method choice affects day to day production
Open ink cups are valued for their simplicity and ease of access. Operators can see the ink condition more directly, top up when needed and check how the doctoring edge is behaving. That is useful in South African plants where the same machine may be used for several product families in a week, from Durban moulders to Johannesburg electronics assemblers.
The trade off is that open systems need closer attention to evaporation, contamination and dust. In warmer inland conditions, ink can thicken faster than expected, while coastal humidity can change drying behaviour and surface feel. If the area around the press is not kept clean, tiny particles can land in the ink or on the plate and start affecting print clarity.
- Keep the ink covered when the press is paused for more than a few minutes.
- Check viscosity at the start of each shift and again after lunch if the room is warm.
- Watch for plate wear, because a shallow or damaged etched image can give weak transfer.
- Make sure the machine siting is away from direct wind from open doors or fans.
These points sound basic, but they are where many recurring faults begin. A print that looks fine for the first 20 units can drift once ink starts to flash off or the pad picks up residue.
Silicone pads, plate depth and the real print variables
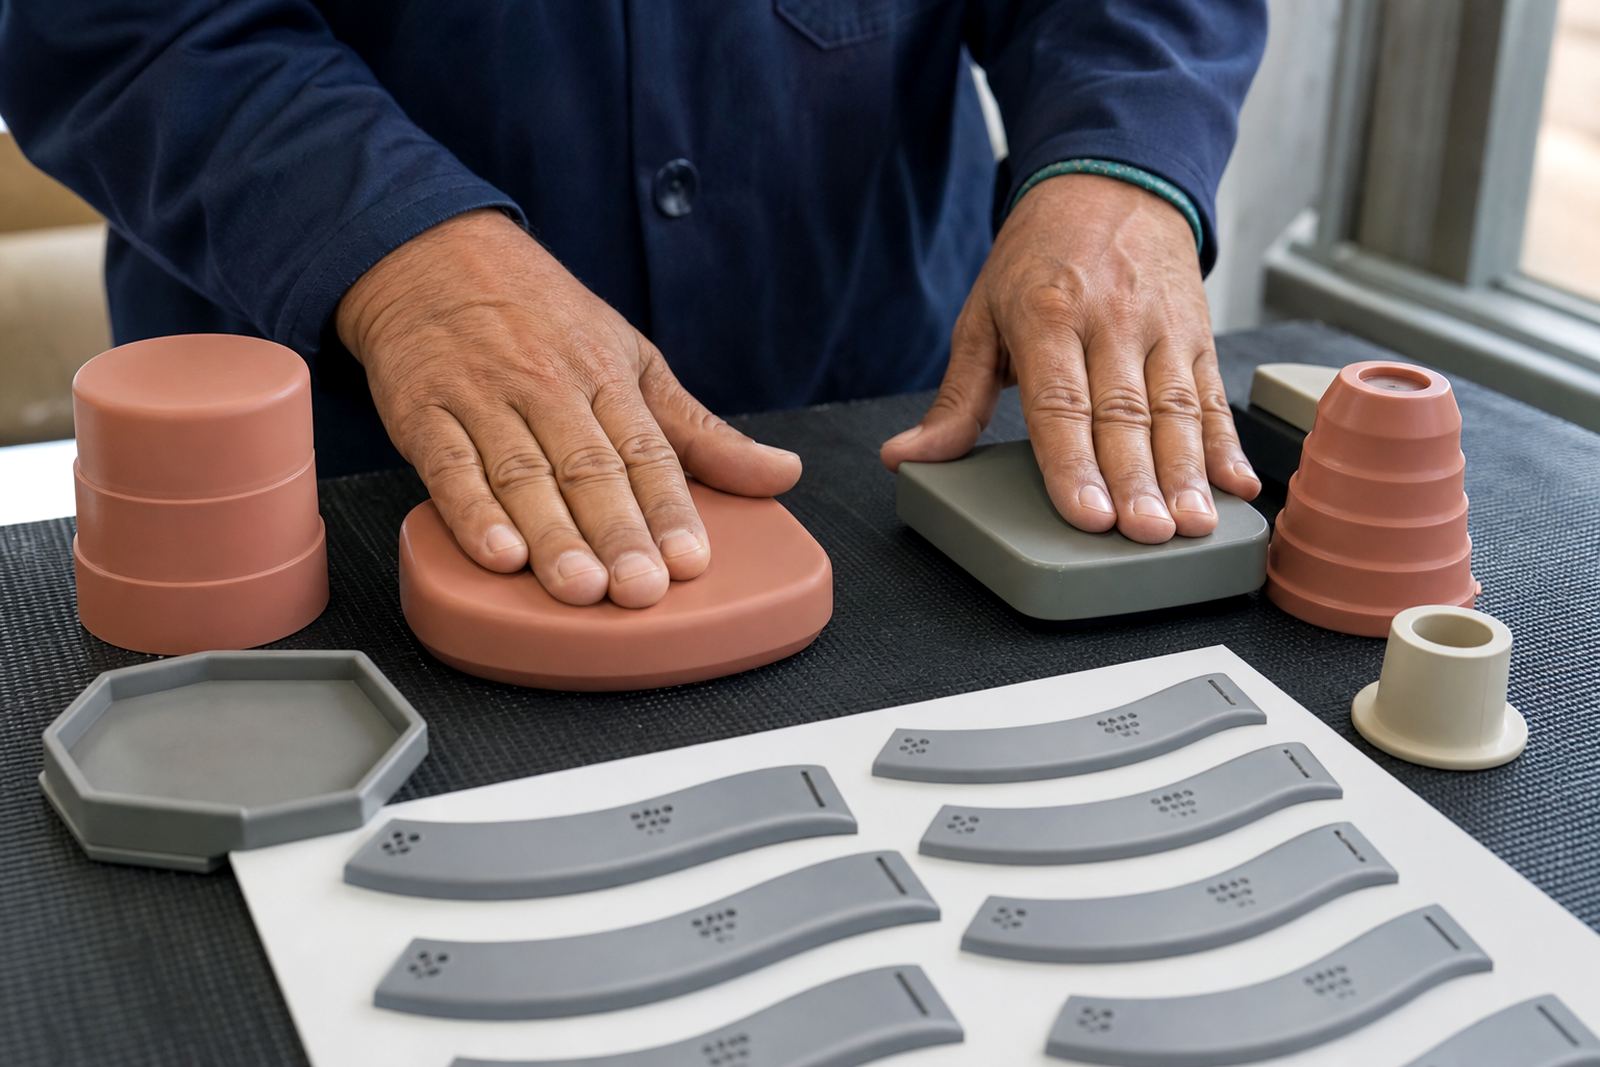
The pad is not just a transfer block. Its shape, firmness and surface condition determine how well the image leaves the plate and lands on the part. Softer pads can conform better to uneven surfaces, while firmer pads can be better for smaller, flatter marking zones. Picking the wrong pad can cause stretching, ghosting or incomplete transfer.
Plate depth is another practical lever. If the etched image is too shallow, not enough ink is carried forward. If it is too deep, the print can gain excess deposit or lose edge sharpness. The artwork also needs to be cleaned up properly before exposure and etching, because a weak line or overfine detail may not survive the full cycle. That is where artwork preparation and logo redraws become part of production rather than admin.
- Use the smallest plate depth that still gives full ink release for the chosen ink system.
- Match pad hardness to the part surface, not just to the size of the logo.
- Inspect the pad face for cuts, glazing or swelling after cleaning.
- For multi part jobs, keep a sample reference so reruns stay consistent.
On medical buttons, electronic bezels and small control panels, a slight variation in pad performance can be the difference between a clean mark and a run that needs rework. That is why trial sample runs are worth the time before a full batch goes through.
Ink selection and curing that stand up to real use
Ink choice depends on the substrate, the required finish and how the part will be handled after marking. Some plastics need better adhesion support, while coated or metal parts may need a different cure path. For parts that are handled often, wiped down or exposed to cleaning agents, the print has to bond well and cure properly before packing.
Curing can be air drying, heat assisted or part of a timed process linked to the ink type and production flow. The key is not just speed, but full cure. An ink that feels dry to the touch may still be vulnerable if it is packed too soon or stacked while warm. On a wet Durban morning or in a hot Pretoria factory, the timing can shift more than people expect.
Practical checks help keep jobs stable:
- Run adhesion test samples on the actual production material.
- Confirm the cure method before artwork approval, especially for fine text and small icons.
- Allow enough cooling time before packing if parts leave the cure area warm.
- Keep record of any rerun job control notes so a good setting can be repeated later.
The printing method must be matched to the component and its final application, while device compliance remains the customer's responsibility. Good production practice helps, but it does not replace a proper product decision on the manufacturer side.
Fixtures, handling and repeatability on South African production floors
Repeatability is where a lot of open ink cup jobs succeed or fail. The press may be capable of accurate transfer, but if the part shifts by even a small amount during loading, the mark moves with it. That is why fixture making is so important, especially for parts with sloping walls, small edges or uneven clamping points.
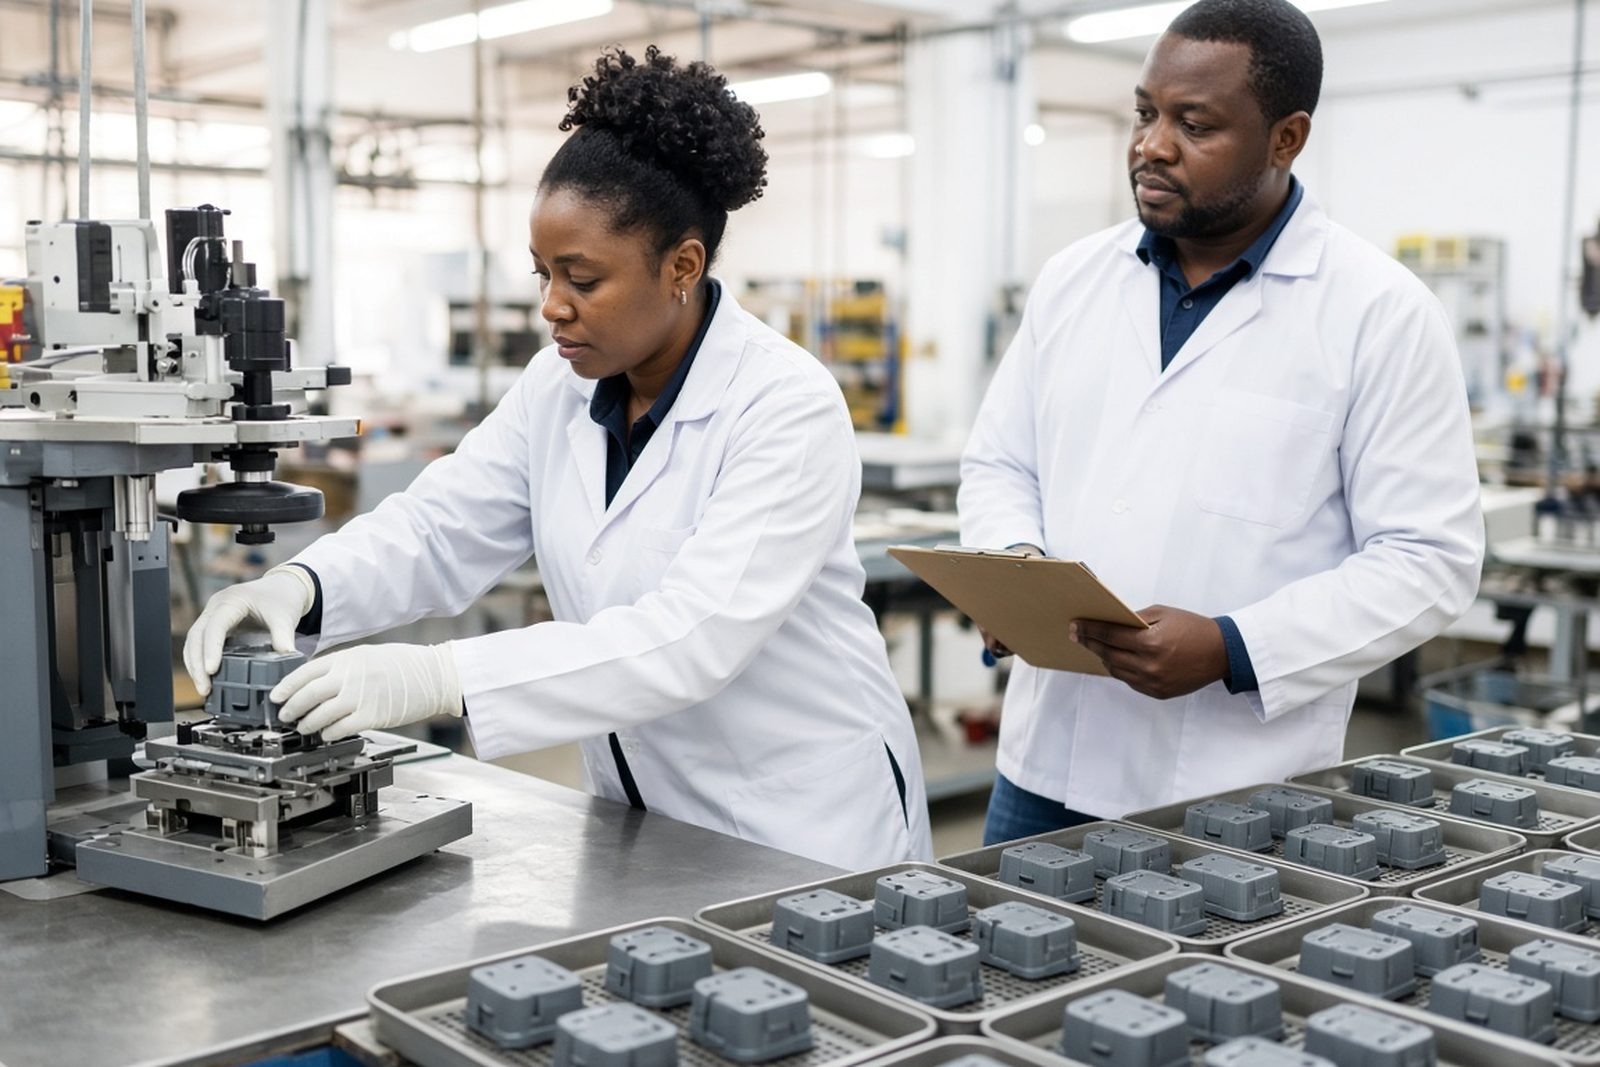
In Pinetown and New Germany, many manufacturers work with mixed batches and tight dispatch dates, so the fixture has to be simple enough for operators to use quickly but precise enough to hold registration. A good fixture reduces handling marks, speeds up setup and cuts down on rejects. It also helps when the same job needs to be repeated weeks later for a refill order.
Dispatch packing matters too. Freshly printed parts should be packed in a way that prevents scuffing, sticking or abrasion in transit to Cape Town, Gqeberha or Johannesburg. If a load leaves the plant before the print has fully settled, the job can lose quality long before it reaches the customer.
From the print room: National supply lines
Take a small manufacturer in Westmead that supplies electronic control units to assemblies in Gauteng and coastal service depots. Their marking needs include part numbers, icons and a logo on a narrow face. The print area is limited, the part surface is slightly curved, and the release timing has to fit into a busy shift where the line cannot sit waiting around.
With an open ink cup system, the setup can be tuned for the part size and run length. Artwork is cleaned up, the print area is planned, the plate is exposed and etched, then trial sample runs check if the transfer is clean. If the mark comes out light on one edge, the pad shape or fixture height may need a small change. If adhesion is weak, the ink or curing method gets revisited. It is plain work, but it saves trouble later.
That practical approach is the reason open systems remain in use. They suit manufacturers who need a known process, a clear setup path and enough control to keep moving from one job to the next without confusion.