Why Ink Viscosity Changes the Print Outcome
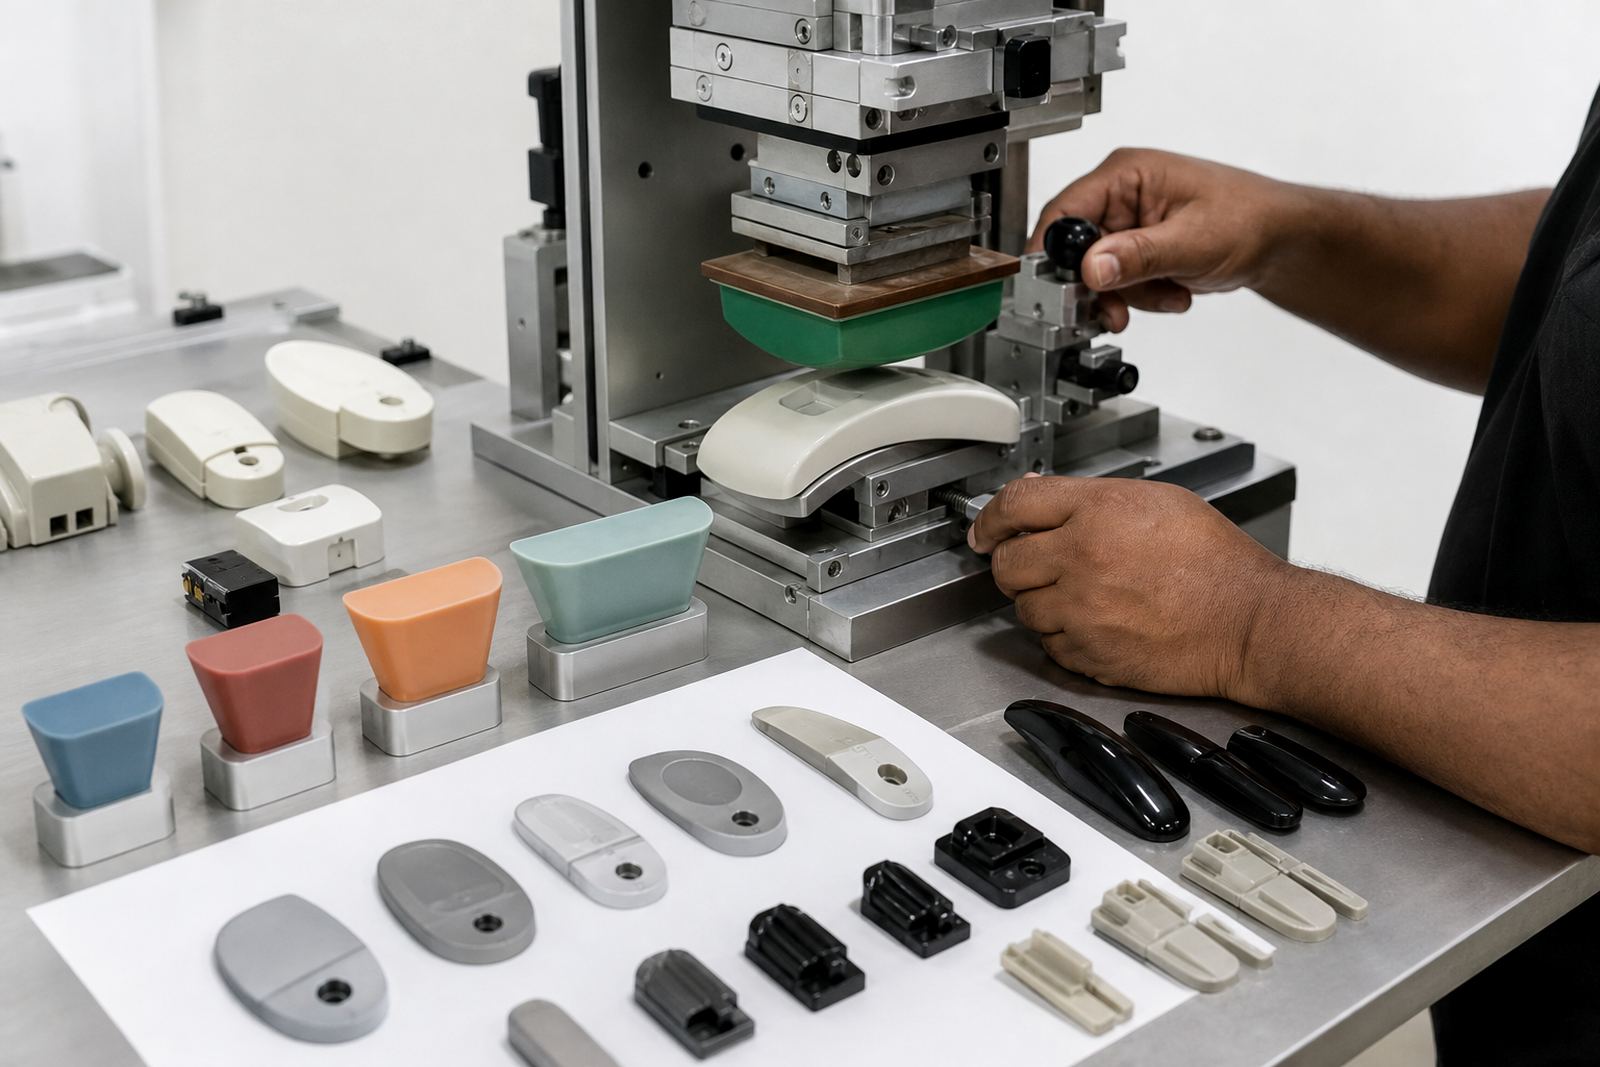
In pad printing, the ink has to leave the cliché at the right rate, move onto the silicone pad, then transfer cleanly onto the component. If the ink is too thick, it can hold back in the image and leave weak coverage. If it is too thin, the print may spread, mist or lose edge sharpness on small parts.
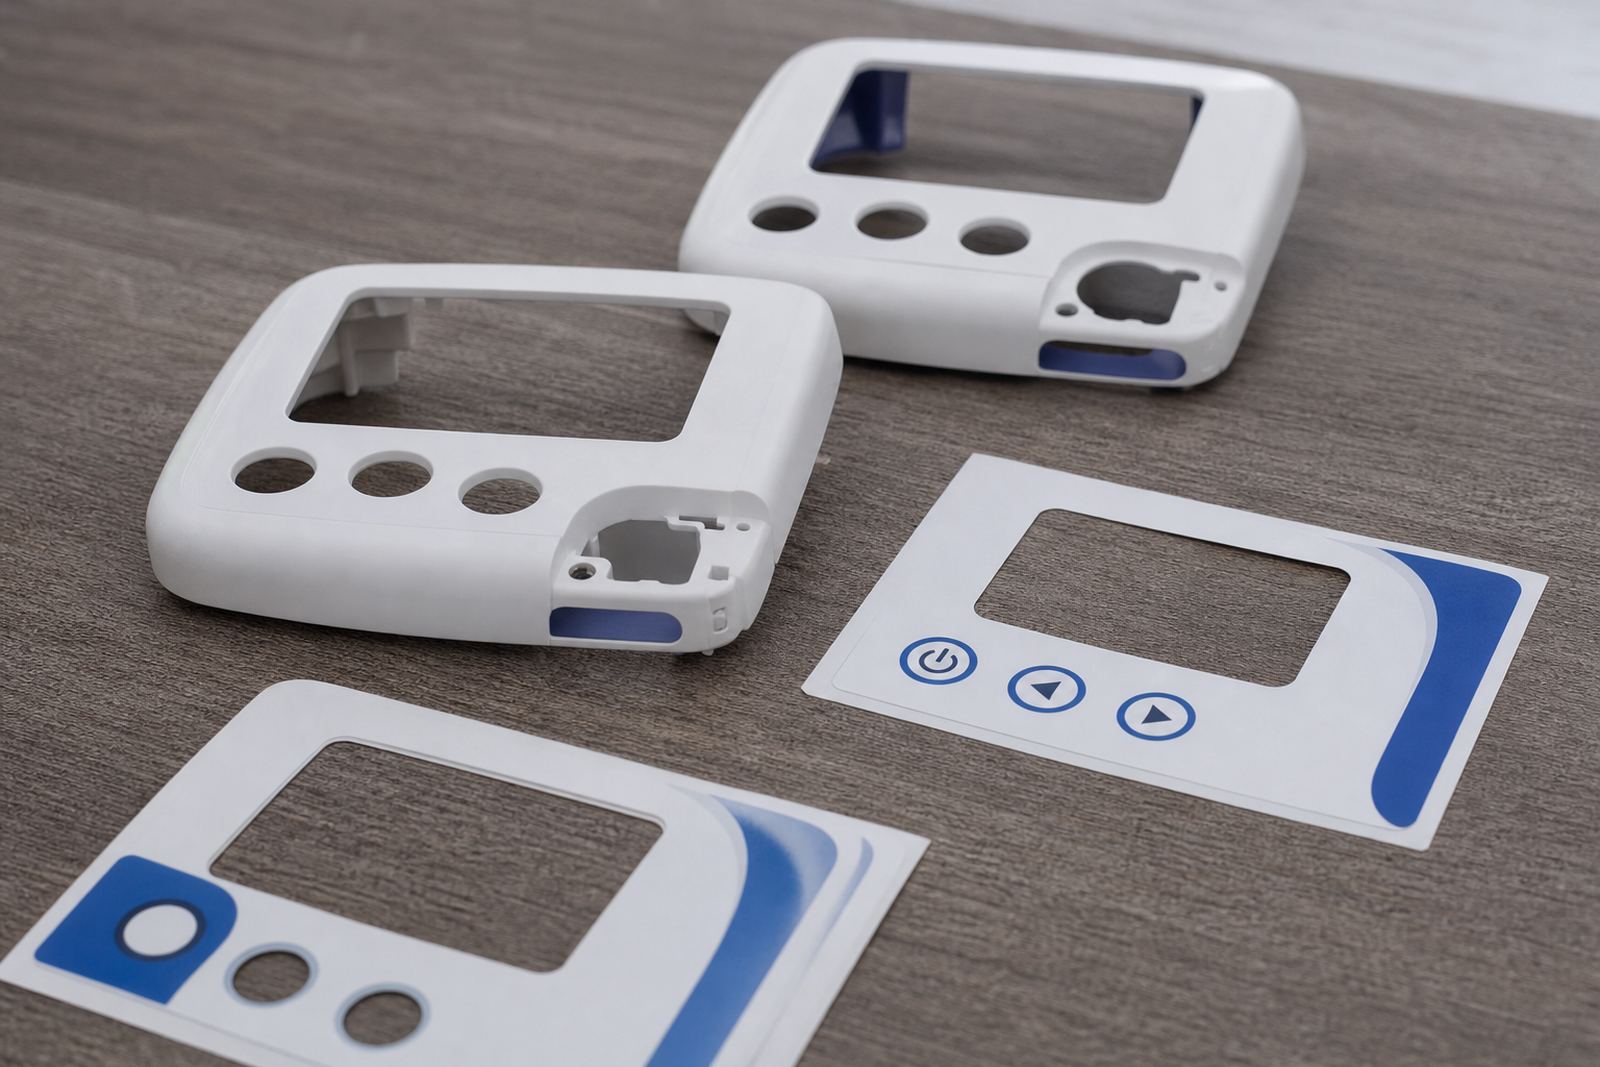
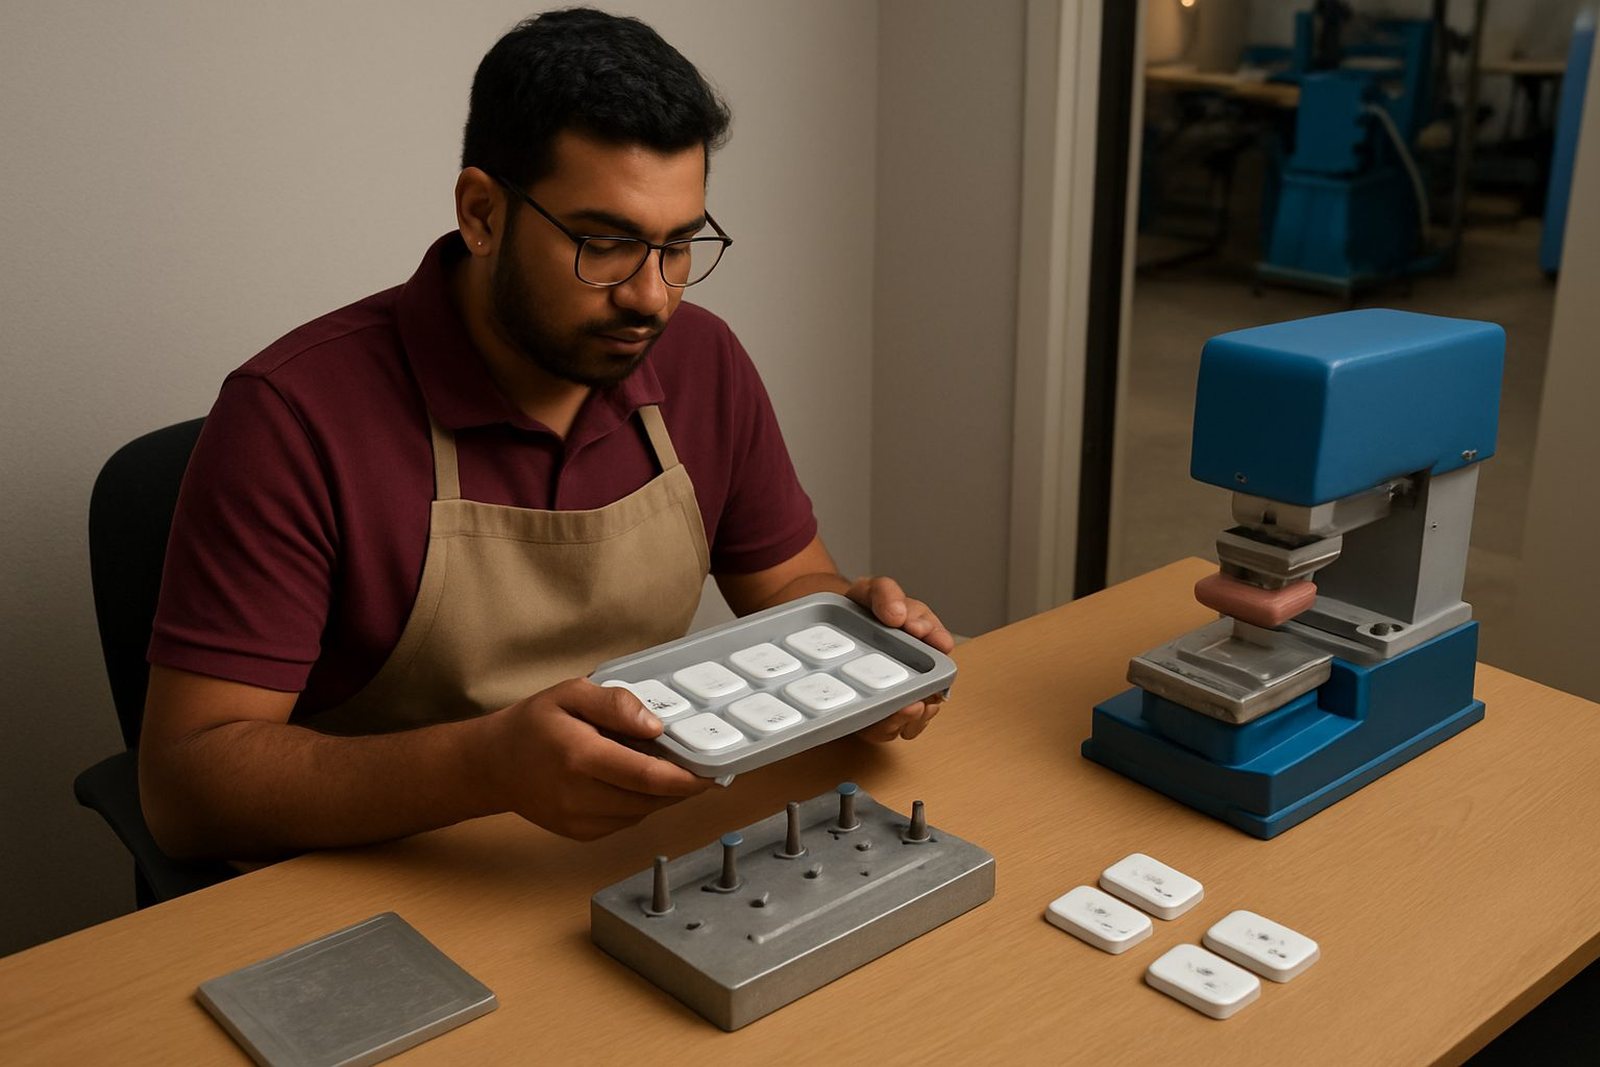
That matters when you are marking moulded housings, control buttons, connectors or instrument parts where the print area is tight and the surface is not always flat. A stable viscosity helps the image stay where it should, which is important for repeatability on short and long production runs alike.
At our Westmead base in Pinetown, we see this daily with manufacturers sending parts from Durban, Johannesburg and Cape Town. Different plastics, drying conditions and shift patterns all affect the way ink behaves, so a one setting fits all approach usually gives trouble later.
What Affects Viscosity During a Shift
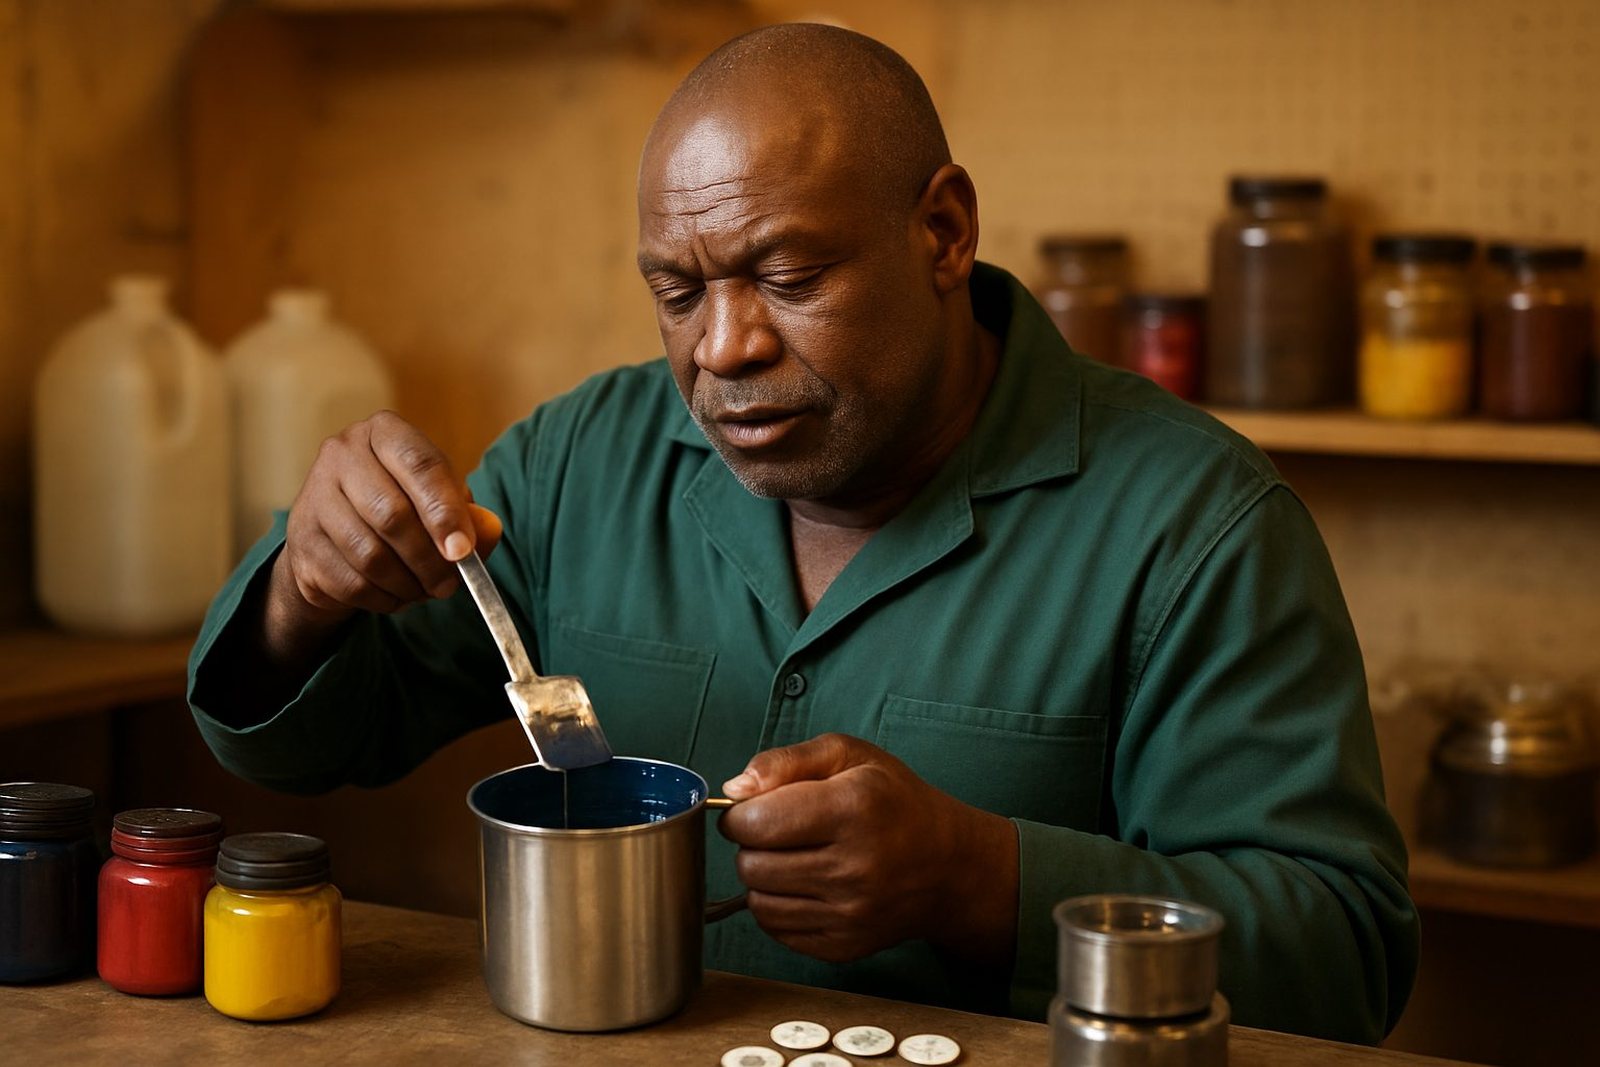
Ink does not sit still for long. Solvent evaporation, room temperature and humidity all change its working consistency through the day. In Durban and along the coast, moisture can slow drying and alter how the print releases from the pad. In hotter inland conditions, the ink can thin out faster than expected, which means more frequent checks.
When machines stop and start, open containers can skin over, mixers may not run continuously, and curing times can shift. That is why production teams need a simple process for checking flow before a job starts and again after breaks. A small change in viscosity can show up as a faded logo, filled in detail or poor adhesion after curing.
- Keep lids closed when the ink is not in use.
- Stir or mix before sampling, not only after a long pause.
- Check room temperature and humidity before final setting.
Getting the Balance Right for Medical and Electronic Parts
Medical and electronic components usually need fine detail, clear contrast and clean edges. That means the ink has to release properly from the cliché and still hold enough body to sit neatly on the part. A balanced viscosity supports both tasks. It also helps when parts need to go through further handling, packing or curing without smearing.
Different substrates behave differently. Some plastics resist adhesion, some metal or coated surfaces need a careful prep, and some parts have curved or recessed features that make transfer harder. Our team looks at the part shape, print area and curing method before setting the ink for the job. The aim is not just to make the print look right on the sample, but to keep it steady through the run.
For clients across South Africa, from Pretoria supply orders to Gqeberha dispatch work, the main question is usually the same: will this mark stay consistent from the first unit to the last? Viscosity control is part of the answer, together with plate exposure, fixture making and trial sample runs.
Practical Checks Before Production Starts
Good viscosity control starts before the first part is printed. A production team should set a target working range, then confirm it against a test print on the actual part or a close match. It is not enough to assume the ink is fine because it looks usable in the cup. The transfer has to be checked under the same conditions as the job.
At PadPrinters Medical, the work around artwork preparation, plate etching and trial sample runs is tied closely to ink behaviour. If the image area is very fine, or the component has a narrow print zone, the test sample shows early whether the ink is flowing too freely or not enough. That saves time and avoids re-running a batch later.
- Test on the actual substrate where possible.
- Check coverage at the edges of the image as well as the centre.
- Compare the first sample with the tenth sample, not only the first one.
- Record any adjustment made for future rerun job control.
Curing Must Match the Ink Setting
Viscosity and curing go hand in hand. If the ink is set too thin, it may flash off before it lands properly. If it is too heavy, the curing stage may not lock in a clean film. Either way, the result can be poor abrasion resistance or weak adhesion. On parts used in medical or electronic assemblies, that is not a small issue.
Curing method selection depends on the ink system, the part material and the production pace. Some jobs need a faster dry between colours, while others need a more controlled cure to avoid distortion. The wrong balance can leave a print that looks acceptable at packing stage but fails once the part is handled, wiped or assembled. That's why the print and cure steps must be planned together, not treated as separate jobs.
We also look at dispatch packing after curing. A print that is still too soft can mark against other parts in transit, especially on bulk orders moving between Gauteng and KwaZulu-Natal.
From the print room: The rest of SA
A recent type of job in the Pinetown area involved small electronic housings with a fine logo and reference marks. The first samples looked acceptable, but the edge detail softened as the shift warmed up. After checking the ink flow, the team reduced the viscosity slightly and rechecked the transfer after a short pause. The result was cleaner lines and more even coverage across the run.
That kind of adjustment is common when serving manufacturers in Durban, Johannesburg, Cape Town, Pretoria and Gqeberha. The plant conditions are never identical, and neither are the parts. A print that works in one factory may need a different setting in another. The point is to keep the process controlled enough that the mark stays readable and durable without constant guesswork.
For manufacturers, the best support is a supplier that watches the full chain: artwork, plate, fixture, ink, cure and packing. When those steps are aligned, repeatability becomes much easier to maintain.