What Ghosting Looks Like On Small Components
Ghosting is usually seen as a light second image, a shadow on one side of the logo, or a blurred edge that looks like the print moved after transfer. In pad printing this can happen on housings, caps, buttons, control panels and small moulded parts where the print area is tight and the surface shape changes quickly.
On medical and electronic work, ghosting is often noticed first at inspection. A part may look fine from a distance but under a bright light the extra mark becomes clear. That is why setup checks matter before a run goes ahead.
- Double edges around text or symbols
- Light shadowing after the main image
- Uneven transfer on curved or textured areas
- Marks that seem to shift from part to part
Why Pad Printing Is Sensitive To Setup Changes
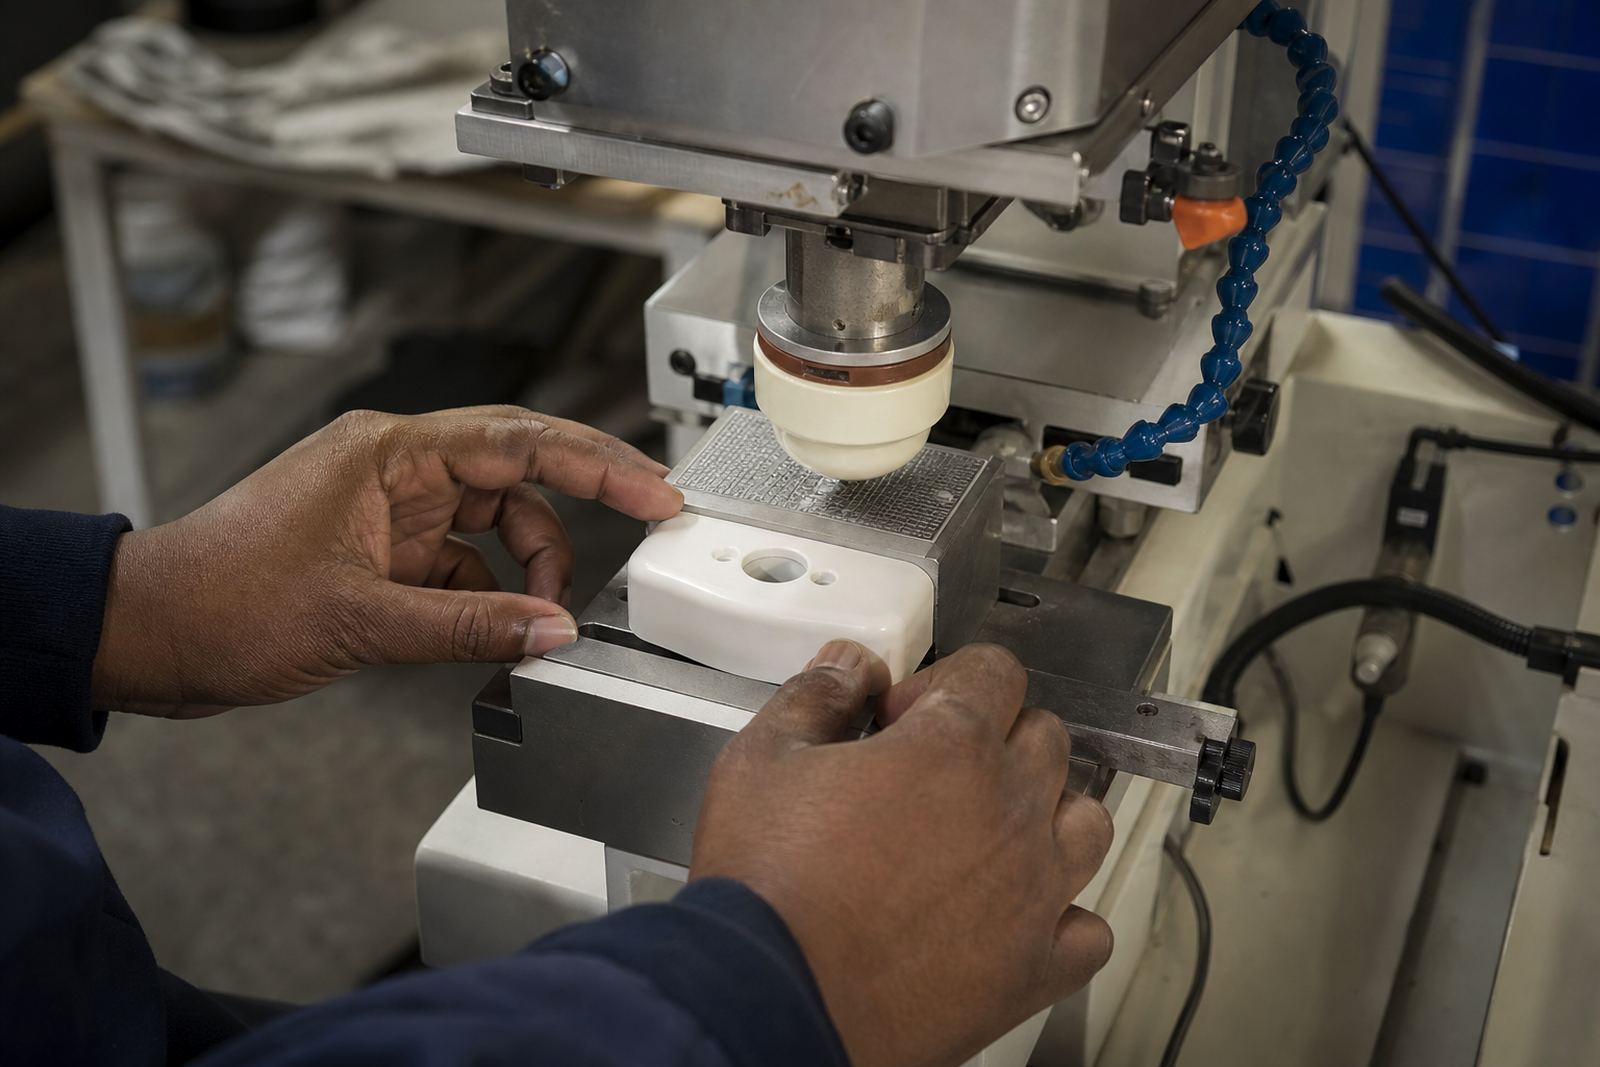
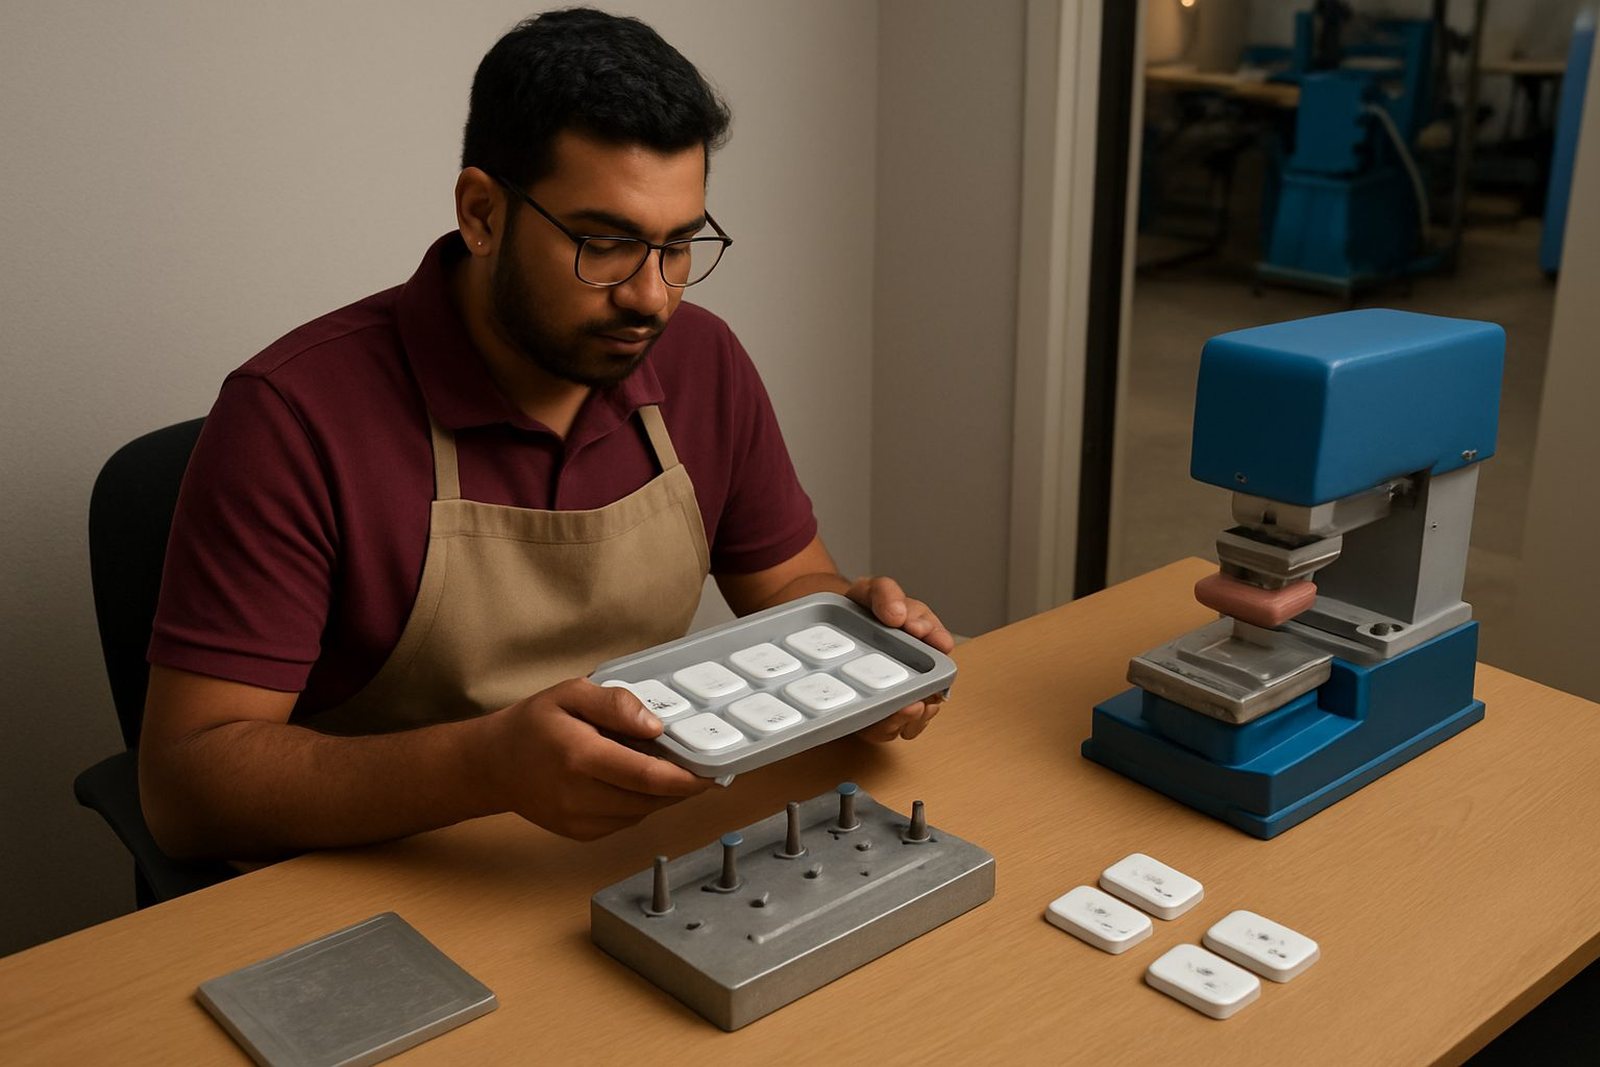
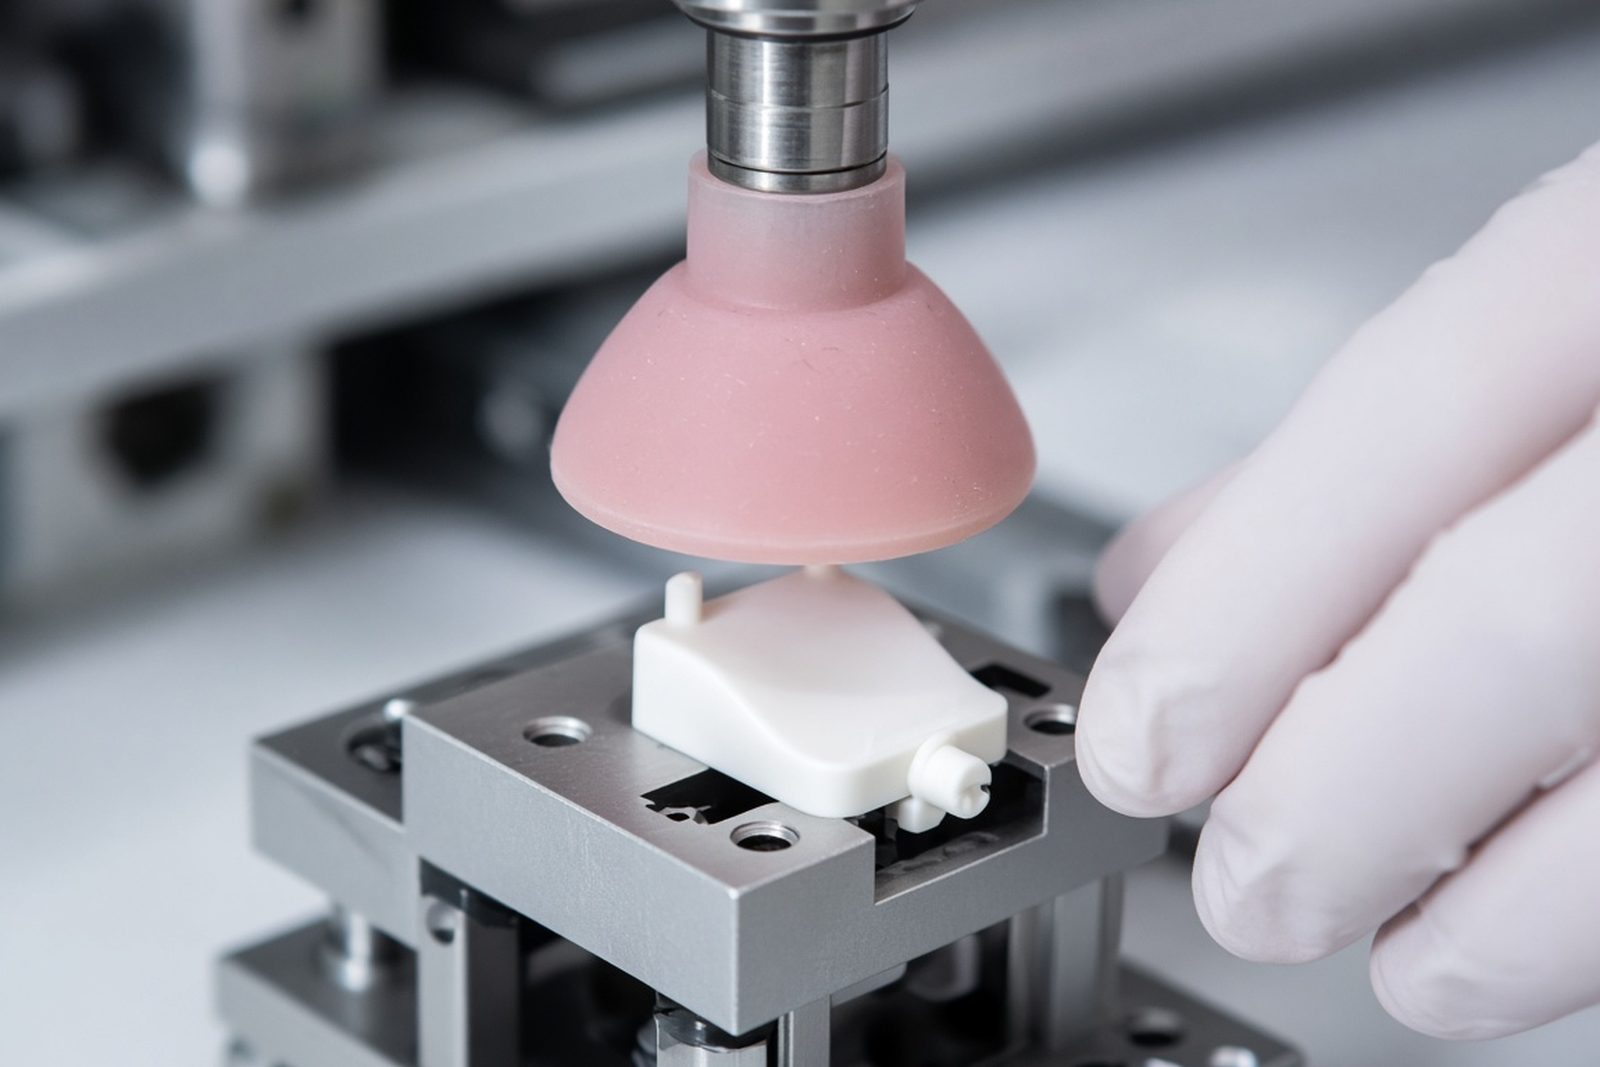
Pad printing depends on a silicone pad picking up ink from an etched plate and pressing it onto the part with the right timing and pressure. If any one of those steps changes, the image can move or lose sharpness. A pad that is too soft can flex too much. A plate that is not clean can hold ink in the wrong places. Ink that is too wet may spread before curing.
Small changes can make a big difference, especially where there are fine lines, serial marks, warning symbols or small reference text. In Westmead and other industrial areas around Durban, many components come through in mixed batches, so the same setup must hold steady from the first sample to the last box.
- Pad shape and hardness
- Ink viscosity and open time
- Plate depth and image release
- Part location in the fixture
- Curing method and drying time
How Fixture Movement Can Create A Ghost Image
One of the most common causes is movement in the part itself. If the component is not held firmly, the pad may touch it slightly off-centre on the second transfer, or the part may shift back as the pad lifts. This is more likely on smooth plastic, narrow parts or items with uneven backsides.
Fixture making is often the difference between a clean mark and a repeat problem. A good fixture holds the part in the same position every time, even when the job runs for many pieces. For manufacturers in Johannesburg, Pretoria or Gqeberha sending parts in batches, repeatable location is essential if the print must stay consistent across reorders.
- Loose part seating in the jig
- Worn locating pins or stops
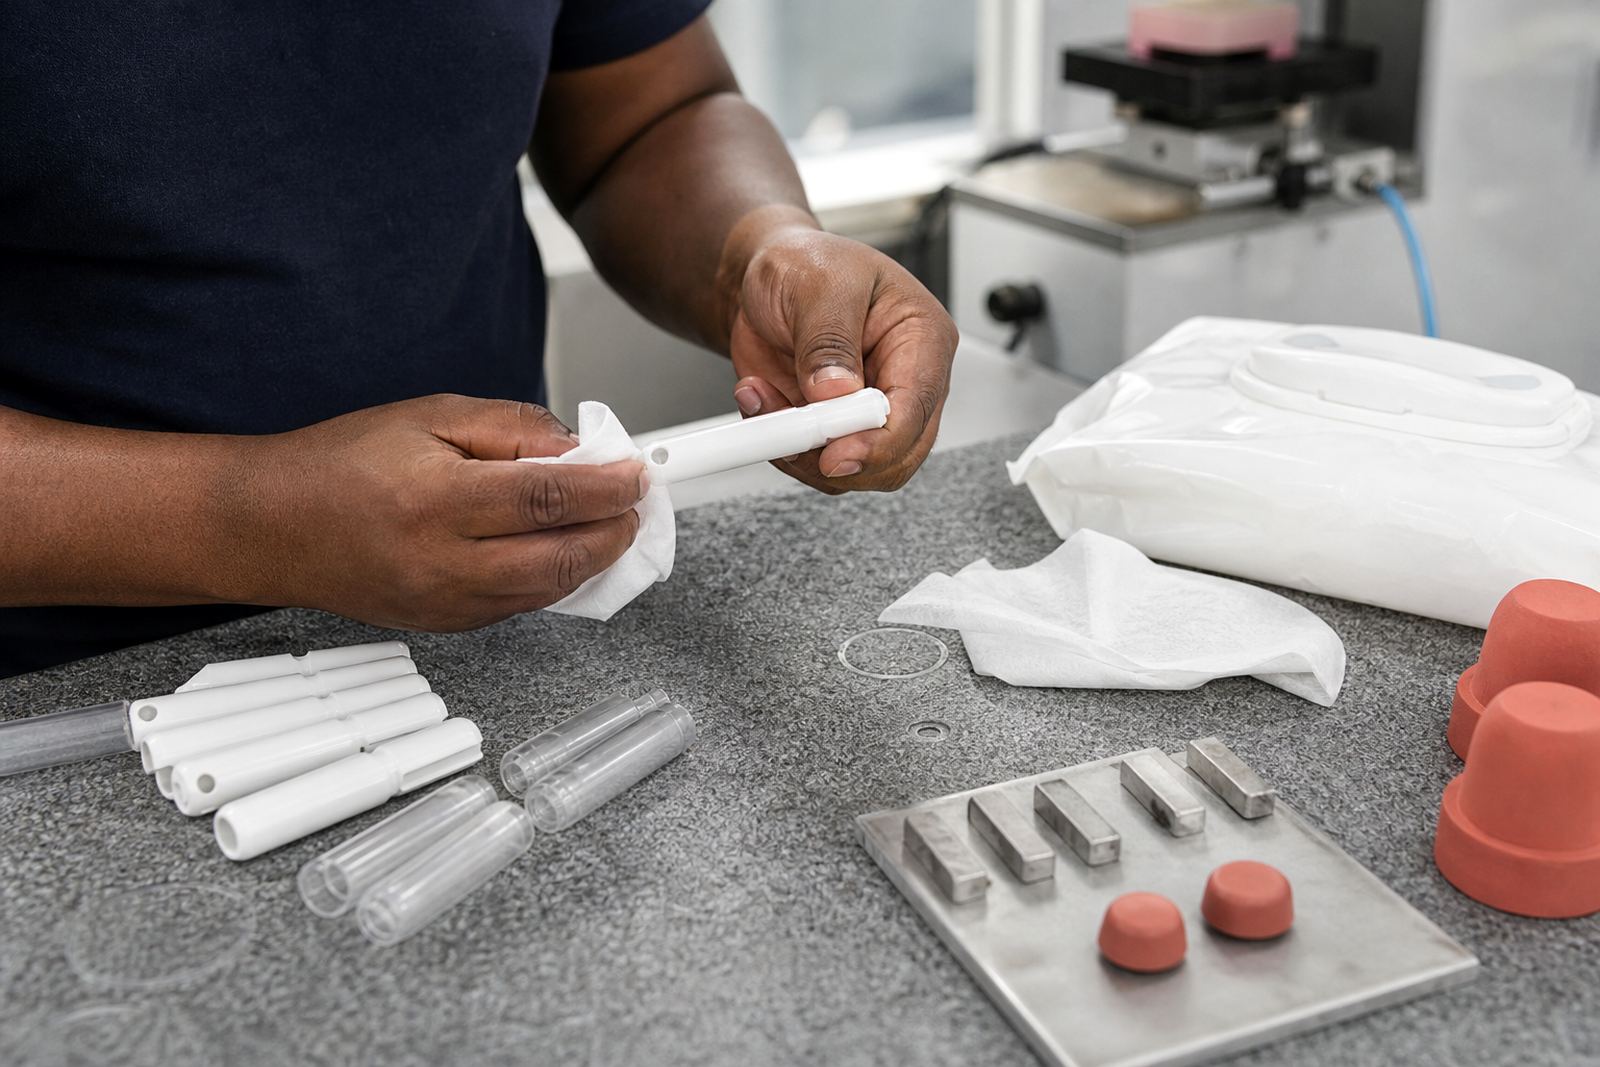
- Surface dust or mould release on the part
- Excess handling between loading and curing
Ink, Solvent And Curing Decisions That Affect Clean Edges
Ink choice matters because some inks level out quickly while others hold a sharper edge. If the ink is too thin, it can bleed slightly after transfer and leave a second halo. If it dries too fast on the plate, the pad may not pick up a full image and the next strike can leave a partial shadow. Curing also matters because a part that is moved too soon can smear before the finish has set.
In Durban coastal humidity, drying and curing behaviour can shift through the day. On warm wet days, a setting that works in the morning may need a small adjustment by afternoon. That is why trial sample runs and curing method selection are part of the setup, not an afterthought.
- Match the ink to the substrate and the drying window
- Check for over-thinning before a run starts
- Allow proper flash off time between stages
- Keep cured parts separate from fresh parts
Practical Checks Before A Production Run
Before a full job starts, a few checks can reduce the risk of ghosting and save rework. A proper plate exposure, clean image edges and stable machine setup all help. Adhesion test samples are also useful because they show not only whether the print sticks, but whether the image stays crisp after handling.
For medical and electronics work, it is wise to confirm the artwork, print area and component shape together. A redraw may be needed when the supplied logo is too fine for the part size. That small adjustment can prevent a weak first print and a lot of wasted parts later.
- Confirm artwork size against the actual print area
- Run a few samples before approving the batch
- Check edge sharpness under strong light
- Inspect for movement after the first and second prints
Parts we marked for a plant in National Supply
A common case in the Pinetown and New Germany industrial areas is a small electronic housing that needs a neat logo, a reference code and a warning mark. If the fixture is not holding the part squarely, the print may look acceptable at first, then show a faint shadow on the next few units. By adjusting the fixture, cleaning the part surface and settling on the right curing method, the ghost image can often be reduced without changing the artwork itself.
We work with manufacturers across South Africa, including Durban, Cape Town, Pretoria, Johannesburg and Gqeberha, where repeatability matters from one order to the next. Customers remain responsible for their own device compliance, but the print must still be clear, legible and suited to the part in front of us. That is the practical side of pad printing, not guesswork but careful control of each step.
When To Recheck The Setup Rather Than Chase The Symptoms
If ghosting appears only after a warm-up period, after a plate change or when a new batch of parts arrives, the setup should be checked again rather than just increasing pressure or adding more ink. Those quick fixes can hide the real issue for one run and make the next batch worse. A controlled rerun job lets the team compare the first sample, the middle run and the packed parts before dispatch.
For manufacturers in South Africa, the best approach is to treat ghosting as a signal. It usually points to a change in part location, ink condition, curing timing or pad behaviour. Once the source is found, the print becomes more predictable and the line can keep moving without unnecessary stops.