Why Pad Hardness Changes the Mark
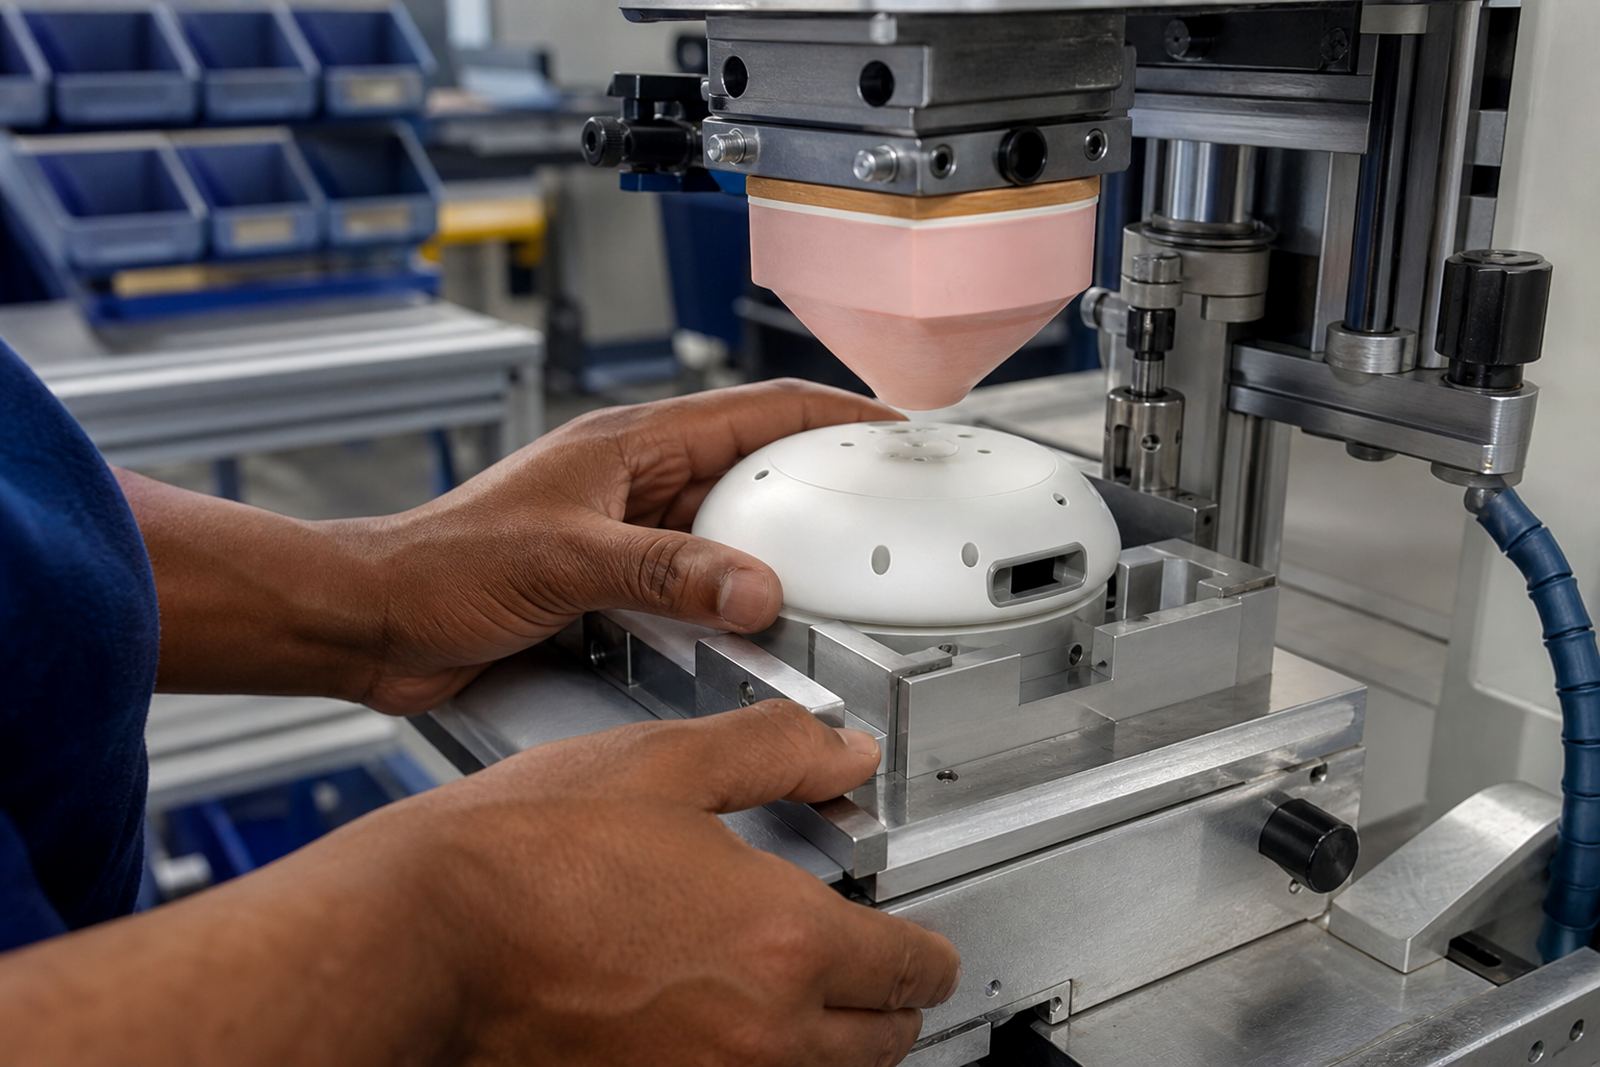
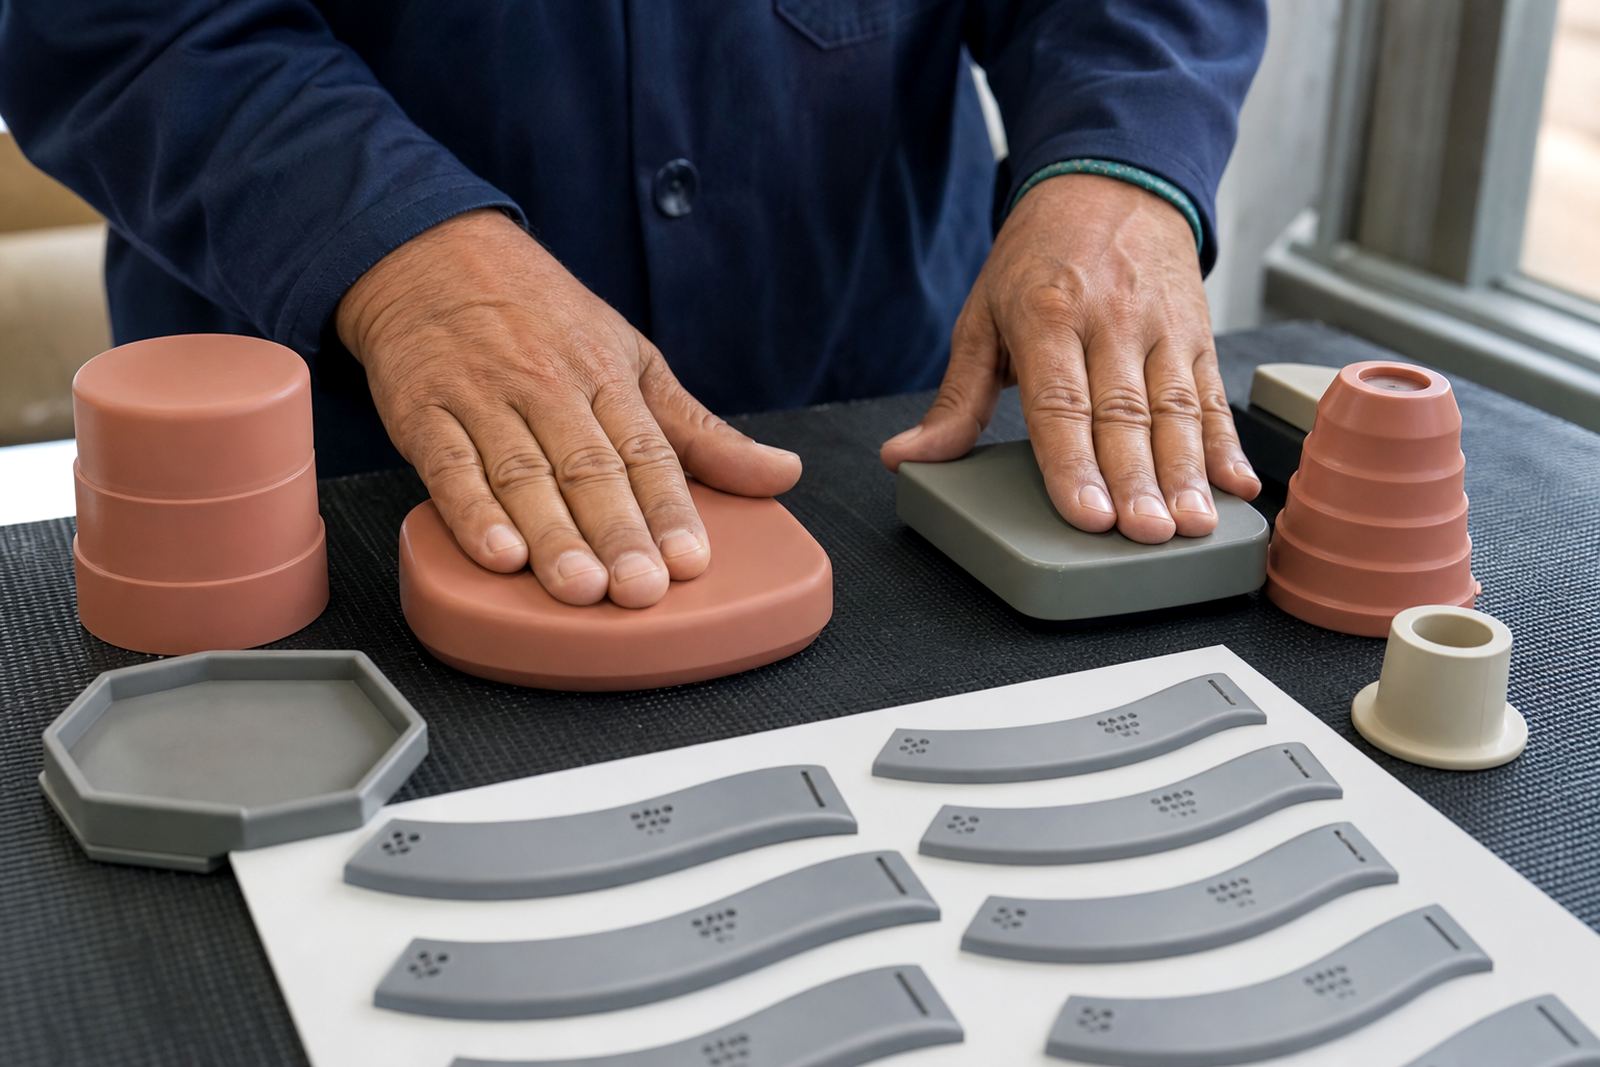
A silicone pad is not just a simple carrier for ink. Its hardness controls how much the pad compresses, how it releases the image and how closely it can follow a part with curves, recesses or fine edges. A softer pad wraps around shape more easily, while a harder pad holds its form better on flatter parts.
That difference matters when you are marking small housings, buttons, control panels or medical handles. If the pad is too soft it may distort the image, pick up too much from the etched plate, or spread onto nearby features. If it is too hard, it may not make full contact on a curved surface and the print can come out patchy or incomplete.
Flat Surfaces Need Control, Not Just Pressure
Flat parts usually look easy, but they can be unforgiving. A hard or medium-hard pad often gives better detail on a flat surface because the contact is even and the edges of text or symbols stay sharp. This is useful for electronic parts where serial fields, icons and warning marks need clean lines.
On flat parts the real challenge is often not the pad itself but the balance between pad hardness, ink deposit and curing method. Too much pressure can squeeze the image and leave a heavy edge, while too little pressure can leave gaps. The goal is a controlled transfer, not brute force.
- Use a pad that keeps its face stable on the part.
- Check that the image sits squarely in the print area.
- Match the curing method to the ink so the mark sets properly.
Curves, Ribs and Recesses Need a Softer Touch
When a part has curves, ribs or a recess, the pad must deform enough to reach the full print area. Softer pads are often chosen for this because they can wrap around the surface and maintain contact where a harder pad would bridge across the shape. This is common on medical device shells, caps and small electronic housings.
That said, softer is not always better. If the pad is too soft, the image can stretch or lose alignment, especially on longer markings. The trick is to choose the softest pad that still keeps the artwork stable. In practice that often means testing a few options on the real component, not guessing from a drawing alone.
- Deeper curves usually need more pad deformation.
- Small lettering may need a firmer pad to hold shape.
- Very thin walls can flex, so the fixture must support the part properly.
Ink, Curing and Pad Hardness Work Together
Pad hardness cannot be chosen in isolation. The ink system, the drying or curing method, and the surface material all affect the final result. A fast-setting ink may need a cleaner, quicker transfer, while a slower curing process may give more time for the image to settle. On plastics, coated metals and other common industrial parts, the surface energy also changes how the ink releases from the pad.
After handling, cleaning and assembly, the print on medical and electronic parts must still be legible and intact. That is why adhesion test samples are useful before a full run. A sample shows whether the pad, ink and cure are working together on the actual part, not just on paper or film.
- Choose ink for the substrate, not only for the colour.
- Test the cure on the real part and real handling conditions.
- Check drying times against the pace of production.
A Westmead Example: Two Parts, Two Different Pads
At our base in Westmead, Pinetown, we often see the same mistake with new enquiries from Durban, Johannesburg or Cape Town. A client assumes one pad will suit every part in the range. Then a flat cover prints beautifully, while a curved cap loses detail or shifts slightly in position. The fix is usually not a bigger machine, but the right pad hardness and a proper fixture.
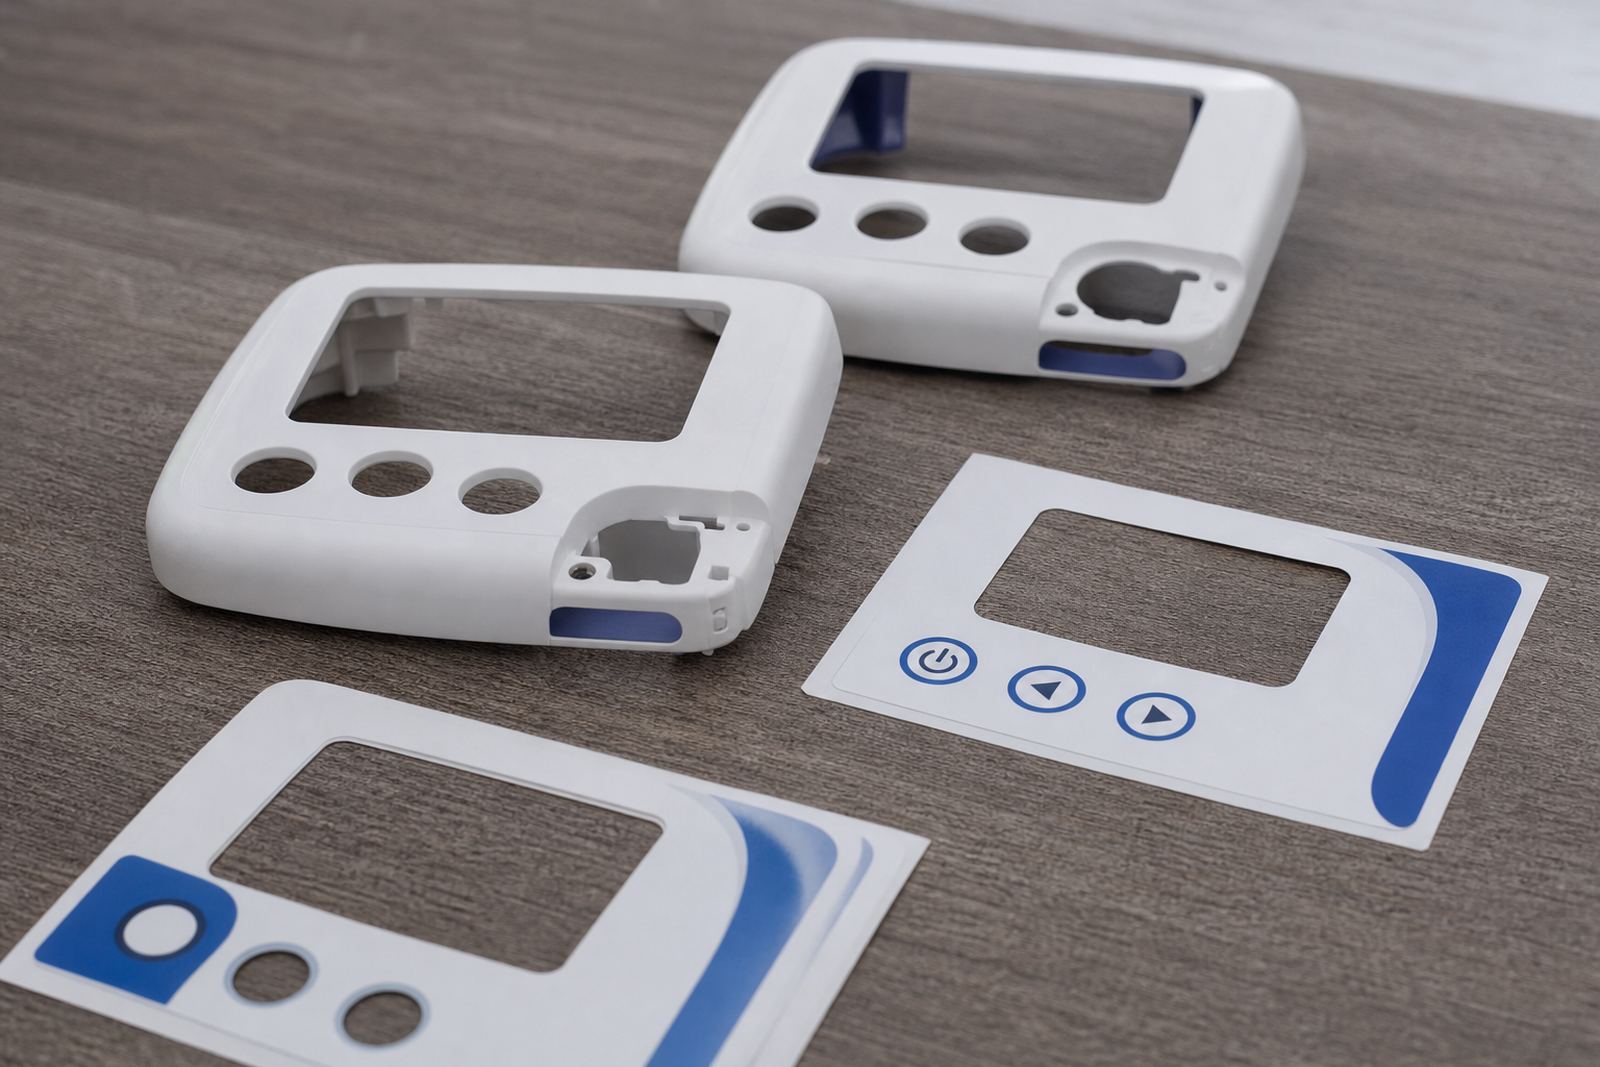
For example, a flat electronic faceplate may do well with a firmer pad for crisp symbols and text. A nearby medical component with a curved top and a shallow recess may need a softer pad and a different print angle. Once the setup is corrected, the rerun job control is simpler, waste is lower and the print stays consistent from the first sample to the dispatch pack.
What to Check Before You Approve a Run
Before production begins, it helps to look at the part, the artwork and the print area as one system. That is especially important when parts are being supplied across South Africa and the final assembly happens in another plant. A small change in pad hardness can affect alignment, edge sharpness and how the mark survives later handling.
Use a practical checklist and keep the test pieces for reference. If the component is going to a medical or electronic assembly line, the customer should still confirm their own compliance needs for the finished device. Our role is to make the marking consistent, legible and fit for the process agreed.
- Confirm whether the part is flat, curved or mixed geometry.
- Review logo redraws and print area planning before plate exposure.
- Approve a trial sample run before full dispatch.
- Keep the same pad and ink setup for reruns where possible.
Getting the Right Result for South African Production
Pad hardness is one of the small decisions that makes a big difference in production. In a plant in Pinetown, or on a line in Pretoria, the same rule applies: the pad must suit the part. That means looking at shape, surface, ink and curing together, then setting the machine for repeatable work. In the right setup, the mark transfers cleanly, the part stays intact and the job moves through packing without avoidable rework.
For manufacturers in Durban, Gqeberha, Cape Town and Johannesburg, the practical answer is the same. Start with a proper sample, check adhesion, and do not force one pad to solve every component in the range. A careful setup saves time later and keeps the marking process steady when orders are repeated.