Why Surface Prep Matters Before Pad Printing
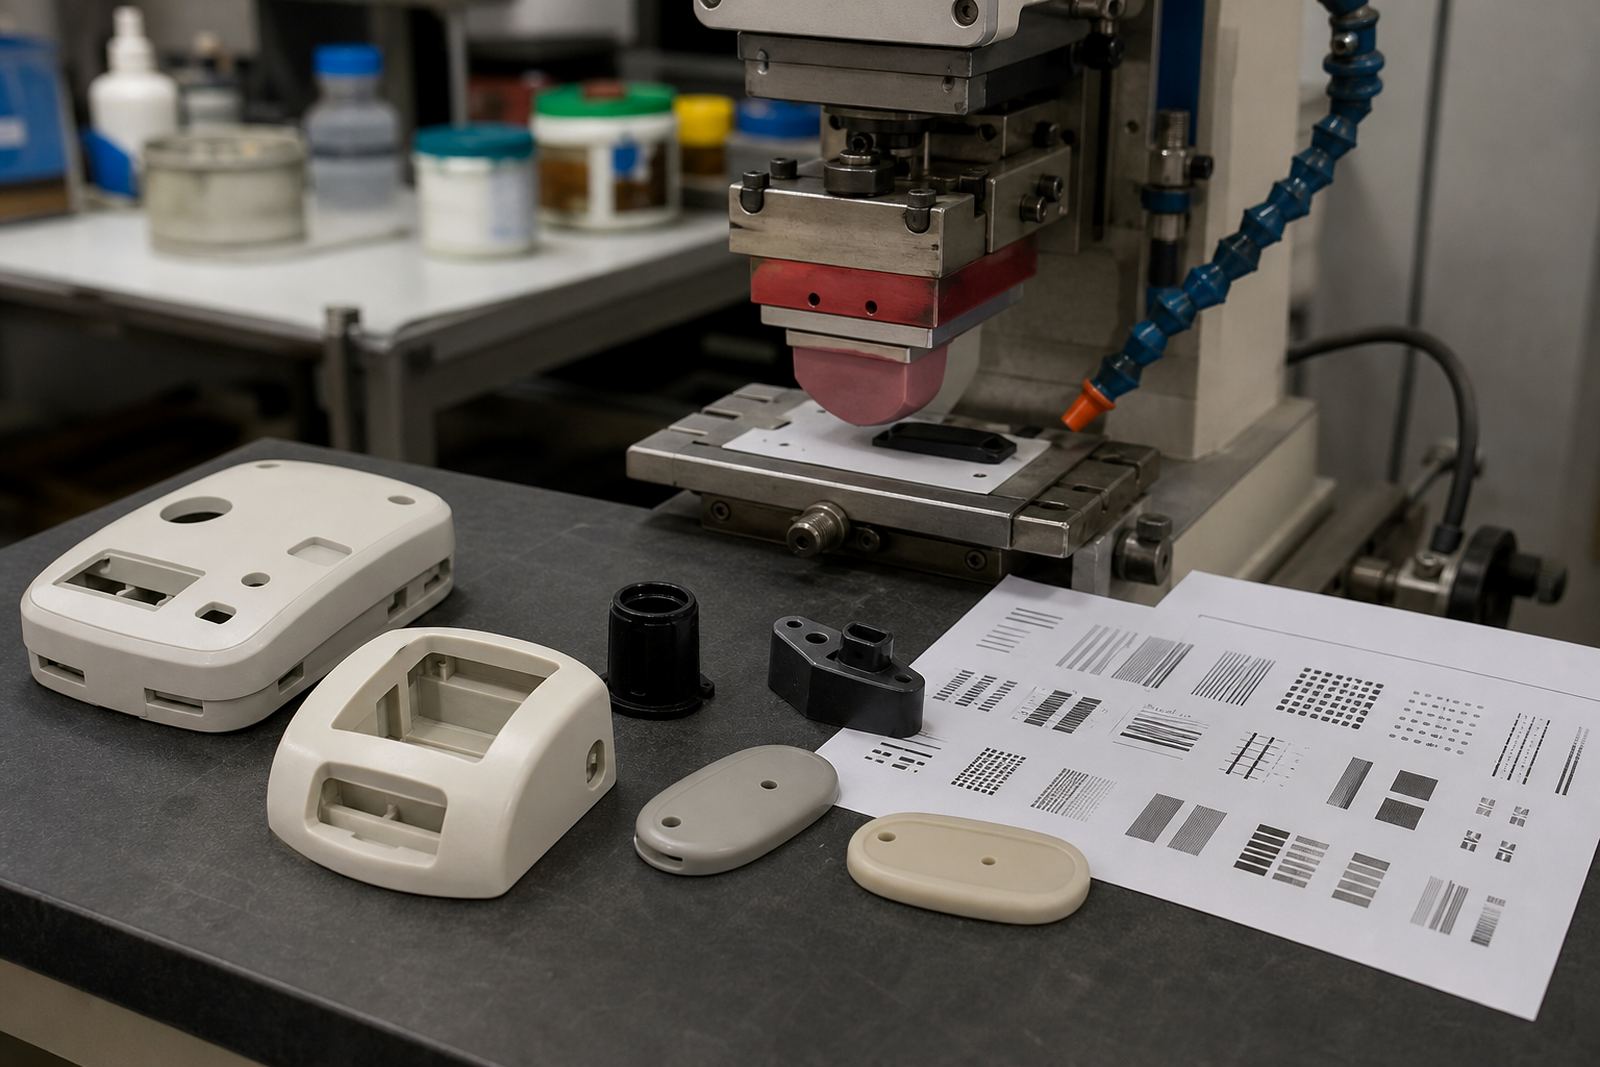
Pad printing works well on small, shaped or uneven parts because a silicone pad can pick up ink from an etched plate and transfer it onto the component with good detail. But that transfer only performs as expected when the print face is ready for it. Oils from moulding, dust from handling, release agents, machining residues and even moisture from storage can all affect how the ink sits on the part.
Pre-treatment for medical and electronic components is not about making every part the same. It is about matching the surface to the job. A clean, stable surface gives the ink a better chance to wet properly and cure correctly, whether the part is a plastic housing, a control knob, a button cap or a small device cover. In some cases the part may print fine with basic cleaning. In others, a light surface treatment or adhesion test sample is worth doing before full production.
What Usually Needs Attention Before Printing
Different substrates behave differently. Plastics can carry mould release or static. Metals may have trace oil from machining. Coated parts can be sensitive to the wrong solvent. Even if the part looks clean, that does not always mean it is ready for ink. In Westmead, where parts often move between machining, assembly and packing areas, it is common for a component to need a simple pre-clean before it comes to print.
- Remove dust, swarf and handling marks before ink is introduced.
- Check for mould release, grease or cutting fluid on the print area.
- Look at moulded texture, gloss and curvature because these affect ink hold.
- Confirm whether the part has been stored in humid conditions near the coast.
- Test whether the chosen ink and curing method suit the material.
That last point matters. Some parts need solvent evaporation, others need heat curing or another controlled drying approach. If the wrong method is used, the print may look acceptable at first but lift later during handling or cleaning. A short trial run can save a batch from trouble.
Common Pre-Treatment Steps We Use On Parts
Pre-treatment does not need to be complicated. It needs to be suitable for the part, the line speed and the end use. For manufacturers in Durban, Johannesburg, Cape Town, Pretoria and Gqeberha, the right process often depends on material, volume and how the printed item will be used after it leaves the factory.
Typical steps can include careful cleaning, surface inspection, fixture setup and trial printing. Where needed, the print area is planned so the pad can land consistently and avoid edges, ribs or screw bosses. On some parts, a test sample is printed first to check whether the ink keying is strong enough and whether the curing method is holding up under touch or wipe tests.
- Artwork preparation and logo redraws for crisp detail.
- Print area planning to suit the shape and the pad size.
- Adhesion test samples before approval of the full run.
- Plate exposure and plate etching for fine line control.
- Fixture making so the part stays steady during transfer.
Medical Parts Need Clean Handling, Not Guesswork
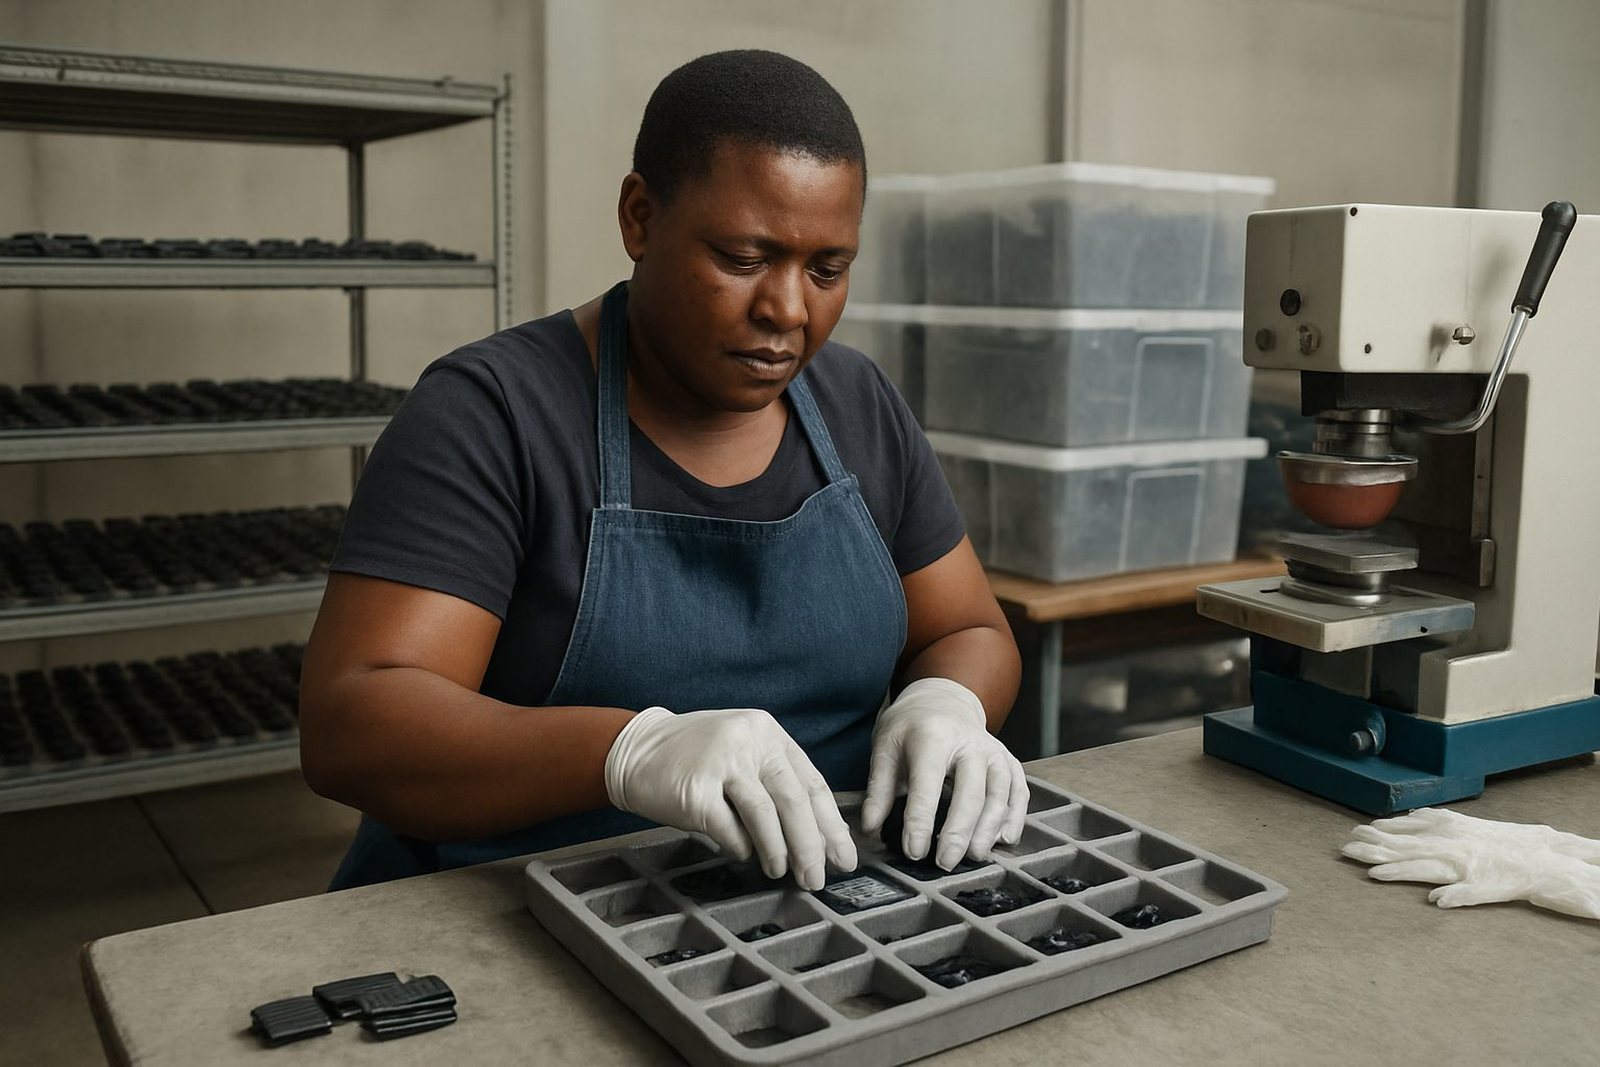
Medical components often have smaller print areas and tighter expectations for clarity. Batch codes, markings, icons and brand identifiers must stay legible and in the right place. That means the pre-treatment stage becomes part of the overall control of the job, not just a quick wipe before printing. If the part is handled with bare hands after cleaning, the surface can pick up skin oils again and that can affect adhesion.
For this reason, the sequence matters. Clean the part, inspect it, print it, then allow the ink to cure properly before packing or downstream assembly. If a component will be cleaned again after printing, that should be considered before the job starts because some surfaces need a stronger bond than others. The customer remains responsible for device compliance and for confirming that the final printed part suits the intended use. Our role is to help deliver a print that is placed accurately and applied with care.
Electronic Housings And Controls Need Durable Marking
Electronic parts bring their own set of issues. Small housings, switch surrounds, control panels and indicator parts often have curved faces or tight recesses. If the surface is dusty or carries residue from moulding, the print can break up or lose detail at the edges. If the part is not fixtured properly, repeatability suffers and the batch starts to drift.
In many electronic applications, the marking must survive handling, installation and ongoing use. That is why print area planning and curing method selection are part of pre-treatment, not afterthoughts. A small example from a Durban manufacturer: a moulded control housing was coming through with inconsistent adhesion near the corner radius. After checking handling and storage, the team added a light pre-clean, changed the fixture and ran adhesion test samples before release. The result was far more consistent than trying to force the job straight onto untreated parts.
- Check for static or dust on moulded plastic surfaces.
- Make sure the print face is fully supported in the fixture.
- Allow enough drying or curing time between handling steps.
- Use rerun job control if the part returns in a later batch.
What Good Pre-Treatment Saves You Later
Good preparation saves time in several ways. It reduces reprints, avoids ink failure and helps keep the line moving when production is already under pressure. A part that is prepared properly is easier to print, easier to inspect and easier to dispatch.
Pre-treatment also helps keep colour matching and detail consistency stable from batch to batch. If the surface changes from one supplier lot to the next, the print may shift slightly even when the artwork stays the same. That is why trial sample runs, plate setup and repeat checks are worth doing before full production. A simple surface check at the start can stop a more expensive problem later on.
A Practical Approach For South African Manufacturers
The best approach is simple: inspect the part, clean it if needed, test the ink on the actual substrate and then print with the right fixture and curing method. There is no single rule for every component, because plastics, metals and coated surfaces all behave differently. Some jobs need only light preparation. Others need a more careful sequence to keep the print stable through assembly and use.
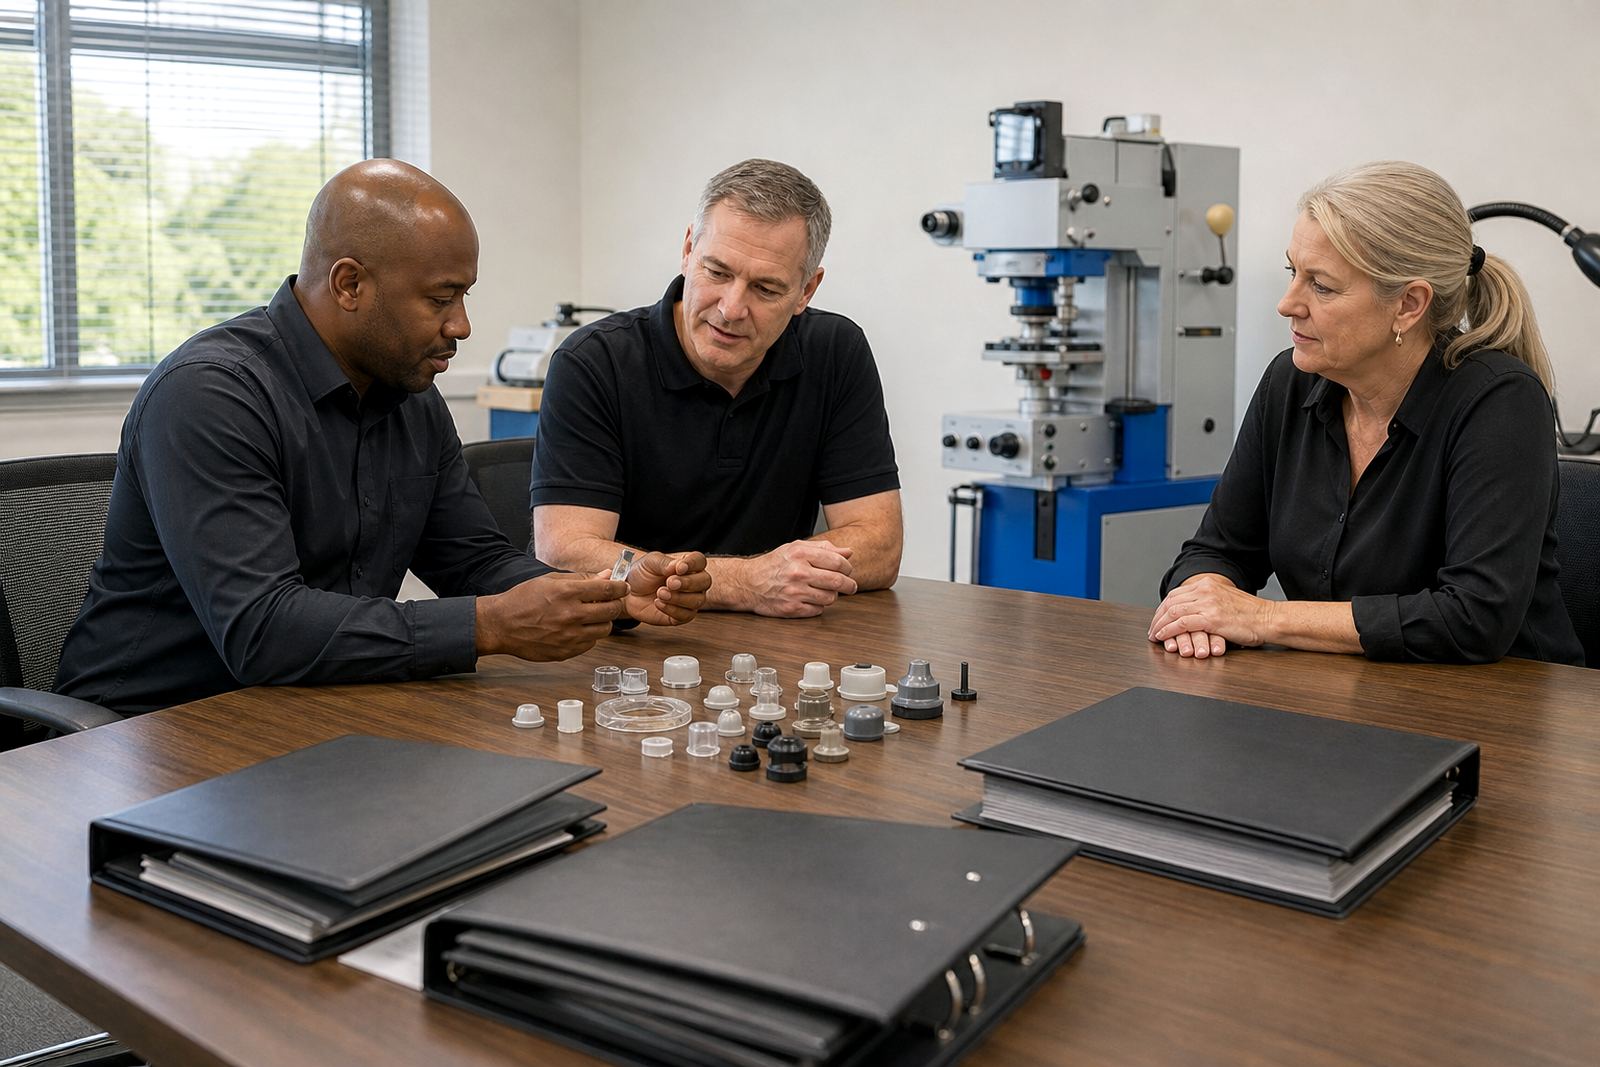
At PadPrinters Medical in Westmead, Pinetown, the focus is on helping manufacturers decide what level of pre-treatment makes sense for the part in front of them. That can include artwork preparation, adhesion test samples, plate work, trial runs and dispatch packing once the print is approved. If your parts are going to assembly in Durban or moving to Johannesburg, Cape Town, Pretoria or Gqeberha, it pays to get the surface ready before the first print lands.