Why Metal Parts Need More Than a Good Artwork
Metal parts for medical and electronic use often arrive with a surface that looks clean enough, yet still carries oils from machining, fine dust, release residues, or fingerprints from handling. In pad printing, that thin layer is enough to interfere with ink transfer and long term adhesion. The print may look fine off the machine and still fail later when the part is wiped down, fitted into an assembly, or exposed to moisture.
At PadPrinters Medical in Westmead, Pinetown, the first question is usually not what the logo looks like, but what the component is made from and how it has been finished. Bare aluminium, stainless steel, plated steel and coated parts all behave differently. A mark that bonds neatly to one metal may bead, smear or lift on another unless the ink system and curing method match the surface.
Surface Condition Is the First Adhesion Test
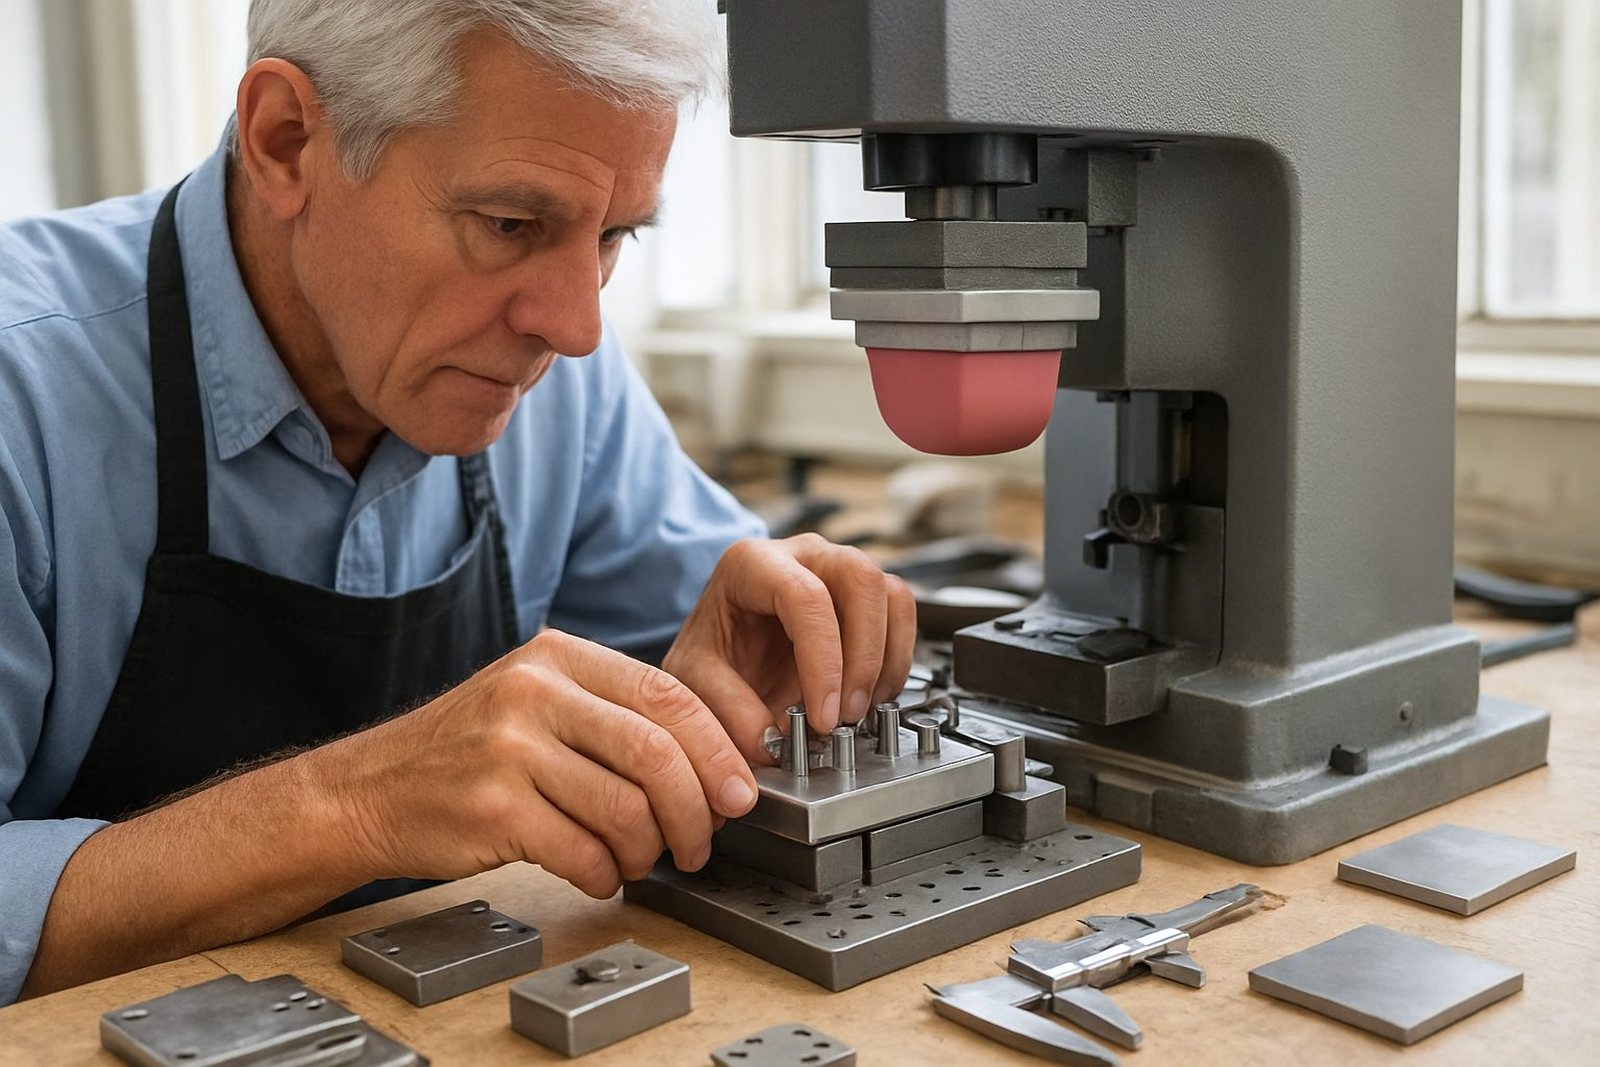
Before a silicone pad ever touches the component, the surface must be assessed. In practice that means checking for contamination, gloss level, oxidation and any texture left by machining or blasting. A highly polished part may need more careful ink selection than a lightly keyed surface. A coated surface may hold print well, but only if the coating itself is stable and properly cured.
- Remove machining oils and handling contamination before printing
- Check for oxidation on aluminium and rust on steel parts
- Confirm whether the part is bare metal, plated, anodised or painted
- Test a small area first if the finish varies across the batch
- Handle parts with gloves once cleaned, because fingerprints matter
On medical and electronics work, this sort of checking is not a nice extra. It saves reruns, scrap and arguments later when the client is assembling parts for use across South Africa, from Durban to Johannesburg and Cape Town.
Coatings, Anodising and Powder Coat Change the Surface
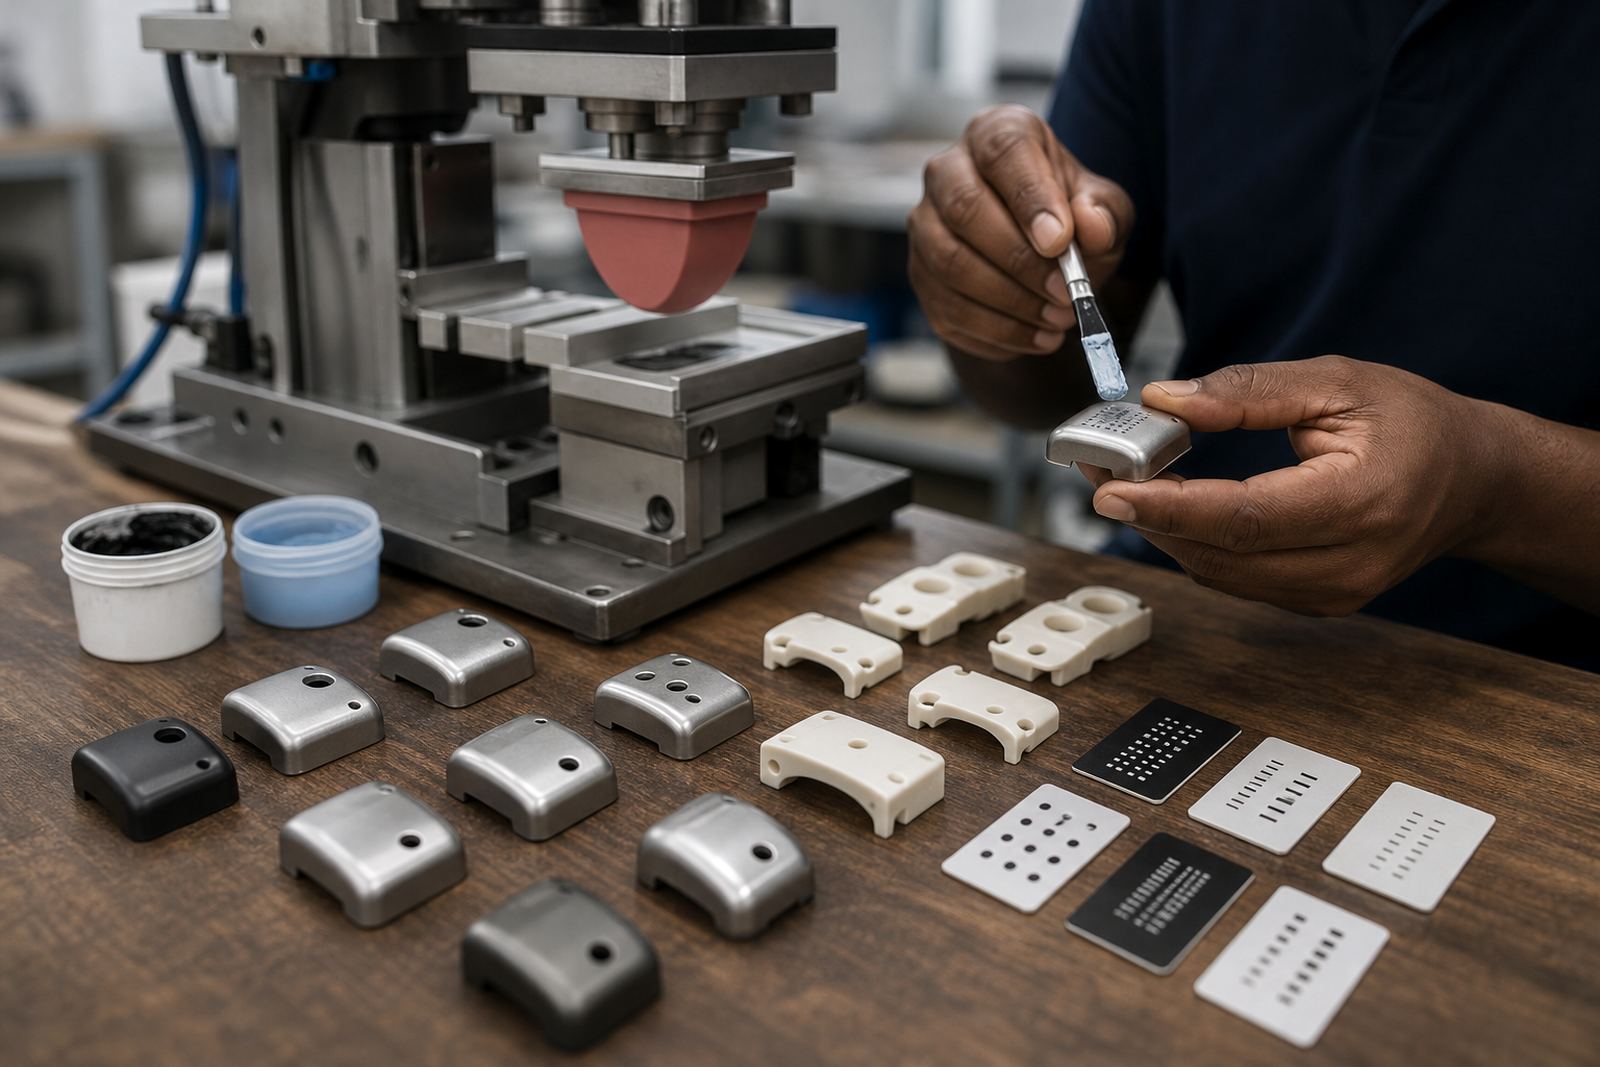
Many metal components are not printed on raw metal at all. They come coated, anodised or plated, and each finish creates a different surface energy. That affects how the ink wets the part and how strongly it bonds after drying or curing. Some coatings are excellent for pad printing, while others need careful testing because they can repel ink or soften under the wrong solvent balance.
Anodised aluminium is common in control panels, housings and name areas on instruments. It can print cleanly, but only if the surface is consistent and the ink system is matched to the coating. Powder coated parts can also work well, though the final cure of the coating and the age of the finish matter. If a coating is undercured or contaminated, adhesion problems can show up quickly.
- Fresh coatings may need time before printing starts
- Rough handling after coating can leave invisible contamination
- Glossy finishes often need stricter testing than matt finishes
- Mixed batches are risky if some parts came from a different coating run
- Field exposure in coastal towns like Durban can punish weak adhesion fast
Ink Choice and Curing Must Match the Metal
Pad printing ink is not one-size-fits-all. For metals, the ink has to bond while still allowing a clean transfer from the cliché to the silicone pad and then onto the part. After that, the film must dry or cure properly so it resists handling, cleaning and assembly. If the cure is too light, the print can scratch off. If it is too aggressive, the part finish may be affected or the ink may not level properly.
Heat, air drying and UV curing are all used in different settings, depending on the part and the ink system. On small electronic parts, the curing method must suit the substrate and the production pace. On medical components, the finish must stay neat under repeated handling. In practice, a good result comes from matching the ink, the curing method and the part finish as one process, not three separate choices.
If curing equipment is interrupted, the process control has to stay consistent so the batch does not shift from one job to the next. That is especially important on reruns where colour and adhesion must match a previous run closely.
Trial Runs Catch Problems Before Full Production
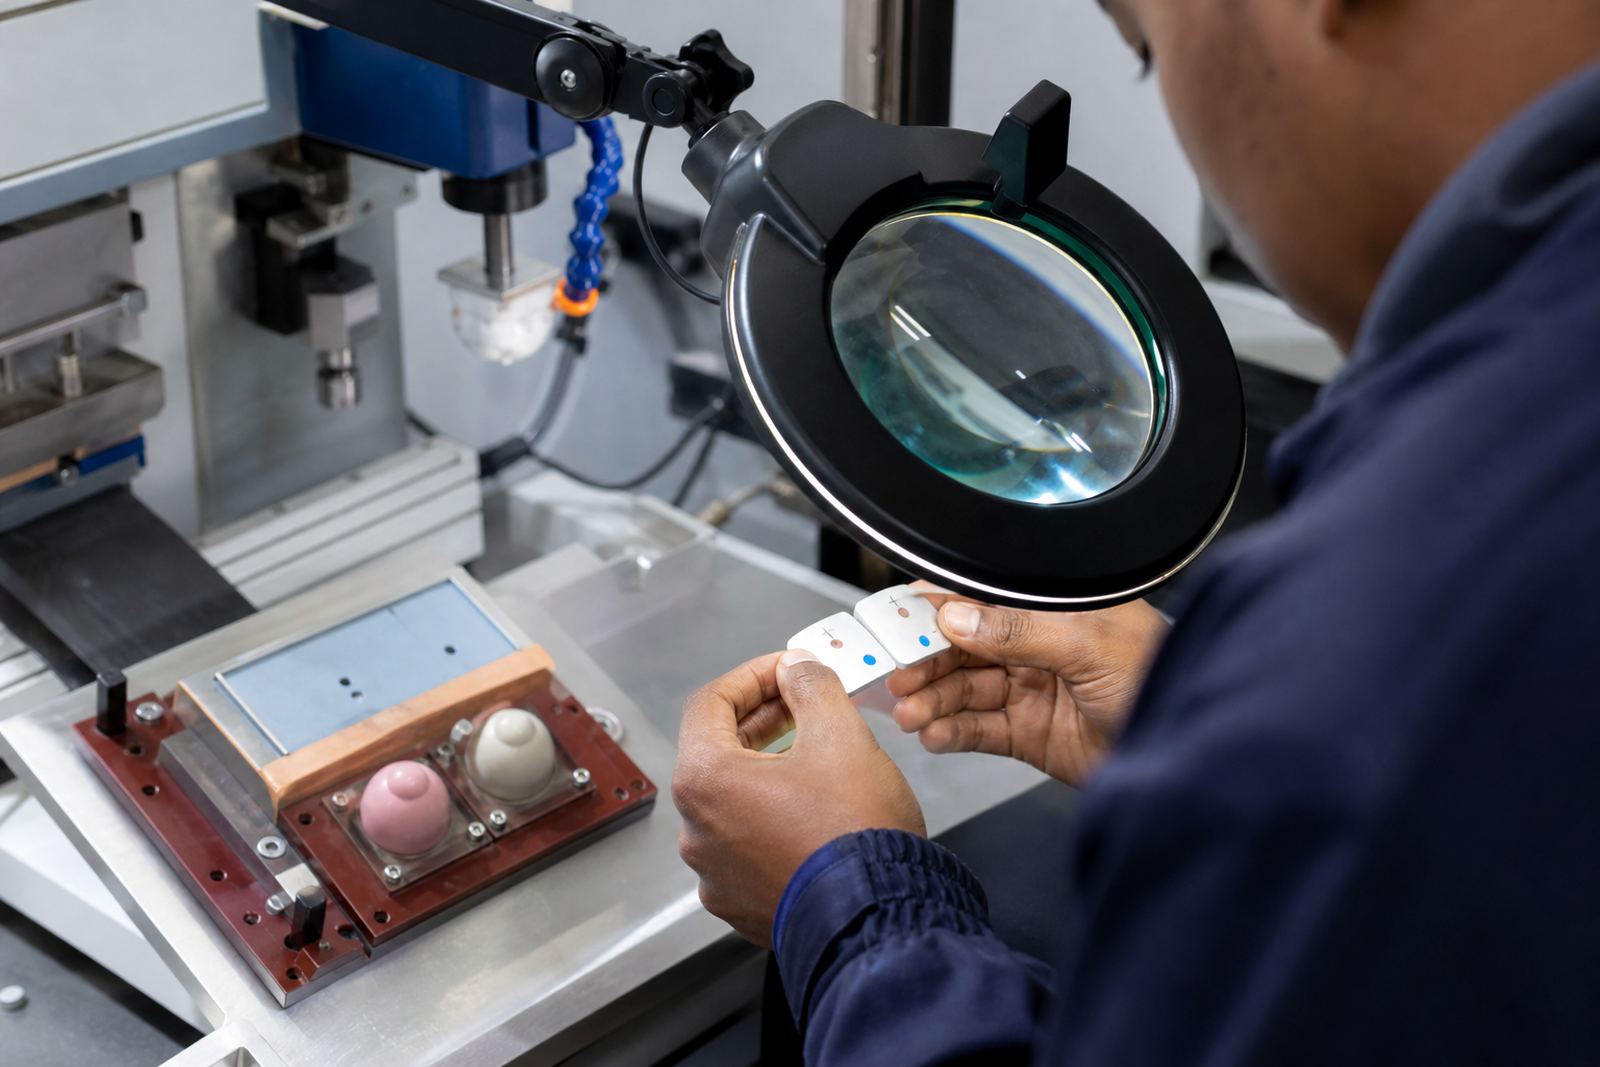
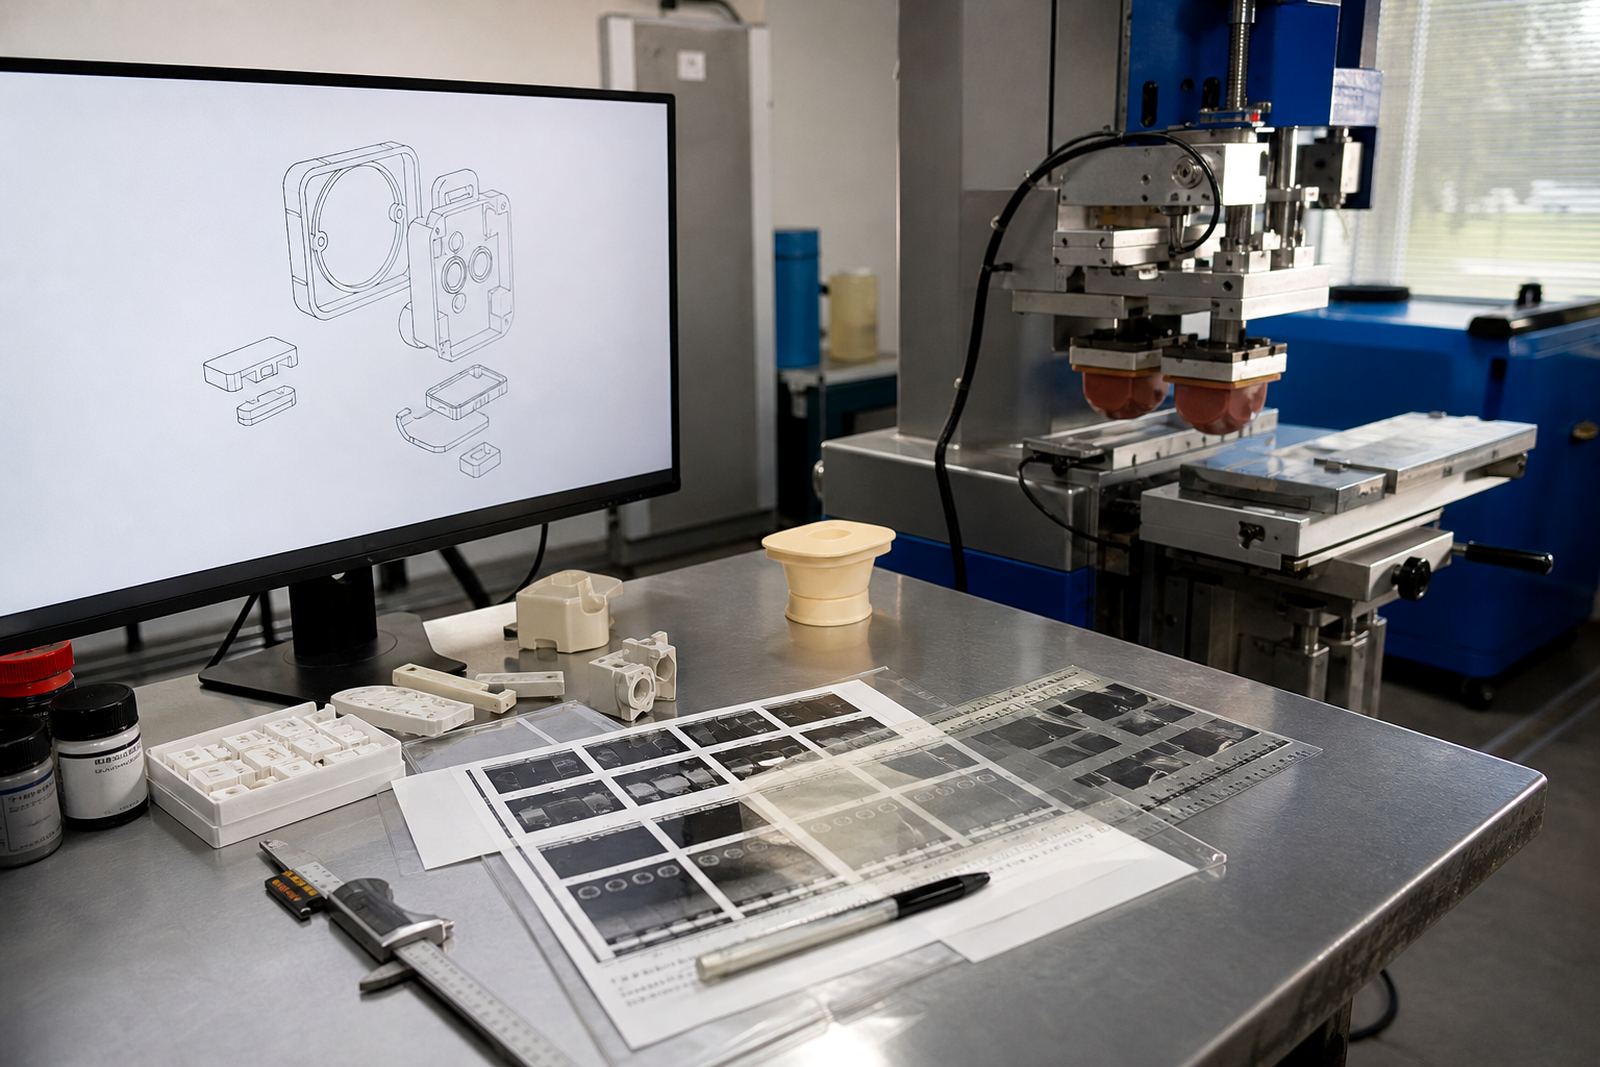
Trial sample runs are one of the most useful steps in pad printing on metal. A small run shows whether the print holds, whether the colour sits correctly on the finish, and whether the edges stay sharp after curing. It also gives room to adjust fixture making, plate exposure, print area planning and machine setup before the full order starts.
Typical questions that come out of a trial run include:
- Does the ink bond evenly across the whole print area
- Is there any lifting at the edges after handling
- Does the mark survive simple abrasion and cleaning
- Do fixture marks or part movement affect registration
- Is the colour still correct after the curing stage
For manufacturers in Pretoria, Gqeberha or Johannesburg who are fitting metal parts into larger assemblies, a failed print can stop a line. Trial work is cheaper than a batch of rejects.
A Pinetown Example: When A Clean Part Was Still a Problem
A Durban-area manufacturer recently brought in small metal components that had already been cleaned and looked ready for print. The first sample seemed acceptable, but adhesion dropped after handling and packing. The issue was not the artwork. It was the finish left from the previous process and a curing method that suited the old batch but not the new coating.
After checking the surface condition, the print area and the ink behaviour, the team adjusted the process, reworked the fixture and ran fresh adhesion test samples. The result was a steadier print that held up better during packing and dispatch. That kind of correction is common in Westmead and New Germany work, where parts often move between machining, coating and final assembly with very little margin for error.
That is why clients from Cape Town Supply to Westville Support are often told to send the actual part, not only a drawing. The metal tells you what it needs if you look closely enough.
What Clients Should Clarify Before Sending Metal Parts
Good adhesion starts with clear information. When a client sends a part for pad printing, the most useful details are usually straightforward, but they make a real difference to setup and repeatability. They also help keep rerun job control tidy when a production batch needs to be scheduled again months later.
- What metal the part is made from
- Whether the surface is bare, plated, anodised or coated
- How the part will be handled, cleaned or assembled after print
- How many marks are needed and where they must sit
- Whether the part is for a medical or electronic application with tight visual requirements
The practical goal is straightforward: help the print stay on the part, not on the cloth after the first wipe.