Why curing matters on medical and electronic parts
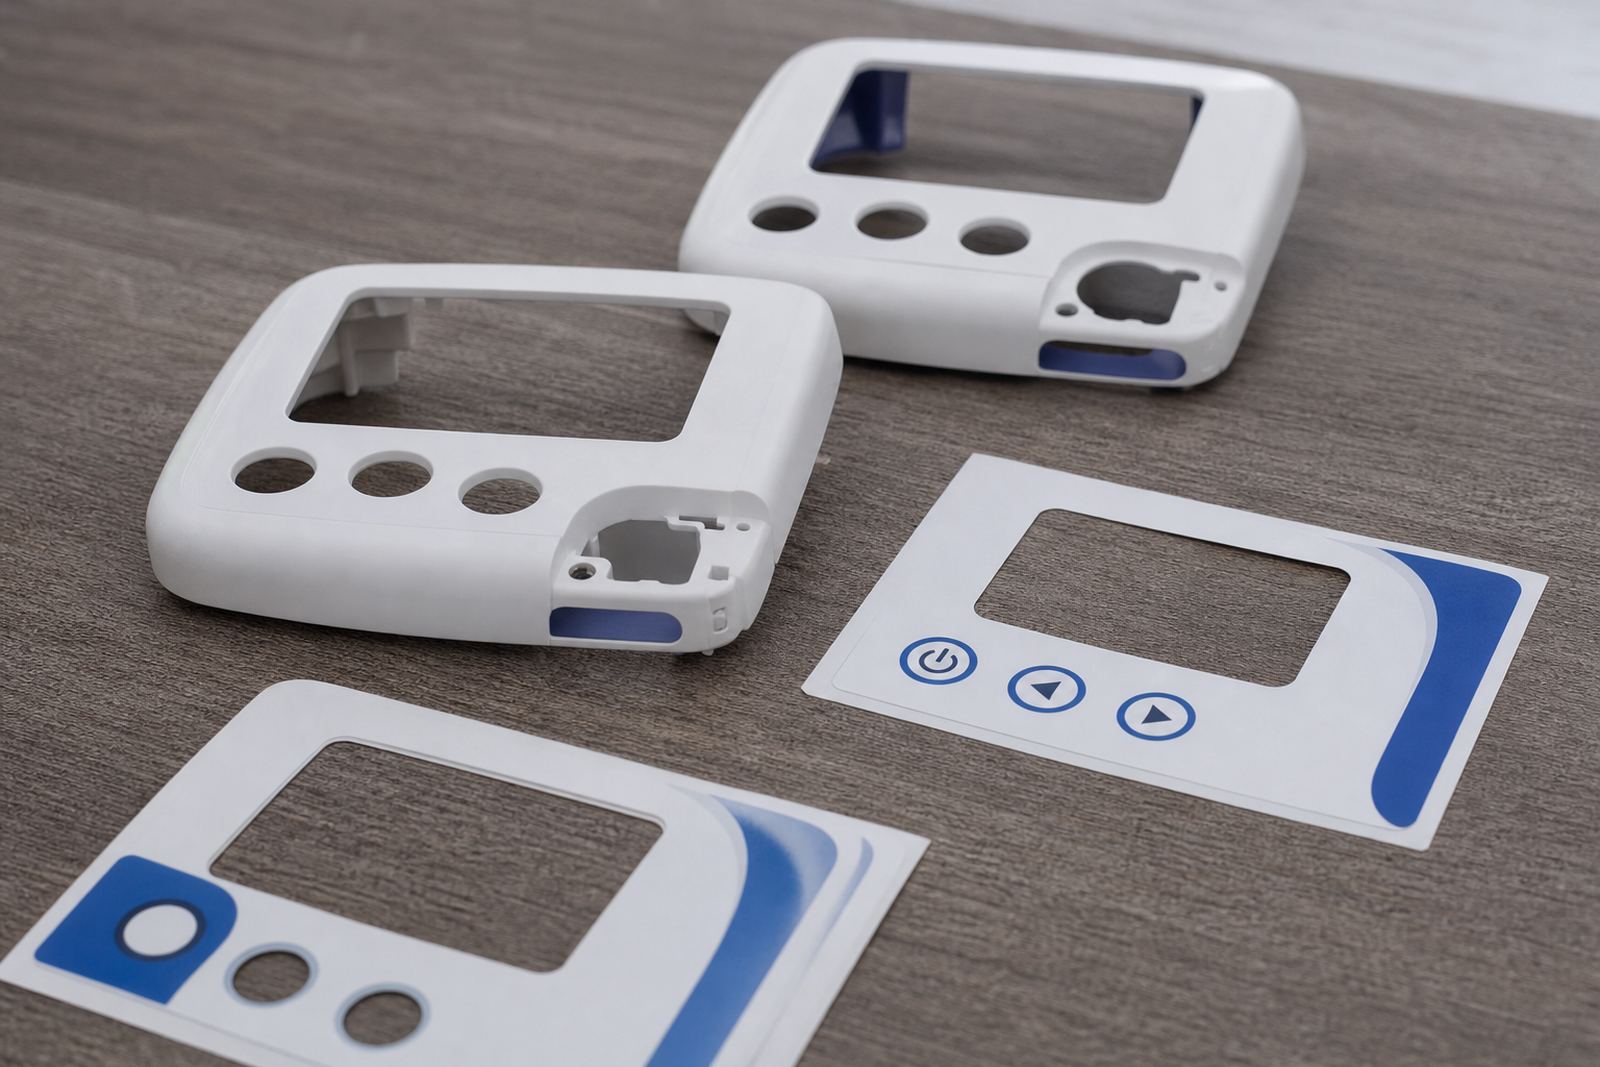
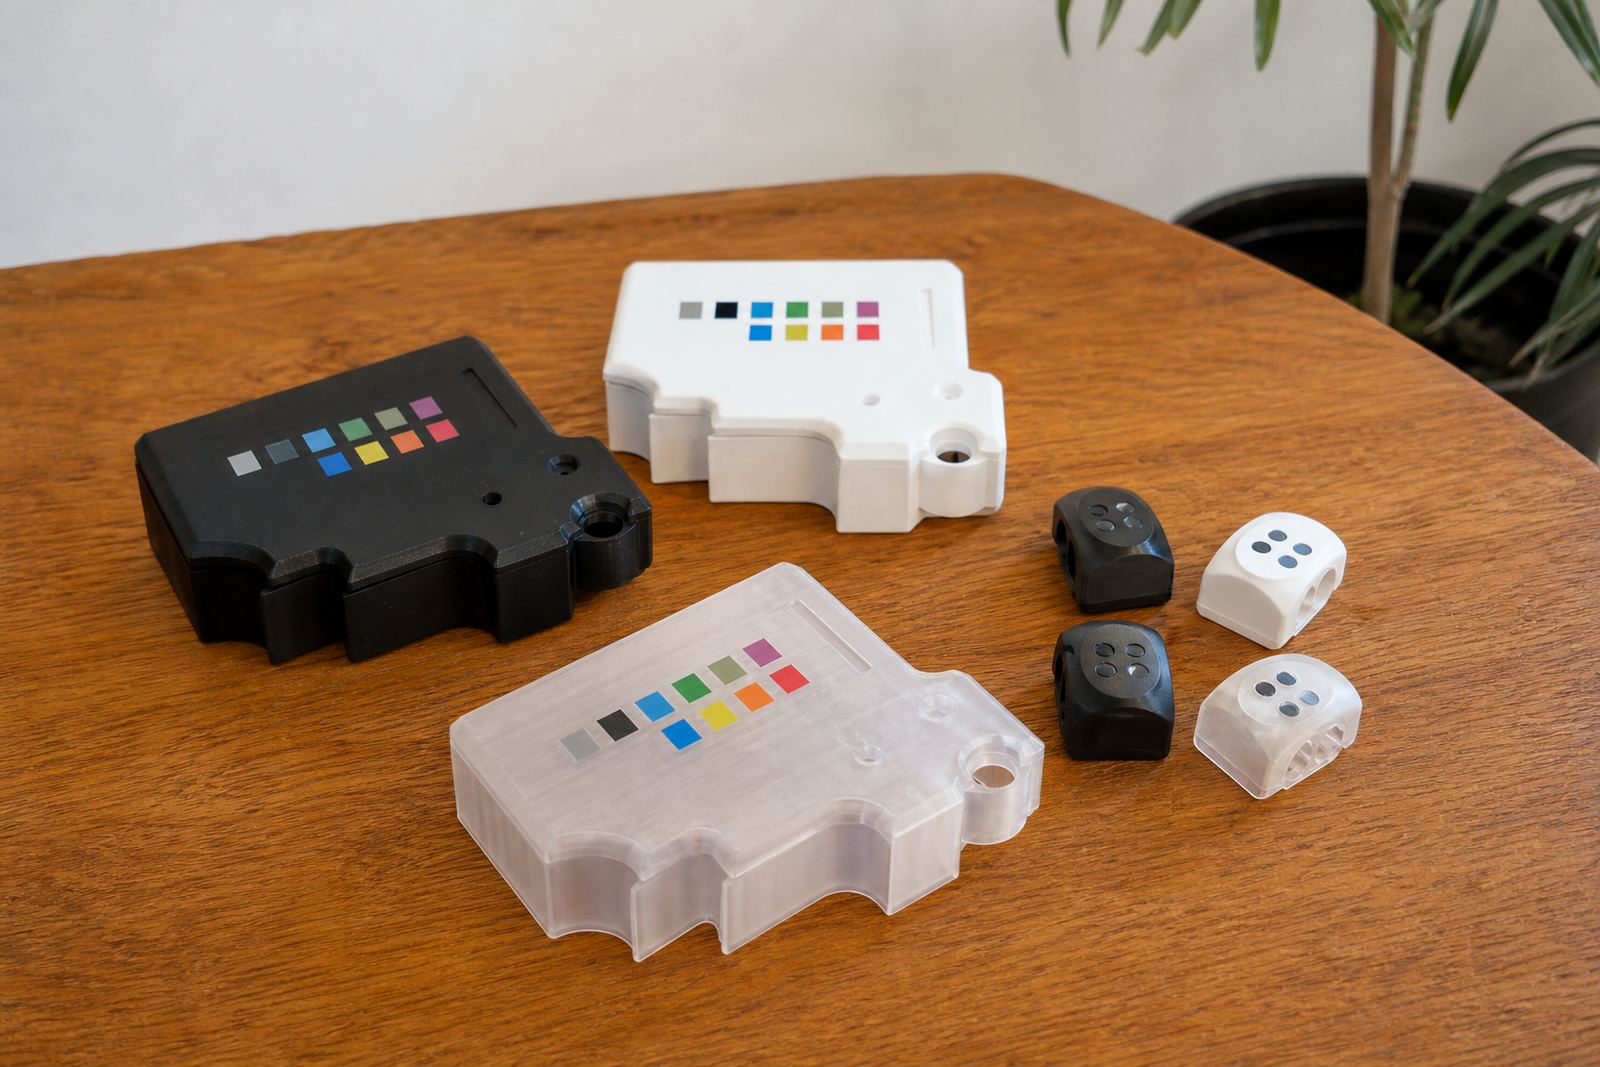
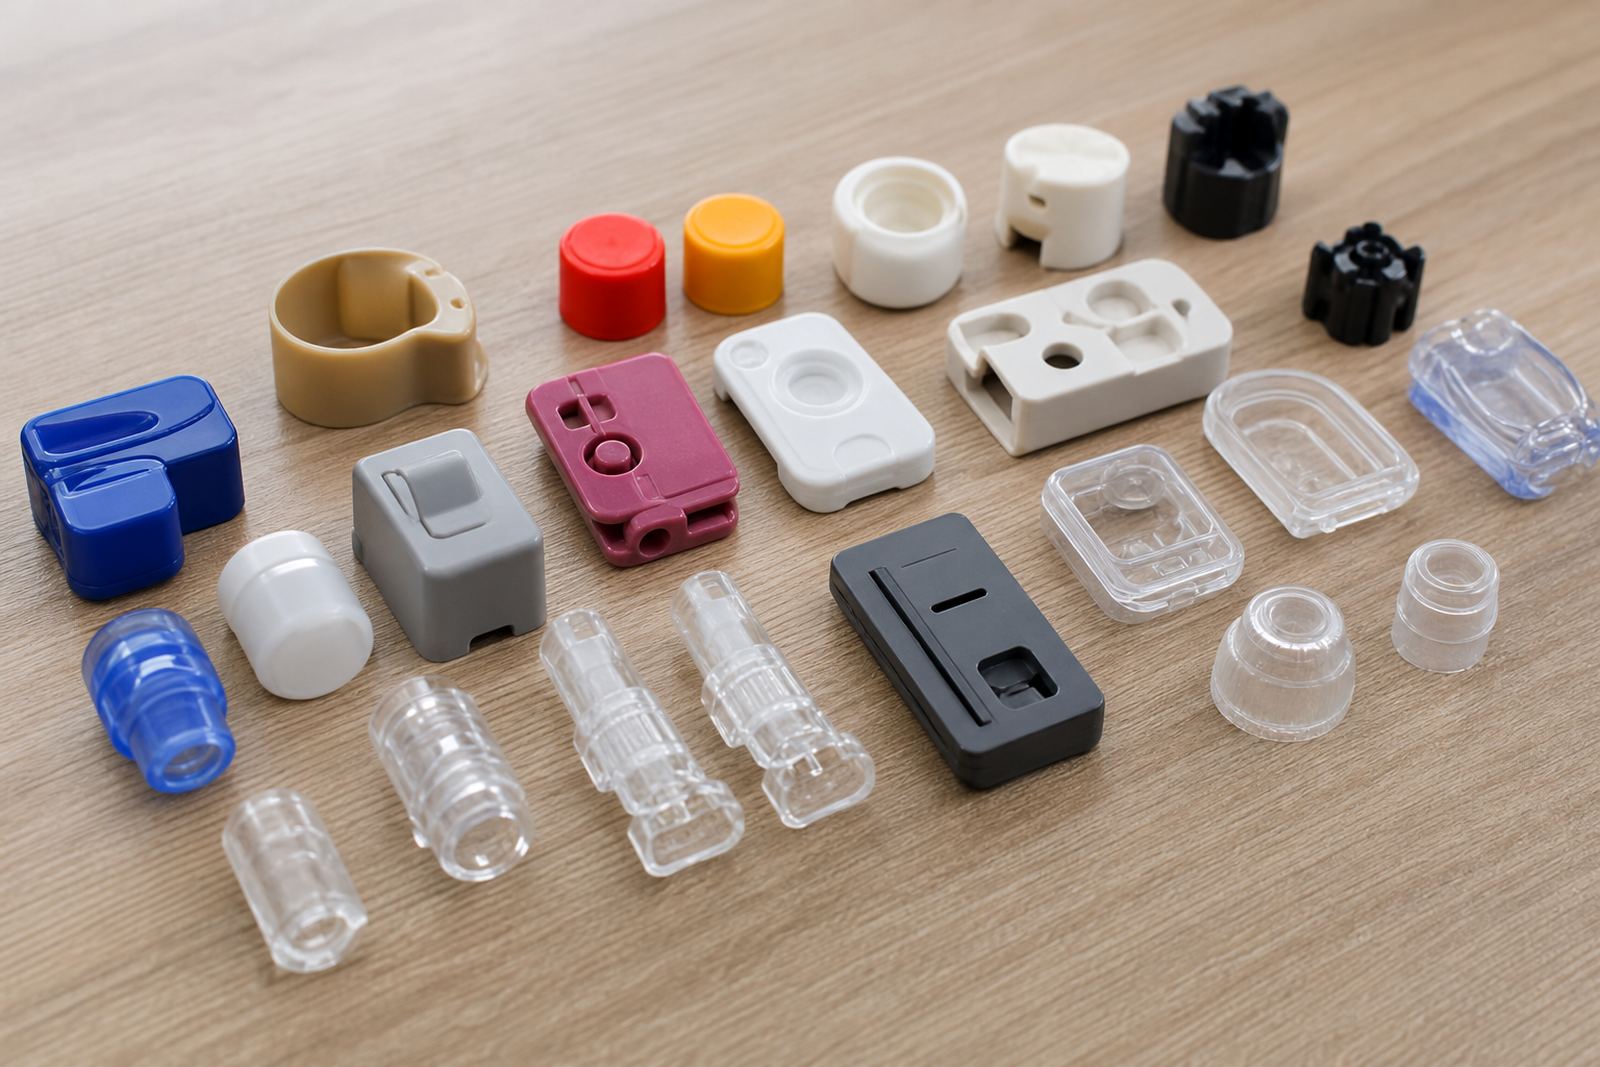
Pad printing uses a silicone pad to pick up ink from an etched plate and transfer it onto a shaped surface. That film still needs to set properly. If it dries too slowly, the part can smudge during packing or assembly. If it cures too quickly or at the wrong temperature, the print can lose adhesion or change colour. On medical housings, switches, connectors and small control parts, that is a real problem because the marking must stay legible and consistent through everyday handling.
Curing is not only about speed. It is about how the solvent leaves the ink, how the binder hardens and how the print bonds to the substrate. Different plastics, coated metals and elastomers respond in different ways. A part that seems fine straight after printing may still be soft underneath, so the cure method has to match the job not just the ink on the surface.
Air drying for small runs and simple parts
Air drying is the most basic method. Printed parts rest in clean, dust controlled conditions until the solvent flashes off and the ink reaches handling strength. It suits low volume work, test samples and parts that cannot be exposed to heat. In practice, it needs good airflow, stable room conditions and enough space so parts do not touch while they are still tacky.
In Westmead and New Germany, where many factories work with mixed materials and short runs, air drying often forms part of the first sample stage. It gives the team time to check colour, clarity and adhesion before moving to a faster cure method. The downside is time. Humid coastal weather around Durban can slow the process, so a job that seems straightforward in winter may need more careful handling in summer.
- Best for short runs, samples and heat sensitive parts
- Needs clean racks, dust control and good air movement
- Slower in humid conditions, especially near the coast
- Useful when you want to inspect the print before full production
Heat curing for stronger handling and repeatable output
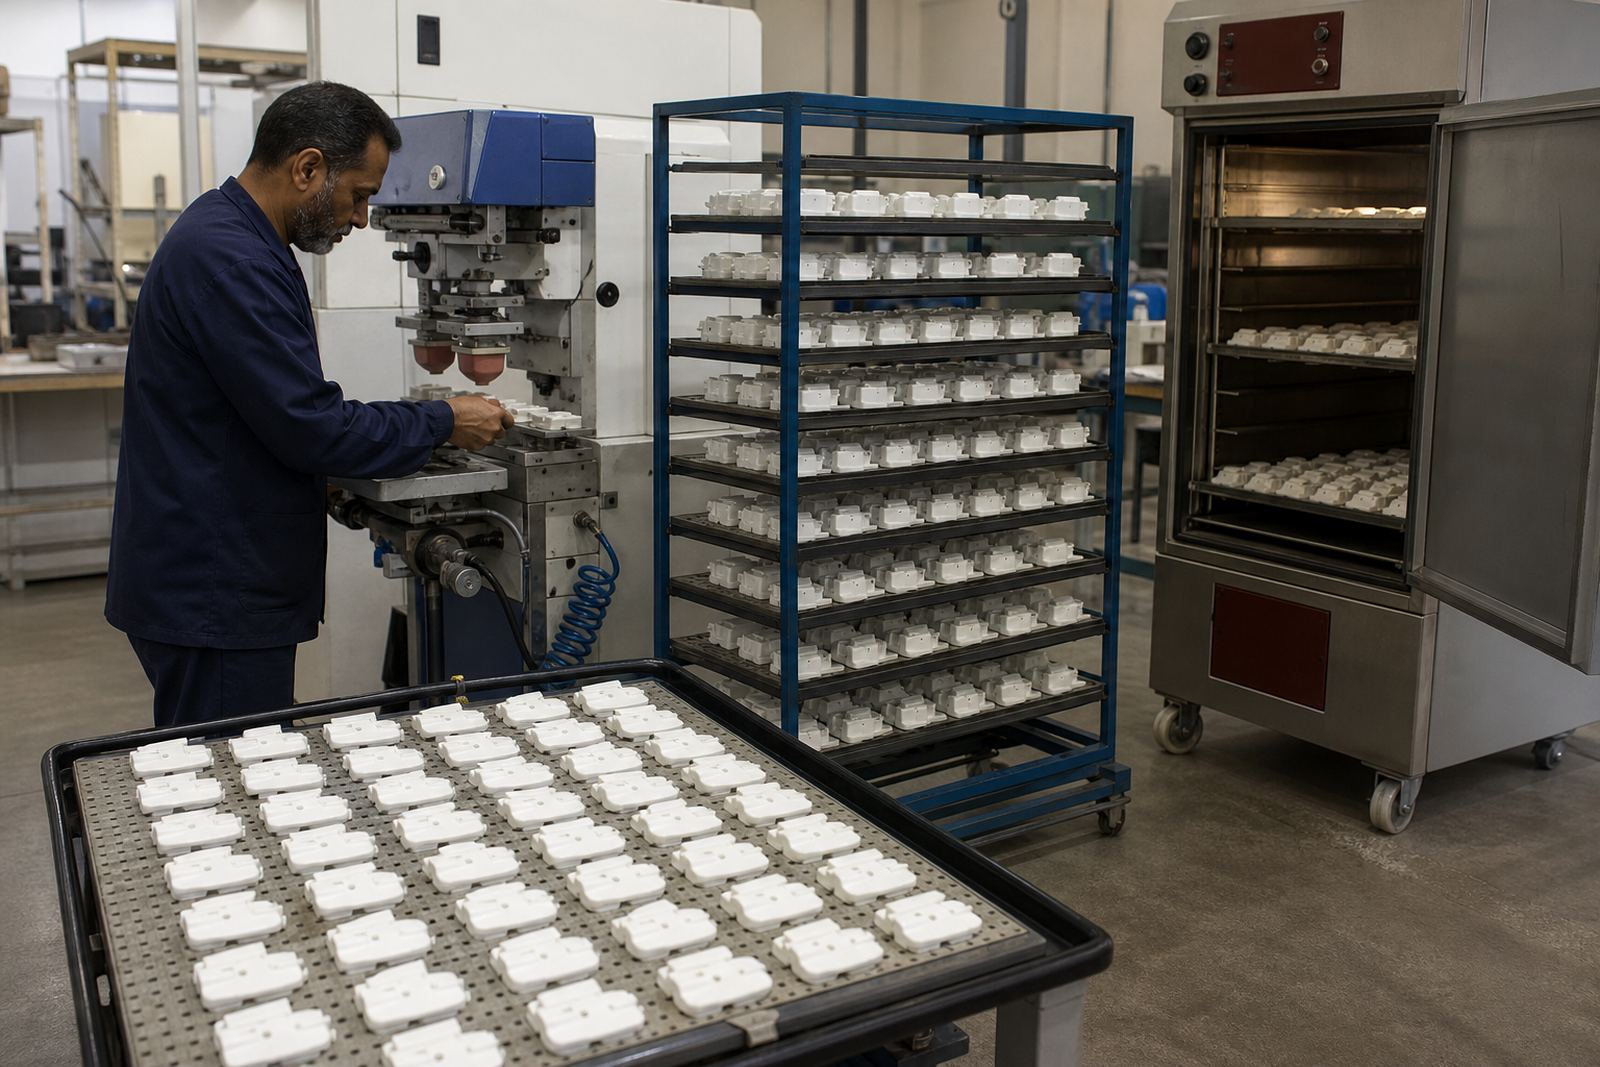
Heat curing is used when the ink system needs controlled warmth to reach full strength. This can be done in a warm-air tunnel, a drying oven or on heated fixtures, depending on the part. The aim is even temperature across the print area so the ink sets properly without warping the component. For small medical casings or electronic housings, a steady cure often gives better resistance to rubbing and handling than air drying alone.
Temperature control matters. Too little heat and the print remains soft. Too much and the substrate may distort, especially on thin plastic parts. A practical setup also needs to suit the factory rhythm. If components are being printed in batches, the cure cycle must fit the turnaround without creating bottlenecks. That is why trial sample runs and rerun job control are important before releasing full production.
- Useful for production jobs that need consistent handling strength
- Needs accurate time and temperature control
- Can improve resistance to rubbing, stacking and packing
- Must be matched to the part material to avoid warping
UV curing when speed is the priority
UV curing hardens suitable inks almost immediately when exposed to the correct light source. For some electronic parts and flat or lightly contoured medical items, that can be a major advantage because the print can move on quickly without long drying racks. The process works best when the substrate, ink and exposure settings are matched carefully. A weak or uneven exposure can leave the surface cured but the lower layers still soft.
UV curing can help where a production line needs quick turnarounds and less floor space for drying. It also suits jobs where marks need to stay clean and crisp during packing. But it is not a universal fix. Some materials do not respond well to UV systems, and opaque or heavily textured parts may need another approach. That is why curing method selection should be treated as part of the print specification, not an afterthought.
How local conditions change the cure process in Durban
South African factories do not all work in the same conditions. Those factors affect cure time and consistency. For manufacturers shipping to Johannesburg, Cape Town, Pretoria or Gqeberha, consistency across batches is worth more than rushing one run through too quickly.
At PadPrinters Medical in Westmead, the cure method is usually set after the substrate, ink and handling needs are understood. A simple medical control knob may only need careful air drying, while a printed electronic housing might do better with heat curing or UV. The practical part is planning for the full journey, from printing to packing to dispatch. When that is handled properly, the mark survives touch, transport and day to day use.
- Humidity can slow air drying and affect ink behaviour
- Packaging should only happen once the print has reached handling strength
- Local trials help confirm the right cure method before full production
What good curing control looks like in production
Good curing control starts with a sample that passes adhesion tests and stays legible under normal handling. From there, the process should be repeatable. Operators need clear settings, fixtures that hold the part properly and a defined method for reruns if a batch is interrupted. Without that, one batch can look fine and the next one can behave differently even when the artwork is unchanged.
Curing is part of quality control for medical and electronic components, not just finishing. It affects how the print reads under inspection, how it feels to the user and how well it stays on the part over time. The right method is the one that suits the material, the production rate and the real conditions in the factory. It sounds simple, but in practice it takes a bit of care and a proper setup.
Choosing the right cure method for your component
If you are working with a new part, start with the substrate and the end use. Is the component heat sensitive? Will it be handled often? Does it need quick packing after print? Those answers usually point to air drying, heat curing or UV curing. A proper sample run should test not only print quality but also how the mark behaves after drying, after cleaning and after light wear. That is where adhesion test samples become useful.
For manufacturers across Durban, Johannesburg, Cape Town, Pretoria and Gqeberha, the safest route is to treat curing as part of the specification. The print may look correct straight off the pad, but the real test is whether it remains clear and bonded after the job leaves the machine. That is the part customers and compliance teams see later, so it is worth getting right at the start.