Why texture changes the print result
On a smooth part, the pad meets a flatter surface and the ink film transfers more evenly. On a textured moulding, tiny valleys and peaks can pull the image apart, soften a fine line or leave a light spot at the edge. That is why a marking that looks fine on paper can behave very differently on a handpiece shell, control housing or small plastic cover.
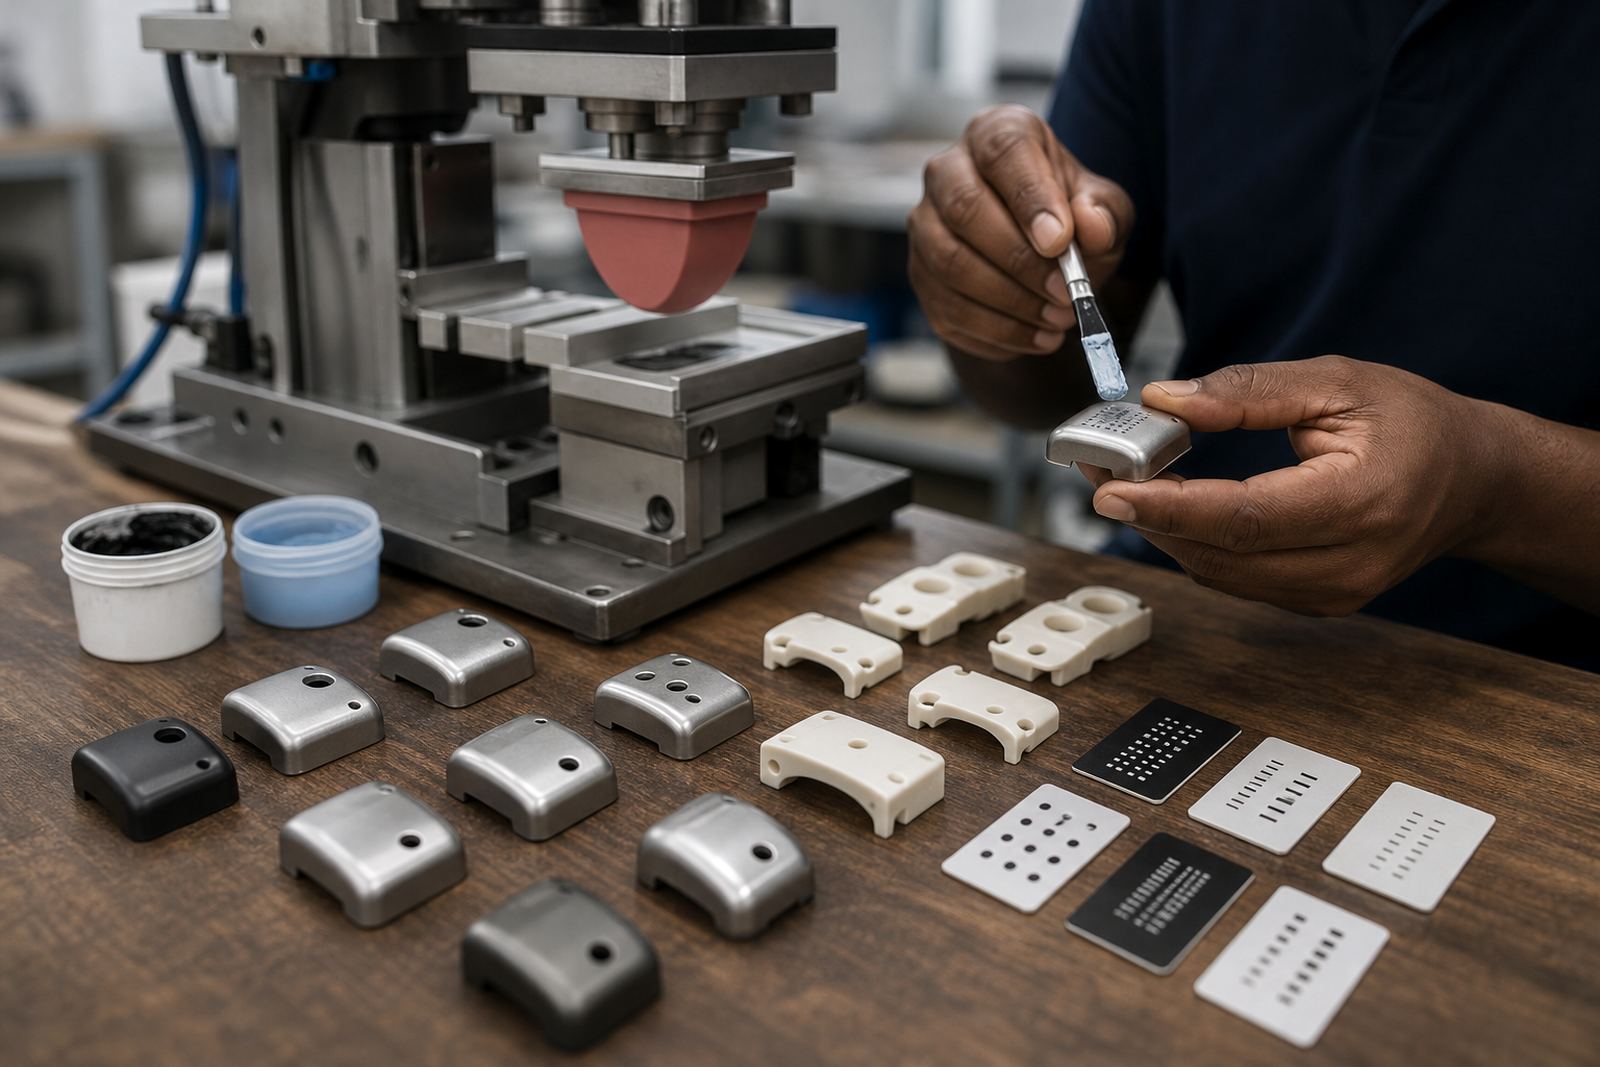
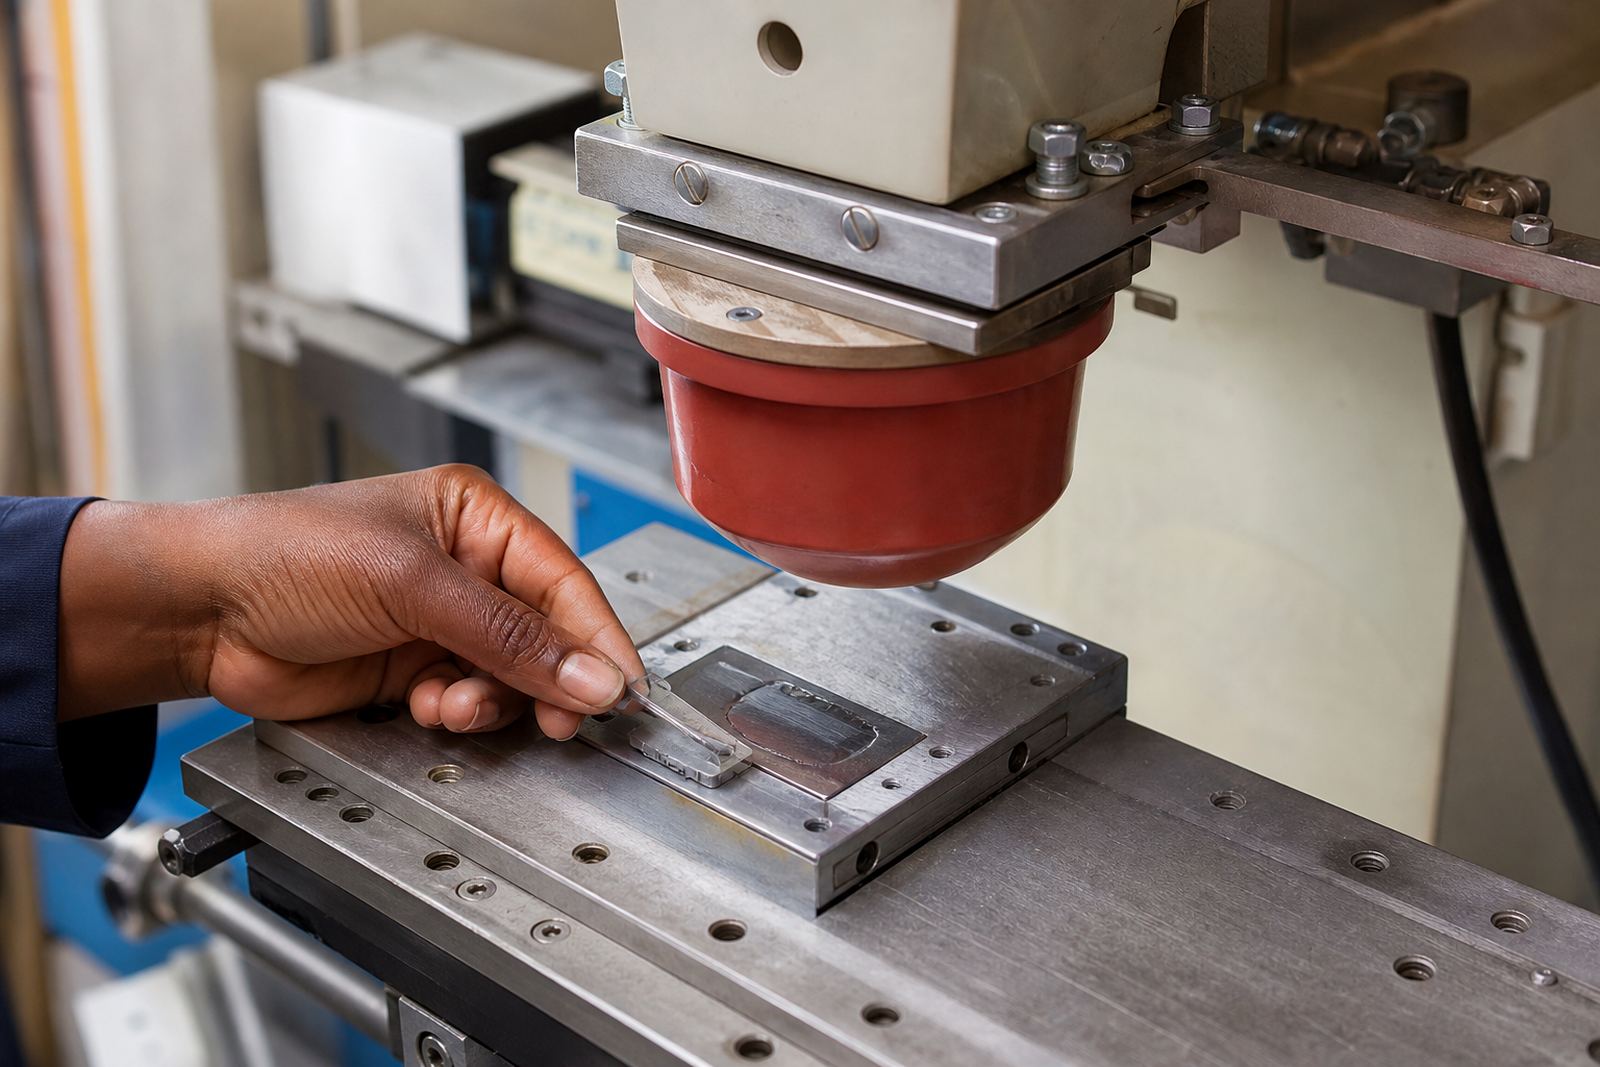
With pad printing, the silicone pad compresses, lifts ink from the etched plate and presses it onto the component. Texture affects all three steps. A coarse grain can hold air, reduce contact and make the image look patchy. A fine grain can still print well, but the artwork may need slight changes in line weight, spacing or fill density. It is not only about the ink, it is about how the part accepts the ink.
Start with the part, not the logo
Before plate work begins, the part should be checked under the same lighting that will be used for approval. A black housing and a white housing may take the same artwork very differently because the surface finish, mould release residue and curve all influence the result. On textured parts, a small change in angle can also shift where the pad first touches down.
- Measure the print zone on the actual moulding, not from a drawing only.
- Check whether the texture continues over a radius, boss, or rib.
- Confirm if the print must sit clear of clips, vent lines or assembly marks.
- Ask whether the part is moulded in one batch or several, since finish can vary.
For manufacturers in Pinetown and New Germany, this practical check saves time later. A print that sits neatly on one run may need adjustment on the next if the moulding supplier changes the surface texture slightly, even when the part number stays the same.
Keeping detail legible on rougher surfaces
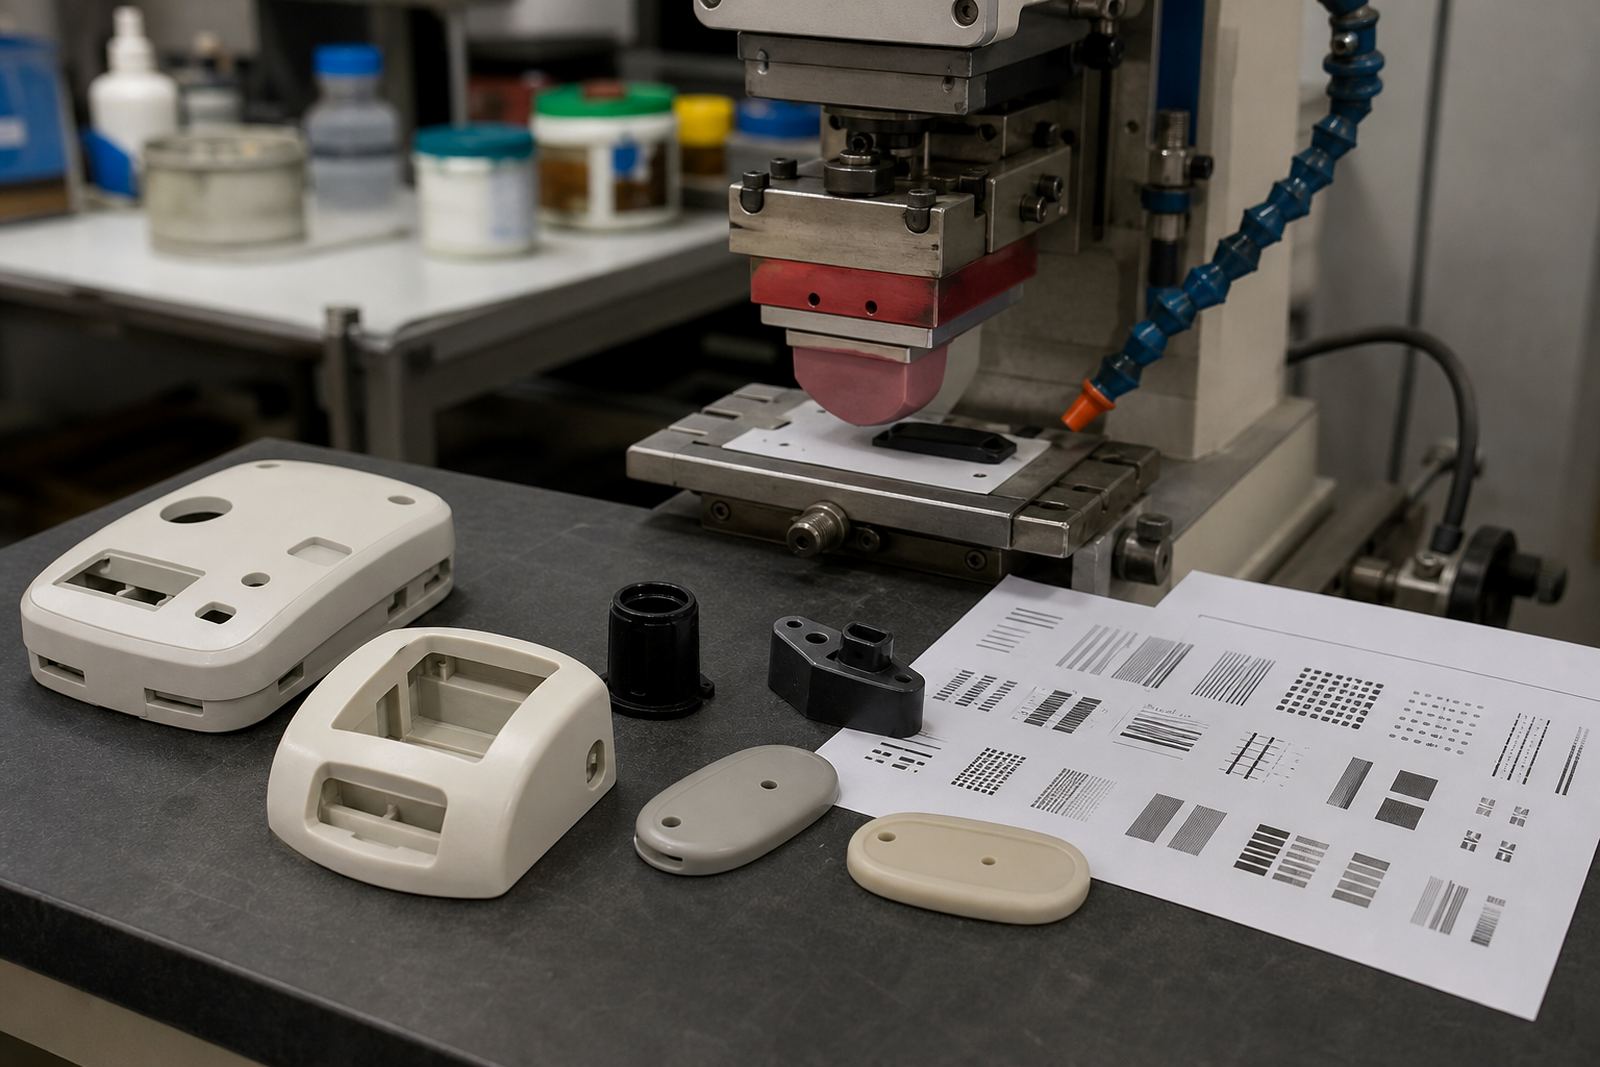
Fine text, thin rules and small symbols need extra care on textured parts. If the surface is too rough, the ink can bridge over the peaks and leave the small detail looking broken or uneven. The answer is often a mix of artwork preparation and process control, not a single fix.
In many jobs, the artwork is cleaned up first. That may mean redrawing a logo, thickening small strokes or opening up a gap inside a letter so the shape remains clear after transfer. Then the plate is prepared to suit the part. Plate exposure and etching must be consistent or the image will lose sharpness before it even reaches the pad. A quick trial sample helps show where the edge is going soft, and where a stronger ink deposit is needed.
- Use simpler shapes where possible on very fine textures.
- Avoid tiny reversed text unless there is enough flat area for transfer.
- Set the image so the most important detail lands on the least textured section.
- Allow for small shifts if the part has a curve or taper.
For electronic housings, this matters because marks often need to remain readable under workshop wear, handling and cleaning. A neat print on day one should still hold up after repeated use, not just after a photo is taken.
Ink choice, curing and adhesion on textured plastics
Surface texture changes how ink settles and how it cures. If the ink dries too quickly, it may not fully wet into the low points of the texture. If it dries too slowly, the image can spread or attract dust before it is ready. The right curing method depends on the part material, the size of the mark and the production pace.
Some jobs do well with a controlled drying rack, others need a more direct curing step to lock the print in place. The practical issue is always the same: the ink must bond well enough for handling, packing and assembly. Adhesion test samples are useful here because they show whether the print is holding properly on the actual substrate. That is especially important on parts that may later face cleaning fluids, light abrasion or warm storage conditions in Durban humidity.
There is no single ink choice for every textured moulding. The right match depends on the plastic, the surface finish and the end use. Customers remain responsible for their own device compliance, so our role is to produce a mark that transfers cleanly and repeatably on the supplied part.
Fixtures and repeatability on shaped components
Textured surfaces often come with curves, ribs, recesses and off-centre print zones. That is where fixture making becomes important. A part that rocks even a little can change the pad contact, which then changes print depth and edge sharpness. On short runs this may show up as one good sample and one poor sample. On longer runs it becomes a costly rework issue.
Well-made fixtures keep the part in the same position from the first sample to the last carton. They also help the operator place the part quickly during rerun job control, which matters when a production line is under time pressure. In Westmead and the wider Pinetown area, many customers need compact setups that can be loaded and cleared without slowing down the rest of the shift.
- Hold the part firmly but do not distort thin walls.
- Keep the print face level to the pad path.
- Allow for safe loading and unloading during busy shifts.
- Check that fixture contact does not damage a textured cosmetic area.
A Durban example from moulded housings to carton packing
A manufacturer in the Durban area may send a textured plastic housing for a control unit that needs a small identification mark and a simple warning symbol. The first sample can show that the logo is clear in the centre but breaks up near the edge where the grain gets heavier. Instead of forcing the same setup across the whole face, the print area is planned to keep the mark within the cleaner section and the plate artwork is adjusted slightly for stronger line weight.
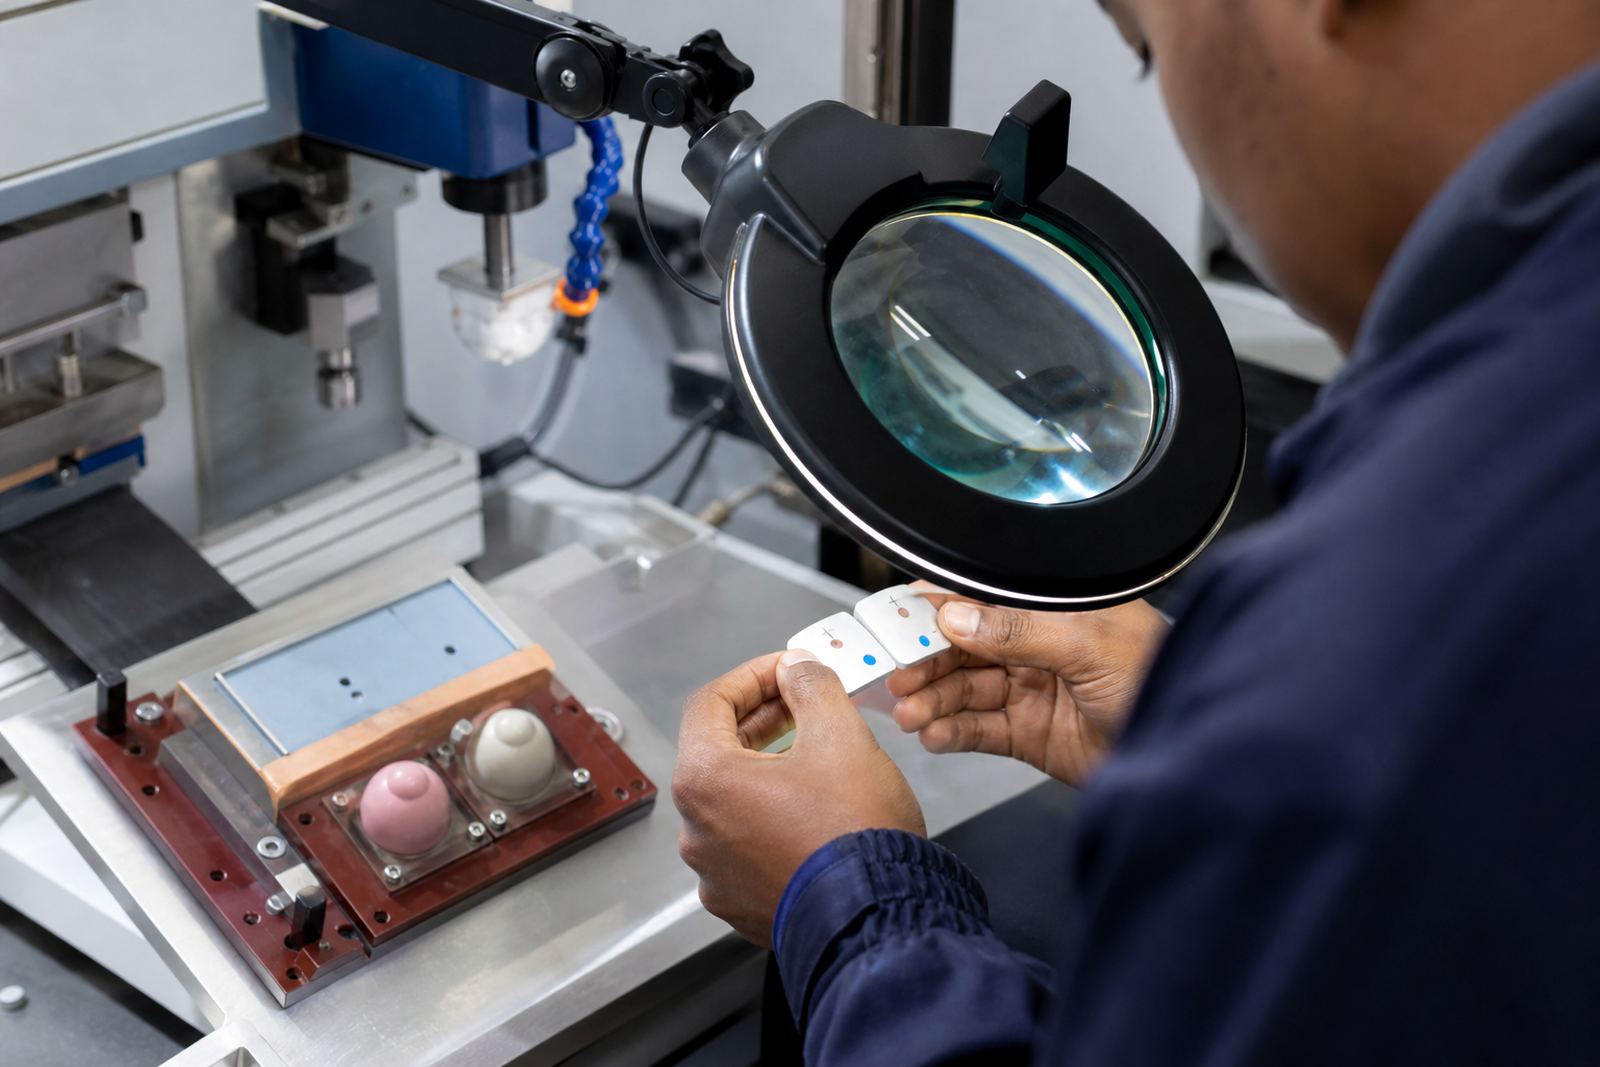
After that, trial sample runs are checked against the same lighting and handling that will apply on the floor. If the print passes, the job can move into regular production with the correct curing method and dispatch packing. This kind of step-by-step control is useful for customers across Durban, Johannesburg, Cape Town, Pretoria and Gqeberha, especially when the same part must be printed again later with a consistent finish.
That practical process is what makes textured surface work manageable. It is not about making the texture disappear. It is about reading the texture properly, then setting the artwork, plate, fixture and cure to suit the part so the mark stays legible and neat.