Why pad printed marks suit medical parts
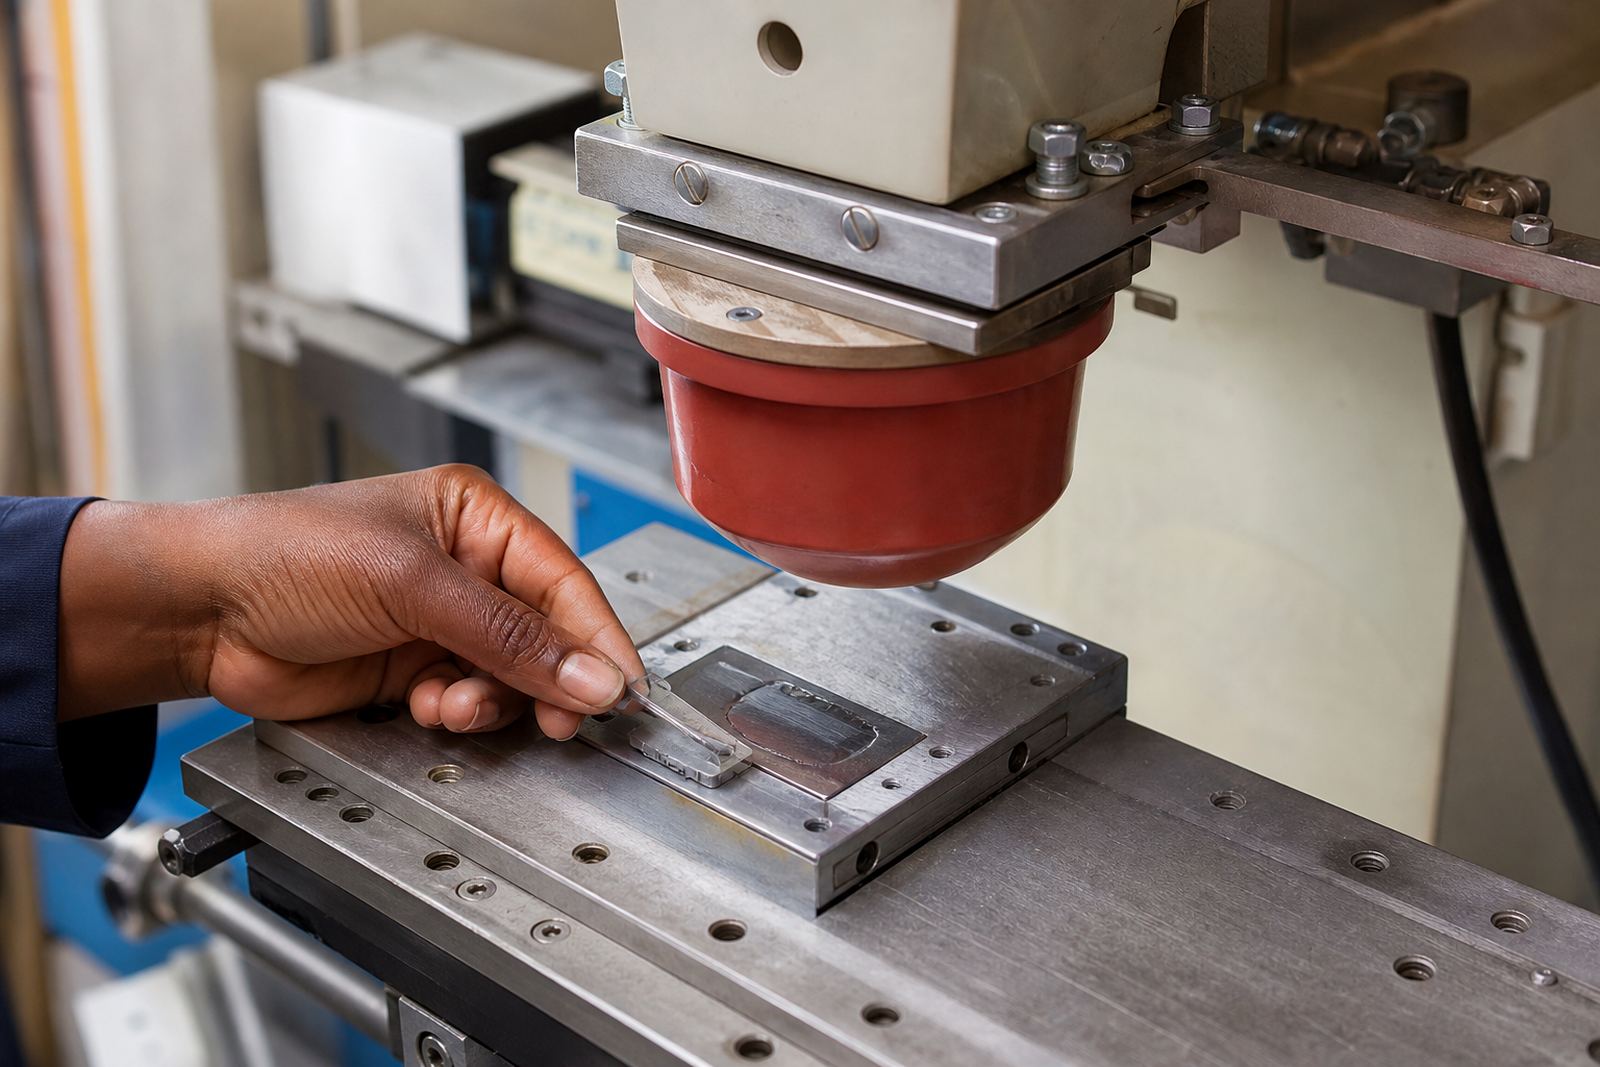
Medical components often have curved, recessed or irregular surfaces where a label will not sit properly. Pad printing solves that by using a silicone pad to pick up ink from an etched plate and transfer it onto the part with pressure control that suits fine detail. It works well on plastic housings, caps, buttons, trays and small inserts where text, symbols and identification marks must stay readable.
In practice, the value lies in control. The image can be kept sharp on small print areas, and the process can be adjusted for different part shapes. For manufacturers in Pinetown, Durban and further afield, that matters because medical and electronic parts are often produced in short runs, mixed batches or follow-up jobs where consistency is important from the first piece to the last.
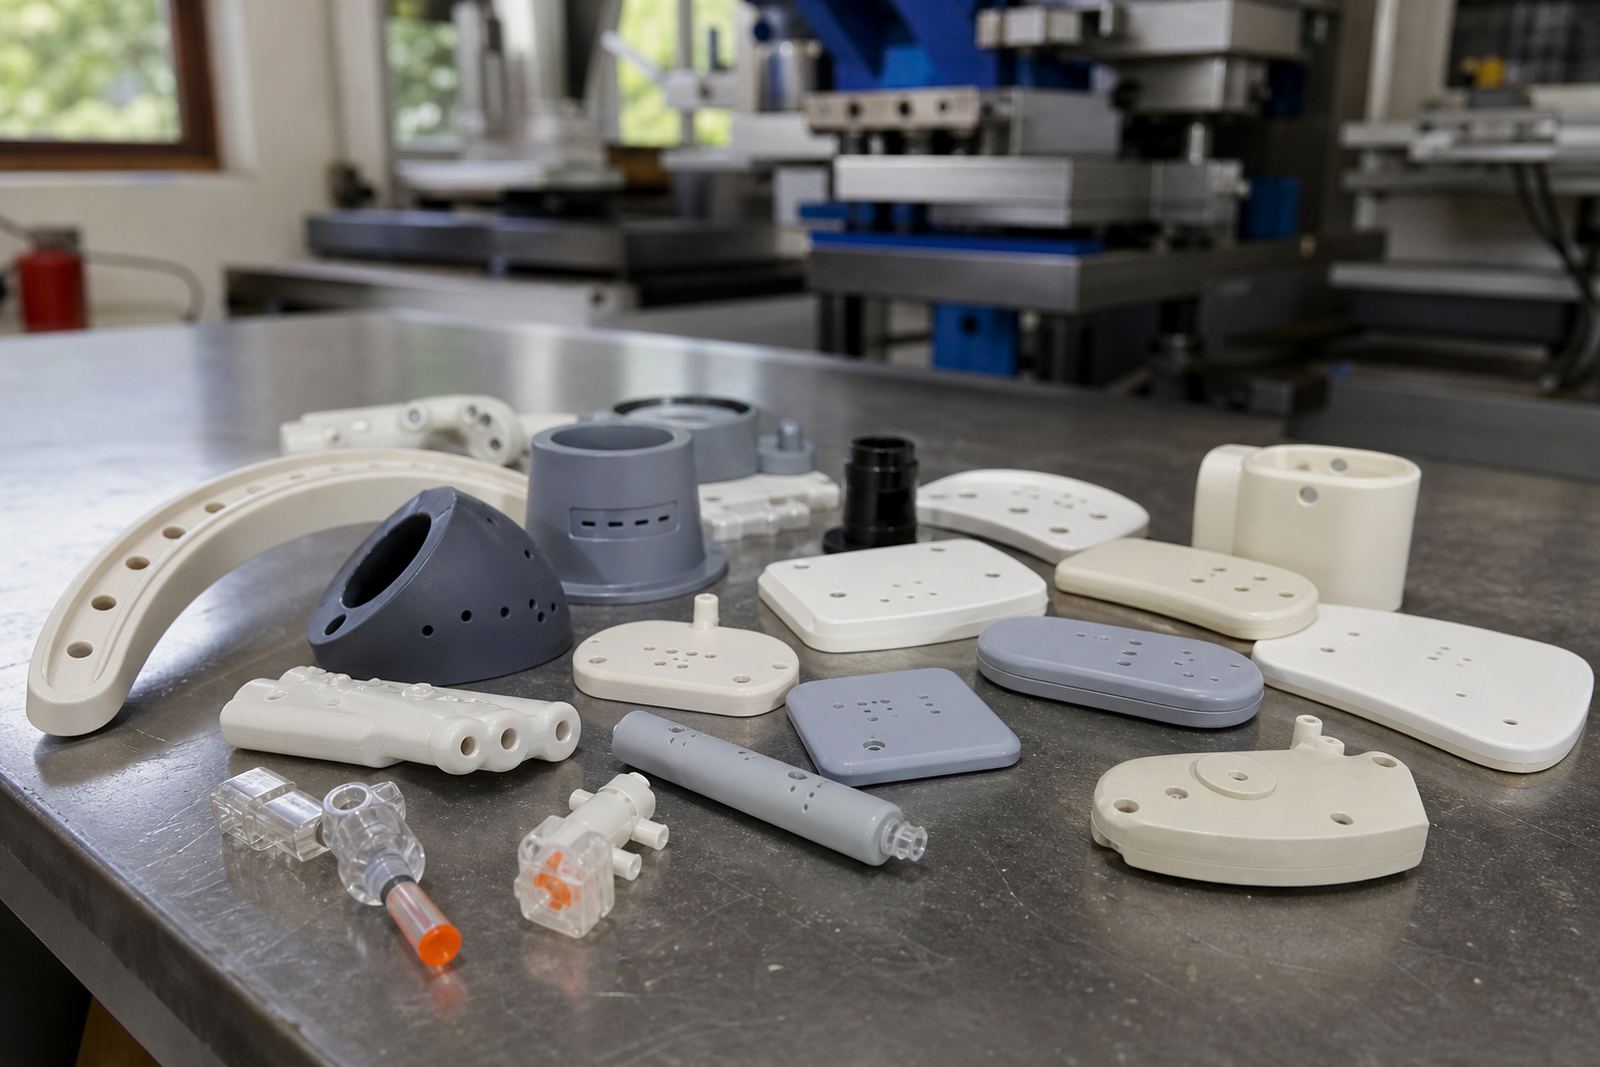
Pad printing also handles common production realities better than many people expect. Parts may have slight mould lines, a shallow curve or a narrow flat spot. With the right fixture and artwork preparation, those details can still accept a clean mark. That is why pad printing remains a practical choice for control buttons, casing labels, serial areas and simple instruction markings.
What usually gets printed on medical housings and components
Common marks depend on the part and its use, but most jobs involve clear, repeatable information rather than decorative work. On medical and electronic components, the print often needs to be small, high contrast and placed in the same spot every time. The aim is to support assembly, identification and end use without crowding the part.
- Part names and functional labels
- Directional arrows, icons and warning symbols
- Batch codes or internal reference marks
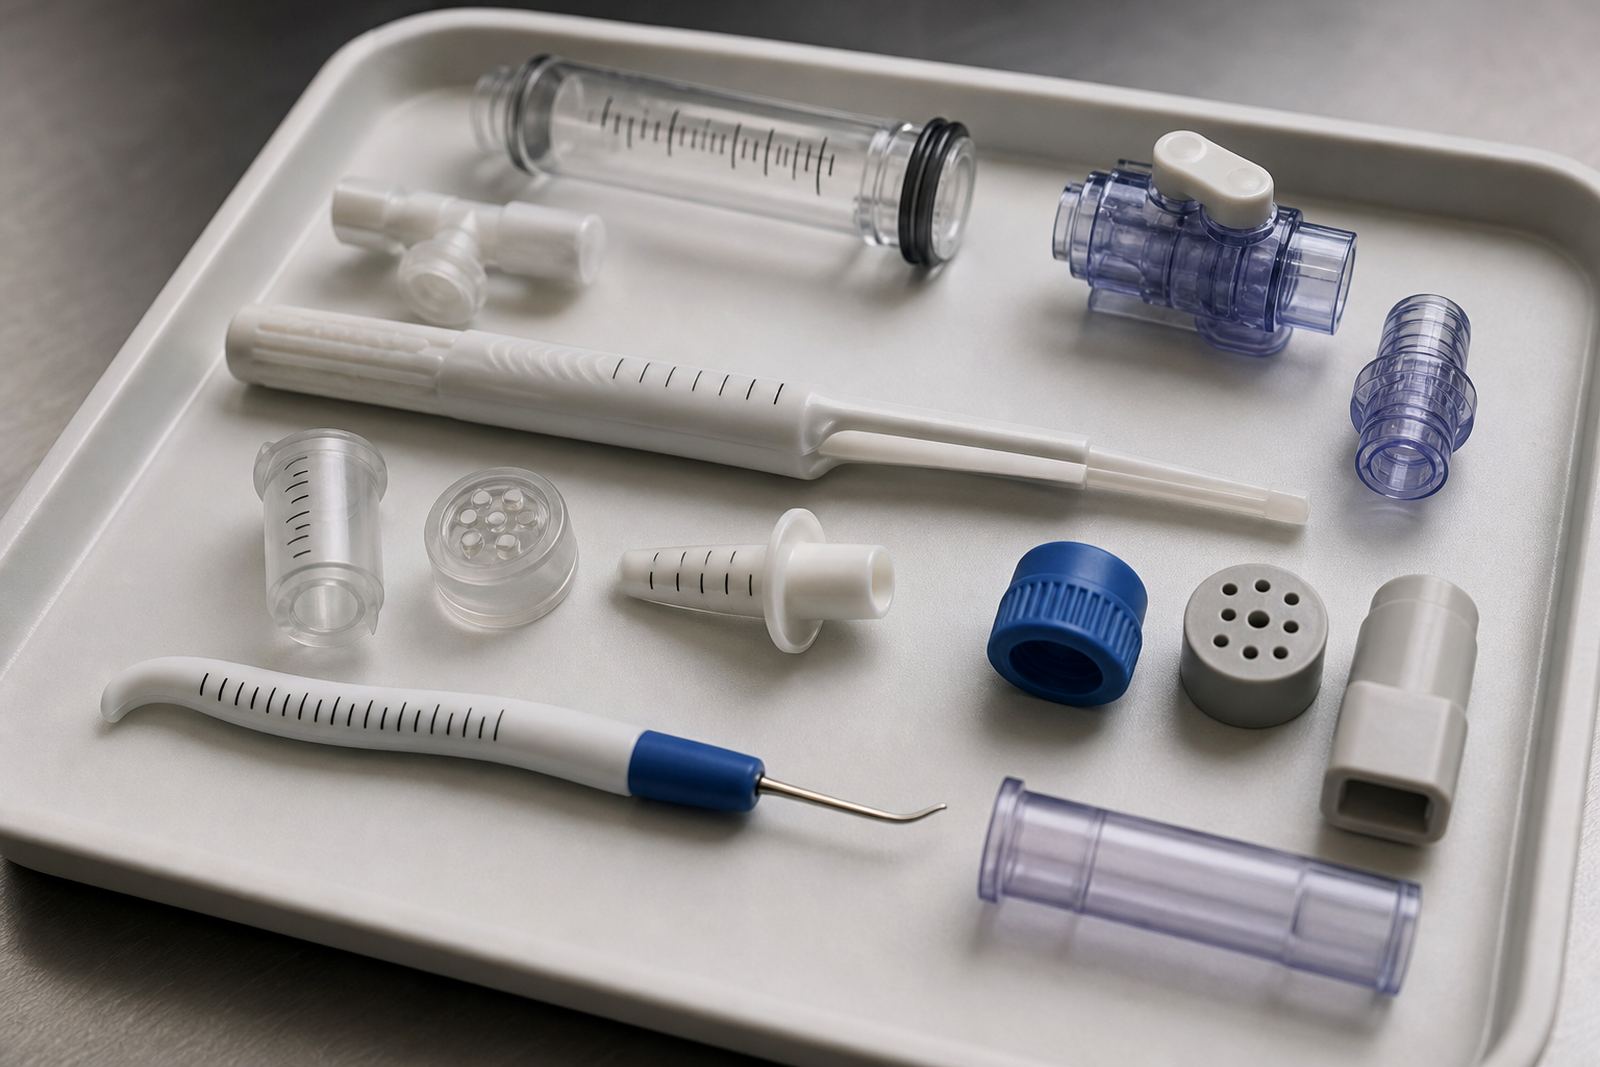
- Scale points, graduations or indicator marks
- Front panel text for buttons and switches
- Brand marks supplied by the client
There is also the practical side of layout. A mark can be too close to a curve, sink mark or rib and then it will distort. That is why print area planning matters before any plate is exposed. It saves time later and reduces rejected samples. For a manufacturer in Westmead or New Germany, one well placed mark can be the difference between an easy assembly flow and rework on every tray.
How ink, curing and adhesion work in real production
Pad printing is only as good as the ink system and the way it is cured. The ink must bond to the substrate, dry at the right pace and handle the part’s intended use. Some parts need air drying, others benefit from heat curing, and some need careful testing before a production run starts. The right approach depends on the base material, the shape of the part and how it will be handled after printing.
For medical and electronics work, a trial sample run is a sensible step. It lets the team check ink transfer, edge sharpness, drying time and adhesion before full production. This is especially useful when the part will be wiped, cleaned or assembled soon after printing. A mark that looks fine at the bench may still fail if the curing method is too light or if the part surface carries mould release residue.
Coastal humidity can also affect drying times around Durban and the surrounding industrial areas. On damp days a print may feel dry but still need more time before packing. That is why rerun job control and curing method selection are part of a proper production routine, not afterthoughts.
Artwork prep and plate work that keep details readable
Fine text and small icons need careful artwork prep before any plate work starts. If a logo is redrawn poorly or a line is too thin, the print will show it. A good file needs the right balance of line weight, spacing and contrast so the etched plate can carry the image cleanly. That is especially true on smaller medical parts where there is little room for error.
Artwork preparation often includes:
- Logo redraws for cleaner edges
- Print area planning to suit the part shape
- Colour matching for consistent repeats
- Plate exposure and plate etching for sharp detail
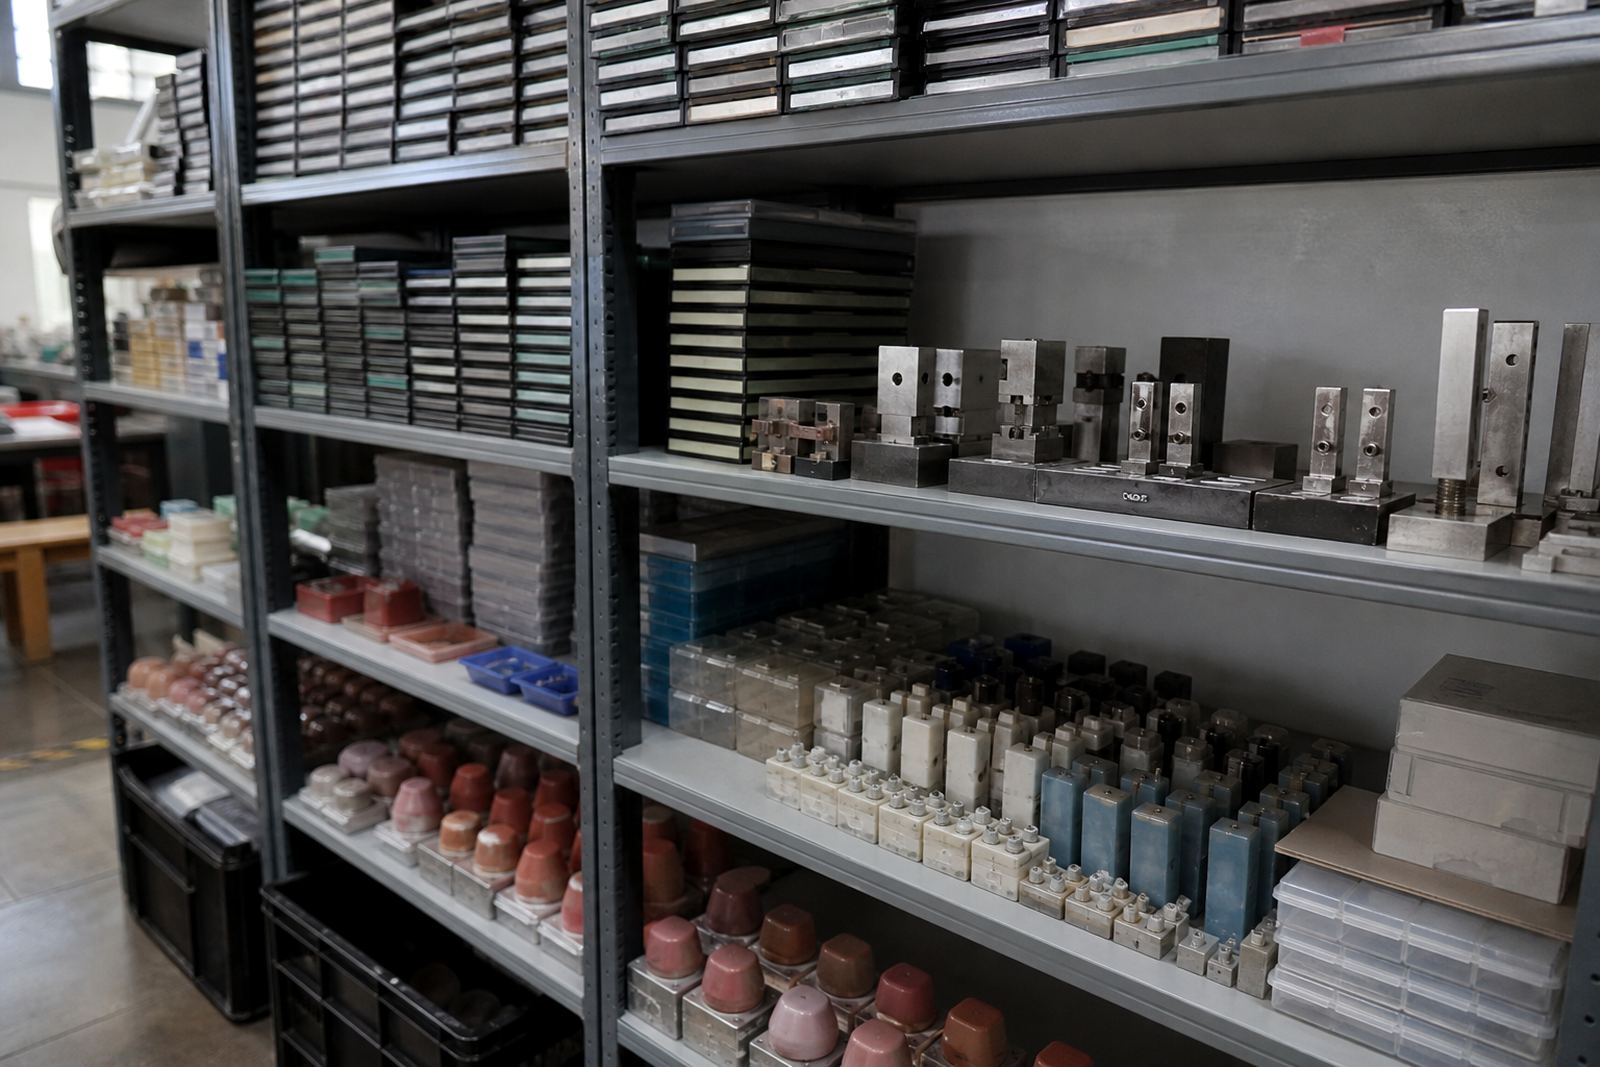
- Fixture making so the part sits the same way every time
Plate quality matters because it controls how much ink the pad collects and releases. If the etching is uneven, the result may show as patchy fills or broken strokes. For manufacturers supplying Johannesburg, Pretoria, Cape Town or Gqeberha, this kind of preparation is what helps a local sample become a repeatable production job, not a once-off that needs constant fiddling.
What manufacturers should check before approving a sample
Before any medical or electronic part goes into repeated printing, the sample should be checked on the same material, finish and shape that will be used in production. A print can look acceptable on a spare piece but behave differently on the real part if the surface texture changes even slightly. That is why adhesion test samples are worth doing early.
Here is a simple check list many manufacturers use:
- Is the mark centred and aligned correctly?
- Does the detail stay sharp at the intended size?
- Does the ink bond properly after curing?
- Is the print visible under normal handling light?
- Will the part still meet the customer’s own compliance requirements?
Device compliance, testing and market approval where relevant remain the customer's responsibility. A print house can help with reliable marking and repeatability, but the manufacturer still needs to confirm the part is fit for its intended use. That point is often overlooked when a mark is small and looks simple. In reality, small marks carry a lot of responsibility.
From the print room: National supply
In Westmead, Pinetown, production teams often work with a mix of moulded plastic housings, inserts and control parts that need clear marking for assembly and use. A job may start with one sample, then move to fixture making and trial runs before dispatch packing. If the part is destined for a medical distributor or an electronics assembly line, the print has to hold its place through handling, packing and transport.
That kind of work is where a practical support team helps. Sibusiso Naicker leads the business as Managing Director, with Naledi Kekana on production, Sanjay Dookhi handling artwork and plates, Lerato Mabunda overseeing quality, Yashika Sewpersad managing client services and Mfundo Xaba on machine setup. The process is straightforward, but it needs discipline: the right artwork, the right pad, the right ink and the right curing method. If one step is off, the whole batch can drift.
For manufacturers across South Africa, from Durban Supply to Johannesburg Supply and Cape Town Supply, the aim is the same. Keep the mark legible, keep it consistent and keep the process under control so the production line does not get held up.
When to move from sampling to full production
Once the sample has passed visual checks and adhesion testing, it makes sense to lock the setup and move to production with clear job control. This is where rerun job control becomes important, because follow-up jobs should match the first approved sample as closely as possible. Any change in part finish, ink batch or fixture position can affect the result, so records need to be kept clean.
Dispatch packing is also part of the mark’s success. A cured print can still be damaged if parts rub together in transit or if they are packed too soon. Good packing protects the work already done and reduces complaints later. For a busy manufacturer, that practical finish is as important as the print itself.
Medical part marking does not need drama, but it does need attention. If the mark is on a housing, panel or small component, the process should be planned from artwork through to packing. That way the final result is readable, durable and ready for the next step in the build.