Why inspection matters on small medical and electronic parts
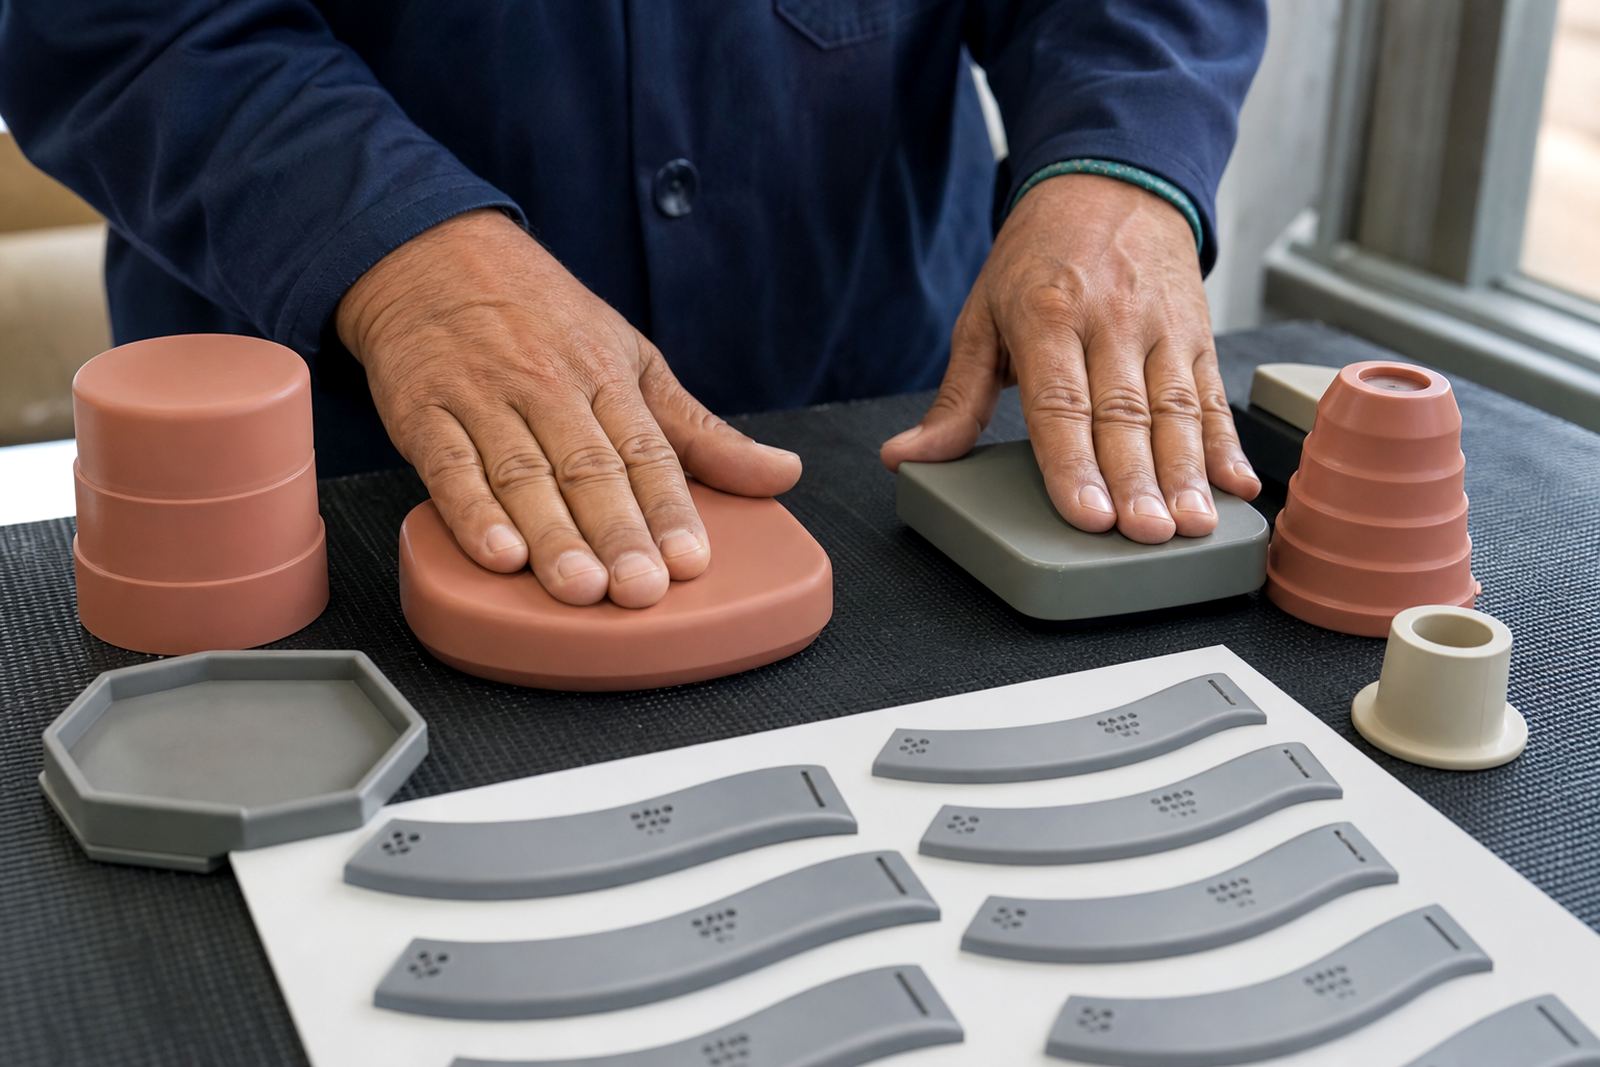
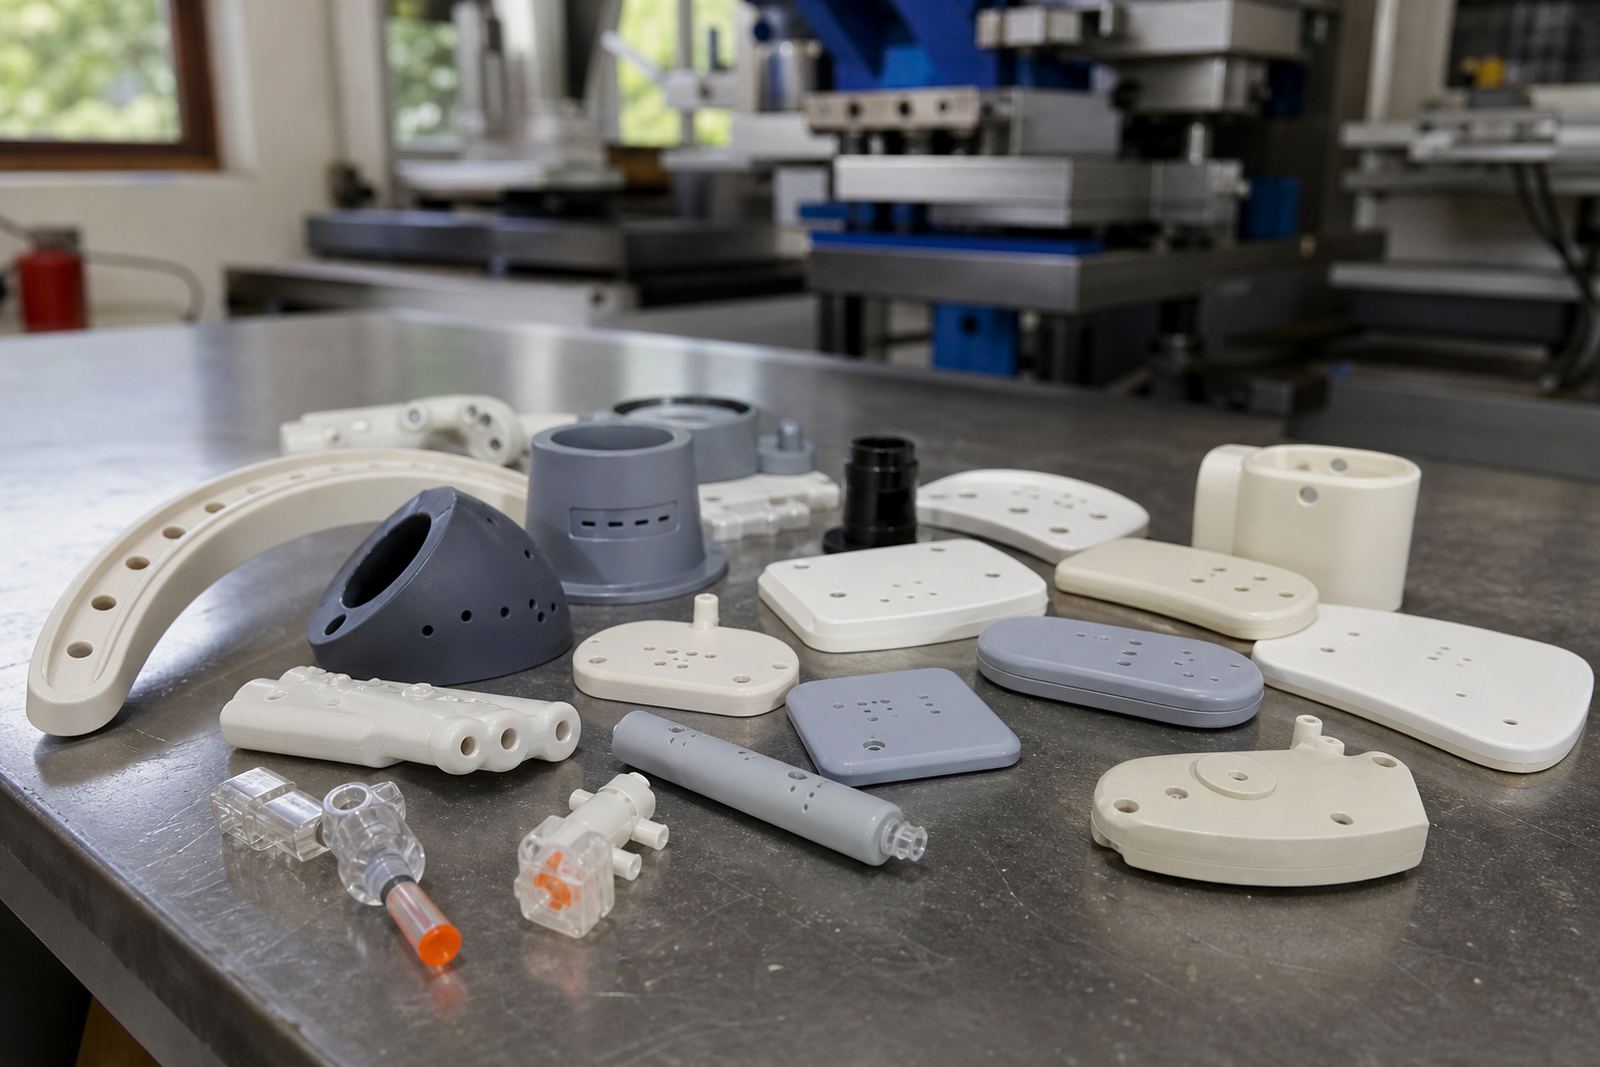
Pad printing is often chosen because it can transfer fine details onto curved, recessed or irregular parts where other marking methods struggle. On medical housings, device covers, switches, connectors and control panels, the print has to sit cleanly on the intended area and stay readable after handling, cleaning and assembly.
At PadPrinters Medical in Westmead, Pinetown, inspection is treated as part of production not as an extra step at the end. That matters because a small shift in placement, an ink mix that is slightly off, or a pad that is wearing unevenly can affect the finished part. For customers across Durban, Johannesburg, Cape Town, Pretoria and Gqeberha, a print that looks fine at a glance still needs to line up with the approved sample and the drawing that was agreed at the start.
Manufacturers are responsible for their own device compliance, but good inspection support helps them keep control of the print details. A clear method for checking the work reduces reprints, saves time and makes batch comparison easier when jobs are repeated months later.
What a proper visual check looks for
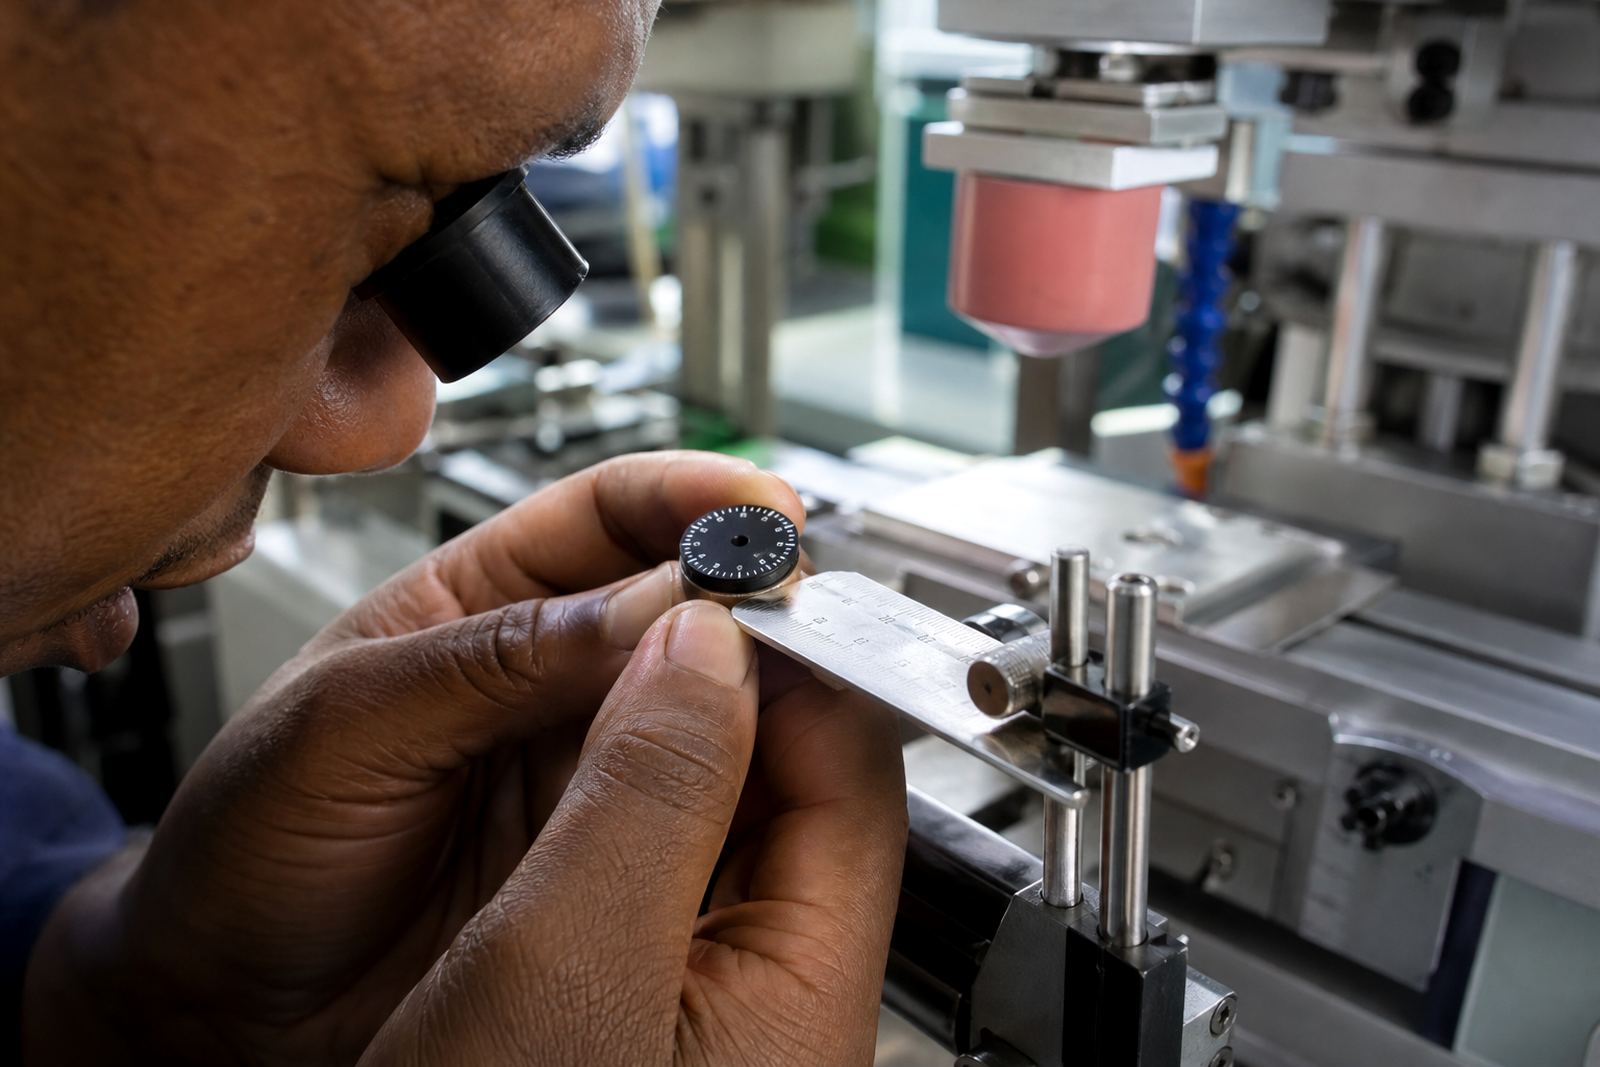
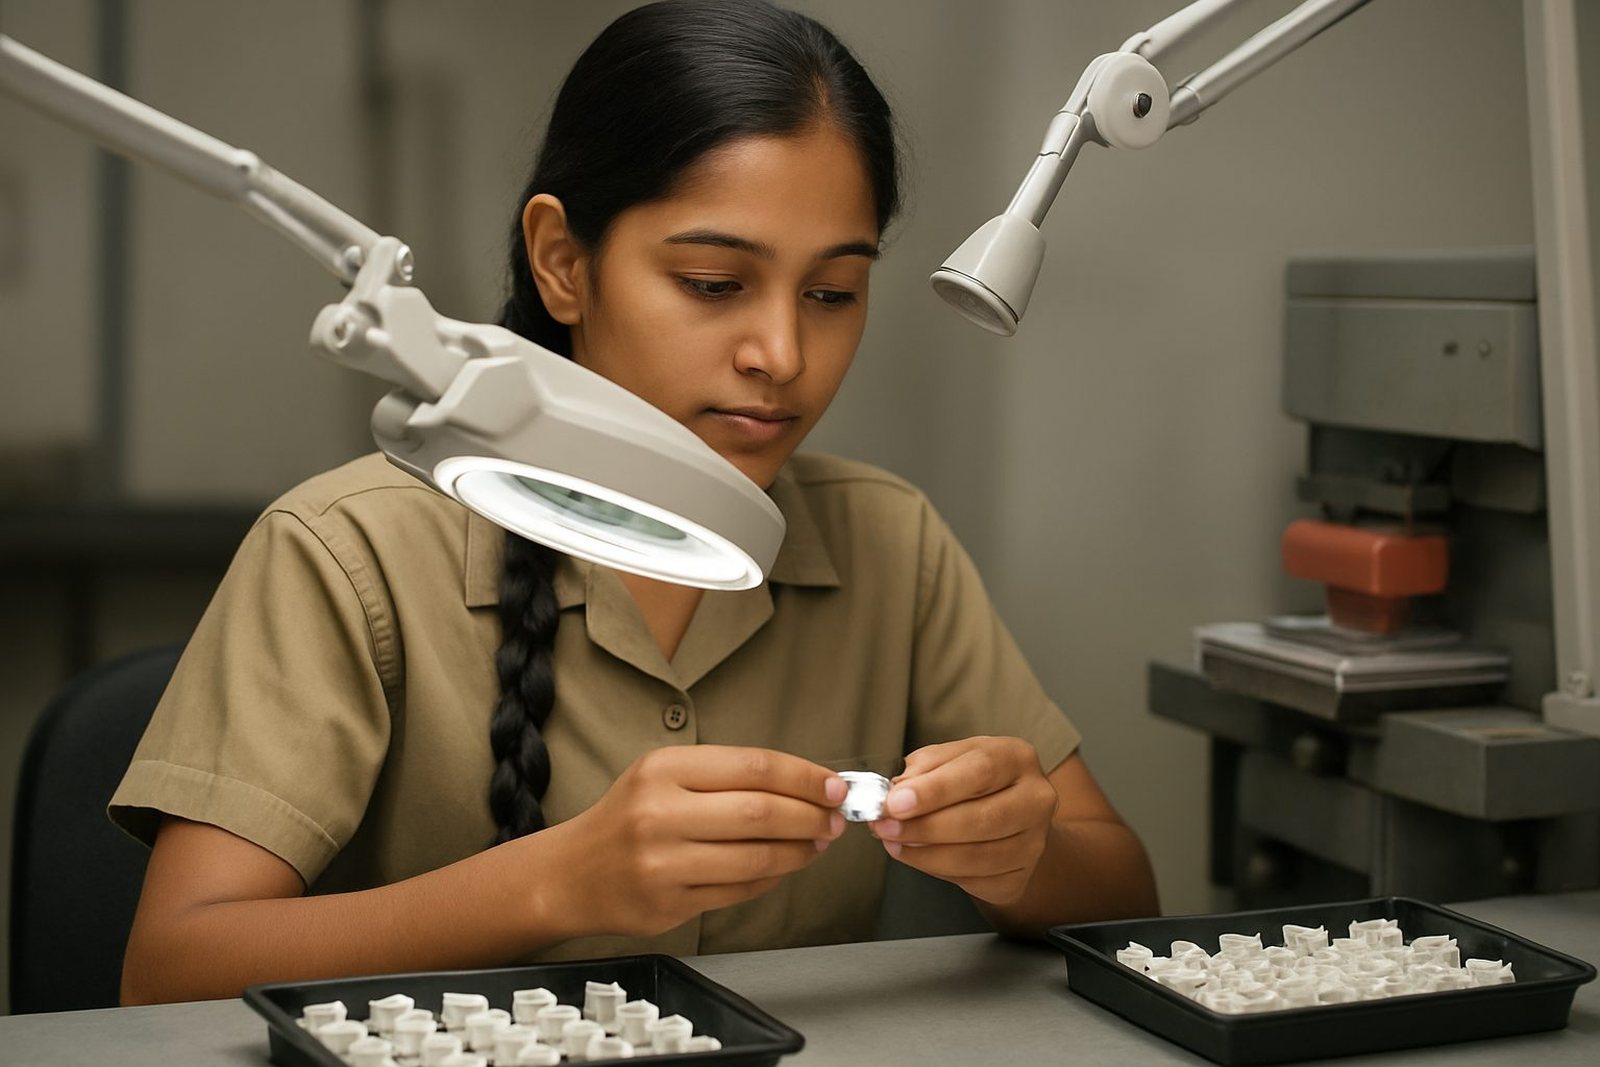
A visual check should be done under steady light with the part held in the same position each time. The goal is not only to see whether the logo or legend is there, but whether it sits within the correct print area and keeps the same relationship to edges, mould lines, icons or button cut-outs.
Usual checks on medical and electronic parts include clarity of fine text, even ink coverage, clean edges and correct colour match where colour has been agreed. If a part has raised ribs, a curve or a shallow recess, the print must still appear even and not distorted. Inks also need to cure properly so the mark can handle later handling and packing without smudging.
- Check that the artwork sits in the correct location against the approved sample.
- Confirm that small lettering and symbols remain readable at arm’s length.
- Look for missing patches, pinholes, streaks or double images.
- Compare colour and gloss from one sample to the next under the same light.
- Handle the part with clean gloves where needed, especially on high-gloss plastics.
It sounds simple, but regular visual checking catches the sort of issues that only show up after a batch has moved too far through production. A small mark out of place can mean the fixture needs adjustment, the plate needs attention or the curing process needs a rethink.
Using alignment references to keep the print where it belongs
Good inspection starts before the first print is made. Alignment references give the operator a fixed way to position each part so the image lands in the same place every time. These references may include mould lines, corners, pins, locating points or a simple fixture that holds the component steady during the print stroke.
At PadPrinters Medical, fixture making and print area planning are used to support repeatable results. On a run of electronic front panels, for example, the print may need to clear cut-outs, screw bosses and indicator windows. If the reference points are not set properly, the image can drift from part to part even when the ink and plate are correct.
A local example is a small batch of control housings supplied into Durban. The customer needed the same warning icon and text to appear on every unit, with no overlap onto a mould line that was too close to the print zone. The solution was to use a dedicated fixture, then confirm the first off sample against the approved layout before the run continued. That early check saved time because the operator could correct the position before any larger quantity was affected.
- Use fixed locating points rather than guessing by eye.
- Keep the part seated the same way for every sample and every repeat run.
- Check the first off part and a later part from the middle of the batch.
- Review any wear in the fixture if the image starts shifting.
Approved samples make repeat jobs easier to control
An approved sample gives everyone the same reference. It shows the intended position, appearance and finish of the print before full production starts. When a repeat order comes in, the earlier sample helps the team confirm whether the artwork, plate exposure, ink mix and curing method still match what was signed off before.
That is especially useful for customers in different parts of South Africa who may not be standing at the machine each day. A sample reduces back and forth because it creates a practical standard for the job. If a client later asks for a rerun, the sample helps compare the new print against the previous one and spot small changes in tone or placement.
At PadPrinters Medical, trial sample runs, adhesion test samples and rerun job control all support this process. The point is not to produce a perfect part once and hope for the best. The point is to build a repeatable reference that can be checked again when the same component is printed weeks or months later.
For manufacturers, this also helps when teams change. A supervisor, planner or receiving team can compare a live batch with the approved part and see whether the print is still within the agreed pattern. It keeps decisions practical and avoids confusion when multiple shifts are involved.
Ink, curing and handling checks after the print
Inspection does not stop when the part leaves the printer. Pad printing uses inks that must bond properly to the surface and cure in the right way for the material and the production schedule. If curing is too light, the print may mark during packing. If it is too aggressive, the finish may change in a way that affects appearance or fit.
On medical and electronic parts, the handling stage is often where trouble starts. A print can look fine straight off the machine but show weakness after stacking, bagging or moving through a warm store. That is why curing method selection is part of production control, not just a technical note on the side.
- Check for smearing after the part has had enough time to cure.
- Inspect whether the print has kept its colour and edge sharpness after handling.
- Watch for lifting at corners, especially on smooth plastics.
- Keep the batch protected from dust, oil and fingerprints before packing.
Coastal humidity in Durban and the wider KwaZulu-Natal area can also affect drying and surface behaviour, so handling and storage need a bit more care. In inland areas such as Pretoria and Johannesburg, the issue may be different, with dust and temperature changes affecting the line. Good inspection catches those small differences before they turn into a larger batch problem.
What to do when a print is out of line
When a print fails inspection, the best response is to stop and identify the cause before the batch continues. A mismatch in position may come from the fixture, the artwork, the plate or the setup on the machine. A weak image may come from ink transfer, pad wear or surface preparation. The earlier the issue is caught the easier it is to correct.
That is why production teams benefit from clear rerun job control and a simple record of what changed. If the approved sample was matched on one run but not on the next, the operator and coordinator can review the setup against the previous notes instead of starting from scratch. At PadPrinters Medical, Lerato Mabunda in quality coordination and Sanjay Dookhi in artwork and plate work support this sort of review so the job stays controlled.
In practical terms, inspection should answer three questions: Is the print in the right place, does it look the same as the approved sample, and will it hold through packing and use. If the answer to any of those is no, the batch needs attention before it moves forward.
Keeping repeat prints consistent across South Africa
Pad printing work for medical and electronic components often moves between teams, sites and dispatch points. A customer in Cape Town may need the same marking as a customer in Pinetown, and both need the result to match the same standard. That is where careful inspection supports production consistency across the country.
From Westmead, Pinetown, PadPrinters Medical supports clients through the enquiry form on the contact page and works with manufacturers across Durban, Johannesburg, Cape Town, Pretoria and Gqeberha, including Pinetown Printing Support, Durban Manufacturers, Johannesburg Supply, Pretoria Supply, Cape Town Supply, Gqeberha Supply, New Germany Support and Westville Support. The team, led by Sibusiso Naicker, handles artwork preparation, logo redraws, colour matching, plate exposure, plate etching, fixture making and dispatch packing so the printed part is checked as part of the full job, not treated as an afterthought.
When the inspection process is clear, follow-up jobs become easier to manage. The print stays where it should, the samples remain useful and the production line spends less time on avoidable corrections. For manufacturers who need precise marks on small parts, that practical control is often what keeps the job moving.