Why small parts get damaged before the print even starts
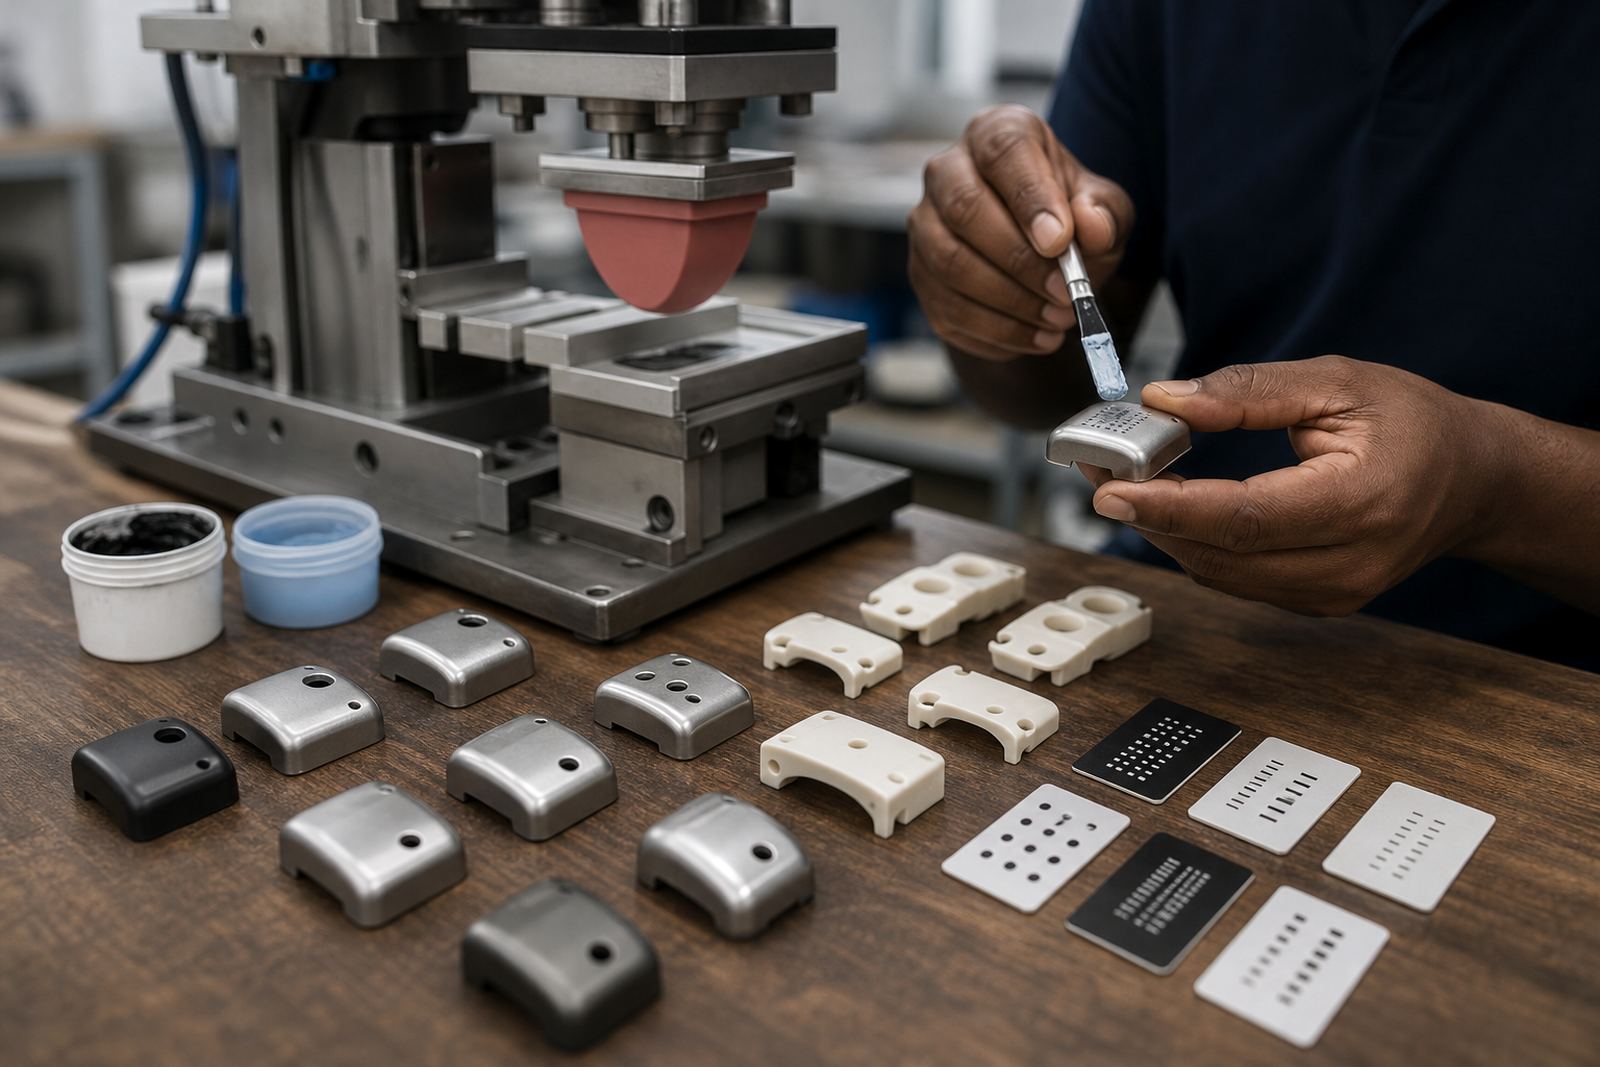
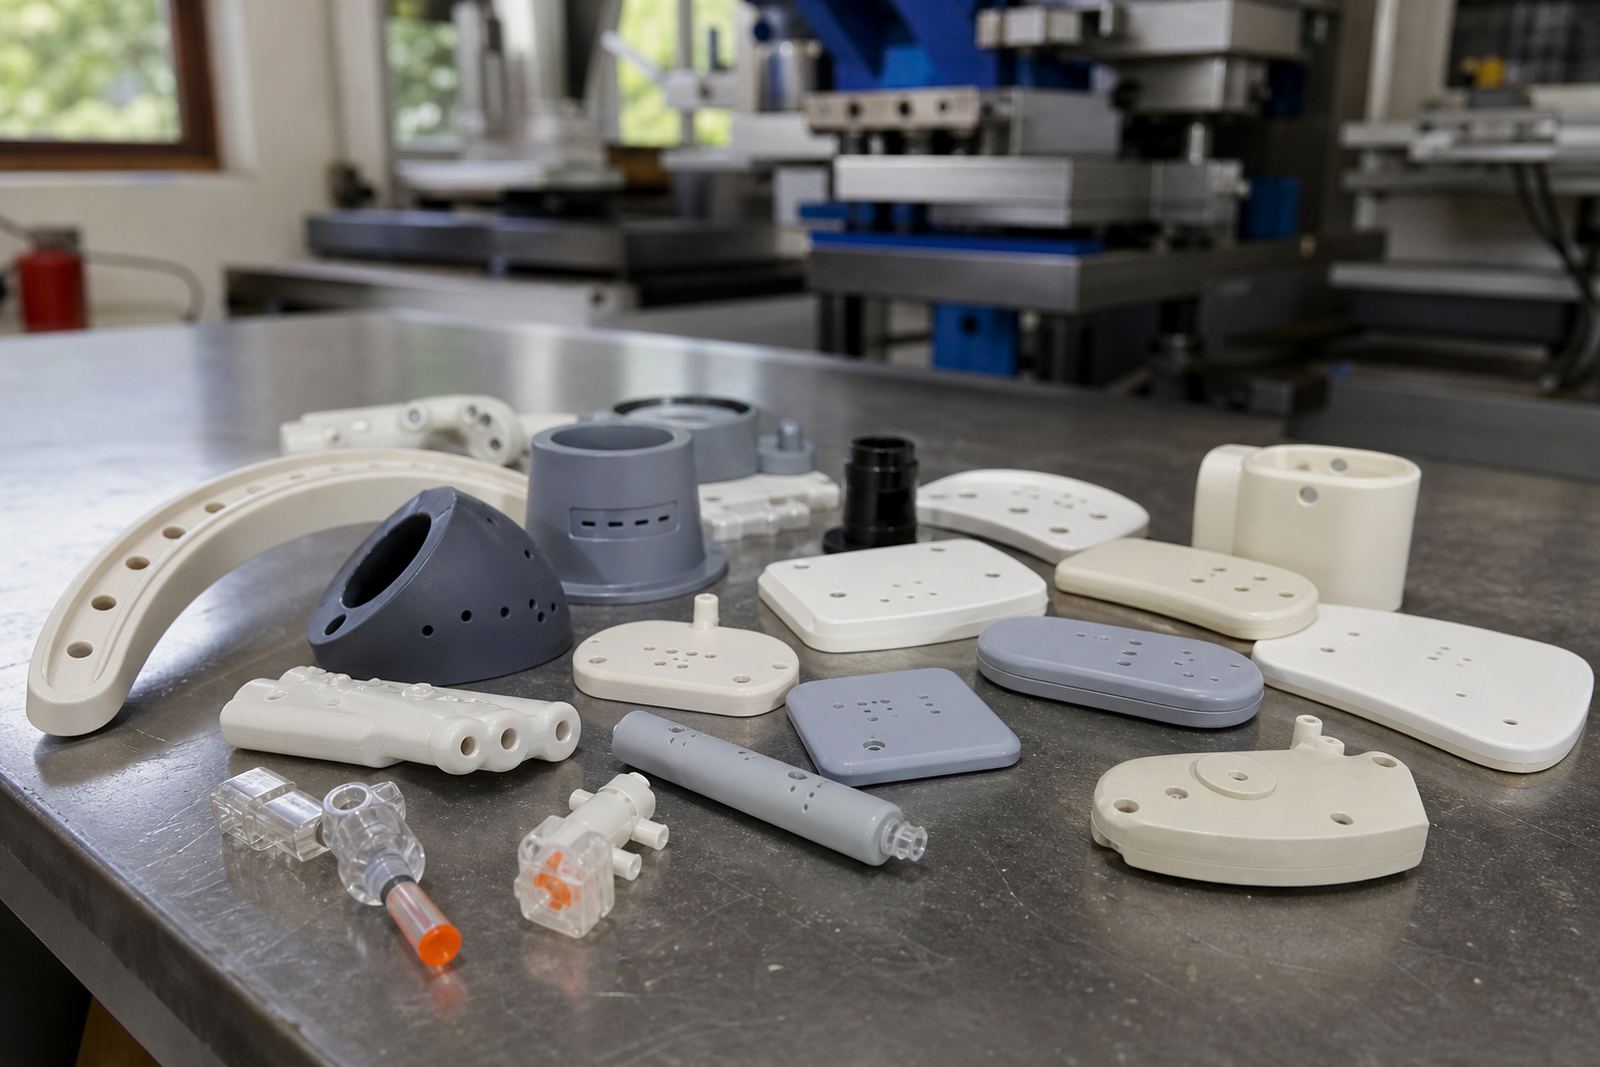
In pad printing, the part itself is often the most delicate part of the job. Medical housings, sensor covers, button caps, connector bodies and electronic enclosures can all carry cosmetic marks long before ink ever touches them. A fingerprint, a loose plastic burr or a hard knock in a tray can be enough to spoil the finish. That is why handling starts with the job plan, not with the press.
At our base in Westmead, Pinetown, we often see the same pattern: a neat artwork file arrives, but the sample part has been handled with bare hands, dropped into a mixed crate, or wrapped in a way that rubs the surface during transport. On smooth plastic and coated surfaces, even a small scratch shows clearly once the ink has cured. On medical and electronic parts, that kind of damage is usually not acceptable to the manufacturer, because the customer still carries responsibility for their own device compliance and final product checks.
For manufacturers across Durban, Johannesburg, Cape Town, Pretoria and Gqeberha, the first rule is simple: keep parts clean, separated and easy to count. If the loading table is chaotic, the print result will be too.
The right loading method protects the print area
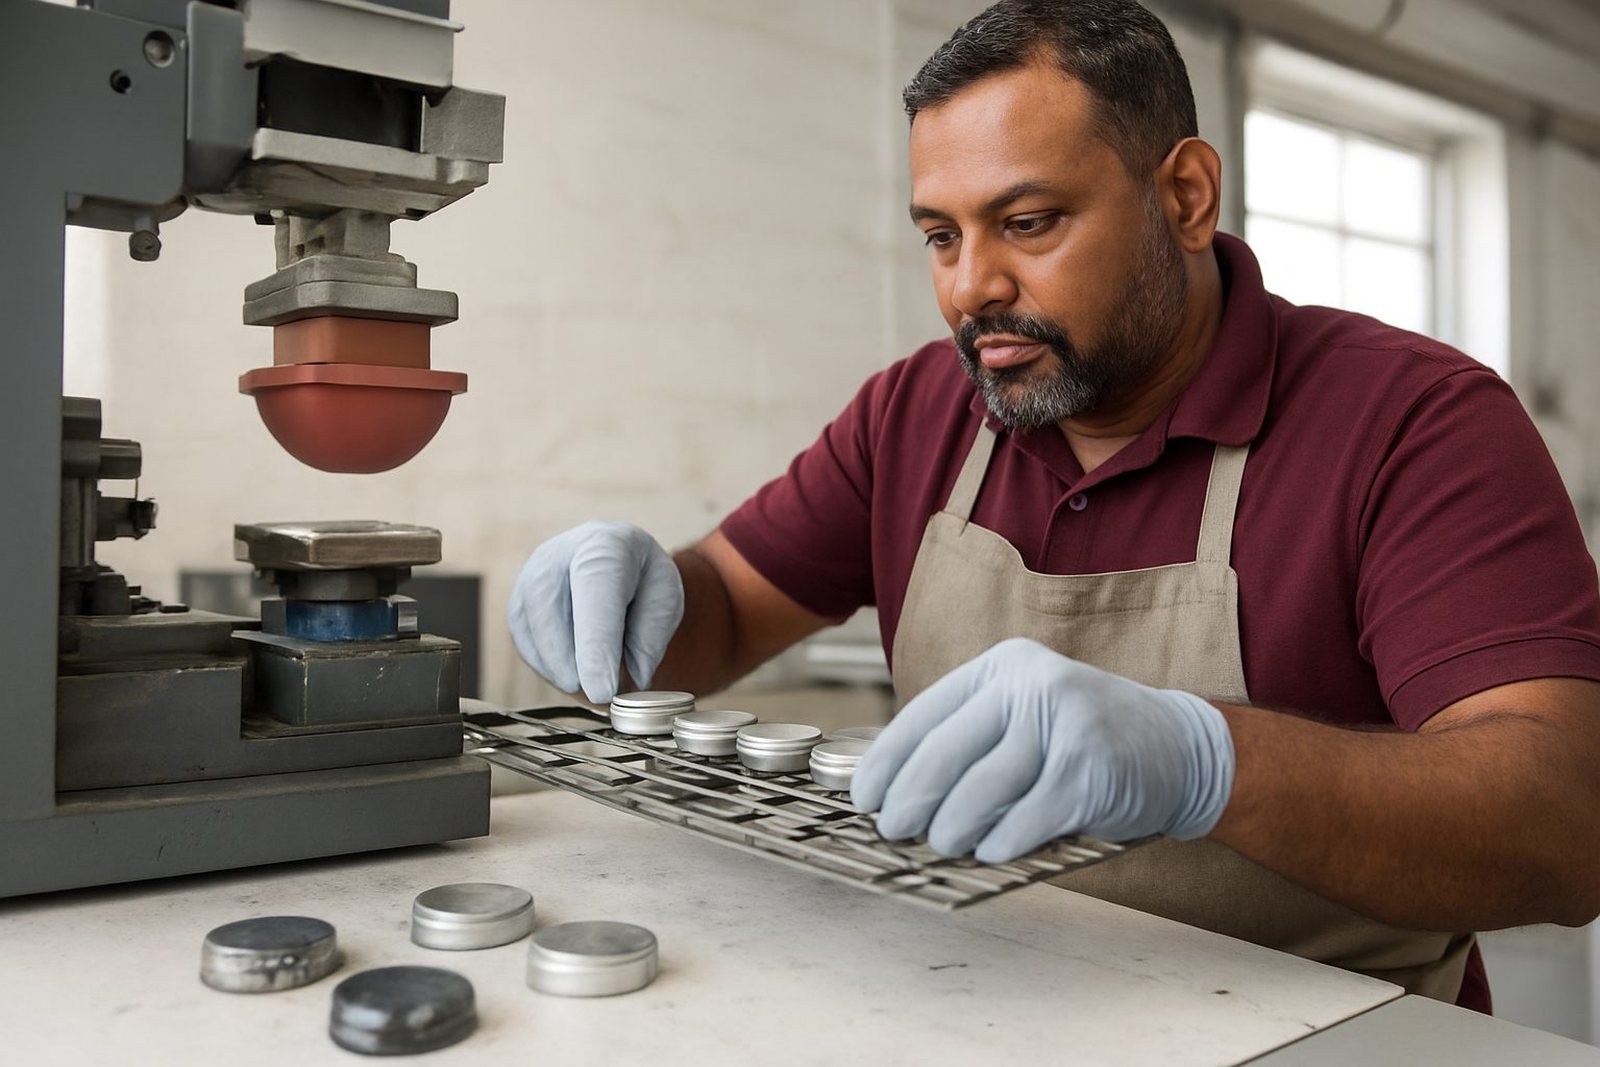
Loading is not just about putting a part on a fixture and pressing go. The part has to sit the same way every time so the silicone pad lands in the correct place and the ink transfers evenly. On small components, a few millimetres can change the final position of a logo, symbol or part number. That is why fixture making and print area planning matter from the start.
We plan for the way the part moves, where it rests, and which surfaces must never be touched. For delicate items, the fixture should support the component from the strongest areas while leaving the visible print face open. If a part flexes too much, the image can blur or the registration can drift. For thin housings, it helps to use controlled clamps or shaped holders so the operator does not need to force the piece into place.
- Use fixed orientation points so each part loads the same way.
- Keep the print face free of clamp marks and fingerprints.
- Allow enough clearance so parts do not scrape each other.
- Separate different variants clearly, even if they look similar.
Good loading also saves time during trial sample runs. When the setup is repeatable, it is easier to judge whether a mark problem comes from the part, the ink or the curing method.
Clean surfaces are as important as the ink itself
Pad printing works best on clean, stable surfaces. Dust, mould release, hand oils and packaging residue can all affect adhesion. On medical and electronic components, the surface may look clean to the eye but still carry enough contamination to weaken the bond. A good pre-print clean is often the difference between a neat mark and a job that starts lifting after handling.
We often advise clients to keep printed parts out of the main assembly flow until the print is fully cured and checked. If parts are stored near grinding dust, cardboard fluff or damp packing material, the surface can pick up debris before the next stage. In coastal areas like Durban, humidity can also change the way a surface behaves during the day, especially when parts are stored in open crates or near loading bays.
To reduce problems, the handling team should work with a set process and not improvise from crate to crate.
- Remove loose particles before printing, especially on moulded plastic.
- Wear clean gloves when the part finish is sensitive.
- Keep print samples and production parts in separate trays.
- Check for moisture, condensation or static attraction before loading.
Curing has to match the part, not just the ink
Ink transfer is only one part of the job. Once the image has moved from the cliché to the silicone pad and then onto the component, it still has to cure properly. The right curing method depends on the ink system, the substrate and the part shape. Some jobs need air drying, some need heat, and some need a controlled schedule that gives the ink time to settle without over-baking the plastic.
If curing is rushed, the print may look fine but fail when the part is packed, stacked or assembled. If the heat is too high, the component can warp or the ink can change colour. That is why curing method selection should be part of the setup discussion, not a last-minute decision. On electronics parts, this matters even more because small symbols, legends and warning marks often need to stay legible after handling, cleaning and assembly.
In those cases, it helps to have a plan for job staging, batch control and rerun job control so parts do not sit half-finished in the system. A steady process is easier to protect than a stop-start one.
Packing choices can save a finished job from cosmetic damage
Packing is where a lot of good work gets undone. A properly printed component can still arrive with rub marks, chips or dust if it is thrown into a loose bag or packed too tightly. The packing method should protect both the print and the part geometry. This is especially important for small precision parts that move around inside a carton during courier transport between Pinetown, Johannesburg or Cape Town.
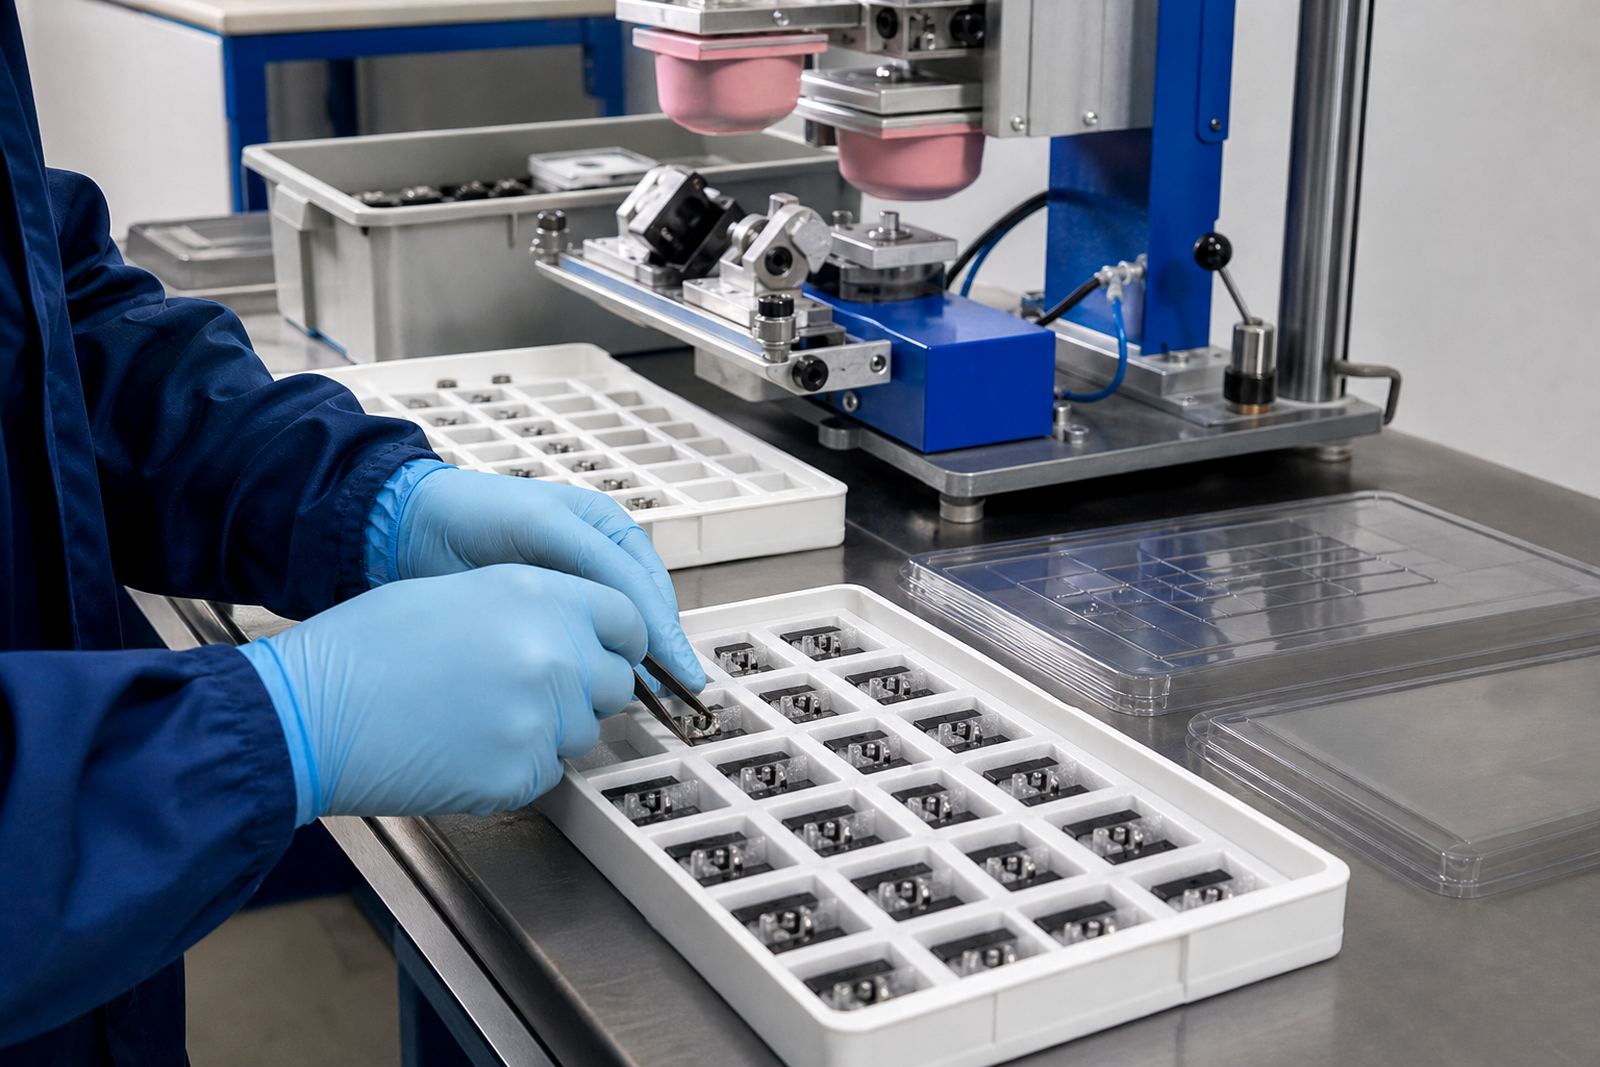
The packing stage should be planned with the same care as the print stage. If a part has a raised logo or a fresh print area, it should not rub against another hard surface. If there are multiple part types in one order, they must be separated and labelled clearly so the customer does not spend time sorting mixed stock later.
- Use individual compartments or layer separators where parts can rub together.
- Keep finished parts away from loose filler that sheds dust.
- Label packed boxes by part number, colour and print version.
- Allow enough time before dispatch packing so curing is fully complete.
For Westmead, New Germany and Westville customers collecting locally, neat packing also makes handover faster and reduces handling at the counter or loading point.
A Durban example: one mixed tray can spoil a clean batch
A practical example from the Durban side shows how handling controls the final result. A manufacturer of electronic control housings brought in a batch of small covers that needed precise pad printed markings. The parts looked consistent, but the supplier had mixed two mould colours in the same crate and packed them with loose separators that shifted during transport. By the time the tray reached the print area, several units had light scuffs across the visible face.
We separated the stock, checked the print areas, and adjusted the fixture so the parts sat more securely without being forced. A trial sample run confirmed the artwork position, and the team then used a controlled curing method to suit the surface. The main lesson was simple: the print process was not the only issue. The way the parts were loaded, moved and repacked had already influenced the final outcome.
That is why manufacturers across South Africa benefit from treating pad printing as part of the wider handling chain. When every step is controlled, the result is cleaner and the rejection rate usually drops.
What PadPrinters Medical focuses on during sensitive jobs
PadPrinters Medical works on the practical side of sensitive component marking. Our team includes Sibusiso Naicker as Managing Director, Naledi Kekana in Production, Sanjay Dookhi on artwork and plates, Lerato Mabunda on quality, Yashika Sewpersad in client services and Mfundo Xaba on machine setup. Each role supports a job from artwork preparation through dispatch packing, so handling issues are noticed early and not left until the last minute.
For medical and electronics clients, that means more than just putting ink on a part. It means checking the print area, planning the fixture, matching the colour, running adhesion test samples where needed, and making sure the final pack suits the route the parts will travel. Customers in Durban, Johannesburg, Pretoria, Cape Town and Gqeberha can reach us through the quote form on our contact page when they need help with sensitive components and careful print control.
When the handling is right, the print stays cleaner, the packing is neater and the parts arrive ready for the next stage of assembly.