Why plastic parts need a different approach
Plastic looks simple from the outside, but in pad printing it can be one of the trickiest surfaces to work with. Many medical and electronic parts are moulded from smooth, low surface energy materials that do not want to accept ink. That means the print has to bond properly to a surface that may be glossy, slightly oily, or carrying mould release from production.
At PadPrinters Medical in Westmead, Pinetown, we often see parts that print neatly on the first sample and then fail later because the real issue was not the artwork, it was the plastic. A clean logo means very little if the ink cannot key into the surface or cure correctly. For manufacturers in Durban, Johannesburg, Cape Town, Pretoria and Gqeberha, the goal is not just a sharp image, but one that stays put through handling, packing and daily use.
The plastic type is the first clue
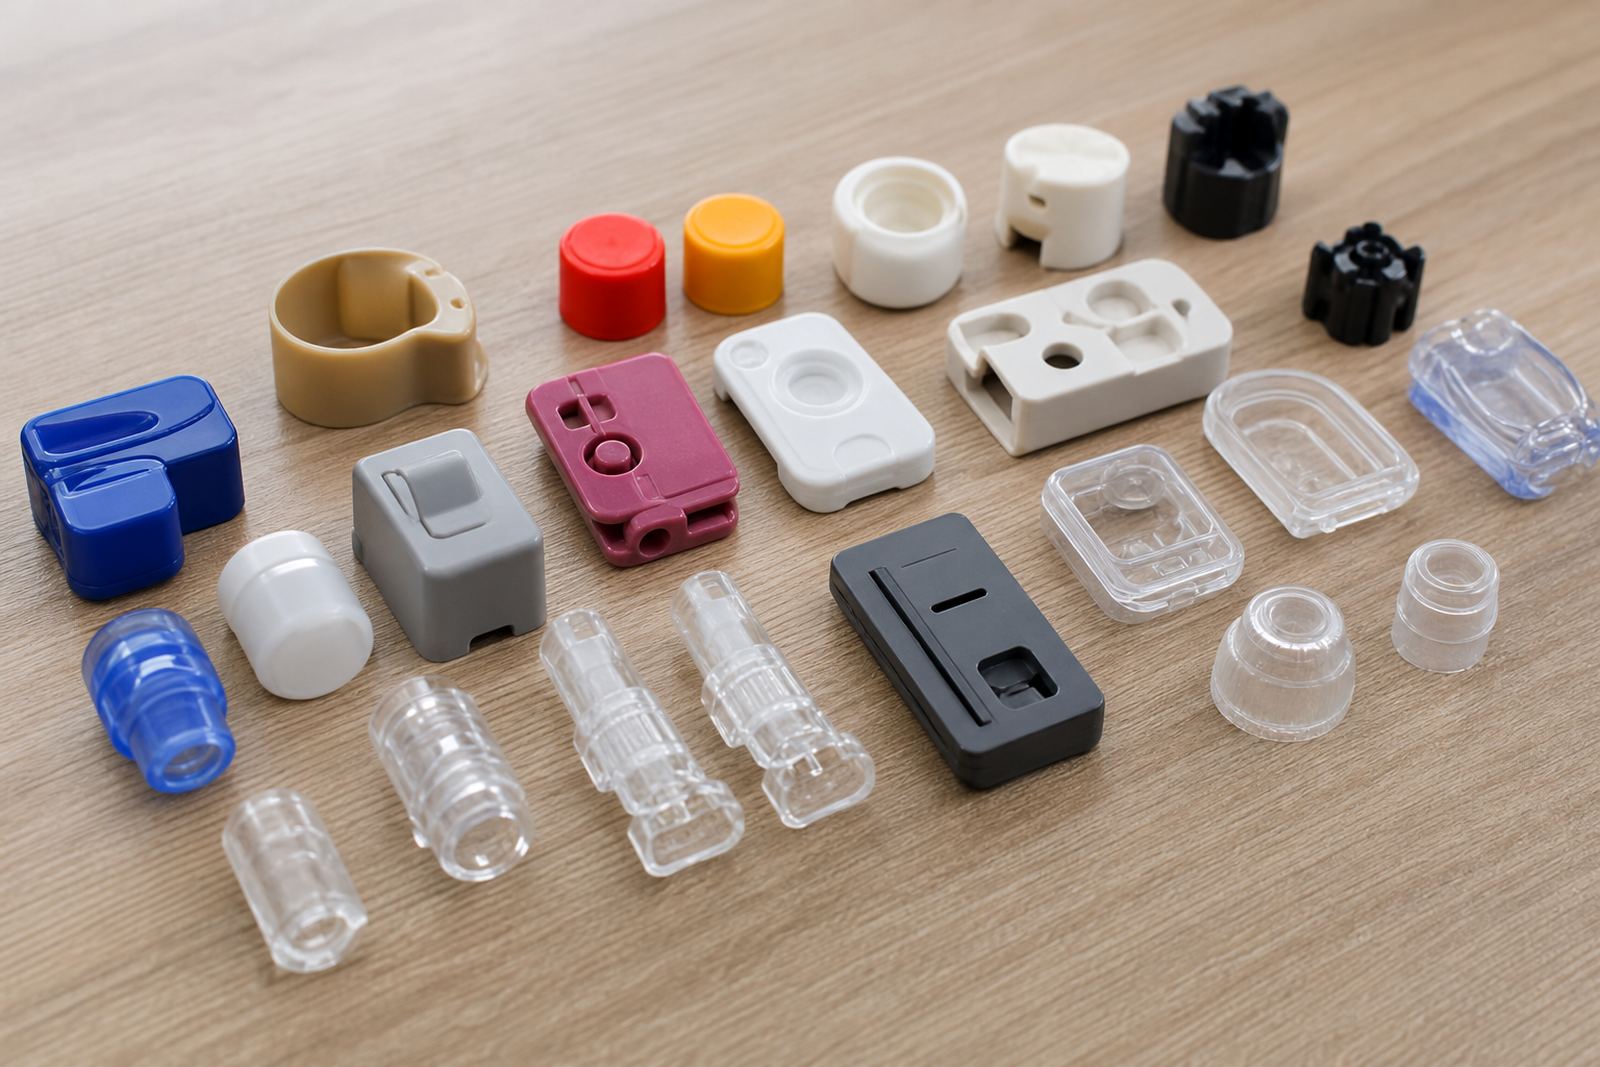
Not all plastics behave the same way. ABS, polycarbonate, polypropylene, polyethylene and acetal each respond differently to ink, pretreatment and curing. Some parts take print easily after a proper clean, while others need surface activation or a specialised ink system to get decent adhesion.
The moulding process also matters. A part made with high gloss tooling may resist ink more than a matte moulding, even when the material is the same. Add in slip agents, waxes, texture, wall thickness and part shape and you begin to see why trial samples are so useful. In practice, we always look at the actual component, not just the resin name.
- Low surface energy plastics often need more preparation before printing
- Regrind content can change how a part accepts ink
- Textured surfaces may hold print better than polished ones
- Thin parts can flex under the pad, causing a distorted image
Cleaning and handling before printing
Even the best ink will struggle if the surface is dirty. Fingerprints, dust, mould release and packaging residue all interfere with adhesion. Parts should be handled as little as possible before printing and kept in clean trays or cartons. If items arrive from moulding still warm, or with antistatic residue, that can also affect results.
For medical and electronics work, we treat pre-print handling as part of the process, not an afterthought. A good wipe down with the right cleaner, controlled storage and careful fixturing all help. In coastal Durban, humidity can also play a role, especially on parts stored close to an open bay or loading area. Moisture on a plastic surface can reduce bond strength, so timing matters more than many people expect.
- Remove mould release, dust and oils before trial runs
- Keep parts in sealed cartons where possible
- Avoid touching print areas with bare hands
- Watch for moisture on parts stored near the coast
Ink choice, curing and the real bond
Adhesion is not only about sticking wet ink to plastic. The ink needs to dry and cure in a way that matches the part, the production speed and the end use. Some jobs need faster flash off between colours, while others need a longer cure or heat assisted drying to reach proper resistance. On sensitive components, too much heat can warp the part, so curing method selection has to be practical.
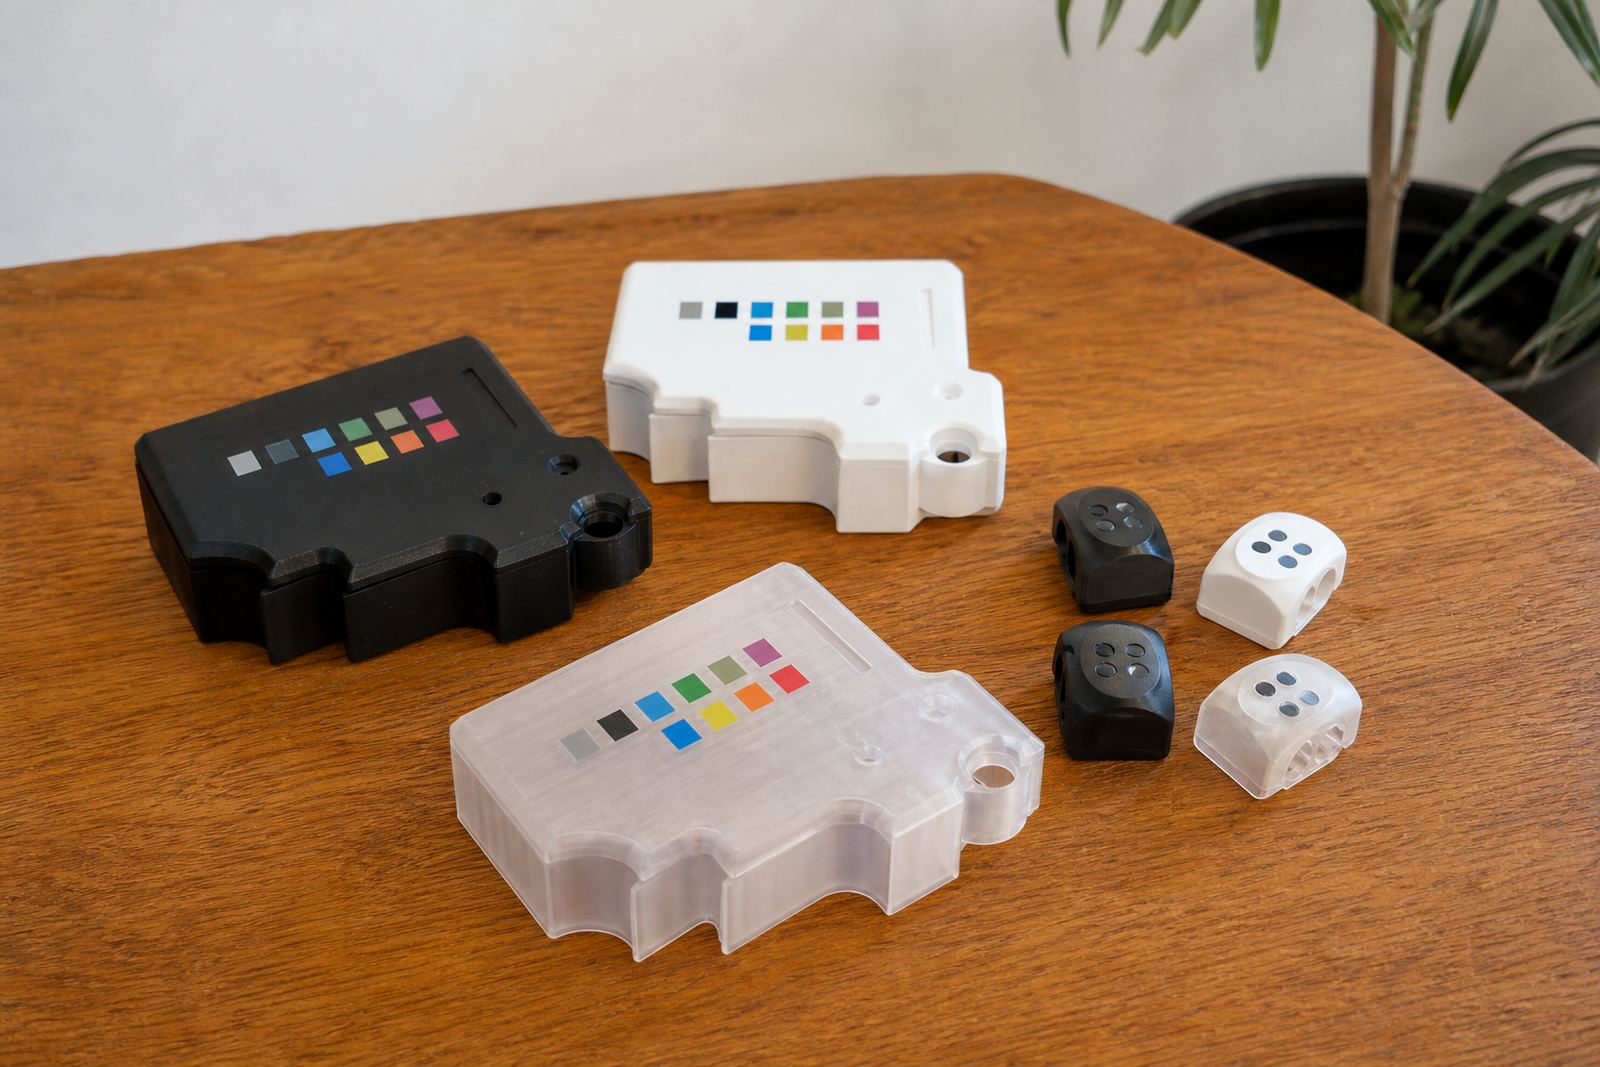
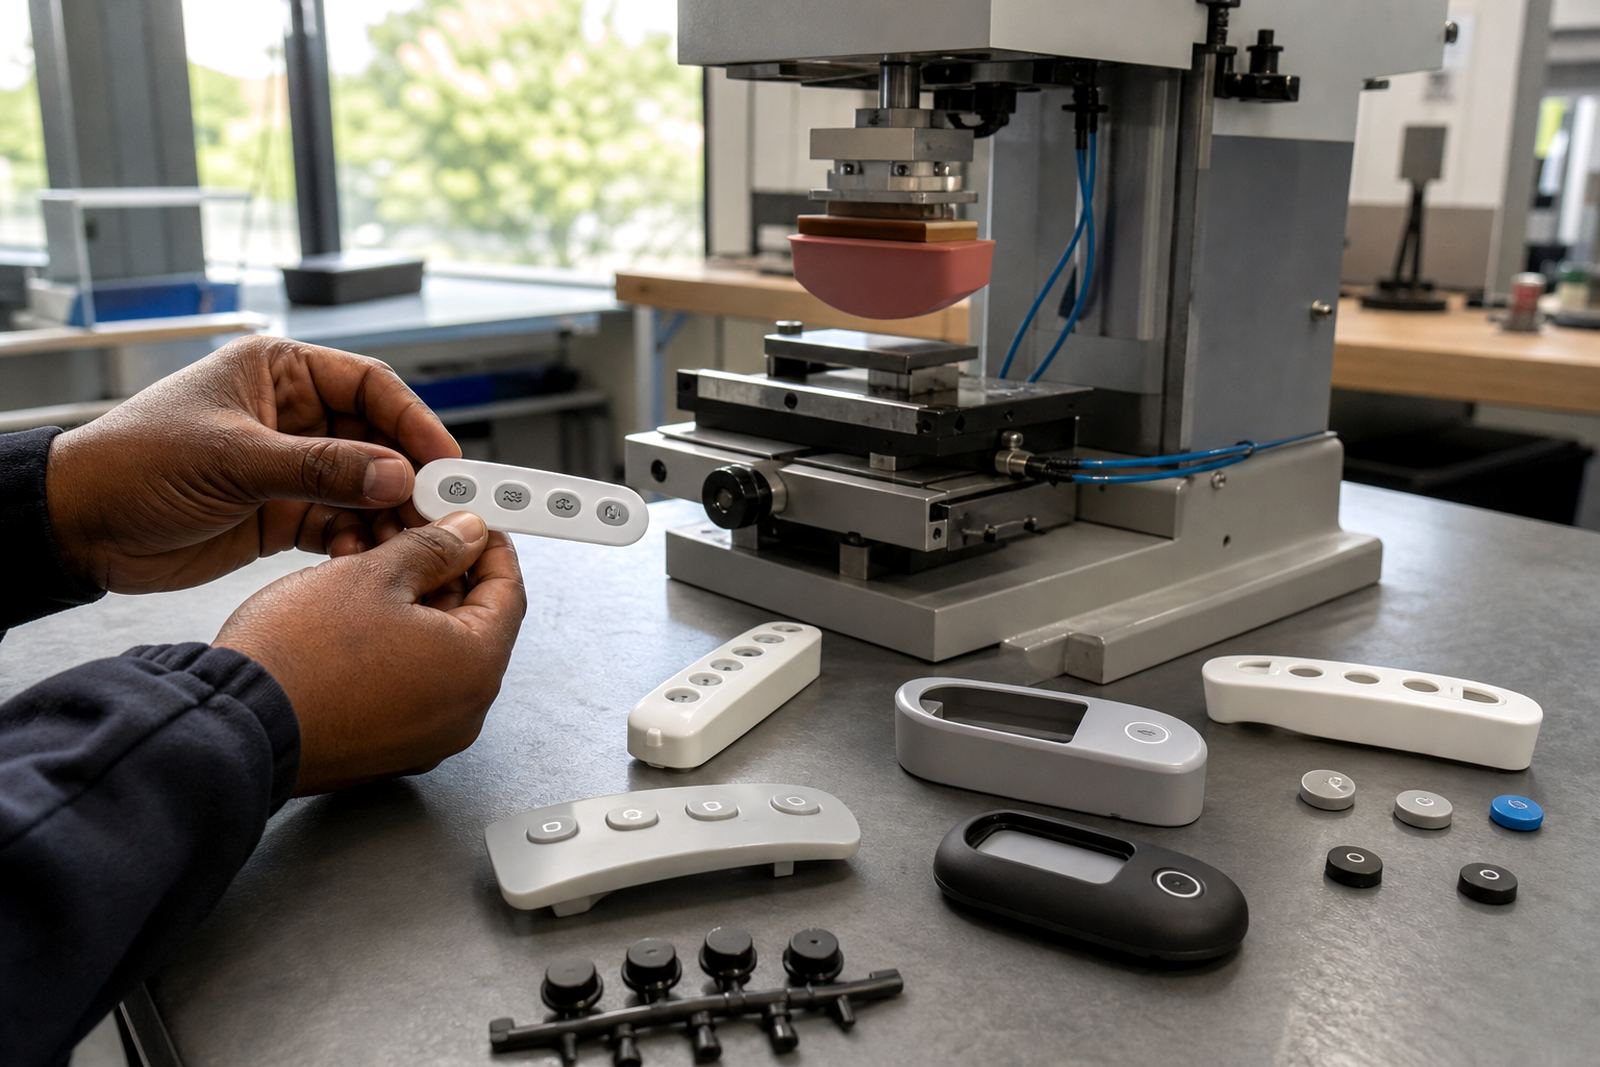
For electronic housings, keypads, medical covers and small control parts, we look at how the finished item will be cleaned, wiped or assembled. If the ink sits on the surface without bonding well, it can scratch off or lift at the edges. If the cure is too aggressive, the part may change shape or the print can show stress marks. That is why trial sample runs and rerun job control are part of a proper production set-up, not extras.
Print area planning and fixture control
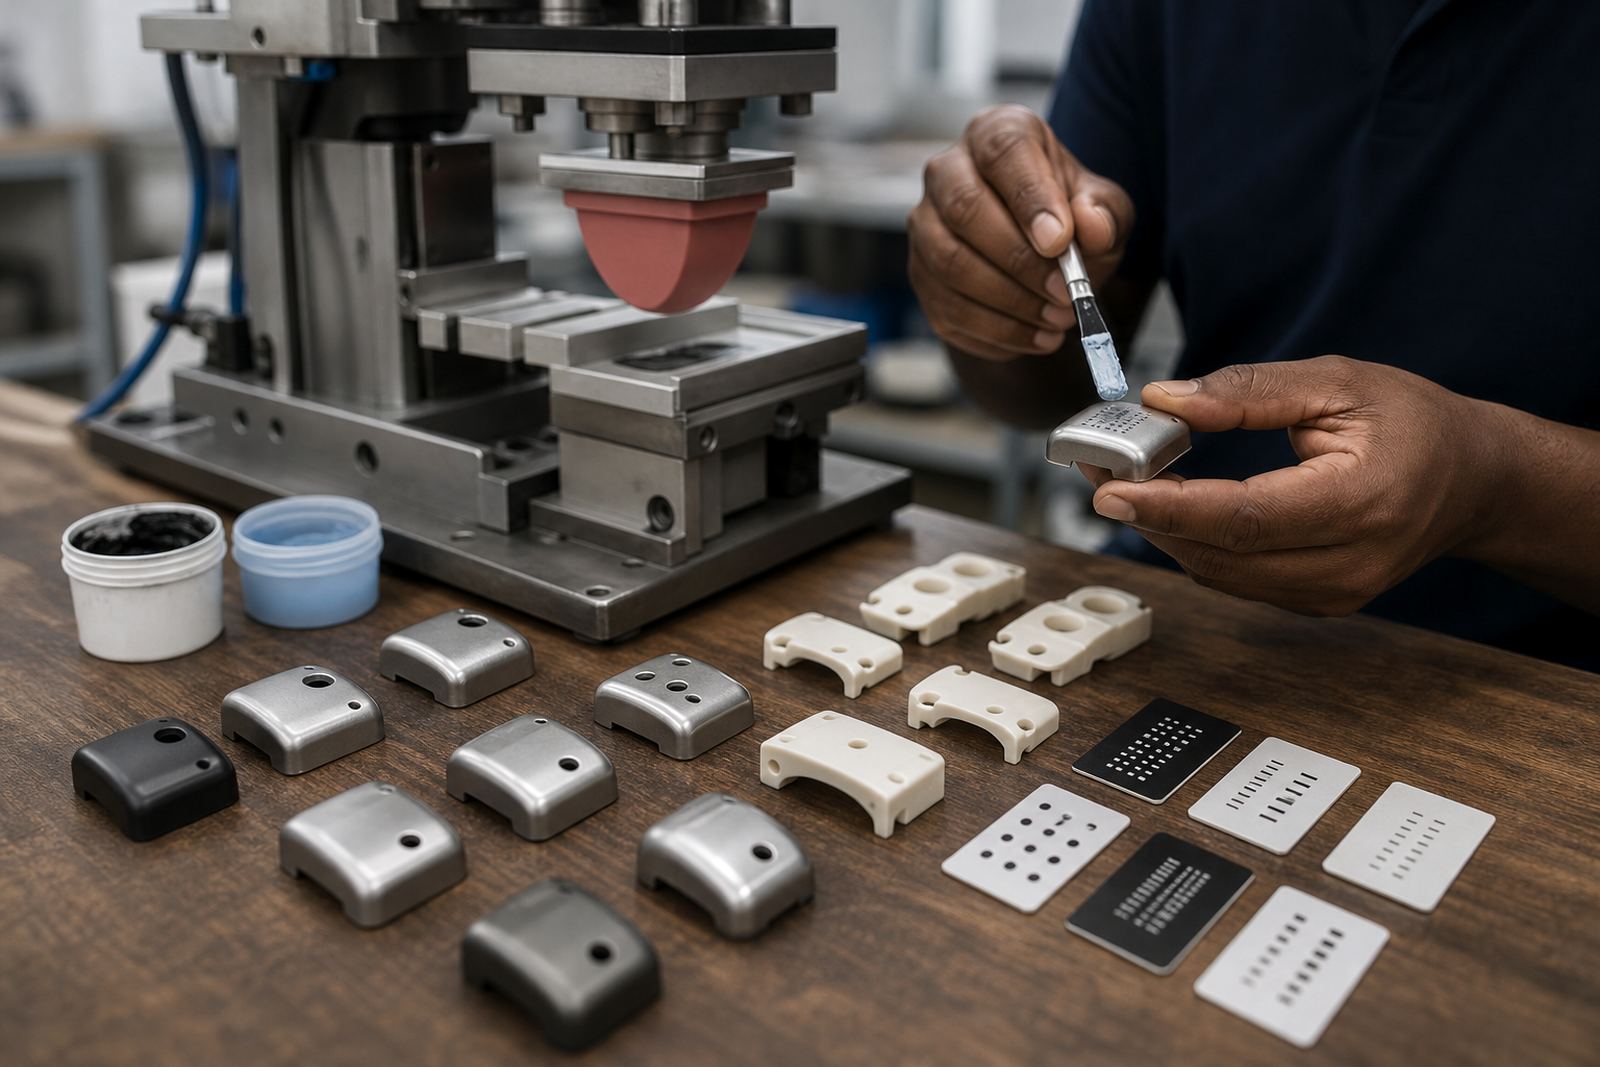
Good adhesion is helped by good setup. When a part moves even a fraction during printing, the pad can land unevenly and the ink layer becomes inconsistent. That can lead to weak areas, especially on curved or recessed parts. Fixture making is important because a stable part gives a more consistent transfer and better repeatability from one batch to the next.
We also plan the print area around the shape of the component. A logo placed on a sharp curve or across a mould line may look fine on screen but behave badly in production. Artwork Preparation, Logo Redraws and Print Area Planning all help reduce waste and avoid print failure. For parts with very small marking zones, the setup must leave enough room for the pad to release the ink cleanly, with no dragging or double image.
- Hold the part firmly so it cannot twist during pad travel
- Avoid placing artwork over gates, parting lines or sharp ribs where possible
- Use test fixtures before full production starts
- Check that the pad shape suits the print surface
A Durban example from moulding floor to packed cartons
A good local example is a moulded electronic cover coming out of a Westmead production line for use in hospitals and clinics. The part may look ready for print, but if the mould release is still present, or if the plastic surface is too smooth, the first sample can fail the adhesion test. We would start with a cleaned sample, check the ink system, then test a small run and adjust the curing method if needed.
Once the print holds, the job still needs disciplined dispatch packing. Parts should be packed so the printed faces do not rub in transit to Johannesburg, Cape Town or Pretoria. A clean printed part that arrives damaged is still a failed job, so packing and curing must work together. That is why the practical question is never just can it print, but can it print and survive the whole chain.
What manufacturers should ask before approving a print
When you are choosing a pad printing process for plastic medical or electronic parts, ask about the material, surface prep, curing and expected handling conditions. If the answer only covers the artwork, there is a gap. Adhesion depends on the full process from plate exposure through to final pack-out.
At PadPrinters Medical, our team in Pinetown works with clients across South Africa on artwork, plate etching, adhesion test samples, trial runs and rerun control. The customer remains responsible for final device compliance, but a careful print process makes that responsibility easier to manage. On plastics, the small details are usually the ones that decide whether the mark lasts or lifts.