Why Smudging Happens After a Print Looks Fine
A pad print can look crisp as it leaves the pad and still smear a few seconds later. That is where many jobs go wrong: the image is transferred, but the ink has not anchored properly or the part is handled too soon. On medical and electronic components, the issue is often made worse by small parts, curved surfaces, oils from handling and rushed packing. Even a clean looking part can carry mould release, dust or fingerprint residue that interferes with adhesion.
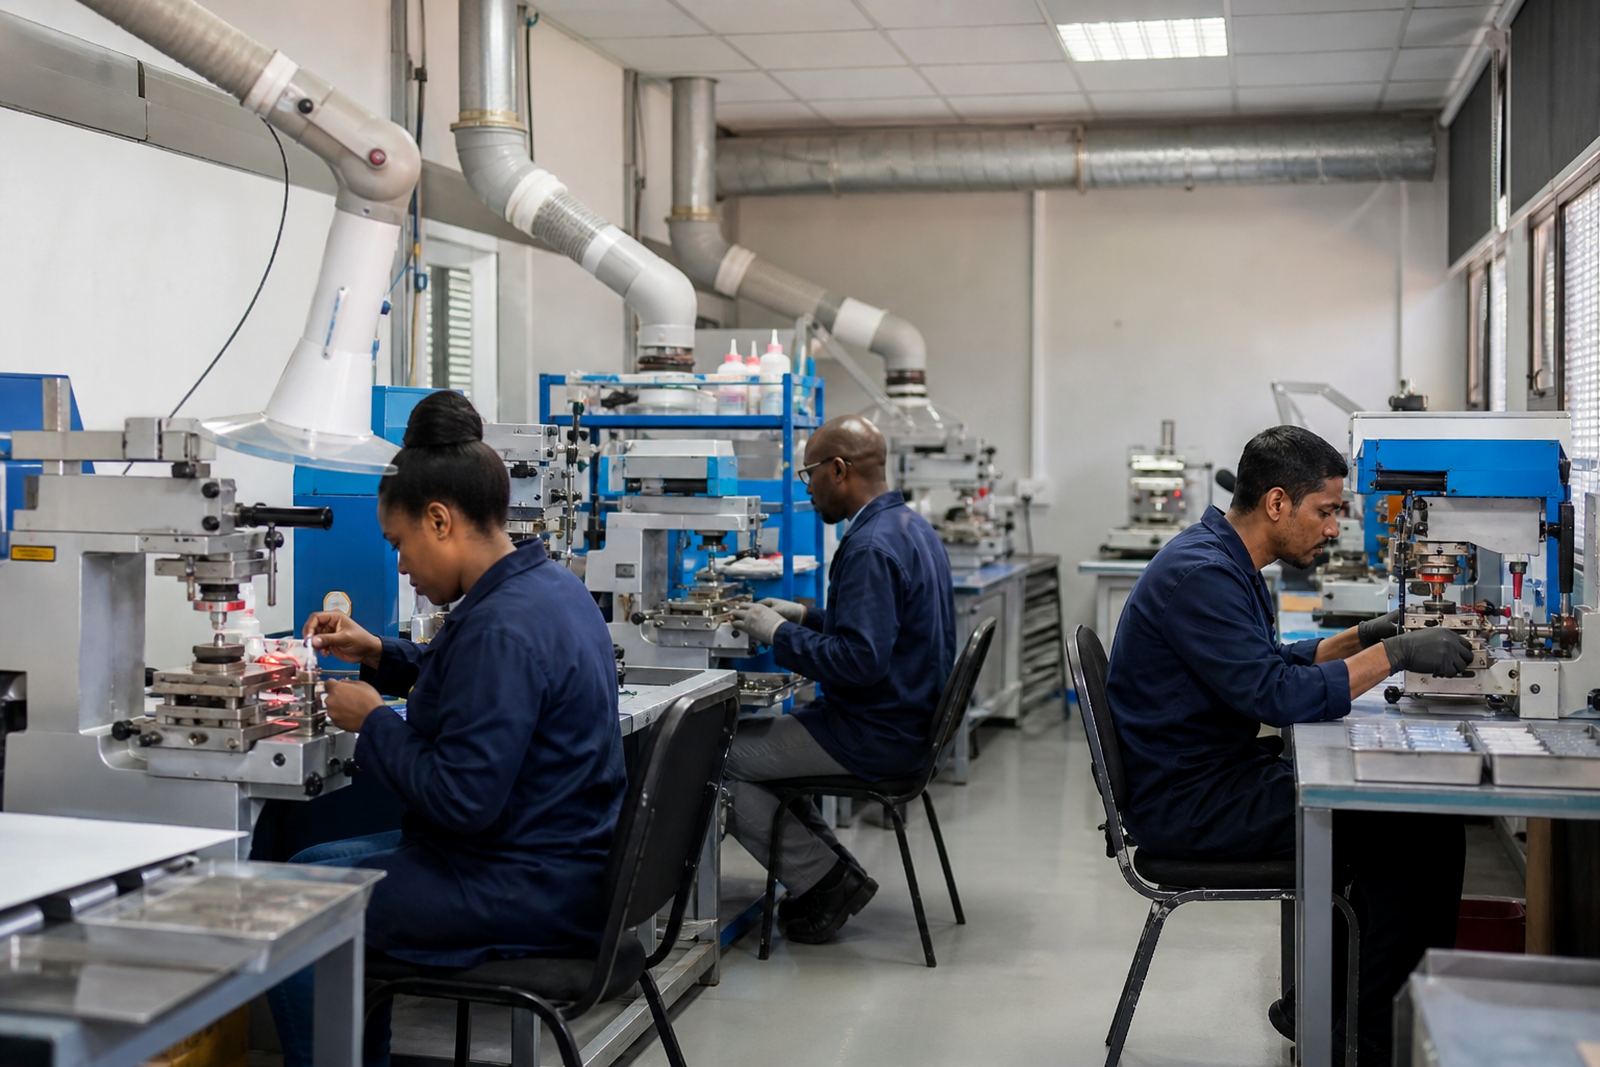
In a Westmead, Pinetown production space, for example, a batch of moulded plastic parts may print neatly in the morning and start marking each other in trays by lunch if the cure window is not respected. The print is not always the problem on its own. Smudging usually points to a chain of small things: ink too wet, pad release too slow, drying time too short, or stacking before the surface is ready.
- Ink still soft when parts are moved
- Surface contamination on moulded plastic, coated metal or housings
- Wrong ink or thinner balance for the substrate
- Poor fixture support causing parts to rub during transfer
Surface Prep Comes Before the First Stamp
Good pad printing starts before the machine cycles. Parts need to be clean, dry and consistent. If there is dust, mould release or light oil on the surface, the print may sit on top of the part instead of biting into it. That is why print area planning matters. The print must land where the material is stable and where the handling path will not rub the fresh mark.
For medical and electronics work, that means checking the part as supplied, not only the artwork. Some plastics need a light surface treatment or a different ink family. Some metal parts need a better degrease step. A simple wipe with the wrong cloth can make matters worse by leaving lint behind. The aim is not a perfect-looking substrate, it is a predictable one.
- Confirm the component is free of dust, grease and release agent
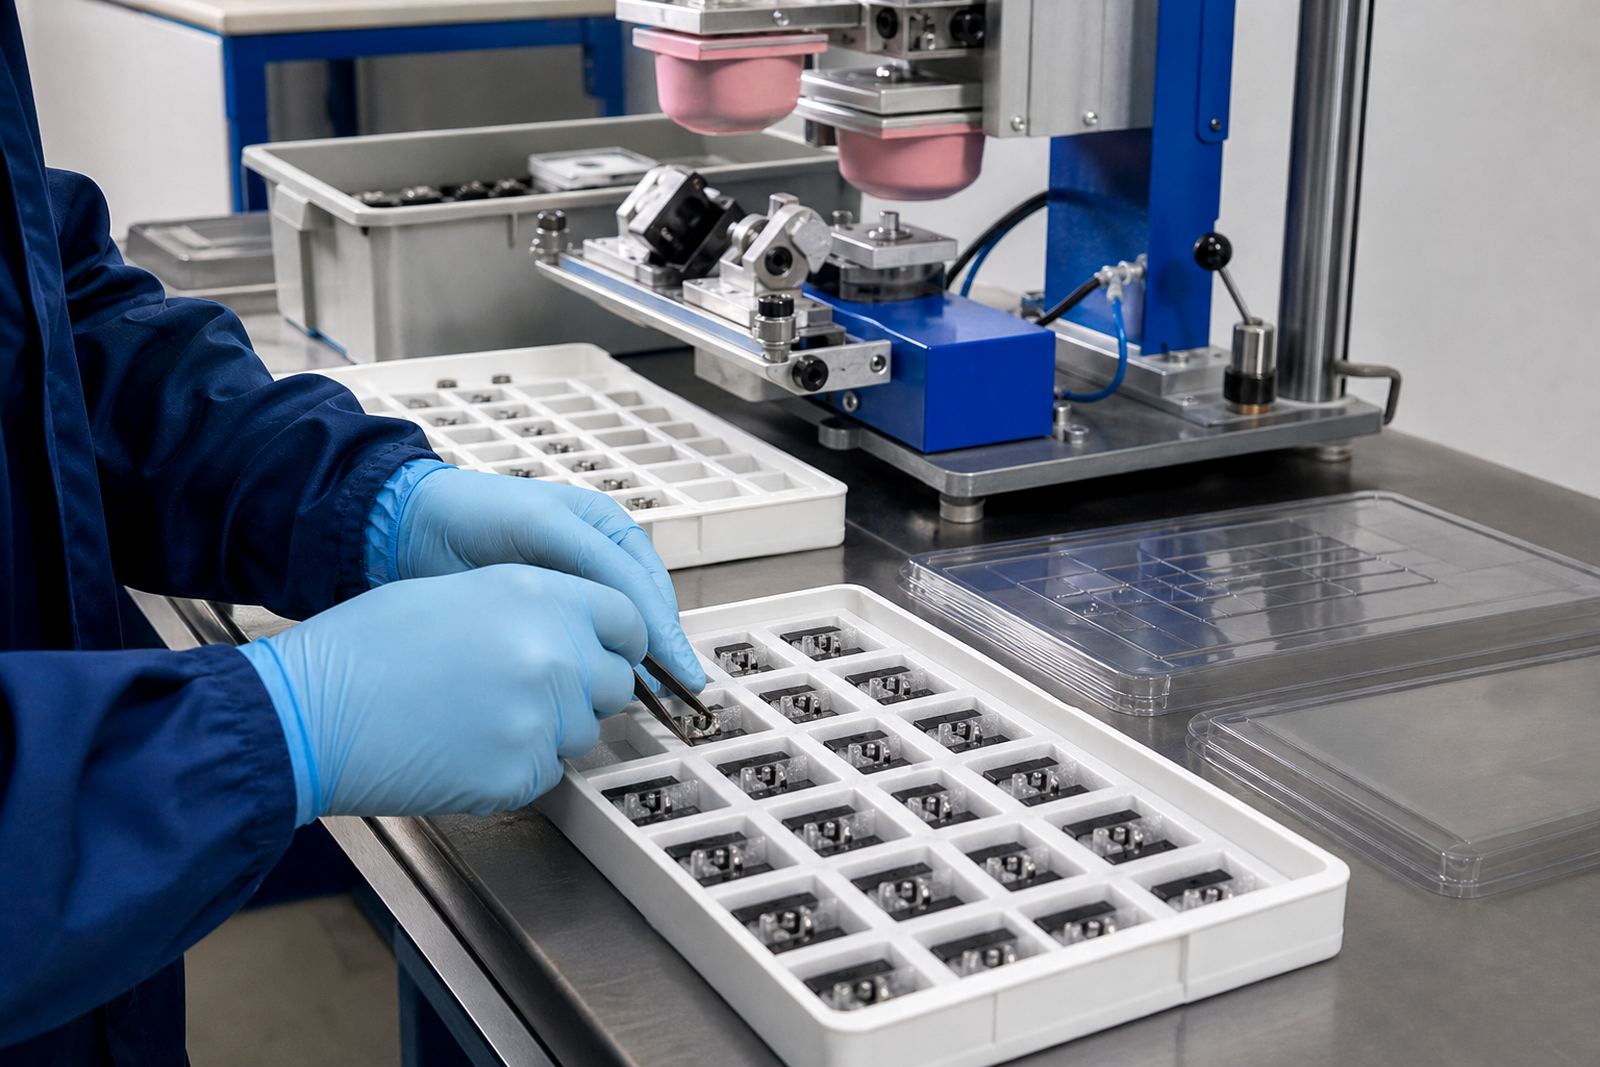
- Keep gloves and handling tools clean during setup
- Use fixtures that hold the part steady without scuffing the print zone
- Test the actual supplied part, not only a sample shape
Ink Choice, Open Time and Cure Control
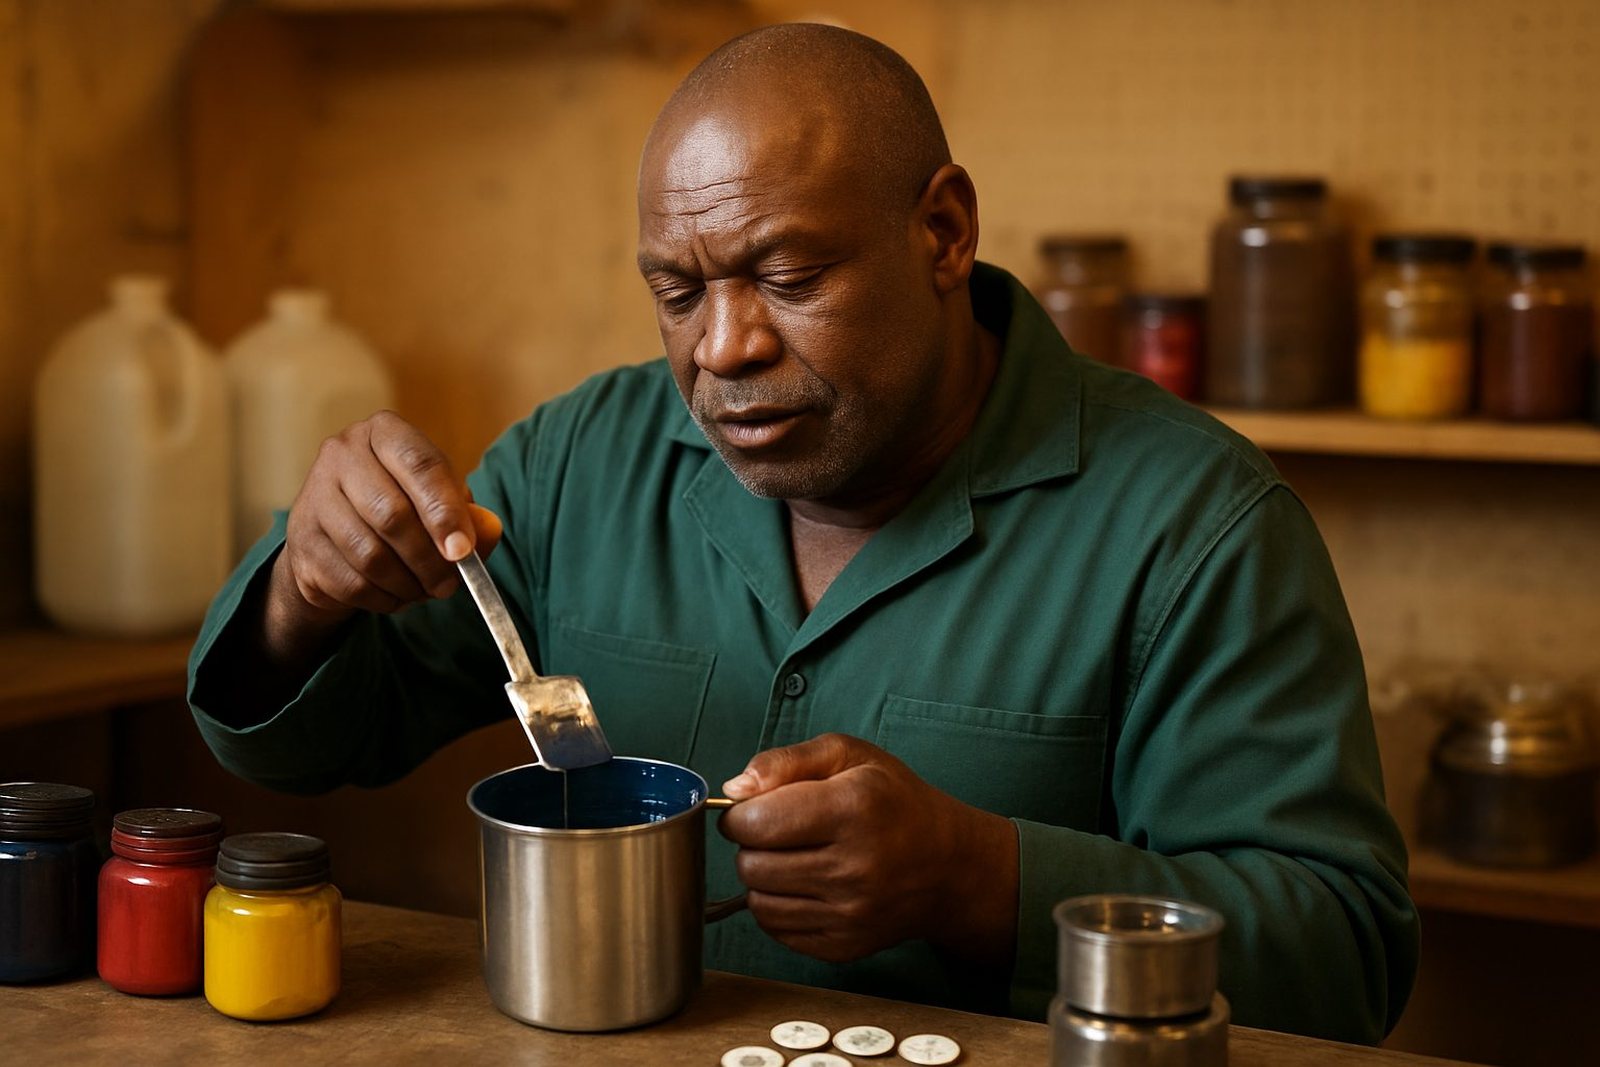
Smudging is often an ink issue, but not only an ink issue. The ink must suit the material, the handling speed and the curing method. Some jobs need a fast setting ink because parts move straight into trays. Others need a more controlled dry cycle because the shape traps solvent and keeps the surface soft. If the ink film is too heavy, it can stay tacky longer than expected.
PadPrinters Medical often treats ink as part of the full process, not just a consumable. That means checking colour match, adhesion and drying behaviour together. If a mark needs to resist handling during dispatch packing, the cure plan must support that reality. On some jobs the answer is a slower, more even dry. On others it is a change in curing method or a smaller deposit per strike.
- Select ink for the specific substrate and expected handling time
- Control thinning so the print is not over-wet
- Match curing to the part shape and material thickness
- Run adhesion test samples before full production
Handling After Printing Is Where Many Jobs Fail
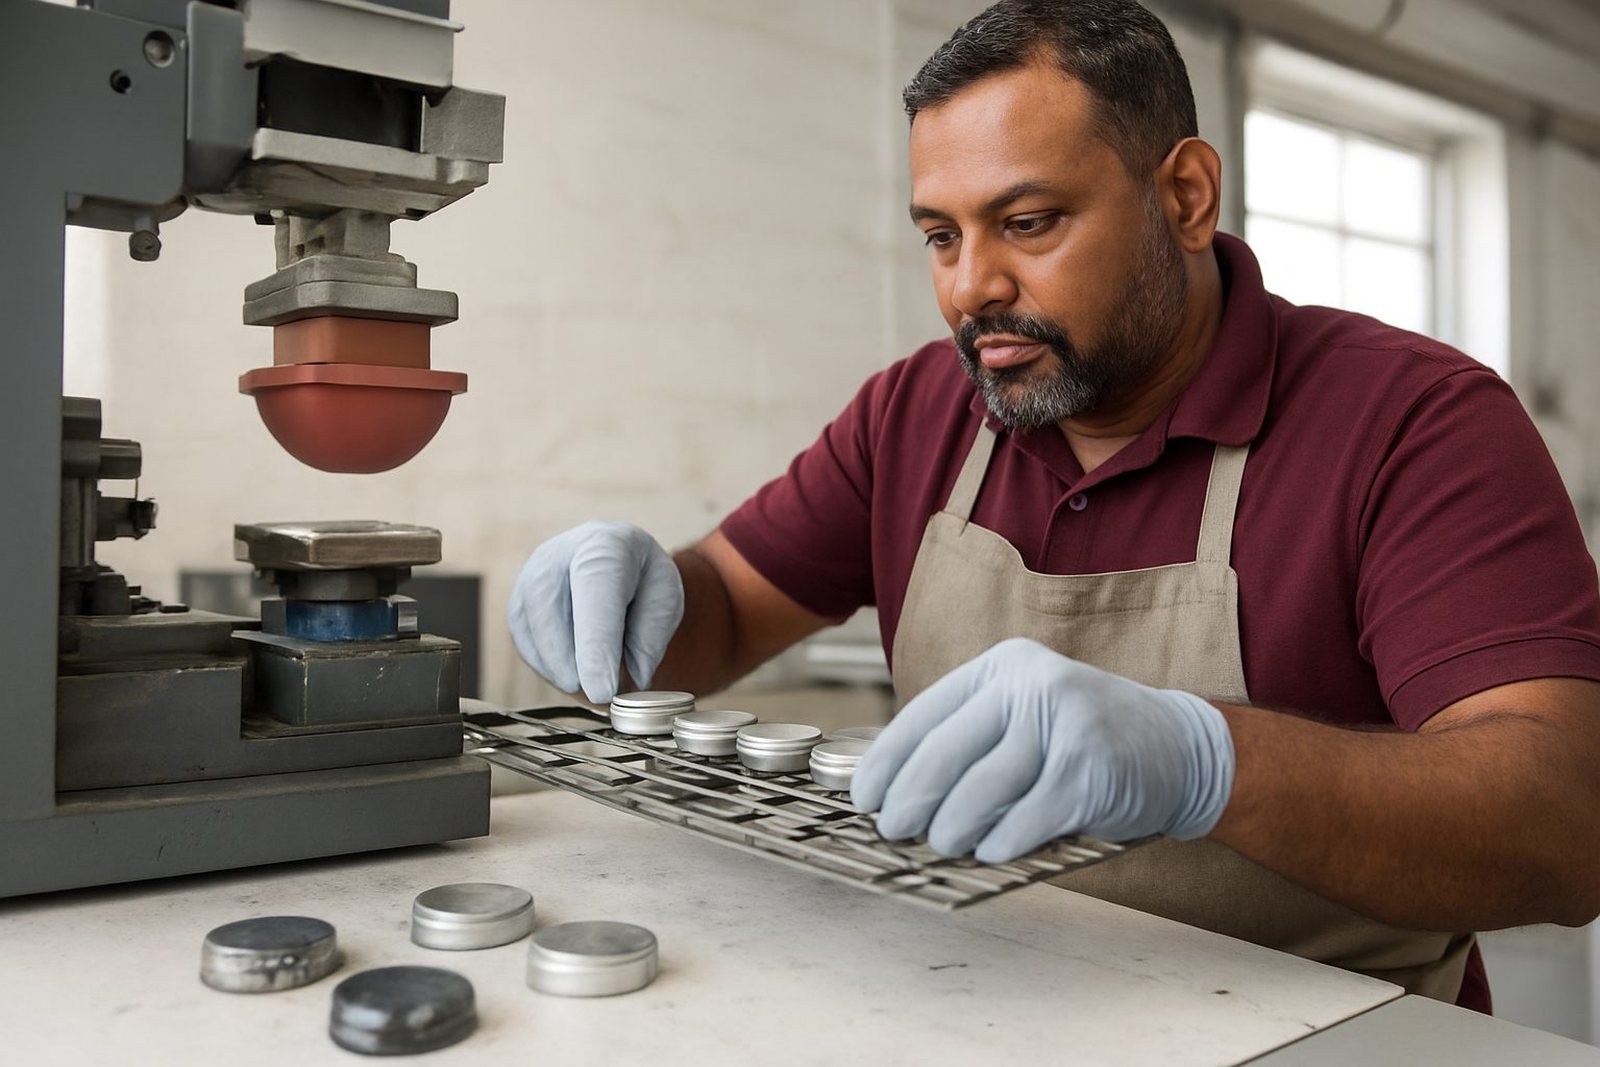
Even a well printed part can smear if it is touched, stacked or packed too soon. This is common with small housings, caps, buttons and panels that go through multiple hands before dispatch. The print may be dry to the touch on one edge but still soft at the centre. That is why rerun job control and packing discipline matter. One rushed tray can undo the first hour of careful setup.
In practice, smudging after print is often a handling problem disguised as a printing fault. Staff need a clear rule for when parts can be moved, when they can be nested, and when they are ready for final packing. A few extra minutes are cheaper than scrapping a batch.
- Use trays and separators that prevent parts rubbing together
- Set a clear hold time before stacking or bagging
- Avoid finger contact with the printed area, even if it feels dry
- Keep printed parts away from vibration and heat traps during transit
Trial Runs Catch Smudge Risk Before Full Production
Trial sample runs are worth doing whenever the part changes, the finish changes, or the print position is tighter than usual. Small geometry changes can alter how the pad releases the image and how the ink settles. A logo that looks fine on a flat sample may smear on a rounded electronic cover or on a medical clip with a narrow edge.
A good trial run checks more than appearance. It checks the dry time, the tack after cure and the way the part behaves once it is placed in a tray. If the sample shows even light marking under gentle handling, the process should be adjusted before the main order starts. That may mean changing the fixture, adjusting plate exposure, refining the artwork edge, or shifting the curing method.
For clients in Durban, Johannesburg, Cape Town, Pretoria and Gqeberha, this is often the difference between a clean schedule and a difficult return job. Coastal humidity in Durban can slow drying. Inland dry air can change solvent behaviour. The process needs to suit the place the parts are being marked and the way they will be used after printing.
A Practical Setup for Cleaner, Safer Marks
There is no single cure for smudging. The safe route is a controlled workflow from artwork to dispatch. At PadPrinters Medical in Westmead, Pinetown, that means looking at the full chain: artwork preparation, logo redraws if needed, plate exposure, plate etching, fixture making, trial sample runs and the final packing path. When each step is set with the next step in mind, the print has a better chance of staying clean.
Manufacturers should also keep responsibility clear on their side. The printer can help with adhesion testing and process advice, but the customer remains responsible for the compliance of the finished device and any required product checks. If the part is for medical or electronic use, the print must fit the product's own requirements, not just look neat on the day.
A clean mark is usually the result of discipline, not luck. Keep the surface clean, choose the right ink, respect the cure time and move the part carefully after printing. That is the simplest way to avoid smudged prints and keep a production run moving without avoidable rework.