Midrand Housing Marking Brief
The client was a device parts manufacturer in Midrand supplying housings for medical style equipment used in assembly and final packout. Their brief was straightforward, but the marking had to be exact: a small logo, a product reference, and a few simple legends that helped operators identify orientation and part family during assembly.
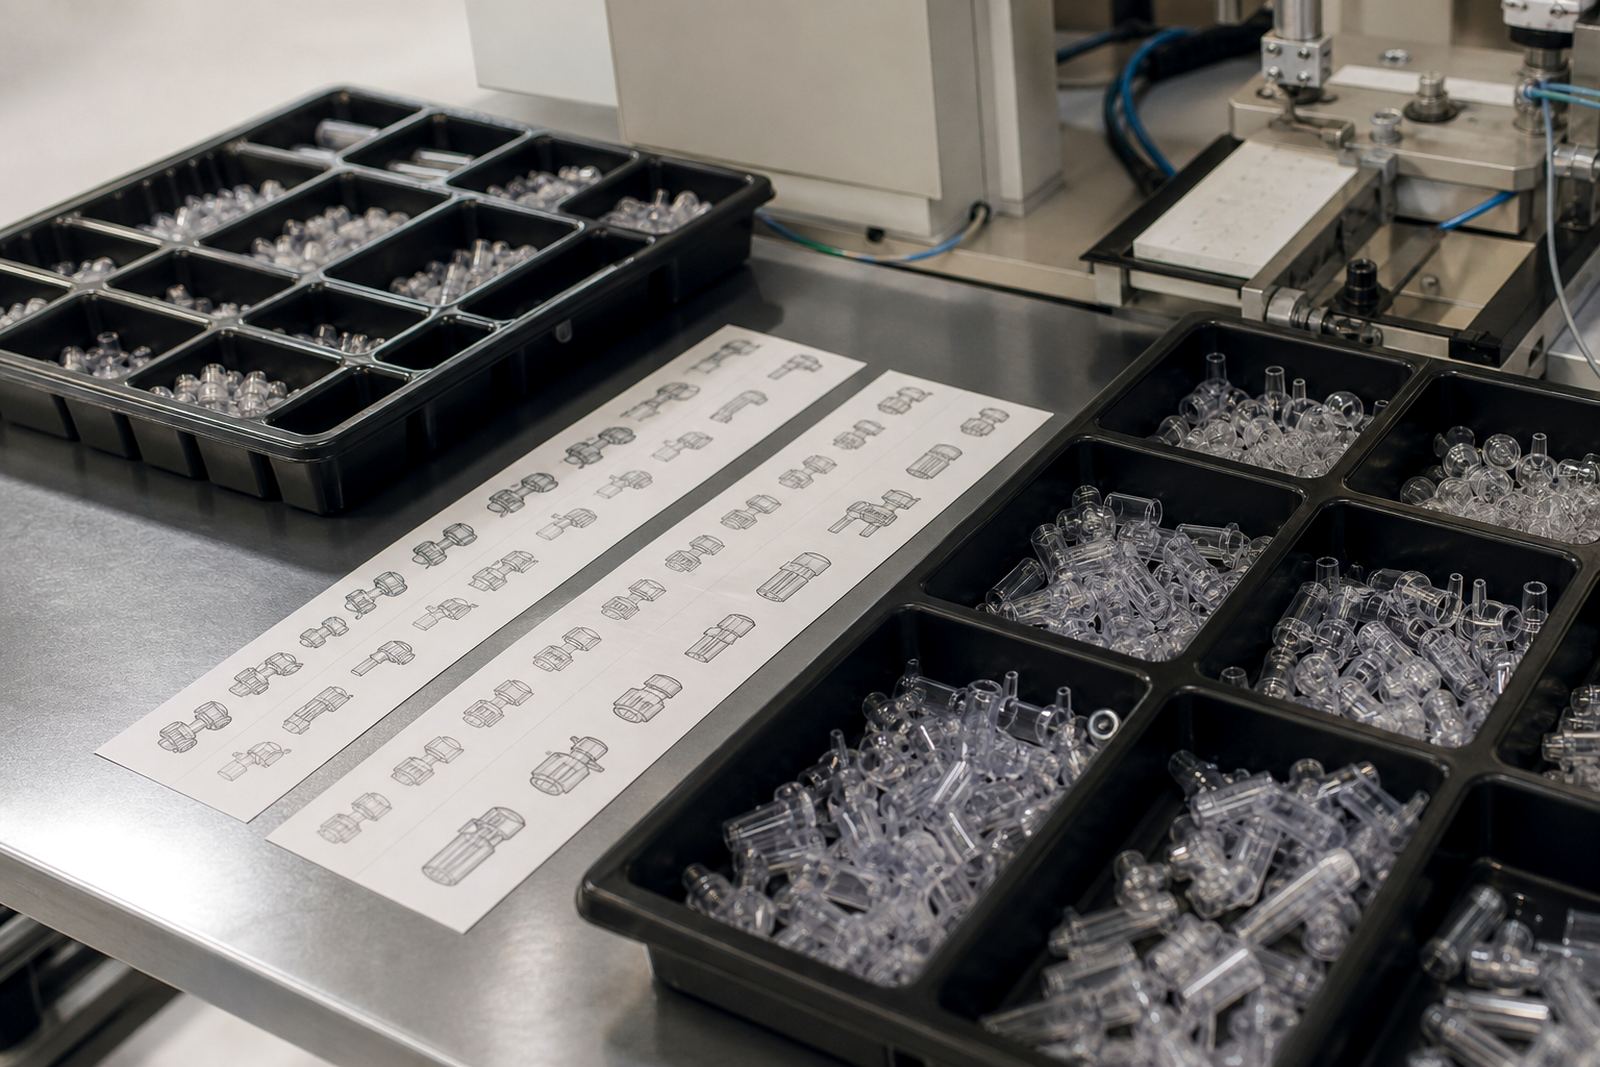
The parts were moulded housings with curved faces, shallow ribs and a few tight recesses around the fixing points. That meant the print area had to be planned carefully so the pad could land cleanly without touching raised edges. We also had to keep the mark consistent across batches, because the housings moved through a repeat production schedule and each run had to match the last one. One missed legend can slow the line down, so the layout needed proper control from the start.
The job ran over three weeks from first sample to release for repeat supply. That included artwork preparation, plate making, trial runs, adhesion testing and final pack-out. The client stayed responsible for their own device compliance and internal approvals, while we focused on the print quality and repeatability of the marks supplied.
What We Checked Before Printing
Before we ran the first sample, we checked the housing material, the wall shape, the available flat zones and the handling path after printing. Medical style housings can be sensitive to smudging and surface oils, so the print method had to suit the moulded finish and the way the parts were being stored on site. We also checked whether the artwork needed any line weight changes, because fine text that looks neat on screen can fill in once it is transferred through a silicone pad.
The main constraints were simple but important. The parts had limited print space, the logo needed to sit clear of screw bosses, and the legends had to remain readable after curing and packing. In Westmead and the wider Pinetown area, that sort of planning matters because a missed curing cycle or delayed sample can hold up the next step in the chain.
- Housing type: moulded medical style enclosures
- Mark content: logo, reference text and simple assembly legends
- Print position: one main face plus secondary identifier zones
- Production stage: sample approval before repeat batches
- Handling concern: avoid smudge risk during curing and packing
Artwork, Plates And Trial Samples
We started with artwork preparation and logo redraws, then set the print area so the mark would sit square on the part. Where required, the text was opened up slightly to suit pad printing rather than drawing as a tight digital file. That matters on small housings, because line thickness and spacing must work with the pad shape, the ink flow and the relief on the plate.
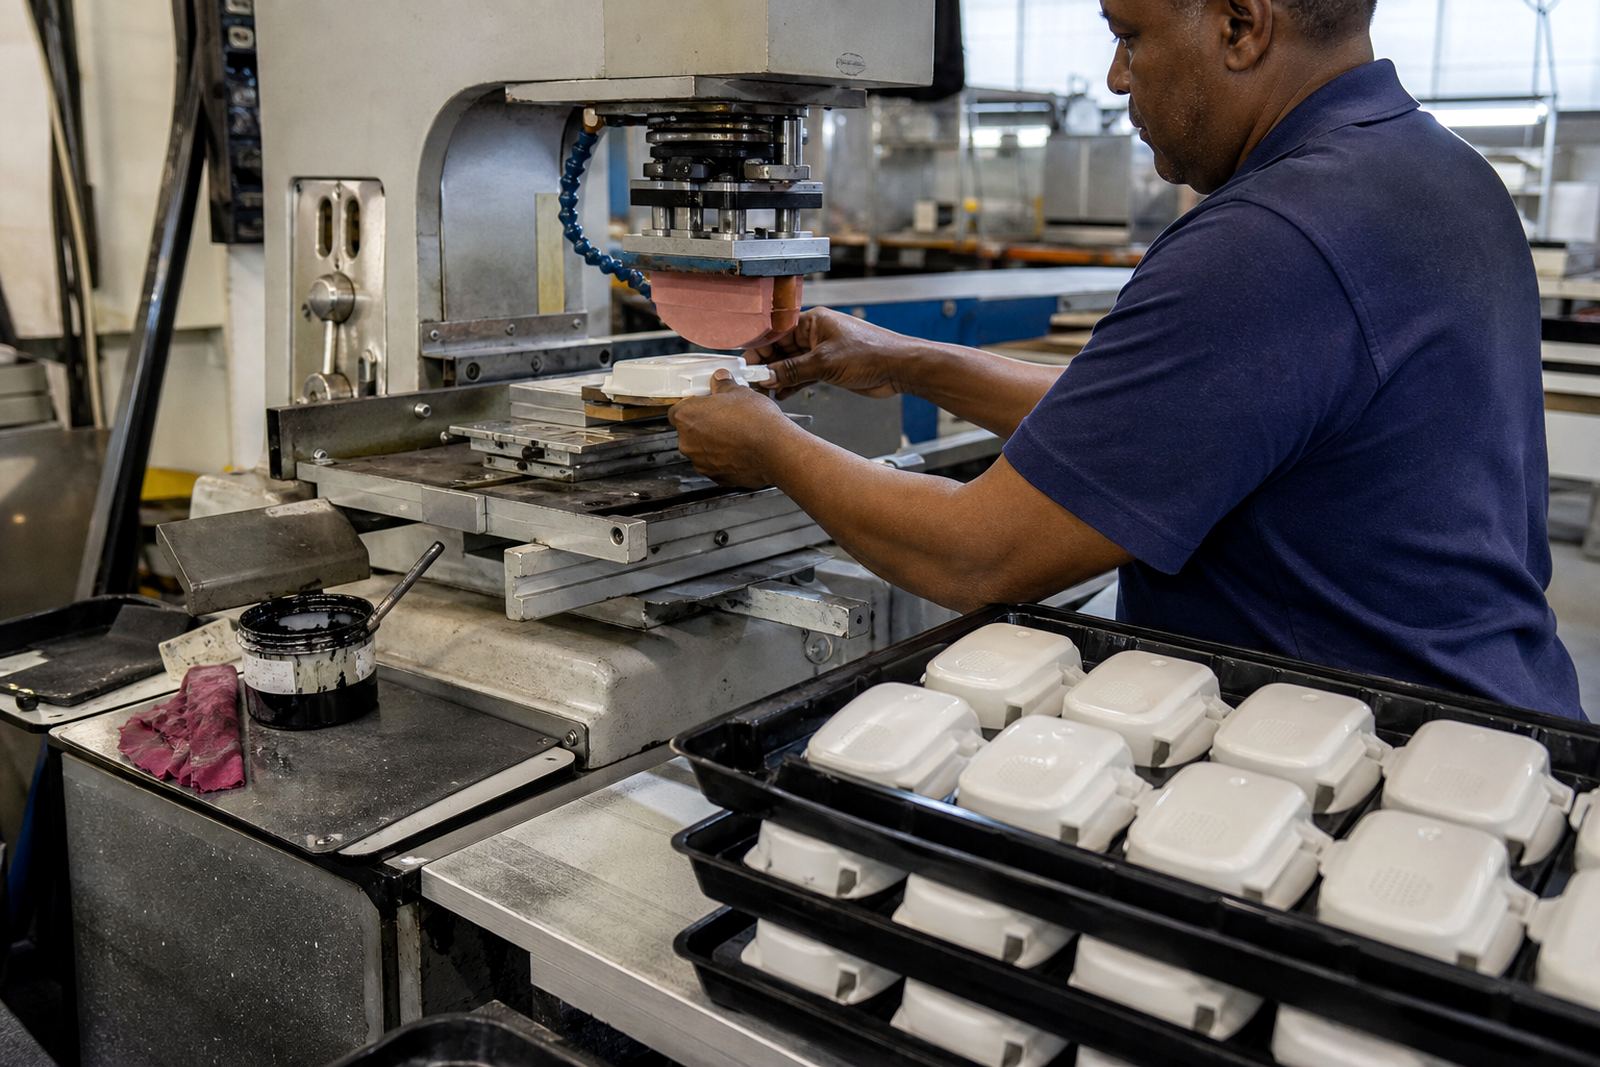
Once the artwork was signed off, we exposed and etched the plate for the first trials. A silicone pad was selected to suit the geometry of the housing, then we ran adhesion test samples to check how the ink behaved on the surface. The first sample run allowed us to confirm placement, ink density and how the legends held up after curing. The client wanted dependable production, not guesswork, so we treated that first run as a control point for the full job.
- Artwork redraws for small text and clean logo edges
- Plate exposure and etching for repeatable transfer
- Silicone pad choice matched to the housing shape
- Adhesion samples checked before release
- Trial run used to confirm registration and finish
Ink, Curing And Finish Control
For this project we used an ink system suited to moulded plastic housings, then selected a curing method that fit the client’s production pace. Pad printing is only part of the job, the curing step is what helps the mark stay in place through handling, cleaning and packing. We worked with the client on the timing so the printed pieces could move from the press to the curing stage without unnecessary delays.
The finish had to stay neat and readable, with no feathering at the edges and no heavy build-up in the lettering. The print also had to cope with normal warehouse handling, since the parts were being moved between production, inspection and dispatch. We monitored the first runs closely and adjusted the setup where needed. Small changes to pad pressure or ink load can make a real difference on a narrow legend, especially on curved housings.
By the time the sample passed, the mark looked clean, the reference text held its shape and the client had a clear standard for repeat work. That is the point of a controlled pad print setup, you want the same result on batch one, batch three and the next order too.
How The Job Ran In Practice
The job was managed through our Westmead base in Pinetown, with client communication handled by our enquiry process and internal job control. Sibusiso Naicker oversaw the work as Managing Director, with Naledi Kekana on production control, Sanjay Dookhi handling artwork and plates, Lerato Mabunda on quality checks, Yashika Sewpersad managing client updates, and Mfundo Xaba setting the machine and fixtures. That structure helped keep the sample path tight and prevented avoidable delays.
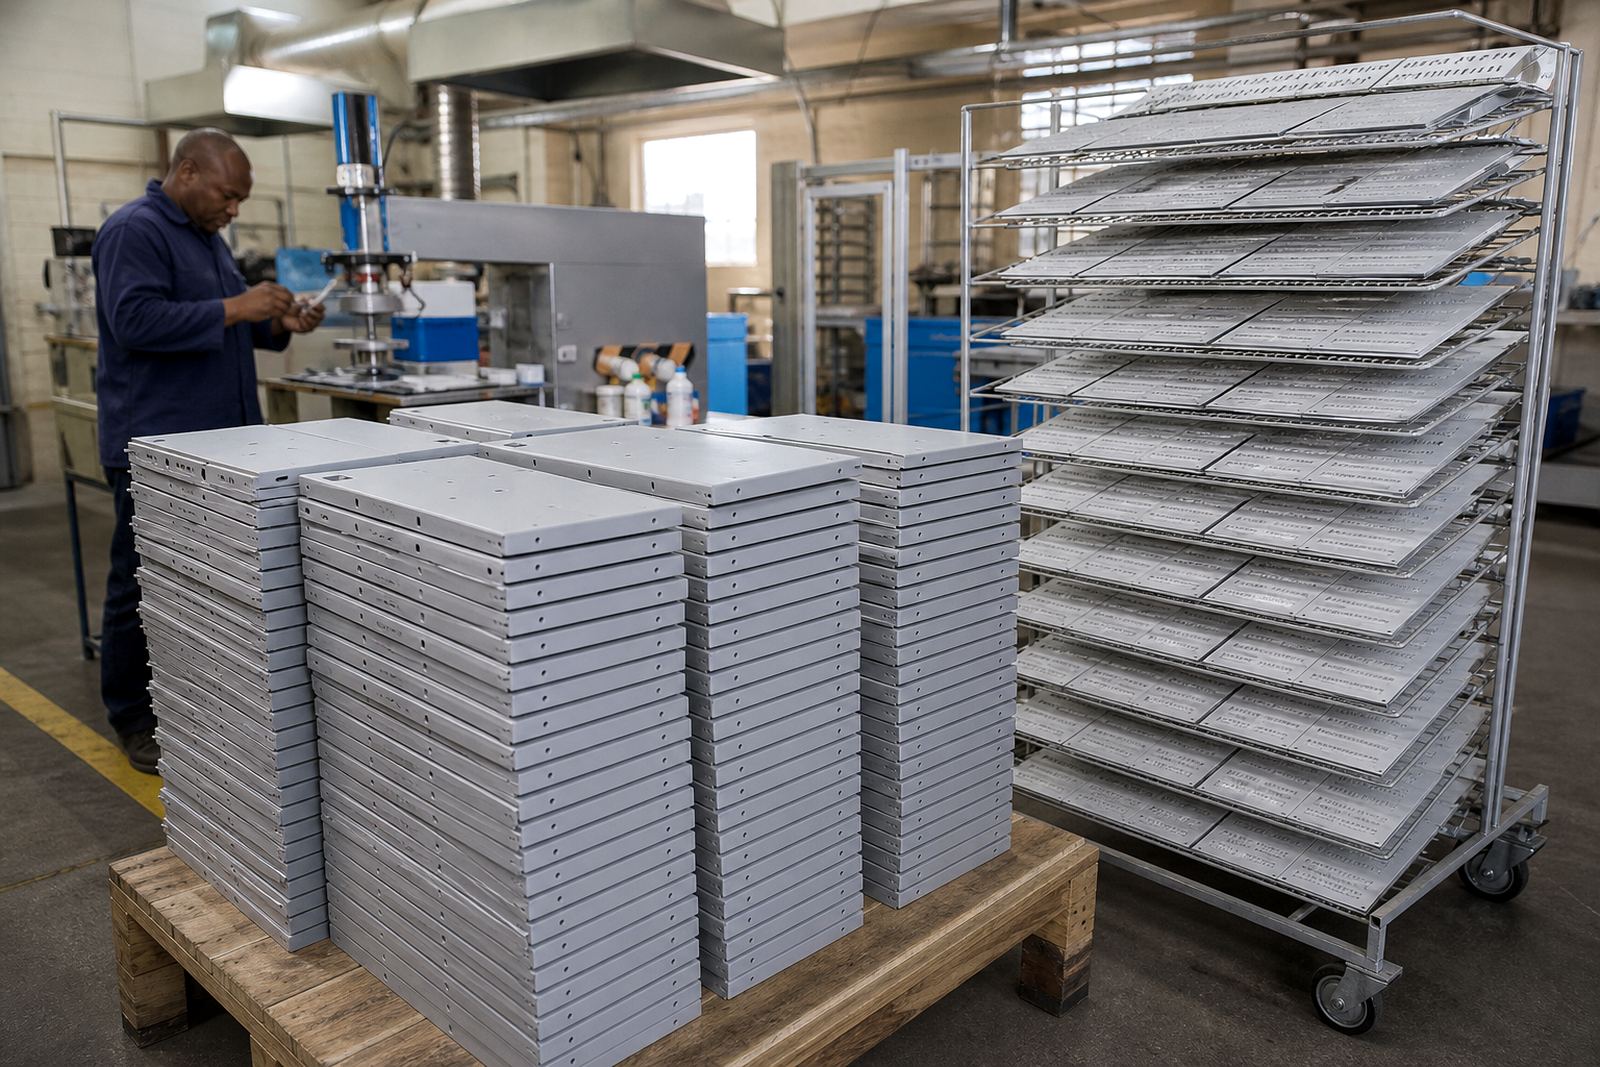
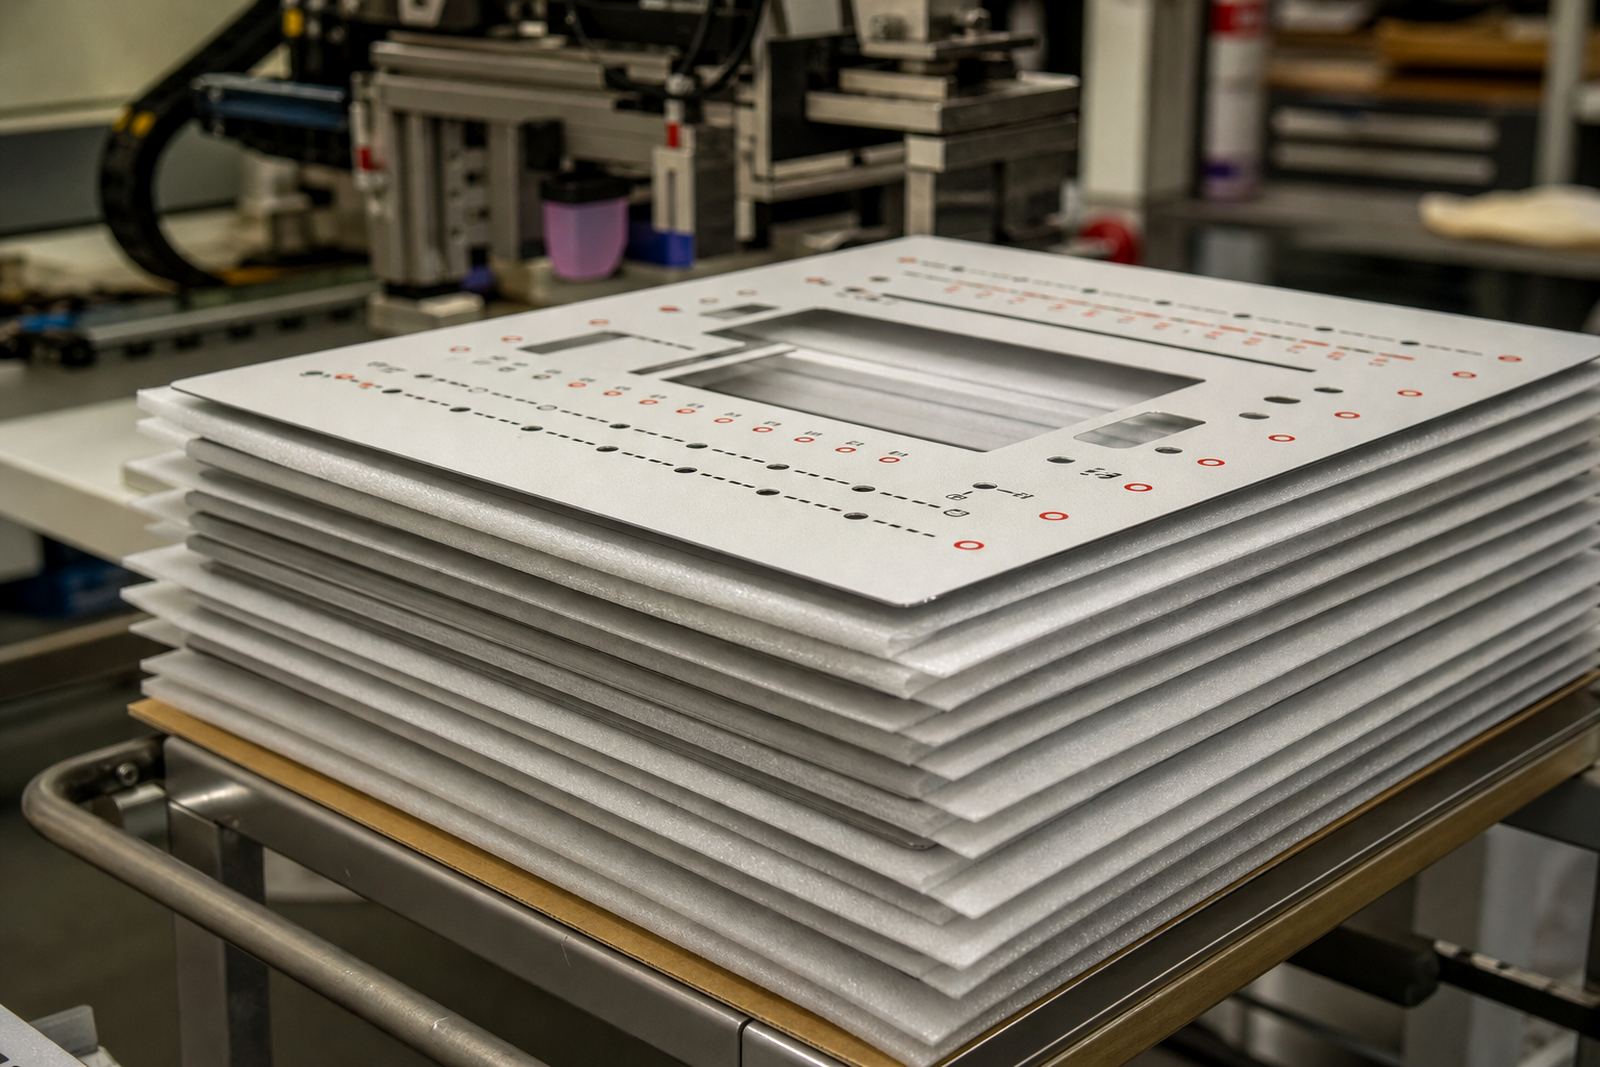
We also prepared for rerun control, because parts like this are rarely one off. Once the final sample was signed off, we kept the print reference aligned so the client could reorder with the same mark position and appearance. Dispatch packing was handled to reduce scuffing in transit, which matters when parts are heading to assembly plants in Midrand, Pretoria, Johannesburg, Cape Town and Gqeberha.
- Production lead time: 3 weeks from sample to release
- Fixture making used to hold each housing consistently
- Rerun control kept future batches aligned to the approved sample
- Dispatch packing reduced surface marks during transport
What We Would Keep On The Next Pass
If we were doing this job again, we would follow the same sequence: redraw the artwork to suit pad printing, test the print area on the actual housing, confirm adhesion early and lock in the curing method before any full batch runs. That approach saves time and keeps the print predictable. For medical and electronic housings, predictability is usually more valuable than speed alone.
We would also keep the same discipline around sample approval. A clear approval step avoids confusion later when a production team needs the mark to line up exactly with a clip, slot or assembly reference. For manufacturers working in Midrand and supplying nationwide, that sort of control helps keep rework down and keeps the line moving. The result here was a clean marking system that did its job without drawing attention to itself, which is usually what you want on housings like these.
Who This Work Suits
This type of pad printing suits manufacturers that need branding, reference marks or simple legends on moulded housings, switch covers, control shells and similar parts. It is also a practical option where the printed information needs to stay legible through handling and packing, but the component shape rules out conventional label methods.
Across Durban, Johannesburg, Cape Town, Pretoria and Gqeberha, we see the same need from production teams: a mark that sits in the right place, prints the same way each time, and holds up once the parts leave the press. If that is the brief, pad printing remains a reliable choice, provided the setup is done properly from the start.
Run details
| Project | Midrand Device Housings |
|---|---|
| Client type | Medical style device parts manufacturer |
| Town | Midrand |
| Scope | Branding and simple assembly reference legends |
| Timeline | 3 weeks from sample to release |
| Process | Artwork prep, plate making, trial runs, curing and dispatch packing |