Durban North brief: small parts, clear marks, no clutter
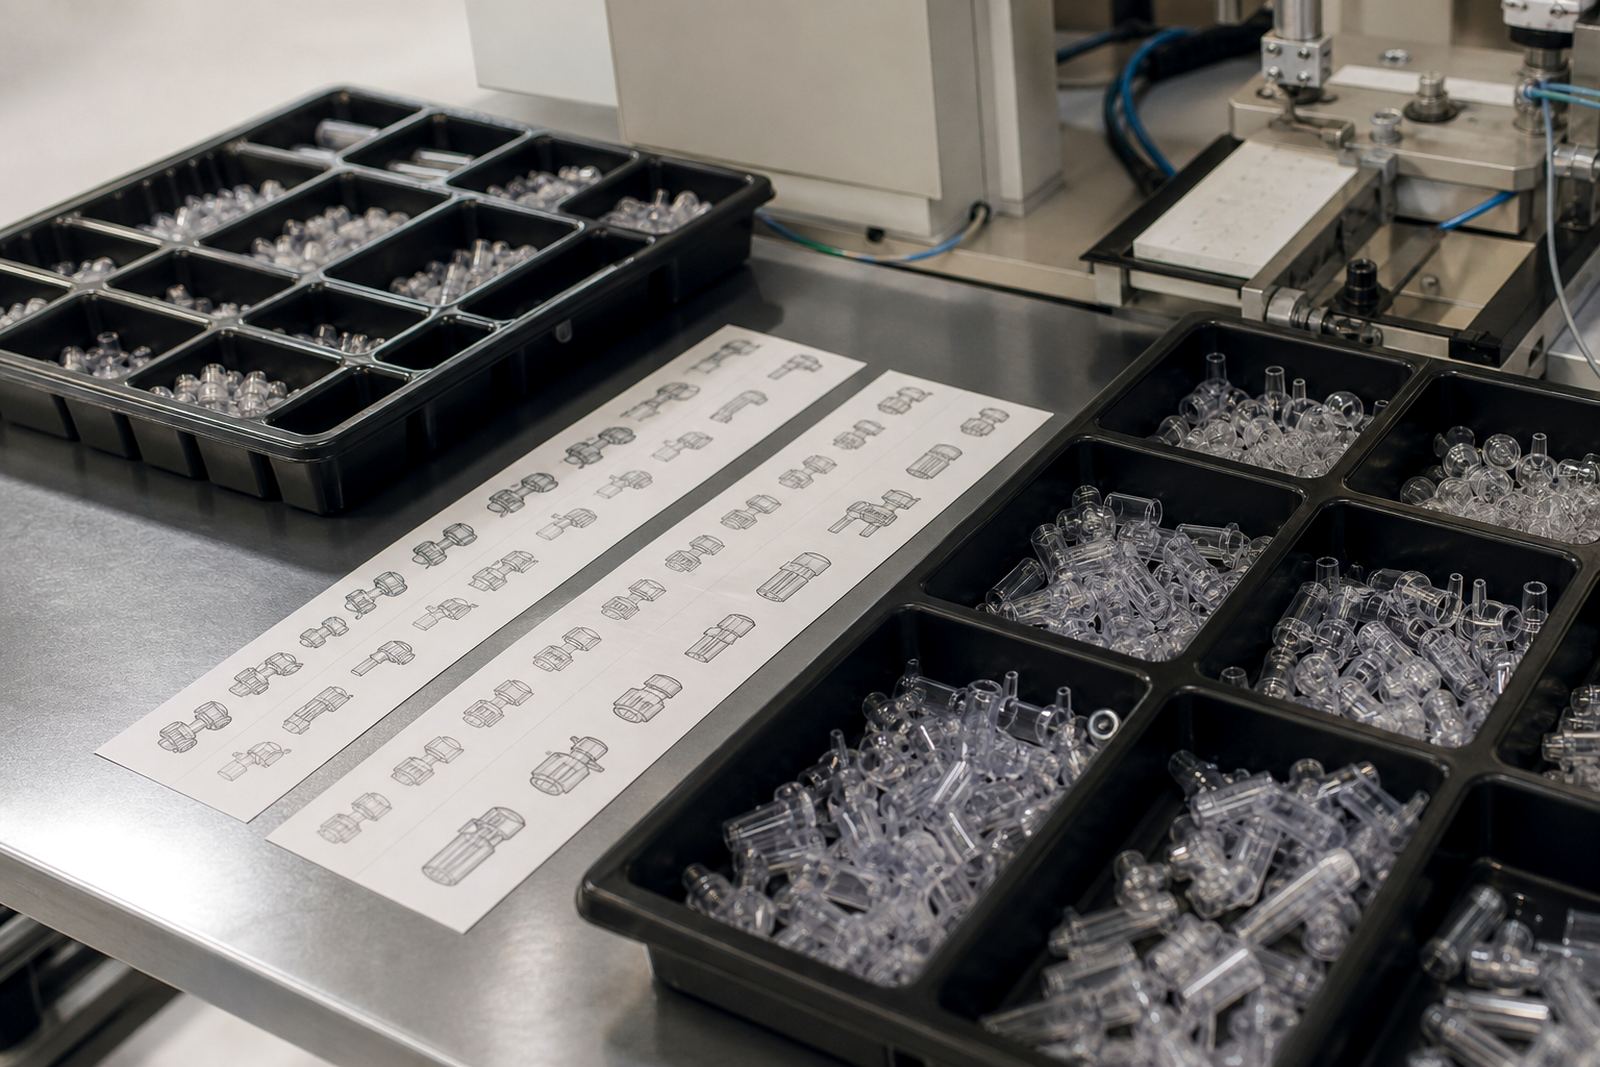
The client was a laboratory parts supplier in Durban North handling plastic components that needed simple reference graphics, batch identification and neat visual separation between product variants. The parts were small enough that any mark had to fit into a tight print area without crowding mould lines, edges or functional faces. Their team needed the markings to help staff sort and identify items quickly at packing and on the bench, while keeping the component itself easy to use.
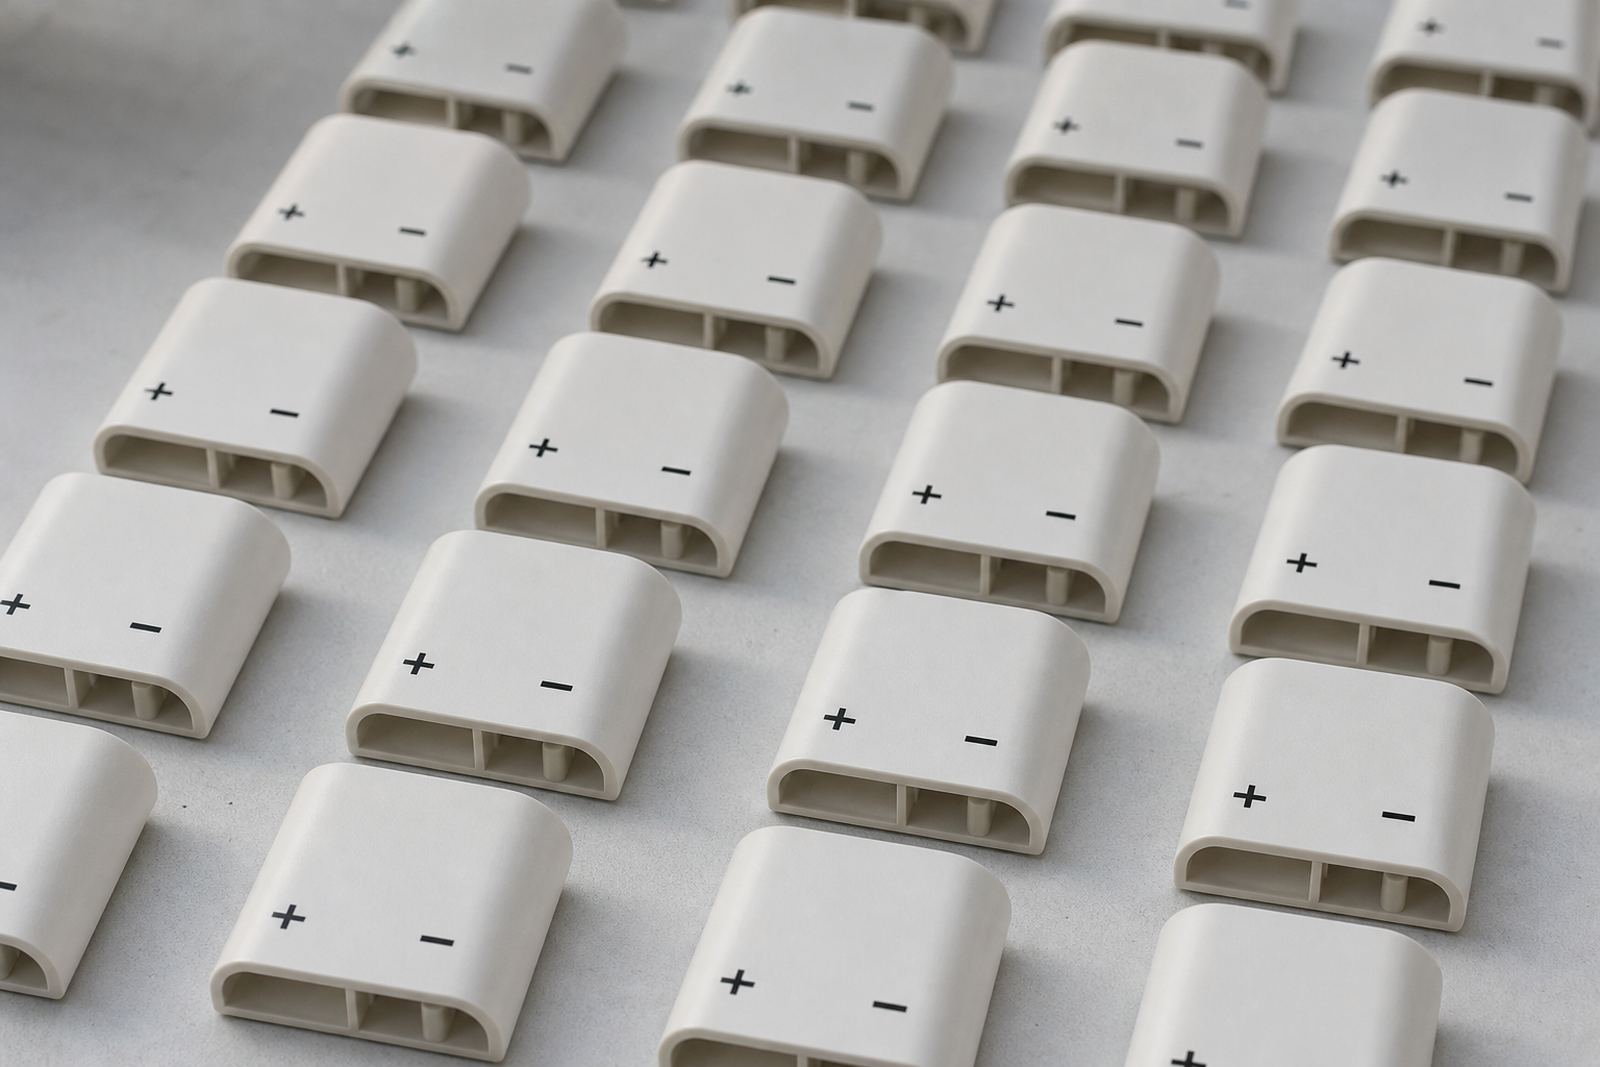
The main challenge was space. A larger logo style print would have looked busy and could have interfered with handling points. We kept the artwork compact and set the layout around the usable face of each part. That meant planning the print zone around curves, ribs and recessed areas, then adjusting the image so the marks stayed readable from close range. The client also wanted tidy batch separation, so each variant had to remain visibly distinct without changing the base part itself.
Material checks and print constraints on lab plastics
Before production, we looked at the plastic type, the surface finish and the way the parts were likely to be used in a lab setting. Smooth plastics can take pad print well, but oily mould release, fine dust and finger marks can upset adhesion. We tested the surface first and confirmed the preparation needed before printing. In this case the job called for careful cleaning, then controlled ink selection and a curing method matched to the part material.
- Compact artwork for a small print area
- Reference graphics that stayed readable on white and light coloured parts
- Batch separation marks for fast sorting
- Ink choice based on the plastic finish and handling needs
- Curing setup suited to repeat runs and steady shop flow
Because the parts were used in a working lab environment, we also kept the marks tidy and low fuss. No heavy coverage, no unnecessary detail, just clear identification placed where it would be seen without getting in the way. We had to be exact about alignment, because even a slight shift would have made the batches look untidy, and that would have shown up straight away on a white component.
What we supplied: artwork, plates, fixtures and sample runs
Our team in Westmead, Pinetown handled the full setup from the artwork side through to production control. Sibusiso Naicker oversaw the job as Managing Director, with Naledi Kekana managing the production flow, Sanjay Dookhi preparing the artwork and plate work, Lerato Mabunda checking quality, Yashika Sewpersad handling client communication, and Mfundo Xaba setting up the machine and fixtures. The work was completed over two weeks, from first review to approved repeat run.
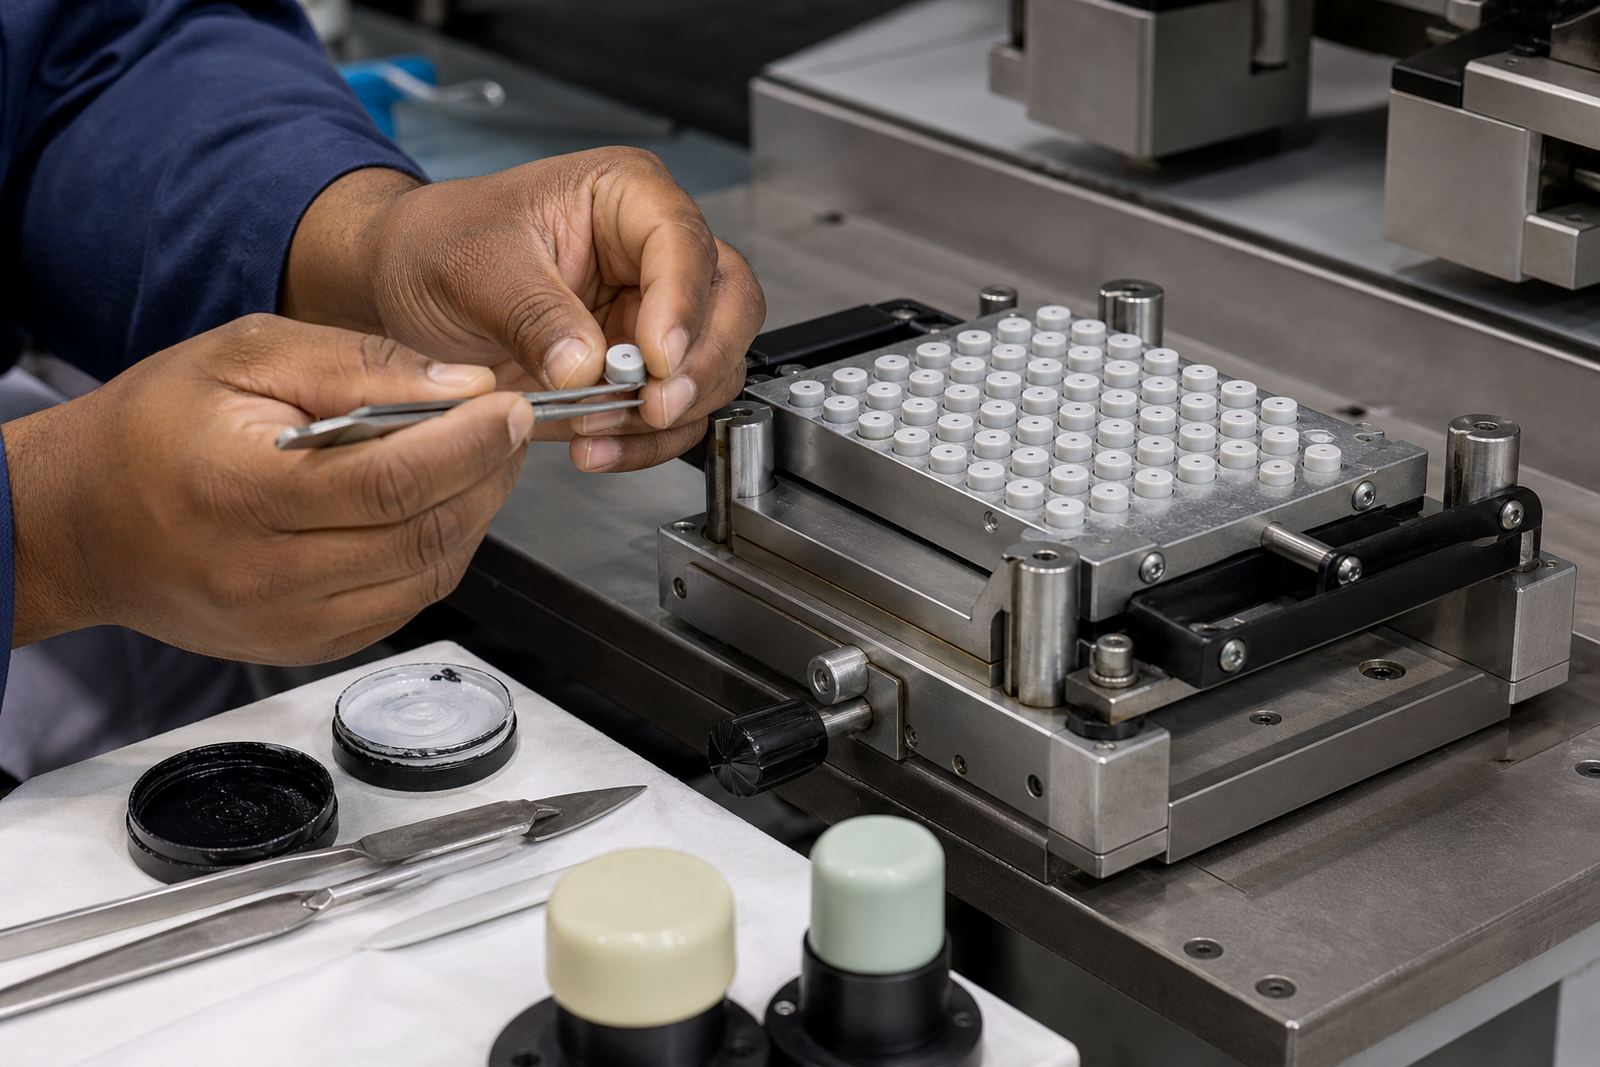
We started with artwork preparation and logo redraws where needed, then planned the print area so the graphic sat correctly on each part. After that came plate exposure and plate etching, followed by fixture making so the component could be held consistently for each impression. We ran adhesion test samples and trial sample runs before moving into the main batch. That sequence saved time later because the weak points showed up early instead of during the full run.
- Artwork preparation and compact layout setting
- Plate exposure and plate etching for the final image
- Fixture making for steady part location
- Trial sample runs to check placement and fill
- Adhesion test samples before repeat work
Pad printing method used on the batch
Pad printing suited these parts because the process can transfer a fine image from a plate onto irregular shapes and small faces. A silicone pad picks up ink from the etched plate, then presses it onto the component with enough flex to follow slight curves and shallow contours. That makes it a practical option for small medical and electronic parts where screen size, edges or moulded details limit other marking methods.
We selected the curing method to suit the plastic and the production pace. Some inks need air drying, others need heat or controlled curing to reach proper handling strength. On this job we kept the method simple and dependable, then checked the mark after curing for clean edges and adhesion. The batch separation marks had to remain crisp, and the reference graphics had to stay even across repeated prints. We also controlled rerun job handling so if a part came back later, the same setup could be used again without guessing.
The result was a tidy set of markings that held their shape and kept the parts easy to sort. The client could separate batches by eye, while still keeping the component face neat for day to day use. It was a straightforward job on paper but it needed careful setup, because small parts show faults fast, especially when the print area is only a few millimetres wide.
Dispatch, repeat control and where this work fits
Once the print was approved, we packed the parts for dispatch with care so the fresh marks would not rub or mark against each other in transit. The client needed orderly delivery because the parts were going back into a production and packing flow, not sitting in storage. We kept the rerun notes in place so the same artwork, plate details and fixture positions could be used again for future batches.
- Dispatch packing suited to fresh print protection
- Repeat job control for future batches
- Clear print records for the same part number again later
- Support for Durban, Johannesburg, Cape Town, Pretoria and Gqeberha deliveries
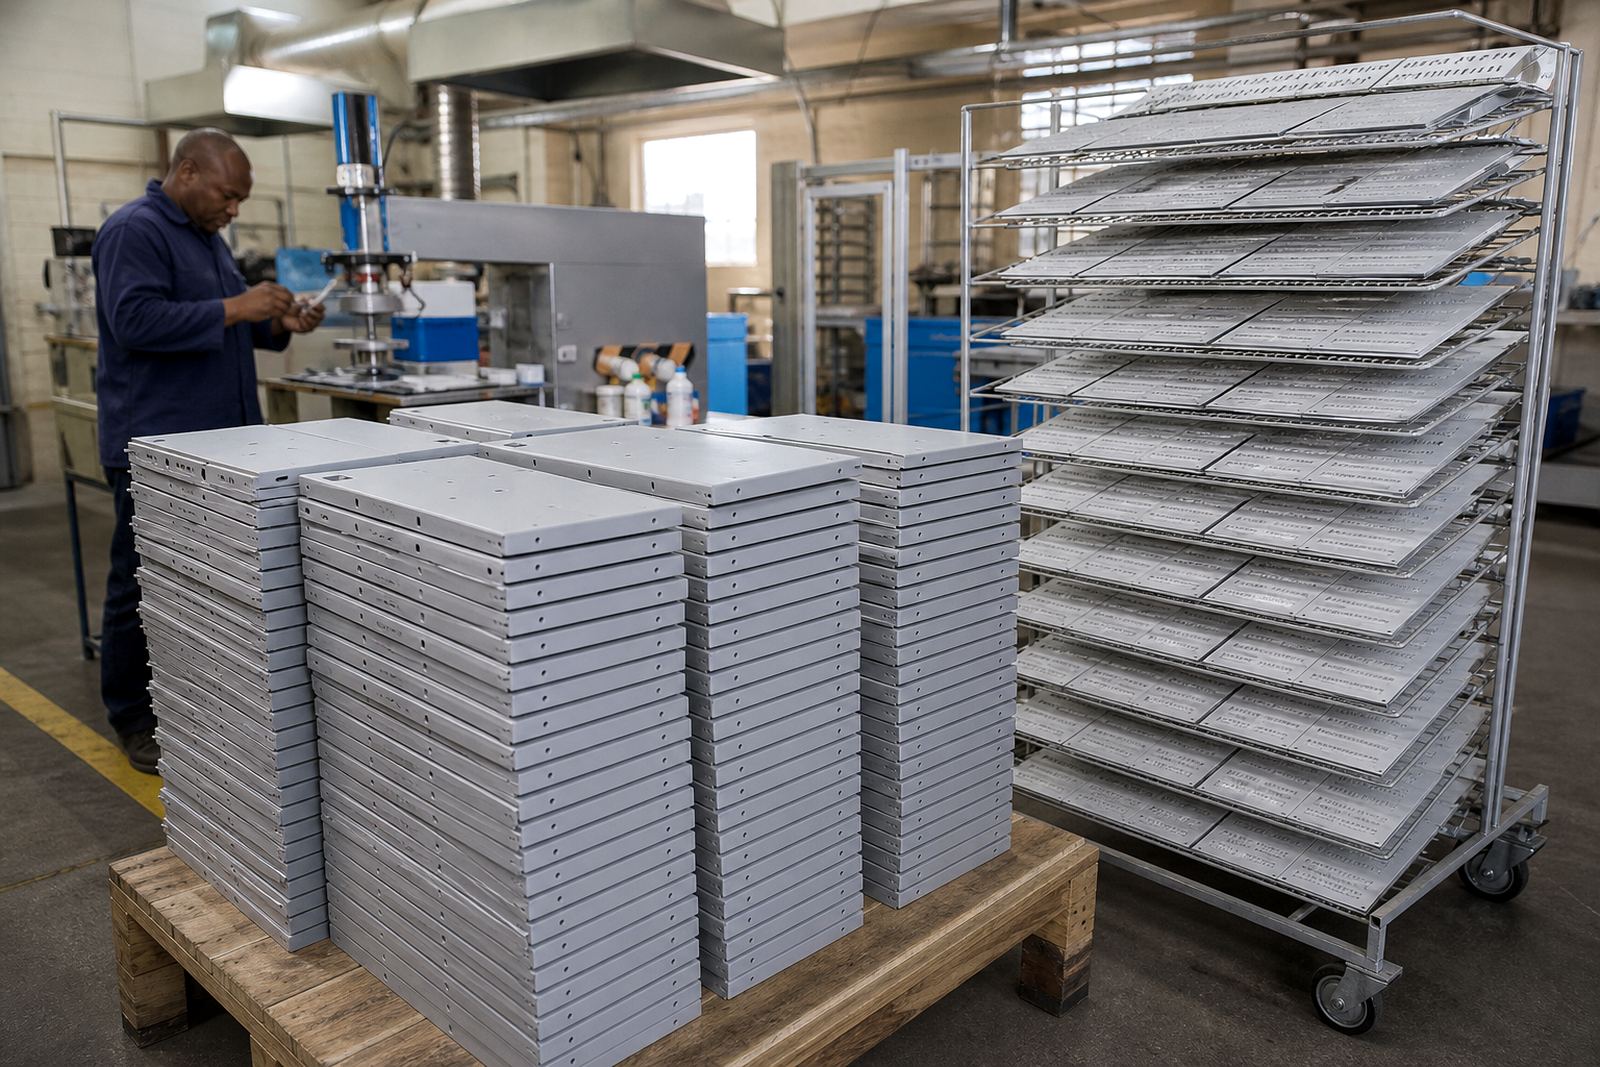
This kind of work suits manufacturers who need compact identification on medical and electronic parts, but still want the item itself to stay clean and functional. Customers remain responsible for their own device compliance and final product checks. Our role is to supply accurate markings, good adhesion and repeatable print control. If the part changes, or the surface changes, we would review the setup again rather than force the old method onto a new component. That saves trouble, especially when a product line gets updated after the first production run.
Kept for the next batch
If we were asked to do the same type of Durban North lab parts project again, we would keep the same order of work: test the surface first, confirm the available print area, set the artwork to the part shape, then run adhesion samples before the full batch. That sequence works well on small plastic components where the print must be tidy, repeatable and easy to read at a glance. It also helps when the client wants a plain, practical result rather than a busy label look.
We would also keep batch separation visible but restrained. On lab parts, the point is not decoration, it is usefulness. Clear marking, correct placement and controlled curing matter more than heavy coverage. With the right fixture and a stable setup, pad printing gives a neat result on small parts and it can be repeated later with the same consistency. That is what the client needed here, and it is the same approach we would use for other medical and electronic component work across South Africa.
Run details
| Project | Durban North Lab Parts |
|---|---|
| Client type | Laboratory parts supplier |
| Location | Durban North, KwaZulu-Natal |
| Base | Westmead, Pinetown |
| Timeline | 2 weeks |
| Work scope | Artwork, plates, fixtures, sample runs, curing and dispatch packing |