Button Icon Sets For A Gqeberha Assembly Line
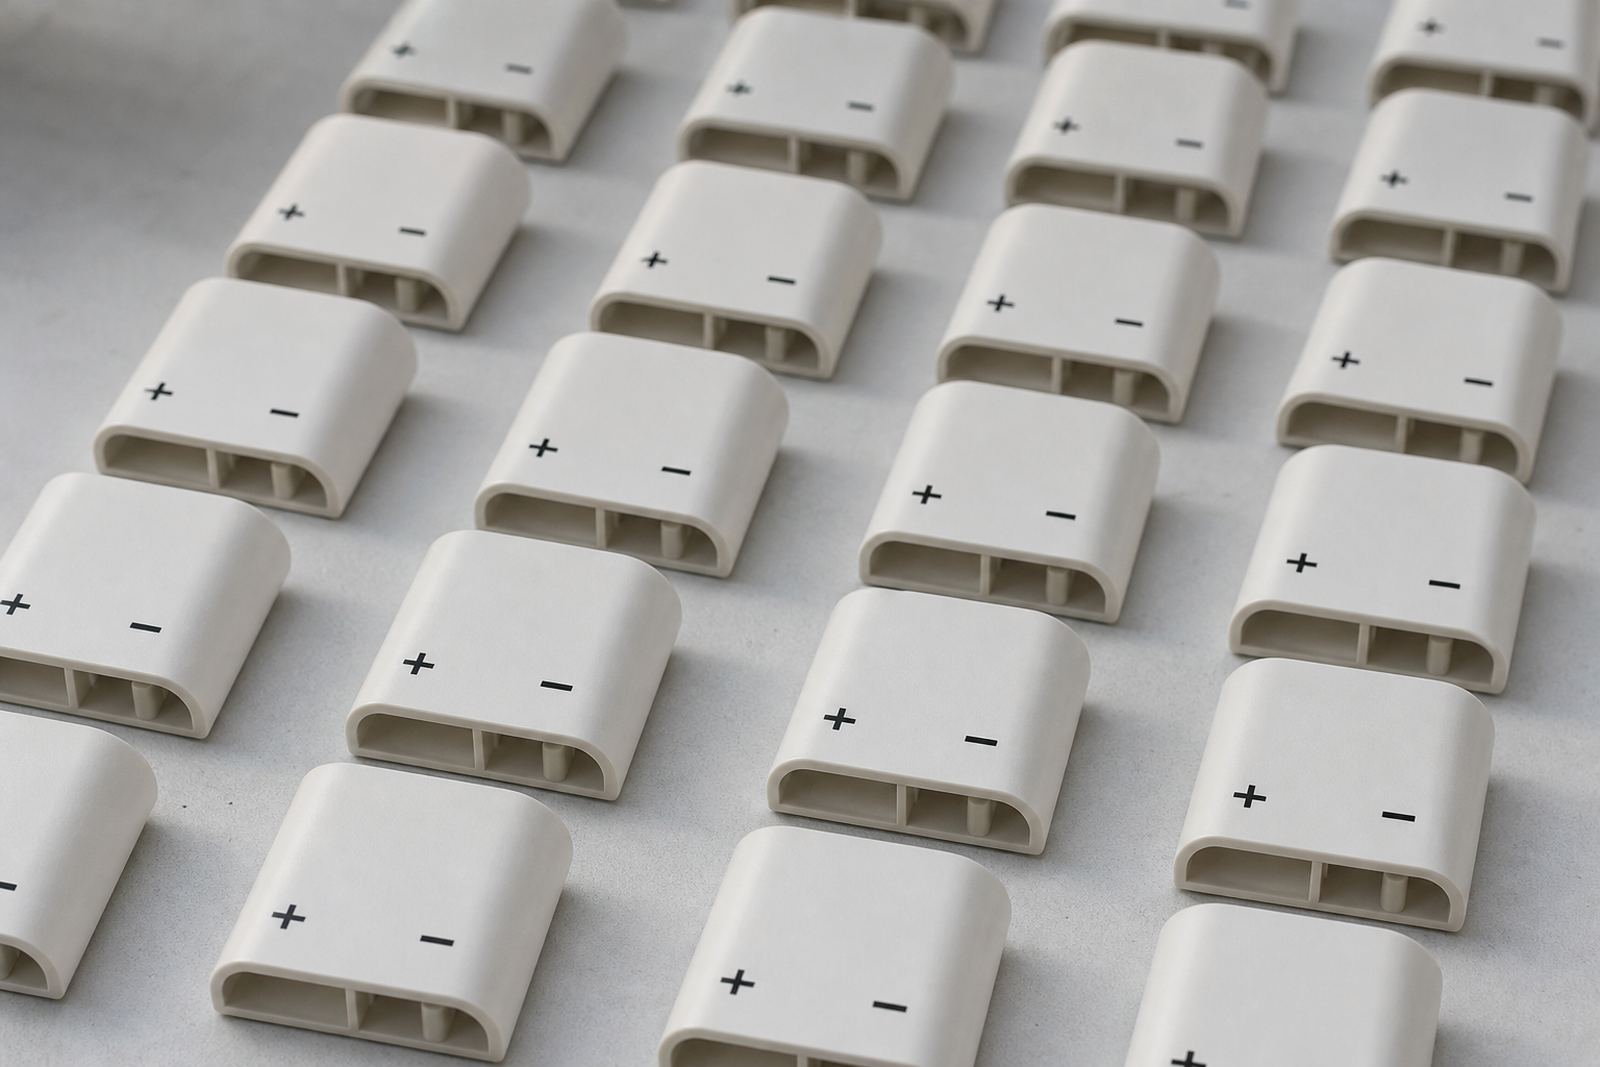
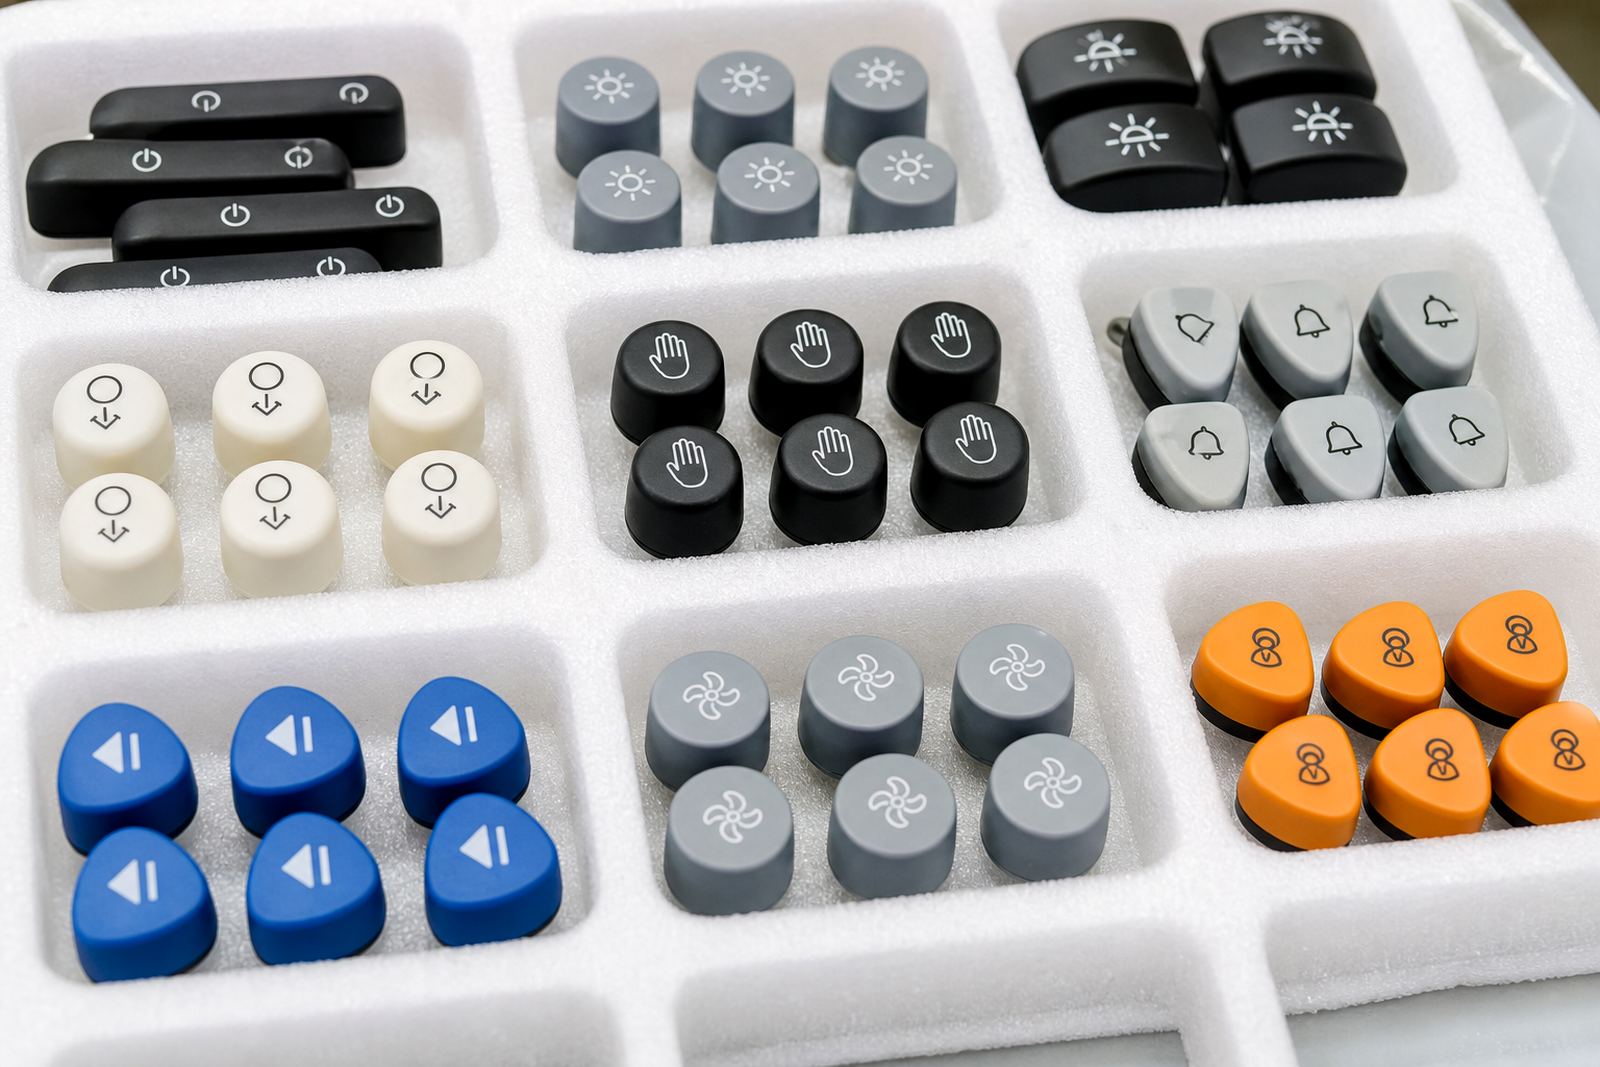
This project came from an electronics assembly customer in Gqeberha that needed printed button icons for a control component used in a repeated build process. The parts were small, the print area was limited and the icons had to sit in the same position from batch to batch, so the job was less about decoration and more about control.
The brief was straightforward on paper: produce clean, readable icon sets that could be applied to the same moulded parts over and over, with a finish that would hold up through normal handling on the line. In practice, that meant planning the artwork carefully, checking the print face, and setting up a pad printing process that would keep the image consistent even when the line was busy and the work moved quickly.
- Client type: electronics assembly customer
- Project town: Gqeberha
- Part type: small button icons for component marking
- Main requirement: consistent placement across repeated runs
What The Brief Needed To Solve For Medical Parts
The customer wanted icons that could be recognised at a glance, with no drifting in position and no muddiness in the edges. On parts like these, even a small change in pad pressure or fixture position can shift the mark enough to cause rejection or extra checking later in the build. We also had to work within the realities of production timing, because these items were feeding an assembly process and could not sit waiting for long lead times.
Another issue was the surface itself. Some electronic components accept ink well, while others need a closer look at texture, mould finish and handling before printing starts. We approached the job by preparing artwork that matched the actual usable print area, then testing how the ink sat on the surface and how the curing method affected dry time and finish. The customer was responsible for final device compliance and internal approval, while we focused on the print quality and repeatability of the marking.
- Small print area with tight visual tolerances
- Need for fast handoff into assembly
- Clear icon definition with clean edges
- Repeatable positioning without guesswork
Artwork, Plates And Fixture Control
Once the brief was confirmed, we moved into artwork preparation and plate work. That included logo redraws where required, setting the icon shapes to suit pad printing, and checking that line weight would survive transfer from plate to silicone pad to part. Very fine detail can disappear on small icons, so we kept the artwork practical and avoided anything that would close up under ink.
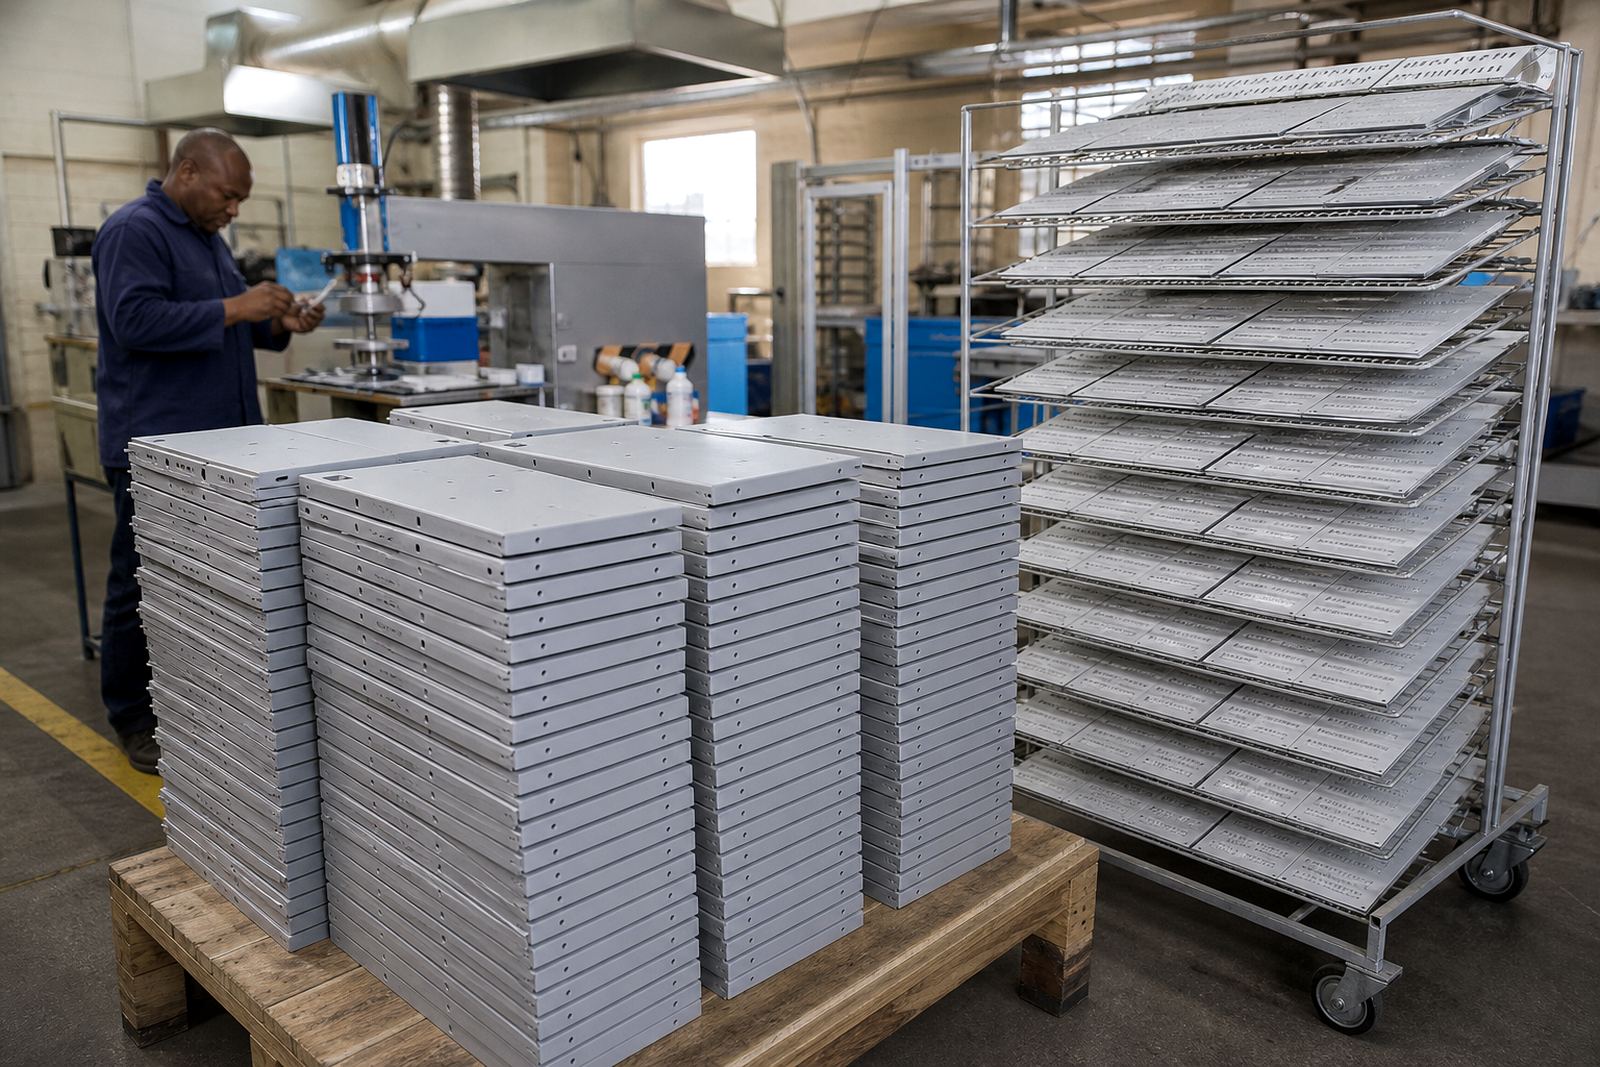
From there we prepared the plate exposure and plate etching, then made fixtures to hold the components in the correct orientation. Fixture making is one of the overlooked parts of this kind of job, but it is usually what keeps the run stable. If a part twists by even a fraction, the mark lands out of place and the whole batch becomes harder to use. We also planned the print area so the icons would sit consistently against the moulded features on each part.
- Artwork preparation and redraws for pad printing
- Plate exposure and plate etching for the icon set
- Fixture making to hold part position
- Print area planning to suit the component geometry
Pad Printing Setup For Repeatable Placement
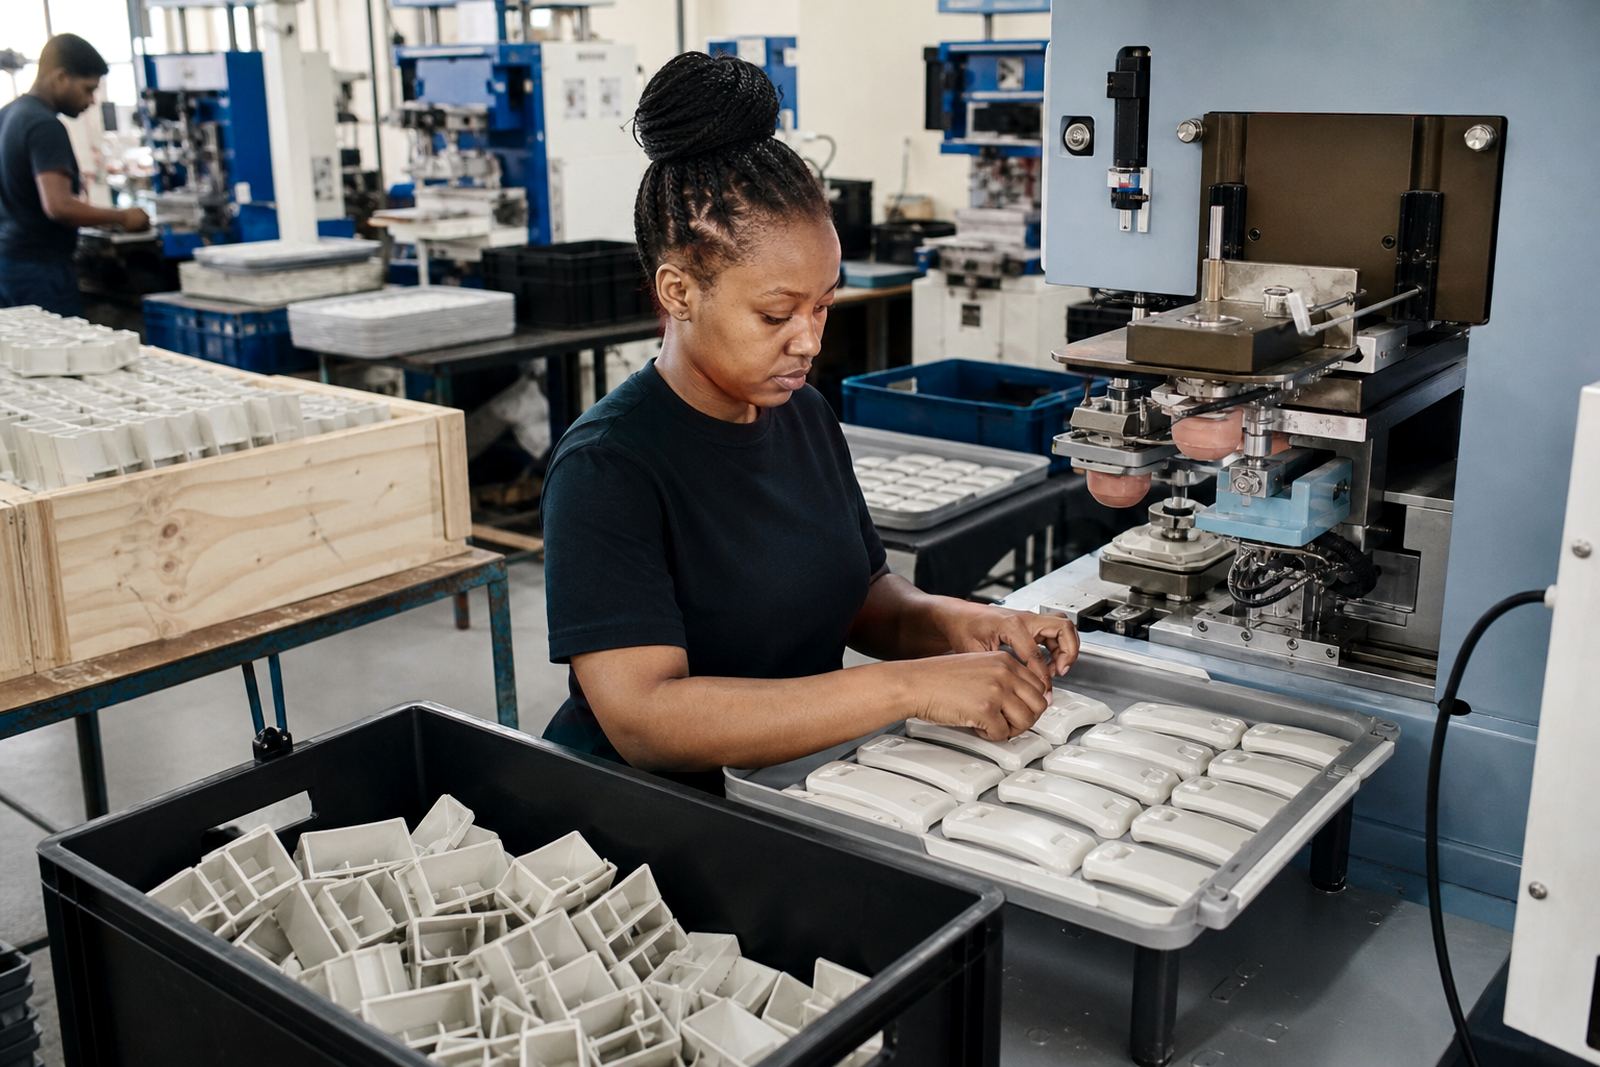
For the actual print process, we used silicone pads selected to suit the size and shape of the icon set. Pad printing works well on small parts because the pad can pick up ink from the etched plate and transfer it into a shaped surface that would be awkward for other methods. The key is balancing pad softness, ink load and contact pressure so the image lands evenly and with clear detail.
We also looked at curing method selection early in the job because the right drying approach depends on the substrate, ink type and how quickly the parts need to move on. Some jobs need a little more time between passes, while others benefit from a faster cure to keep the line moving. On this run we kept the process practical and controlled, with trial sample runs before production so the customer could confirm placement and legibility before going ahead.
- Silicone pad selection for small component surfaces
- Ink transfer set up for sharp icon definition
- Curing method chosen to suit the workflow
- Trial sample runs before the main production batch
Timeline, Checks And Job Control
The work ran over three weeks from artwork approval to final dispatch. That gave enough time to prepare the plate, set the fixtures, test the transfer and tighten the job control before the main run. We carried out adhesion test samples during setup so we could see how the print behaved on the part, then used rerun job control to keep the settings consistent across the batch.
Quality control sat alongside the production work rather than after it. Lerato Mabunda checked the print clarity and positioning against the agreed sample, while Sanjay Dookhi handled the artwork and plate side, and Mfundo Xaba managed machine setup. That division of labour matters on repeat work because it keeps the small details in place. It also helps when a customer needs the same result again later without starting over from scratch.
- Timeline: 3 weeks from setup to dispatch
- Adhesion test samples completed before production
- Rerun job control used for consistency
- Checks done during production, not only at the end
What The Customer Received
The finished button icon sets were packed for dispatch from our Westmead, Pinetown base and supplied for use in the customer’s electronics assembly process. The main outcome was consistency: the icons sat where they needed to sit, the markings remained readable, and the customer had a practical repeatable method for future runs. For assembly teams, that means less sorting, less hand correction and less time spent checking whether a mark has shifted.
On another run of button icons for a Gqeberha electronics assembly customer, we would follow the same method: confirm the print area early, prepare the artwork to suit the actual part, use fixtures that hold position properly, and run adhesion tests before production. For recurring work, we would also keep the plate and rerun settings on file so the customer can order the same icons without reworking the entire setup. That is often the difference between a one-off print and a dependable supply line. And when parts are being used in electronics assembly, dependable is what counts.
- Clean icon visibility on small parts
- Stable placement across repeated batches
- Dispatch packing arranged for production use
- Future reruns can be matched to the same setup
Run details
| Project | Gqeberha Button Icons |
|---|---|
| Industry | Electronics assembly |
| Process | Pad printing with silicone pads and etched plates |
| Location | Westmead, Pinetown |
| Timeline | 3 weeks |
| Services used | Artwork Preparation, Print Area Planning, Fixture Making, Trial Sample Runs, Adhesion Test Samples, Rerun Job Control |