Repeat Run for a Local Manufacturer in Pinetown
The brief came from a nearby electronics manufacturer in Pinetown that needed panel legends applied to a repeat batch of parts for internal assemblies. The markings had to sit neatly beside switches, indicators and reference points, with each legend staying easy to read under workshop lighting and in day to day use. Because the run was being repeated on an established product, the client wanted us to keep the marking positions consistent from part to part and from week to week.
We worked from supplied component drawings and an approved marking layout, then mapped the print zones before any tooling was made. That early planning matters on panel work because a legend that looks fine on paper can shift once you factor in part curvature, screw holes, mould lines or recessed areas. In this case the aim was simple: accurate placement, no crowding, and a finish that suited the rest of the assembly.
- Client type: electronics manufacturer
- Town: Pinetown, Durban metro
- Work type: repeat panel legend run
- Primary need: clean, consistent marking on fitted parts
Brief, Constraints and the Print Standard We Set
The job had a few practical limits. The parts were small enough that the legends had to be kept tight, but not so small that the lettering could blur or lose definition. There was also a fixed layout to follow, which meant the print area had to be planned around existing features rather than redrawn from scratch. On jobs like this we also watch for surface finish, because glossy or lightly textured plastic and coated metal can behave very differently under pad printing.
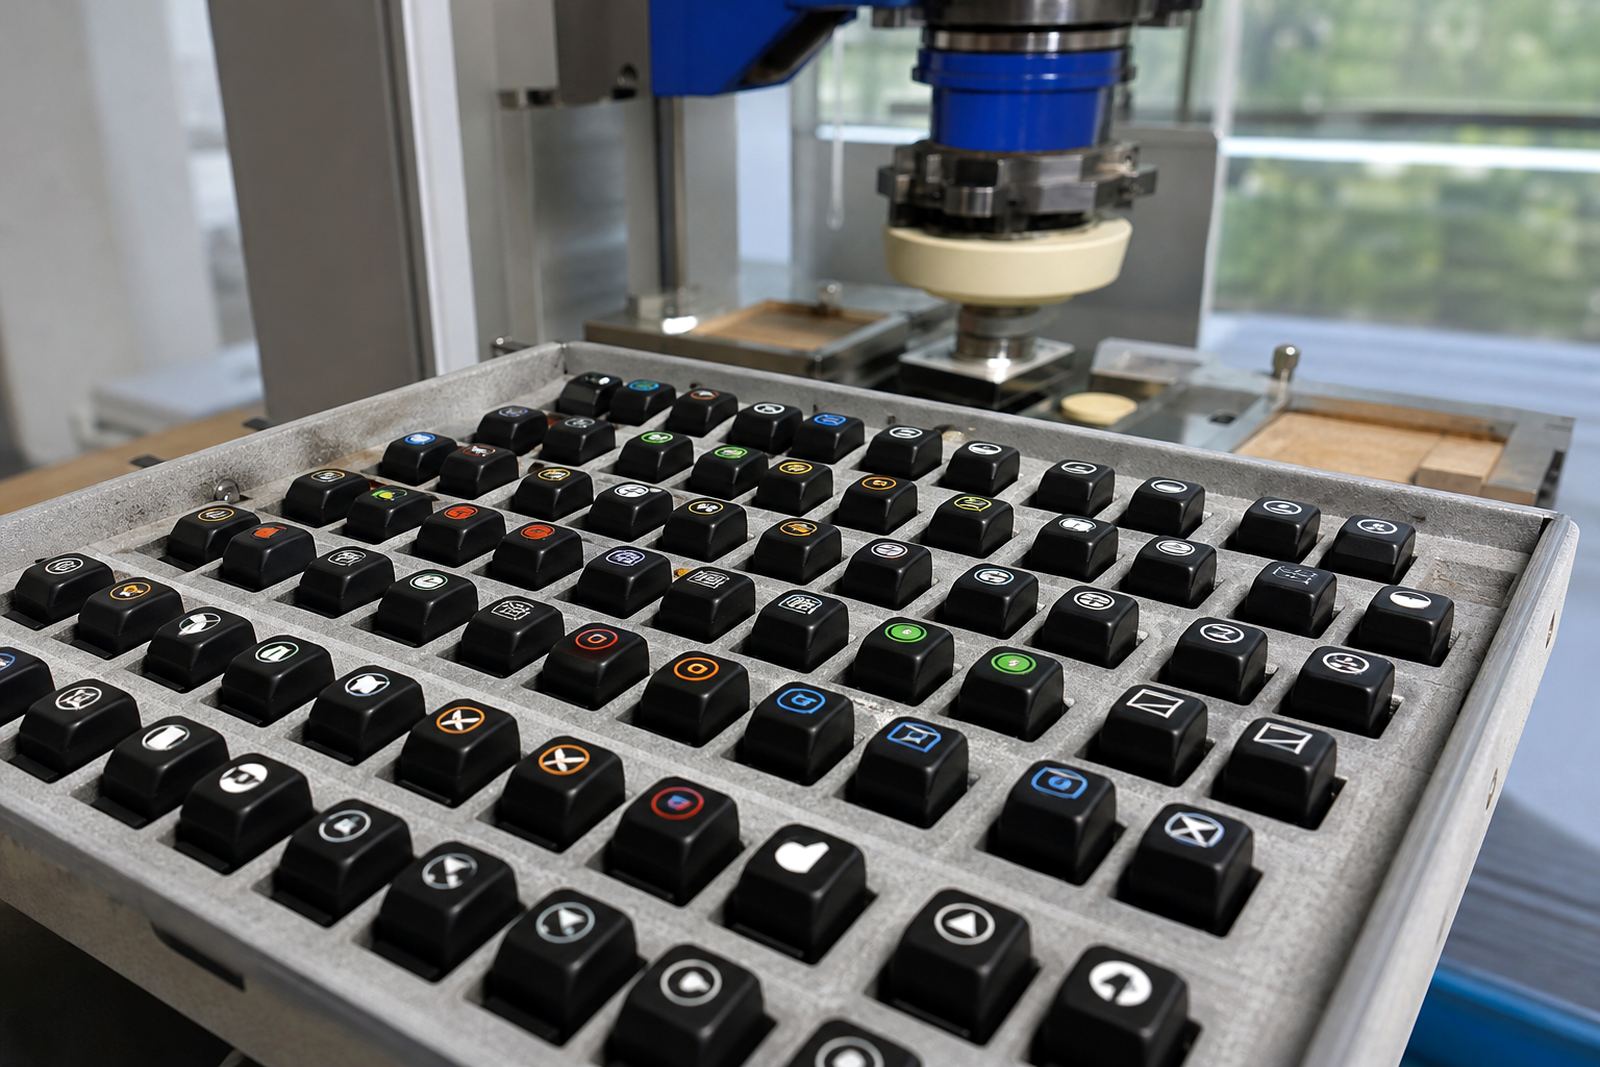
We set the standard around three things: legibility, repeatability and surface adhesion. The client also wanted the same visual result on each rerun, so we treated the artwork, plate setting and fixture location as a controlled pack rather than separate steps. That way the next repeat order can be matched back to the same reference points without starting over. It saves time and it reduces the chance of the marks shifting by a fraction, which is often where panel jobs start going wrong.
- Controlled repeat production run
- Legends positioned to existing panel features
- Adhesion checked before bulk printing
- Artwork locked to one approved layout
Pad Printing Method Used on the Legends
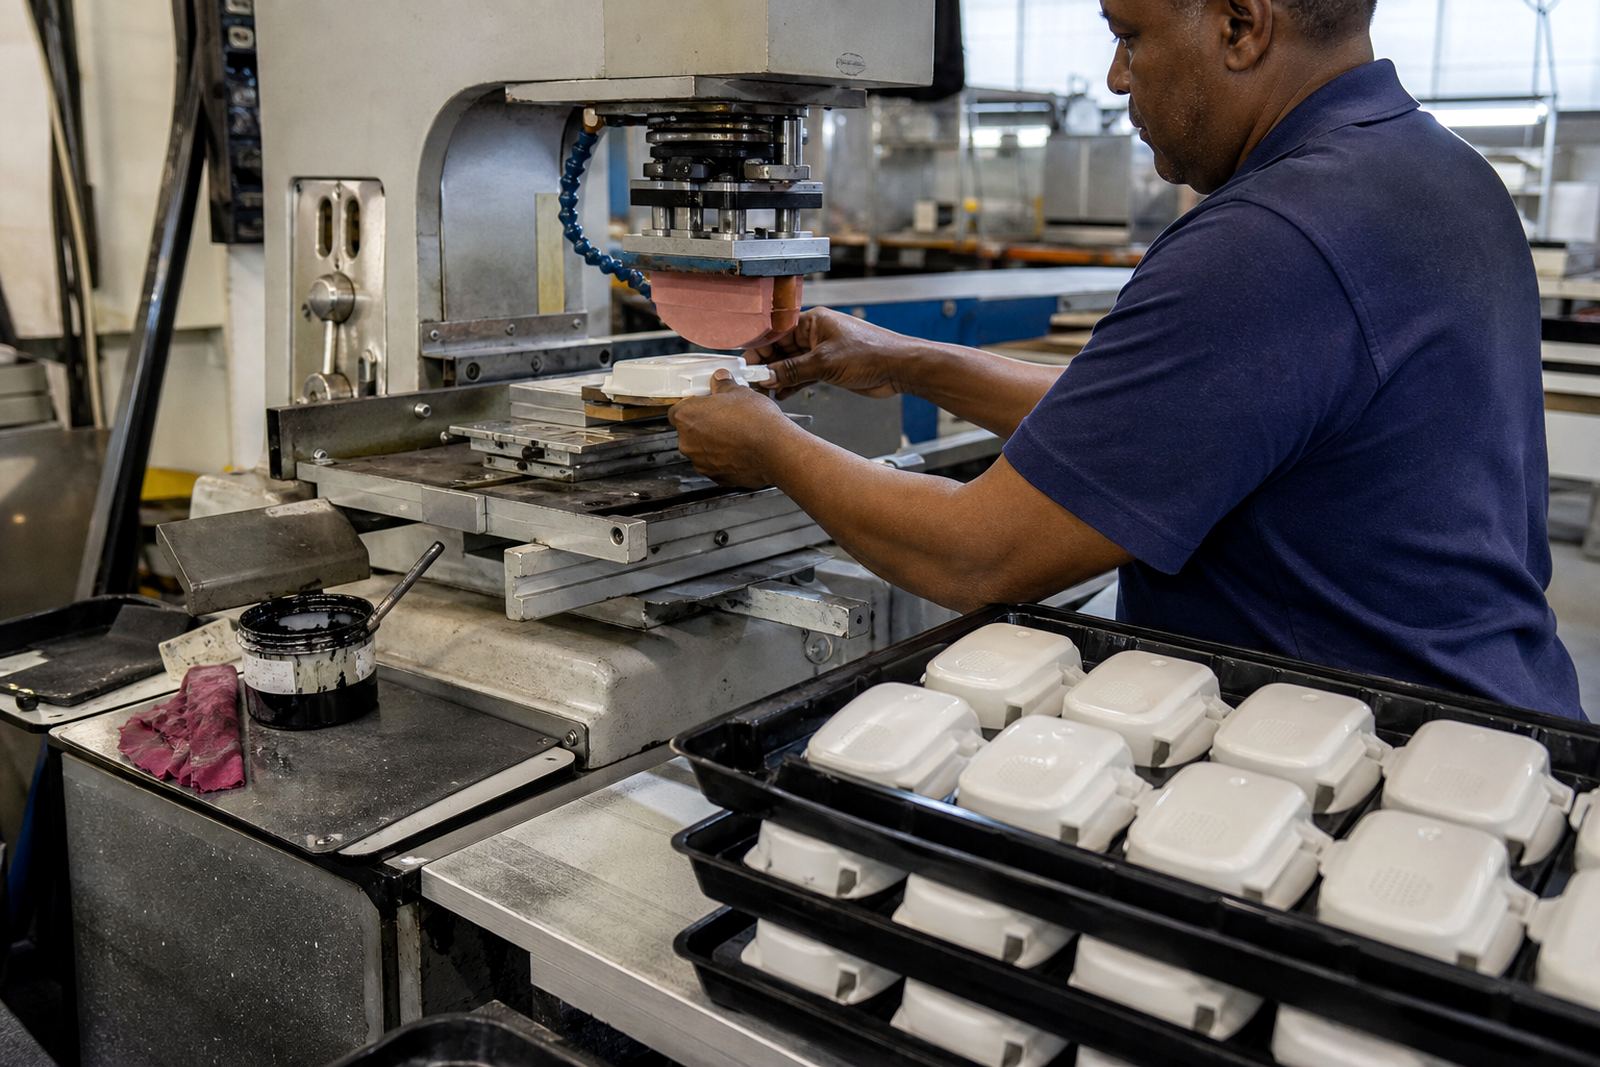
For this type of work we use pad printing, which is well suited to medical and electronic parts where the print area may be recessed, uneven or just too small for other methods. A steel or polymer plate carries the etched artwork, the ink is flooded across the image area, then a silicone pad picks up the ink and transfers it onto the component. The pad flexes to follow the shape of the part, which is why it is useful for legends on housings, covers, bezels and control panels.
Ink choice and curing method matter just as much as the transfer itself. The ink has to suit the substrate and the handling expected after printing, then it must cure properly so the legends hold up through assembly and normal use. Where needed we use test samples to check adhesion before the full run. For this project we kept the process practical and steady, with sample approval first, then repeat production once the print held cleanly and the text stayed sharp.
- Silicone pad transfer for recessed and uneven surfaces
- Ink selected to suit the component material
- Curing method matched to the run and handling needs
- Sample checks before production release
Artwork, Plates and Fixture Setting
Our artwork and plate process started with a redraw of the legends so the line weight and spacing could be held properly at the final size. That is important on panel legends because tiny changes in font width, stroke thickness or letter spacing can make a label hard to read once it is printed on a small part. After the redraw, the plate was prepared for exposure and etching, then checked against the final print positions.
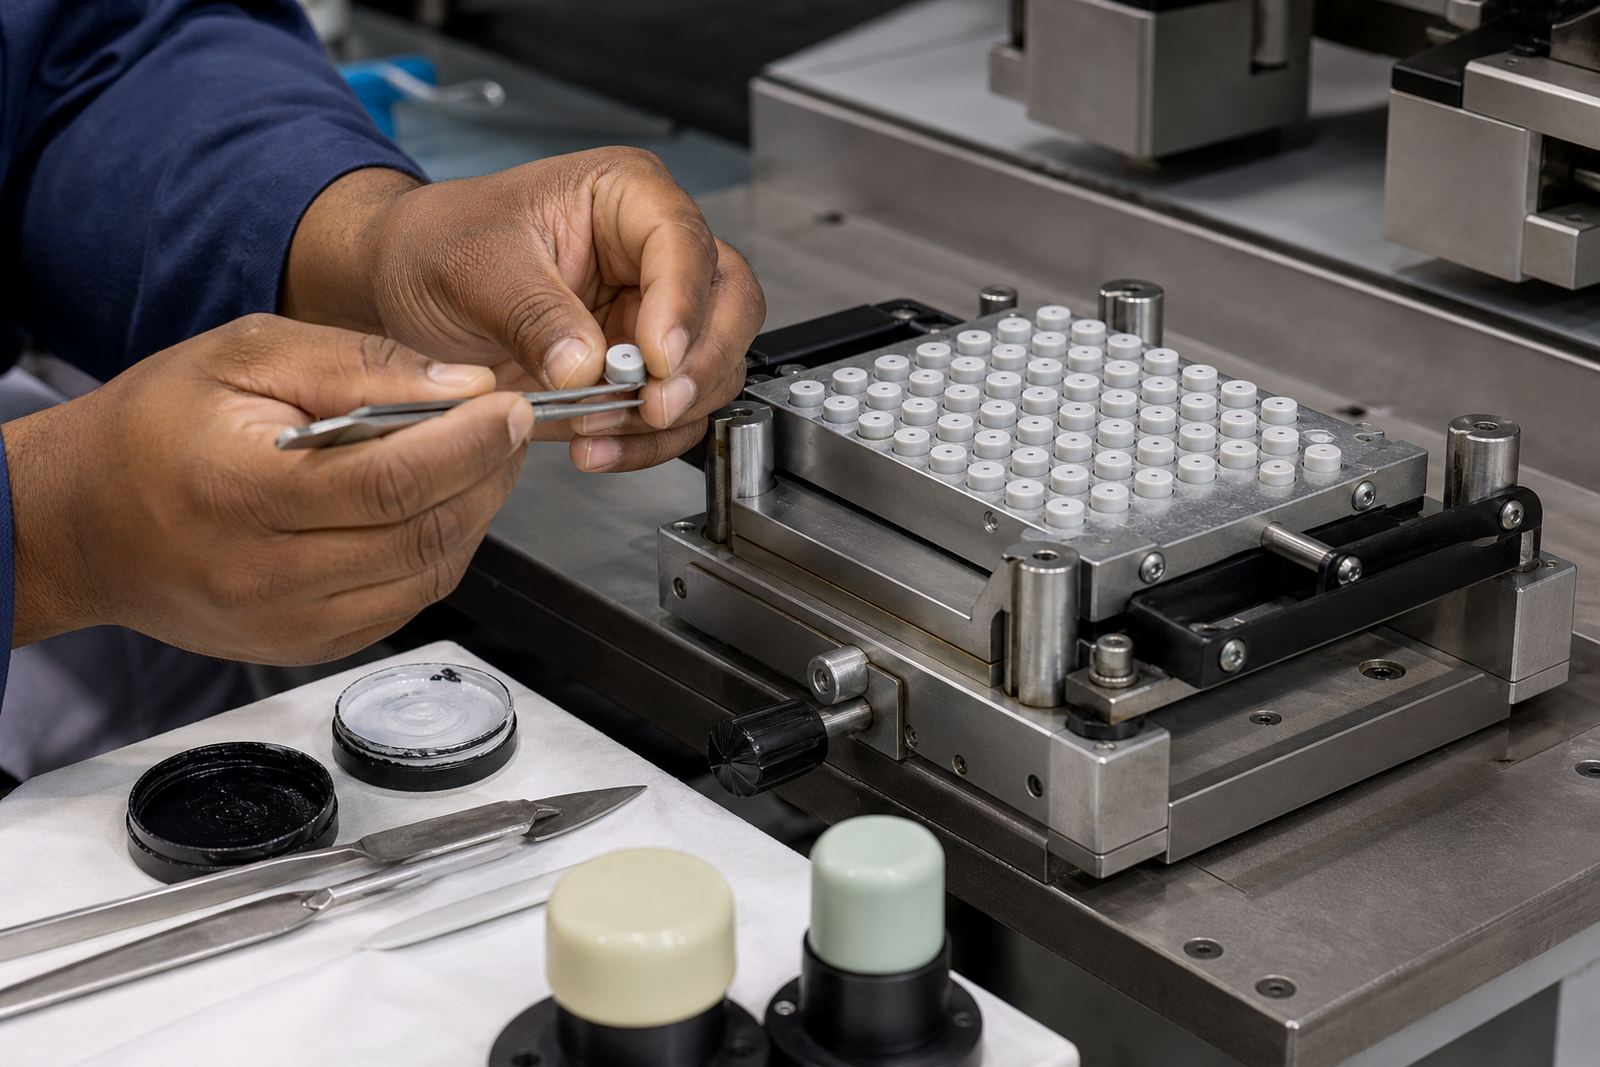
We also made the fixture so the parts could be loaded the same way every time. A good fixture cuts down on movement, which is especially useful on repeat runs where the same component must print in the same spot across a batch. The setup was kept practical for production work and easy to re run later if the client sends the same order back. We also kept the plate and setup notes together, so there is a proper record of what was used and where.
- Logo redraws and artwork preparation
- Plate exposure and plate etching
- Fixture making for repeat location control
- Setup notes retained for rerun job control
Trial Samples, Colour Matching and Curing Choice
Before the main batch went ahead we supplied adhesion test samples and trial prints. That let the client check line clarity, legend placement and the feel of the finish under real working light. Where panel legends are involved, colour matching is often less about bright branding and more about making sure the marking reads correctly against the background without disappearing into the surface. A grey on black panel, for example, needs a very different approach from a white housing with black text.
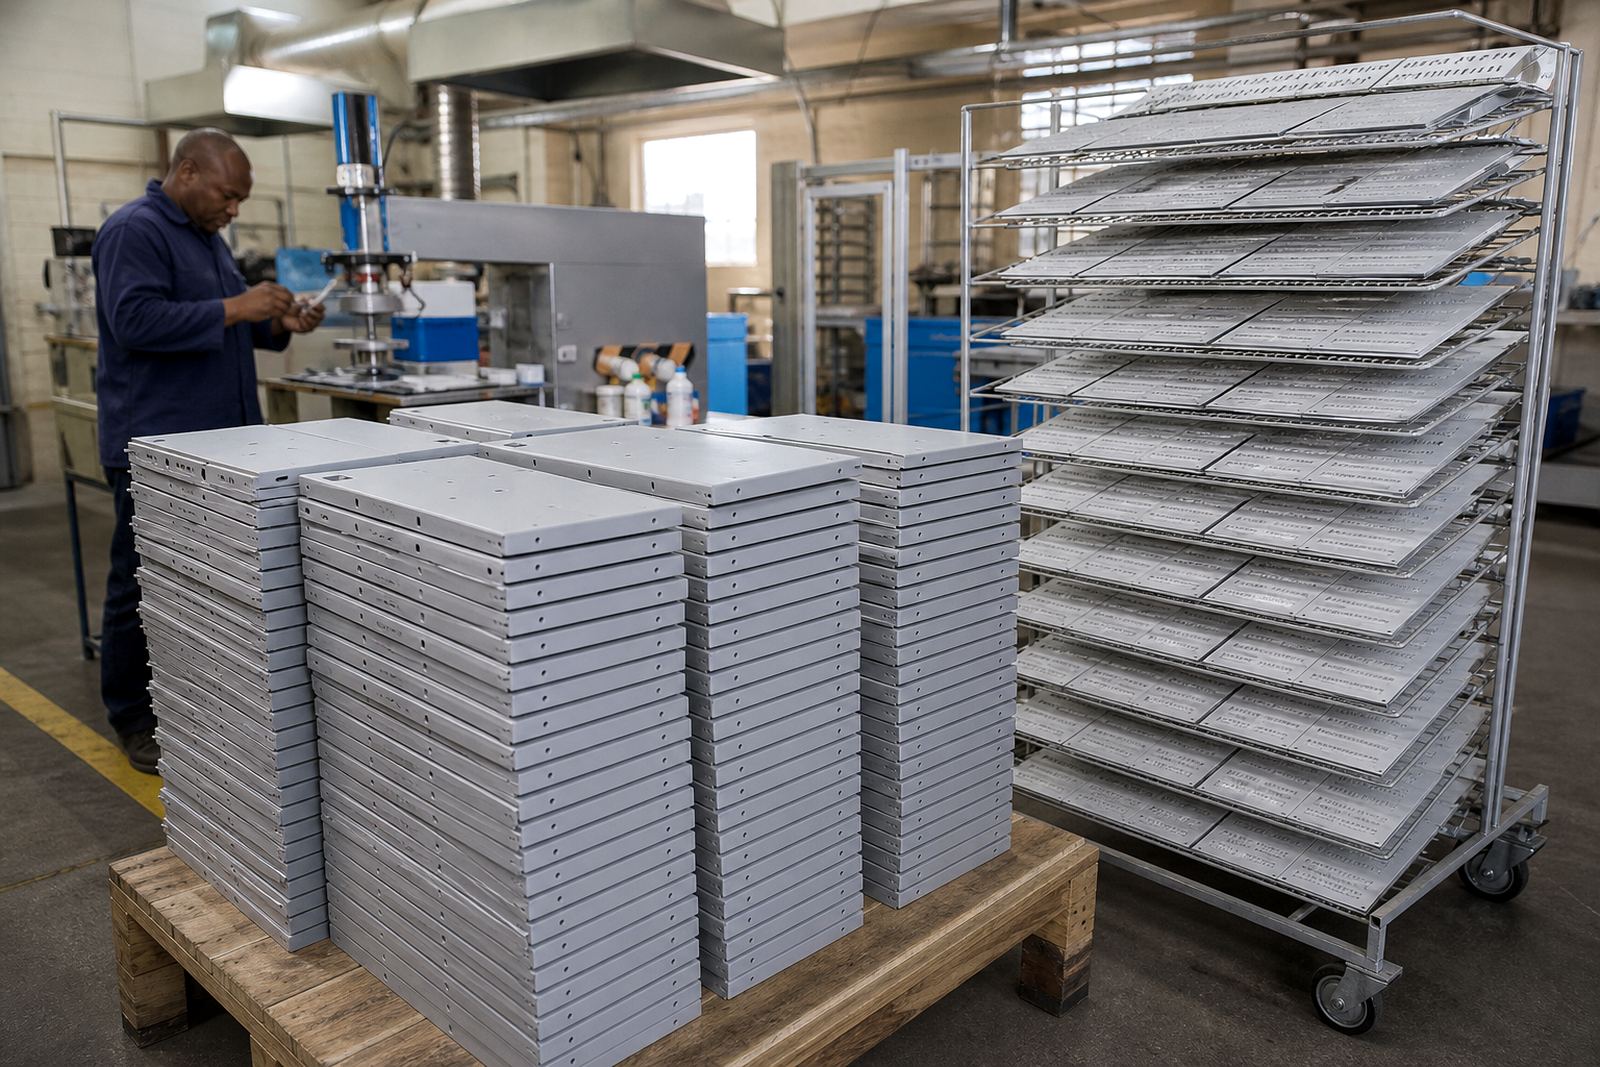
We then selected the curing method to suit the run. Some parts need quicker handling between stages, while others benefit from a slower cure to help the ink settle properly. The right choice depends on the substrate, the ink system and how soon the parts must move on to the next part of assembly. For this order the schedule needed a tidy handover, and the curing step was set up to match that pace without rushing the finish.
- Adhesion test samples supplied first
- Colour matching checked against the finished part
- Curing method selected for controlled handling
- Trial run used to confirm print clarity
Timeline, Delivery and What Changed After the Run
The result was a clean repeat run with consistent legend position and a finish that held through the checks we carried out. The client was able to keep the same component look across the batch, and the process can be repeated using the same setup notes if the order comes back again. For another batch of these Pinetown panel legends, we would follow the same method: pre sample first, lock the fixture early, and keep the rerun control tight so the next batch stays aligned with this one.
- Lead time: 3 weeks
- Output: repeat legends on production parts
- Handover: dispatch packed for safe transit
- Next time: same setup, same controls, same print reference
Run details
| Project | Pinetown panel legends for a controlled repeat production run |
|---|---|
| Client type | Electronics manufacturer |
| Location | Westmead, Pinetown, Durban |
| Process | Pad printing with silicone pad transfer |
| Scope | Artwork, plates, fixture, trial samples, curing and dispatch packing |
| Timeline | 3 weeks from brief to dispatch |