Project brief for rotary control parts
This project came from a manufacturer in the Pinetown and Durban area producing rotary control knobs for equipment that needs clear, accurate user marking. For these Phoenix control knobs, the job sounded straightforward until the curved surface and fine scales had to repeat cleanly.: print fine indicator lines and circular scales on a curved surface, keep the marks readable, and make sure the print stayed consistent from first sample to repeat runs. The parts were small enough that any movement in the fixture would show immediately, so the setup had to be steady from the first pass.
The client needed the markings to line up to the knob position, not just sit somewhere near the centre. We also had to work within the part material, the finish on the moulded surface, and the way the knobs would be handled during assembly and use. On jobs like this, the print is only one part of the process. The artwork, plate exposure, pad shape, ink behaviour and curing all need to work together or the result looks uneven very quickly.
- Part type: rotary control knobs
- Marking: fine lines, pointer marks and circular scale rings
- Location served: Westmead, Pinetown with supply into Durban and beyond
- Use case: control interfaces for medical and electronic equipment
Why the job needed tight fixturing
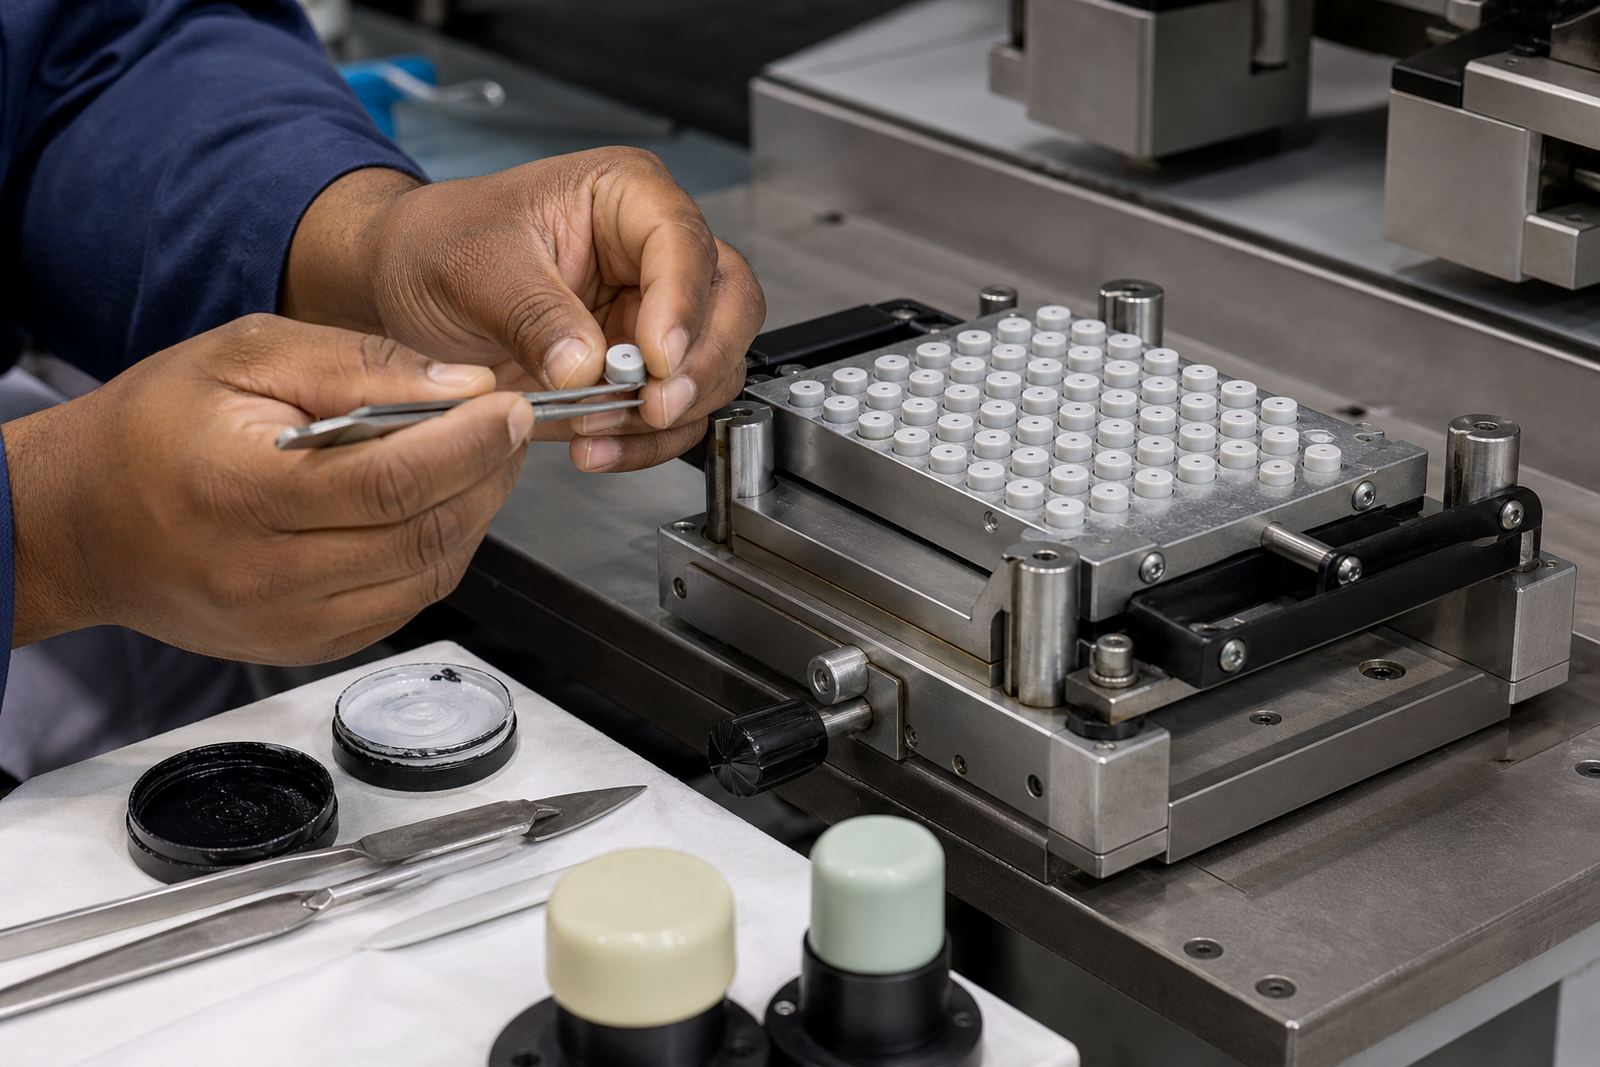
Rotary knobs are awkward to print if they are not held square and still. The print face is usually small, the surface may be slightly domed or textured, and the markings have to follow the round profile without distortion. For this project we made fixturing that located each knob in the same position every time, so the artwork could be registered accurately against the pointer and scale points. That reduced the chance of a mark creeping left or right during the run.
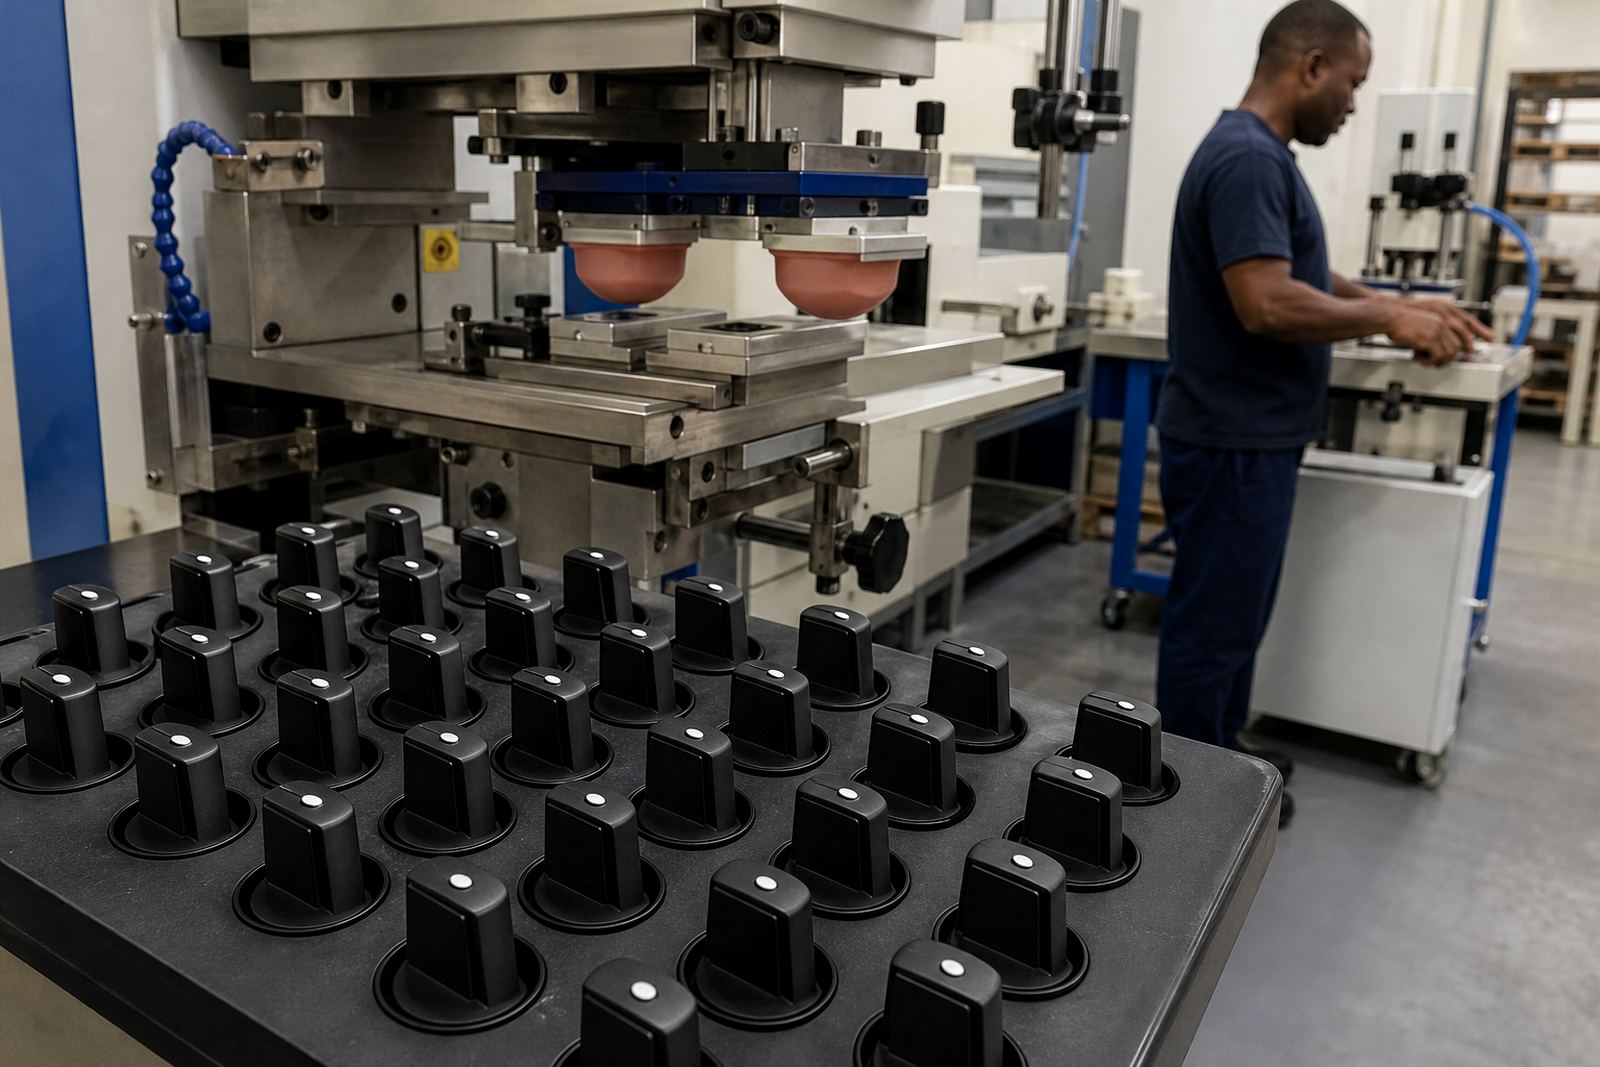
We also checked how the pad would contact the part. A silicone pad needs the right shape and firmness for this kind of component because too soft and the line spreads, too hard and it misses details. The ink choice had to suit the substrate and the end use, with curing set to give proper handling strength without overbaking the print. In practical terms, that meant a careful balance between definition and adhesion. The first trials showed the geometry was sound, then we adjusted the print pressure and dwell time until the lines came out sharp, not heavy.
- Fixturing designed for repeat placement
- Pad profile matched to a small curved print area
- Ink and curing selected for handling and assembly
- Artwork aligned to the knob pointer and scale positions
What we supplied and set up for medical parts
For the production run we handled the full pad printing process from artwork preparation through to dispatch packing. The artwork was redrawn for the part and cleaned up so the smallest scale marks would survive plate transfer. We then prepared the plate, set exposure and etching for the line weight required, and ran trial samples before approving the main job. A small change in line thickness can make a big difference on a control knob, so the sample stage was important.
The knobs were printed in controlled batches, with the setup checked between runs to keep the alignment steady. We also planned the print area so that the scale did not run too close to the edge of the visible face. That keeps the marking clear and avoids wear on the outer edge during fitting and use. The curing method was set to suit the ink and the material, and the finished parts were inspected before packing. As with most technical jobs, the small details were what made the difference.
- Artwork Preparation and Logo Redraws adapted for the knob face
- Plate Exposure and Plate Etching for fine indicator detail
- Trial Sample Runs and Adhesion Test Samples before release
- Dispatch Packing organised for safe movement to the client
Timeline and production control
The project moved from brief to approved sample over three weeks. The first week covered artwork checking, plate preparation and fixture planning. The second week was spent on trial runs and alignment adjustments. By the third week we had the print position stable and the repeat output matching the approved sample. For a job with fine circular scales, that timing was reasonable because it allowed us to deal with the part shape and curing settings without rushing the setup.
Production control mattered just as much as the print itself. We kept rerun job control in place so any later batch would match the approved references. That matters when a manufacturer needs the same knob marking across multiple assemblies or replacement stock. The process also helps when a client in Johannesburg, Cape Town, Pretoria or Gqeberha needs the same part supplied later with no visible drift in the print. If the controls are set properly at the start, repeat work becomes much easier to manage.
- Week 1: brief review, artwork clean-up and fixture planning
- Week 2: samples, alignment checks and cure testing
- Week 3: approved production run and packing
- Rerun controls prepared for later reorders
Results on the finished knobs
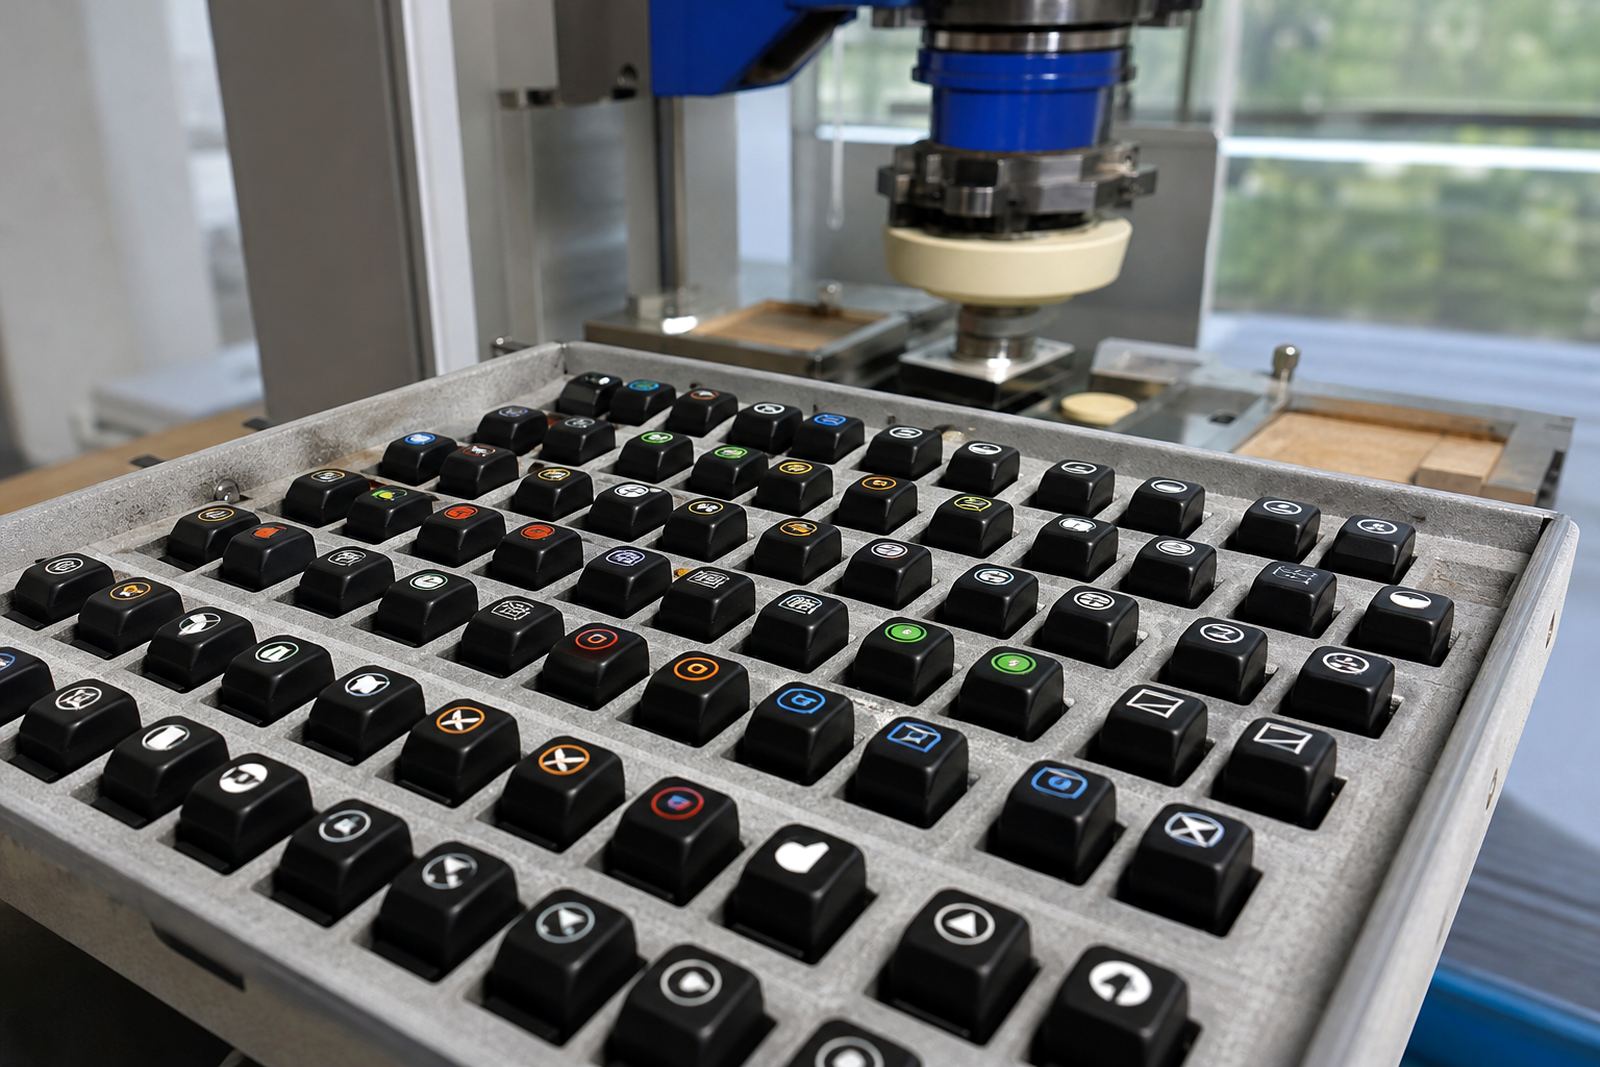
The finished knobs carried clean, readable indicator lines and circular scales with no visible wandering across the face. The print held its position on each part and the scale marks stayed sharp enough to support accurate user reading during assembly. The client could now fit the knobs with confidence that the visible reference marks would line up properly on the final product. That is the main test on a control component: if the marking helps the user set the part correctly, it has done its job.
We were pleased with the way the ink settled on the moulded surface and the way the cured print handled during packing and subsequent handling. The process also showed why fixture quality is so important for small-format pad printing. Without proper location, a good artwork file alone will not save the job. With the fixture, pad, plate and curing all matched, the output stayed consistent. For this type of work, that consistency is often more valuable than speed.
- Clean alignment on curved knob faces
- Readable scale marks for assembly and use
- Good handling strength after curing
- Repeatable output across the run
What we would carry forward
If we were running the Phoenix Control Knobs project again, we would use the same approach: start with a careful artwork review, build the fixture around the actual part dimensions, and confirm the cure settings with sample pieces before full production. On jobs like this there is no shortcut to the setup stage. A few extra minutes spent on registration and pad choice can save a lot of rework later on.
We would also keep the production notes linked to the approved sample so future batches can be set up quickly for repeat supply into Westmead, New Germany, Westville or further afield. That team structure helps when a job needs artwork, plates, curing and dispatch managed in one place. Customers remain responsible for their own device compliance, while we handle the marking process with care and consistency.
- Keep the approved sample as the master reference
- Retain fixture settings for reruns
- Use the same plate and ink notes for repeat work
- Confirm final artwork before each new batch
Run details
| Project | Phoenix Control Knobs |
|---|---|
| Part type | Rotary control knobs for medical and electronic equipment |
| Marking detail | Fine indicator lines and circular scales |
| Process | Pad printing with silicone pads, plates, inks and curing |
| Location | Westmead, Pinetown, serving Durban and South Africa |
| Timeline | 3 weeks from brief to approved production run |