Ballito Diagnostic Covers: what the job called for
This project came from a diagnostics manufacturer in Ballito working with front covers for test equipment and related electronic housings. The parts needed readable legends, orientation marks and a neat finish that would stay legible through handling, wipe-downs and repeated assembly on the line. The brief was not just about making the marks visible, but about making them land in the same place every time on a shaped component with small tolerances.
The covers were produced for equipment used in clinical and technical environments, so the markings had to be tidy and easy to inspect. We kept the layout simple and practical: product identifiers, alignment indicators and service-facing icons placed where operators could see them quickly. A minor shift on a flat panel is one thing, but on a formed cover a millimetre out can be enough to throw the whole visual line off. That is why the print area planning mattered from the first sample.
Constraints on the covers and why pad printing suited them
The parts had multiple surfaces and formed edges, which made screen printing less suitable for the mark positions involved. Pad printing let us transfer the image with a silicone pad that could conform to the shape and place ink into small target areas without flooding the edges. For diagnostic covers and similar electronic parts, that gives better control over logos, legends and fine indicators.
There were three main constraints. First, the covers had to stay clean in appearance, so we avoided heavy ink build-up. Second, the markings had to remain consistent across repeated batches, which meant tight plate control and stable fixture location. Third, the job had to work in a coastal environment. In Ballito and much of Durban North, humidity can affect drying and handling times, so curing method and rack time had to be set with that in mind.
- Parts: front covers for diagnostic equipment
- Markings: legends, alignment indicators, orientation marks
- Method: silicone pad transfer with solvent-based industrial inks
- Control: custom fixture, sample approval and repeat-run checks
Artwork setup, plates and trial samples
We started with artwork preparation and logo redraws where needed so the line widths, clear space and text size would reproduce properly through the pad. Small legends can look fine on screen but fail on the plate if stroke weight is too light or the spacing is too tight. Our artwork and plate technician then prepared the print plates and checked the image direction, registration marks and repeat position for the cover geometry.
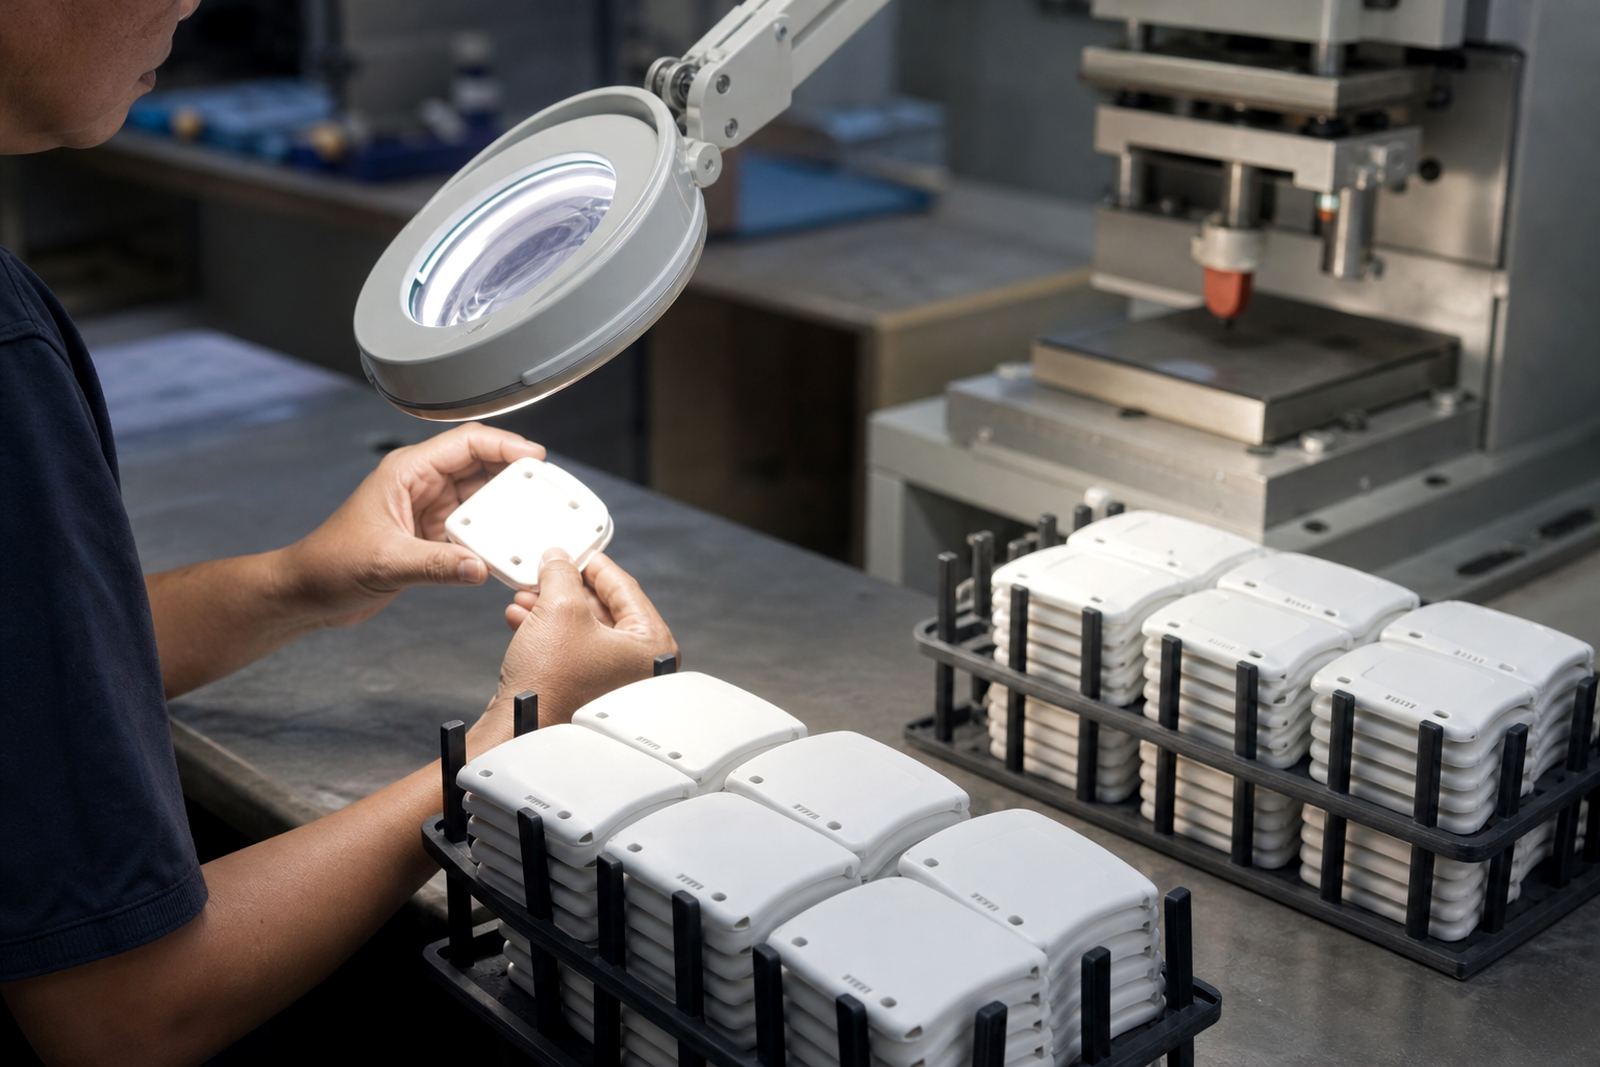
Trial sample runs were used to check three points: where the print landed, how the ink sat on the surface, and whether the legend remained sharp after curing. We also tested adhesion on sample parts before committing to the full run. That helped us confirm the surface prep and the curing method before the job moved into production. A quick rework at this stage saves a lot of grief later, especially when a client is expecting parts to go straight into assembly.
- Artwork cleaned up for plate exposure
- Print areas mapped against the formed cover
- Trial runs used to confirm alignment and ink density
- Adhesion test samples supplied before production release
Production method, ink curing and repeat control
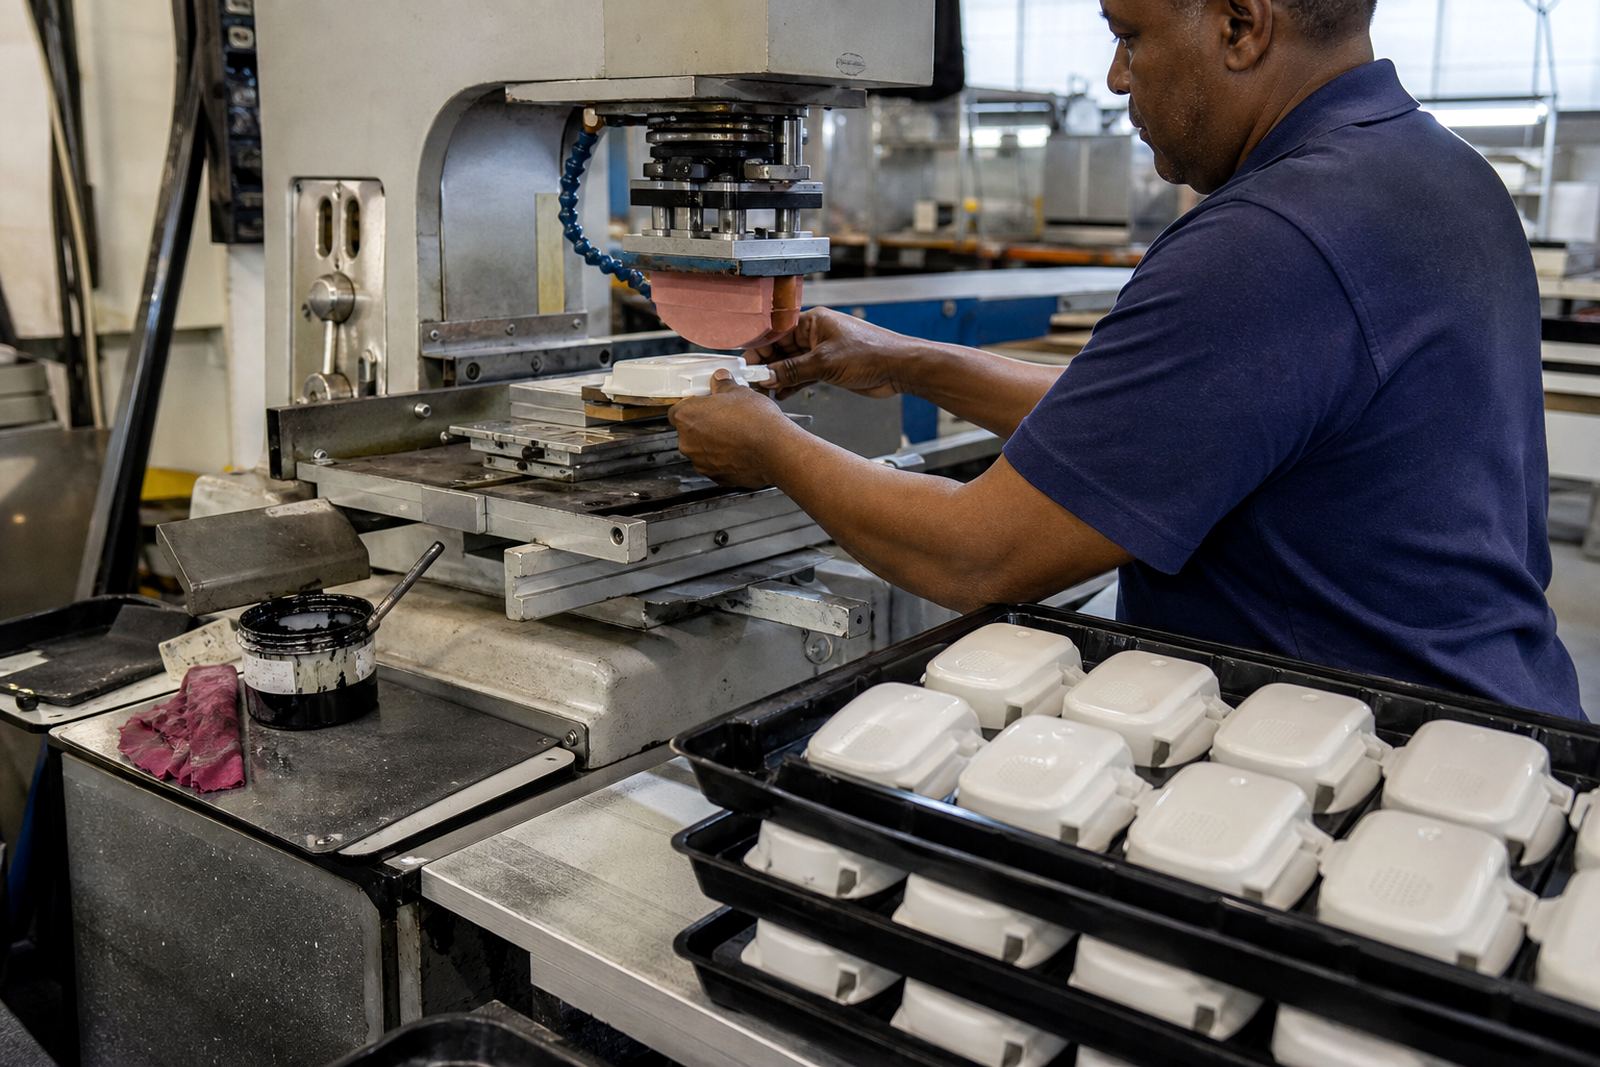
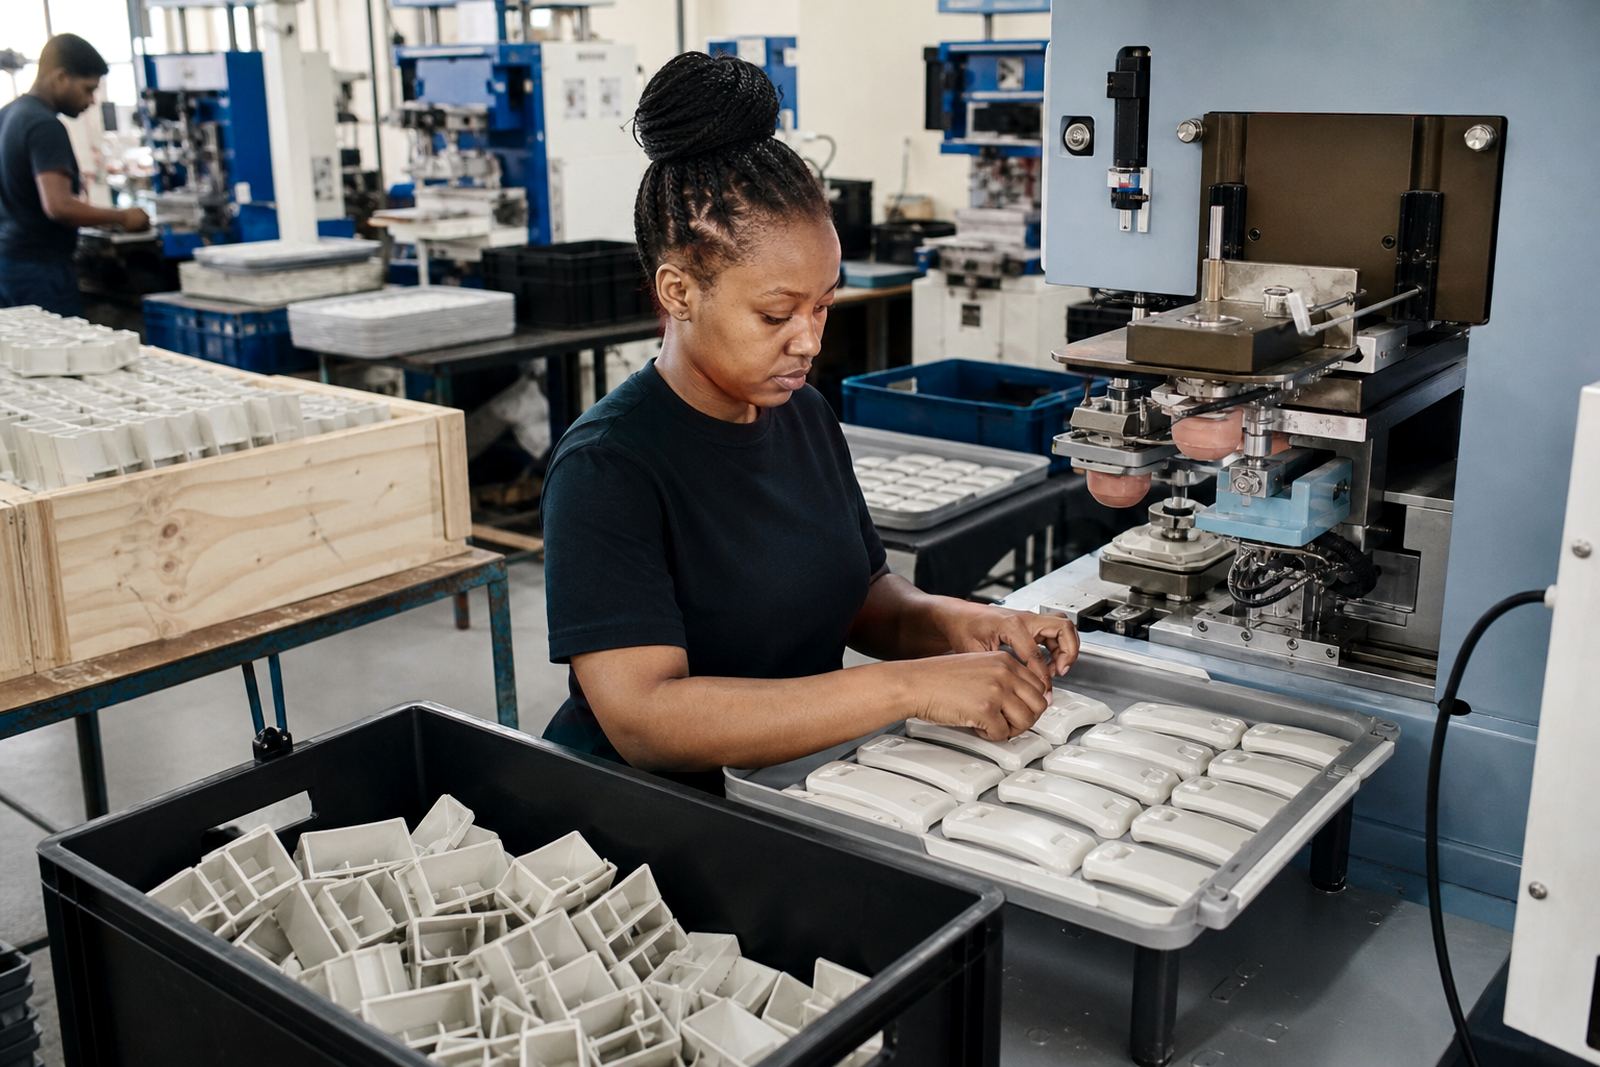
Once the sample was approved, we moved into controlled production using dedicated fixtures to keep each cover seated in the same position. That fixture making step matters more than people often think. If the part can move even slightly during the pad stroke, the legend can drift or ghost. The machine setup specialist checked the pressure, dwell and transfer point before each run so the printed area stayed consistent across the batch.
For curing, we selected a method that matched the ink system and the production pace. The aim was to get a durable bond without overhandling the parts too early. On small technical components, rushed packing can leave marks or soft ink transfer, so we kept the dispatch side separate until the parts had cleared inspection. We also kept rerun job control in place, so if the client ordered additional covers later, we could match the same plate references and print position without starting from scratch. The whole job took about 2 weeks from artwork check to final dispatch, including sample approval and production.
What the client received and how it performed in use
The finished diagnostic covers left with durable legends and alignment indicators that were easy to read and looked tidy on the equipment face. The markings sat cleanly on the surface and remained visually consistent from part to part, which helped the assembly team and the end user. The client was mainly looking for dependable identification and correct orientation, not decorative print, so the result needed to be clear rather than flashy.
From a practical point of view, the job reduced the risk of misalignment during assembly and made the front covers easier to verify at a glance. The client could also keep stock moving without needing extra touch-up work. If anything changes on a future batch, we would want the same sample approval step again and would confirm the fixture and curing window before full production. That is the safest way to keep a repeat order on spec.
- Clear legends suitable for assembly and inspection
- Alignment indicators placed for quick visual reference
- Repeatable finish across the batch
- Practical packing for dispatch after curing
What we would carry through to the next run
For a repeat of this Ballito diagnostic covers job, we would keep the same sequence: artwork check, plate exposure, trial sample runs, adhesion testing, then production with fixture control. That order works because it catches problems early and keeps the final print stable. If the cover material, coating or moulding supplier changes, we would recheck the ink key and the curing method before starting a fresh batch.
For clients in Ballito, Durban, Pinetown, Johannesburg, Pretoria, Cape Town and Gqeberha, the main lesson is simple. Precision pad printing is only as good as the setup behind it. When the surface, fixture, ink and curing are all matched properly, the result is a clean mark that supports the product instead of getting in the way. That is the standard we kept on this job and it is the same standard we would use again, no shortcuts.
Run details
| Project | Ballito Diagnostic Covers |
|---|---|
| Client type | Diagnostics equipment manufacturer |
| Location | Ballito, KwaZulu-Natal |
| Product | Front covers for diagnostic equipment |
| Print elements | Legends, alignment indicators, orientation marks |
| Timeline | About 2 weeks from artwork sign-off to dispatch |