New Germany switch caps: a clearer line-side result
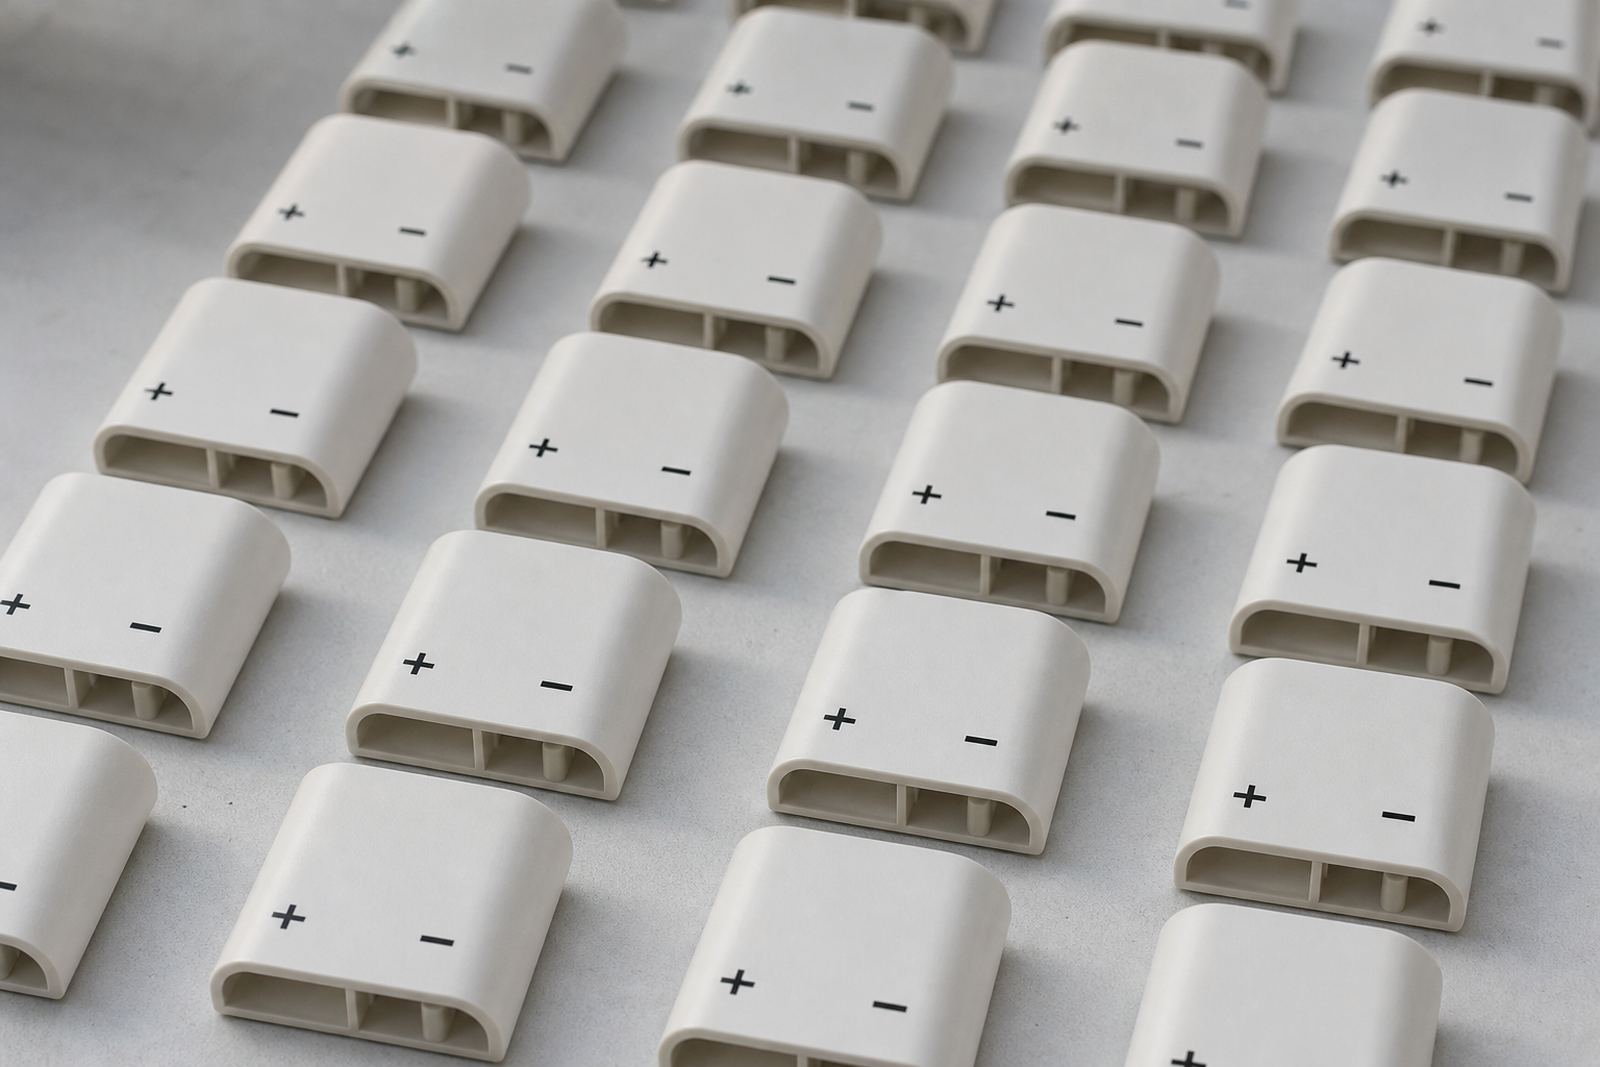
This project came from an assembly operation in New Germany that needed switch caps marked in contrasting colours so operators could identify positions faster during use. The parts were small, moulded components with limited print space, so the brief called for clean registration and legible marks that would stay visible after handling, cleaning and normal production wear.
The customer was working from an active line with tight part handling, so the print process had to suit a steady flow of parts and not slow changeovers. The caps were supplied in batches, and the marking needed to remain consistent across the full run even when parts were loaded and unloaded by hand. That meant careful fixture making, plate setup and a repeatable pad print sequence from the first sample to the final dispatch pack.
What the brief asked for, and what had to be managed
The main request was simple on paper: print switch caps in contrasting colours for clearer operation. In practice, there were a few constraints that shaped the job. The surface finish on the caps was not the same across all parts, the print area was small, and the customer needed marks that stayed sharp on curved or slightly textured surfaces.
We also had to work around the usual issues that come with pad printing on moulded parts: dust, mould release residue, inconsistent surface energy and the risk of ink not biting evenly. Because these parts were for an electrical assembly environment, the finish needed to be neat and easy to read without affecting fit or function. The customer remained responsible for final device compliance and internal sign-off, while we focused on the marking process itself.
- Small print area on a curved component
- Contrasting colour requirement for quick identification
- Consistent adhesion on moulded plastic parts
- Repeatable results across a batch run
Our setup for the print run
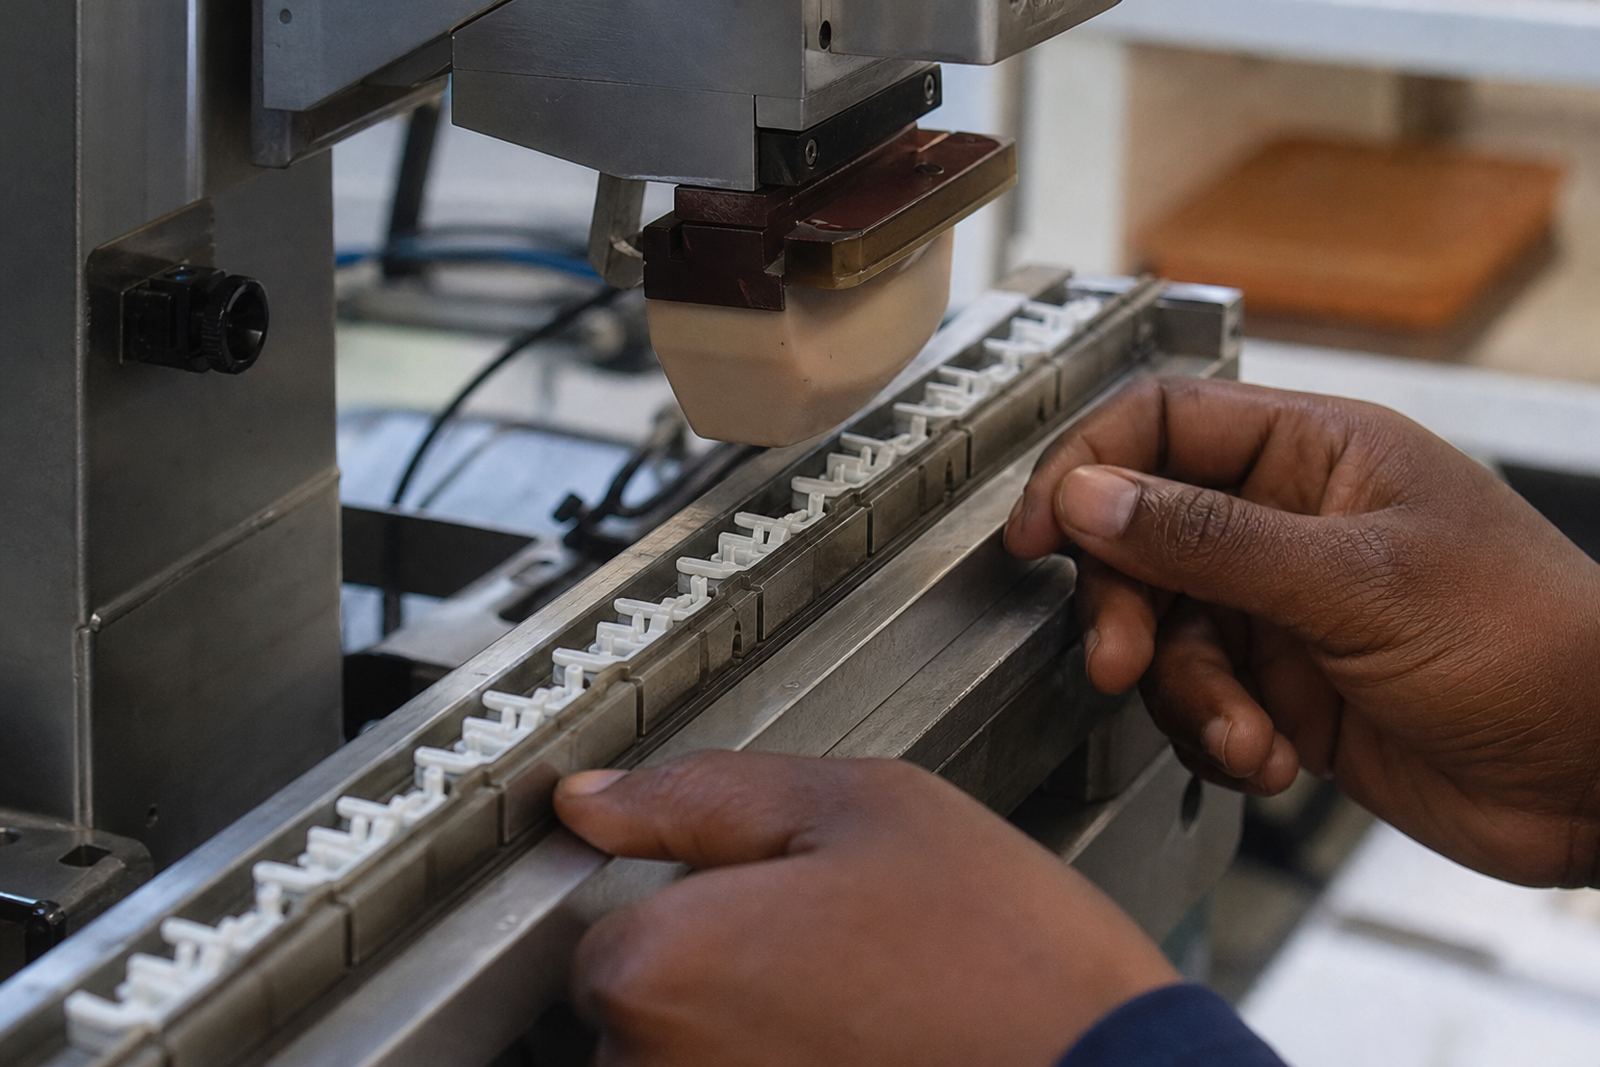
For this job we carried out artwork preparation, logo redraws where needed, plate exposure and plate etching, then matched the print layout to the actual cap geometry. The artwork was adjusted so the mark sat in the right place on each cap and did not drift toward an edge or mould line. From there, we prepared the pad print plates and set up fixtures to hold each switch cap in the same position every time.
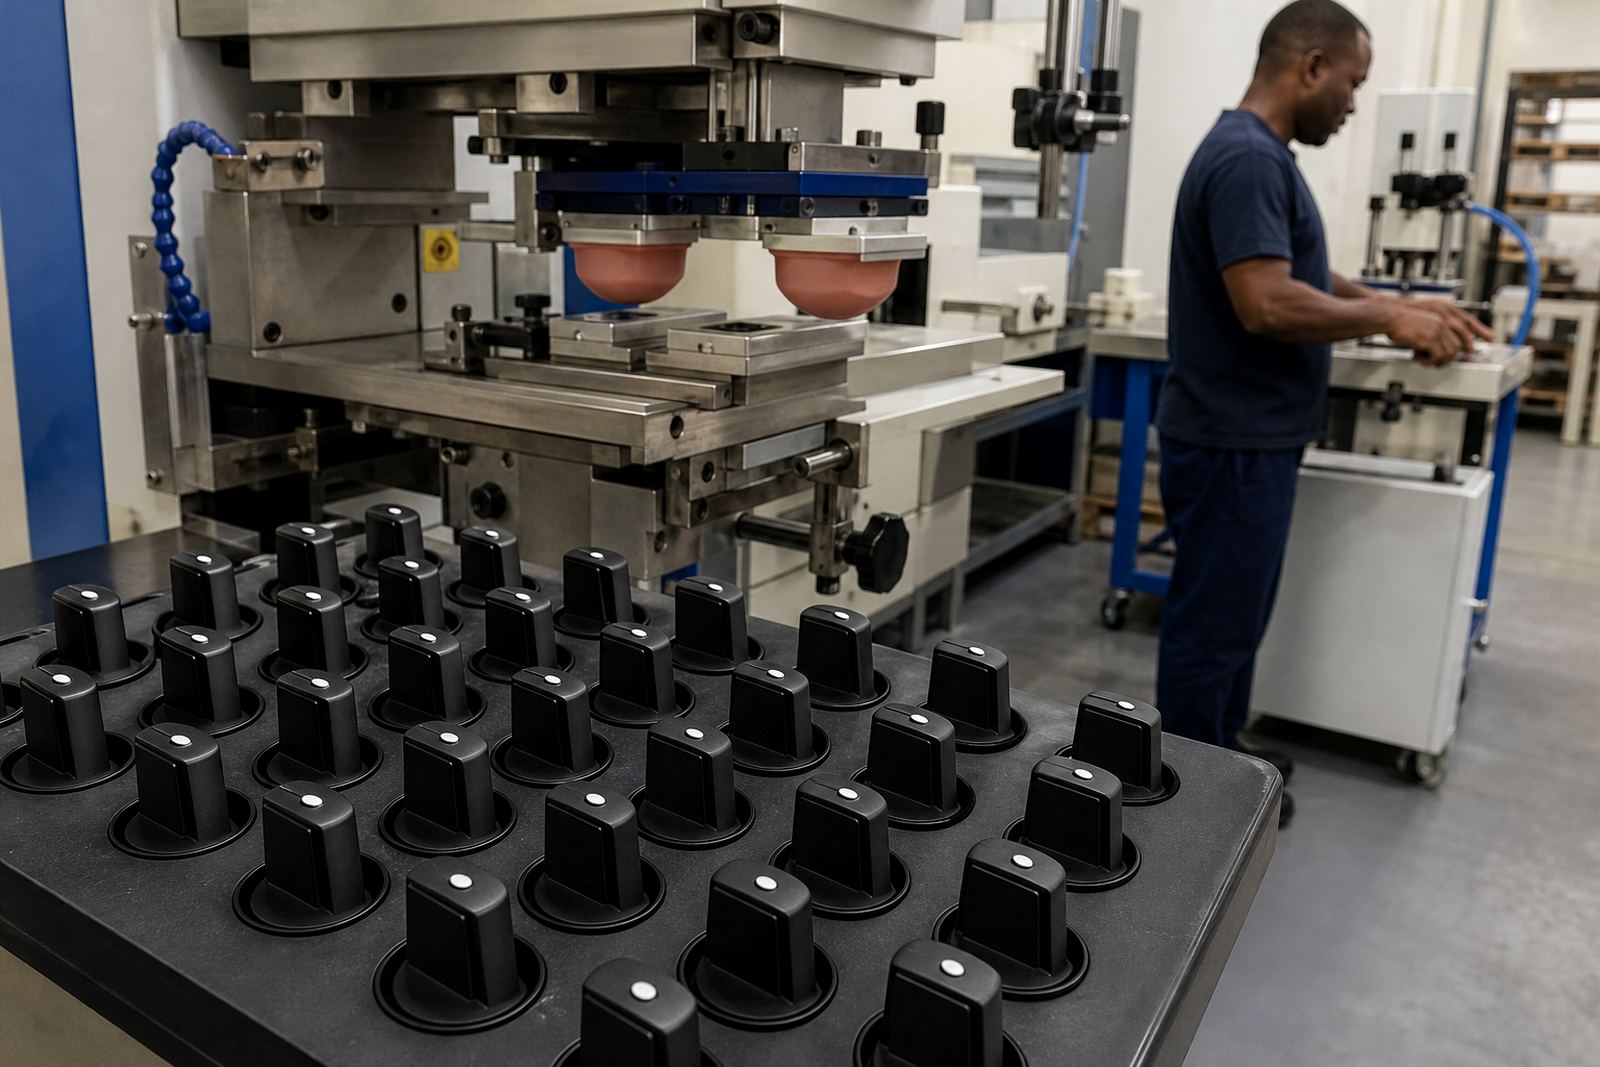
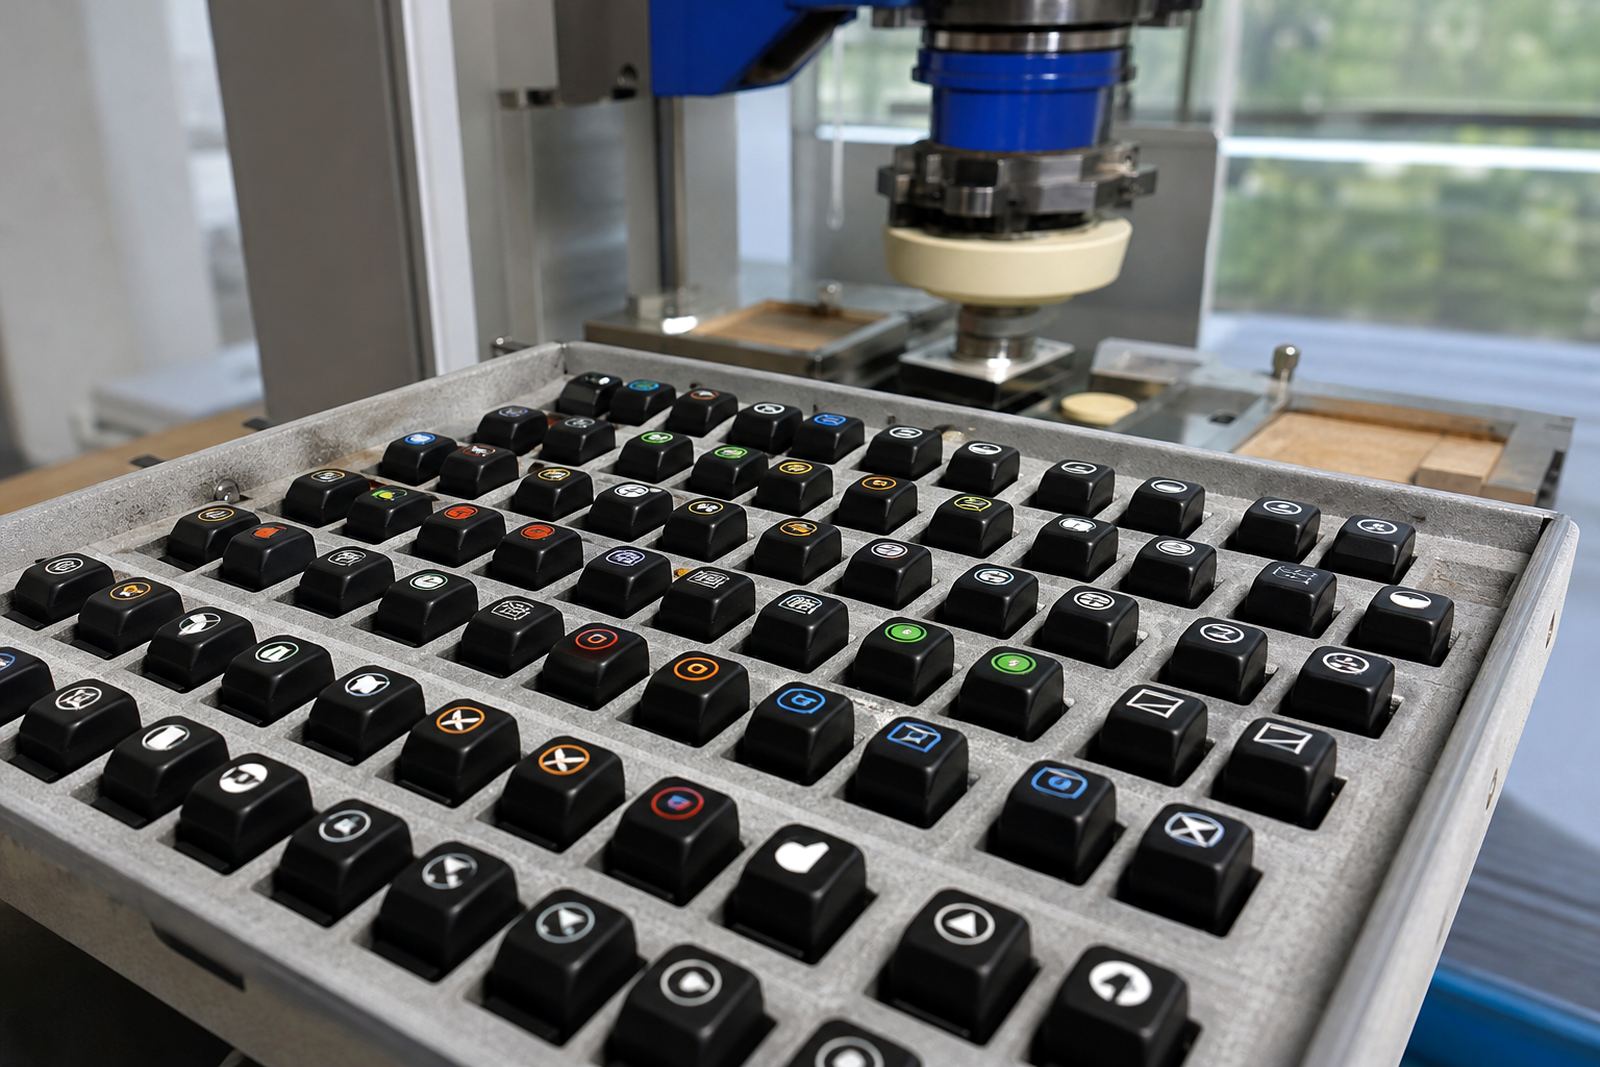
Pad printing works well on this type of part because a silicone pad can pick up ink from the etched plate and transfer it onto uneven or slightly contoured surfaces. We selected the curing method according to the ink and production pace, then ran adhesion test samples before the full production job. That let us check how the marks behaved on the actual part surface, not just on a sample card. A proper trial run saves time later, and it cuts down on rerun work.
- Artwork preparation and print area planning
- Plate exposure and etching for the final layout
- Fixture making to keep part position steady
- Trial sample runs before full production
- Colour matching for the contrasting mark
Why pad printing suited these switch caps
Switch caps often need a mark that is small, neat and readable from a working distance. Pad printing is a good fit for that because it can place ink accurately onto shaped parts without flooding the surface. The silicone pad compresses over the component and reaches areas that would be difficult to print by hand or with a flat screen process. For this job, that helped us keep the edges crisp and the coverage even.
We also looked at the curing method carefully, because the wrong cure can cause smearing, poor adhesion or marks that dull too quickly in use. If a batch sits too long between stages, or if ink pot life is not watched properly, the result can drift. We kept the process tight and paced the run so the output stayed consistent from start to finish.
The colour choice was practical rather than decorative. The contrast needed to support fast operation on the line, where an operator may be checking positions in poor light or under time pressure. Clear marking helps reduce confusion, and it gives the assembly team a better visual reference point. That is the sort of detail that matters when parts are going into repeat production.
Timeline, rerun control and dispatch from Westmead
The full job took 2 weeks from initial sample setting to completed dispatch packing. The first week covered artwork adjustments, plate work, fixture checks and trial samples. The second week covered production, rerun job control where needed, final inspection and packing for dispatch. Because the customer was based in New Germany, we could keep communication practical and get feedback quickly when a minor adjustment was needed.
We also handled dispatch packing so the printed caps would arrive sorted and ready for the next stage of assembly. Parts like these are best packed in a way that avoids scuffing, mark transfer and loose movement in transit. Our team in Westmead, Pinetown is used to working with manufacturers across Durban, Johannesburg, Cape Town, Pretoria and Gqeberha, so packaging and batch separation are part of the normal process, not an afterthought.
- 2 week turnaround from sample to dispatch
- Batch control for repeat consistency
- Careful packing to prevent rub damage
- Local support for New Germany and Westmead clients
What changed after the print was applied
The finished caps gave the line a clearer visual cue, which made operation easier for the team using them. The contrasting colours improved visibility on the assembly line and reduced the risk of misreading the switch position. In this type of work, that is often the real value: not just a neat print, but a part that is easier to use in practice.
We would do this job the same way again for similar switch caps. The key steps would stay the same: confirm the part shape, test the adhesion on the actual substrate, set up a proper fixture, and run a small sample batch before committing to full production. For moulded electrical parts, that sequence is what keeps the print reliable. It is also why we treat each project as a process job rather than a quick one-size-fits-all run.
From our base in Westmead, Pinetown, we support Pinetown Printing Support, Durban Manufacturers, Johannesburg Supply, Pretoria Supply, Cape Town Supply, Gqeberha Supply, New Germany Support and Westville Support. For a pad printing run, write to PadPrinters through the contact page form with your part, artwork and run size when they need precise marking for medical and electronic components.
Run details
| Project | New Germany switch caps |
|---|---|
| Part type | Moulded switch caps for an assembly line |
| Process | Pad printing with silicone pads and cured ink |
| Finish goal | Contrasting colours for clearer operation |
| Location | New Germany, Durban |
| Turnaround | 2 weeks from samples to dispatch |