Brief From A Centurion Sensor Assembly Maker
The client was a sensor assembly manufacturer in Centurion working on small caps used around electronic and medical assemblies. The caps were moulded parts with a curved face and limited flat area, so the marking had to stay legible without crowding the component. They needed repeatable pad printing for part identification and a clean finish that would not interfere with assembly or handling.
The brief looked straightforward on paper, but it was exacting in practice. The mark had to sit in the same position on every cap, the ink had to bond properly to the substrate, and the print process needed to cope with short runs as well as rerun work. The client also wanted a practical route for sample approval before the full batch moved ahead.
- Part type: small sensor caps for assembly
- Requirement: tight registration on a curved surface
- Print need: clear identification marking
- Location: Centurion, Gauteng
What Made The Job Tricky
The main constraint was the size and shape of the cap. Small parts leave little room for movement in the fixture, and even a slight shift can put the print off centre. The client also needed an ink system suited to the material and the handling that follows assembly, packaging and testing. On parts like these, the wrong ink can look fine on day one then start to lift after a few cycles of handling.
Because the parts were destined for use in medical and electronic environments, we treated the print as a functional marking, not decoration. The customer remains responsible for their own device compliance, but our role was to supply a clean, consistent print process and keep the marking stable through the agreed handling steps.
- Very small print field
- Curved cap profile
- Ink adhesion had to suit the substrate
- Repeatability mattered more than speed
How We Set Up The Print Process
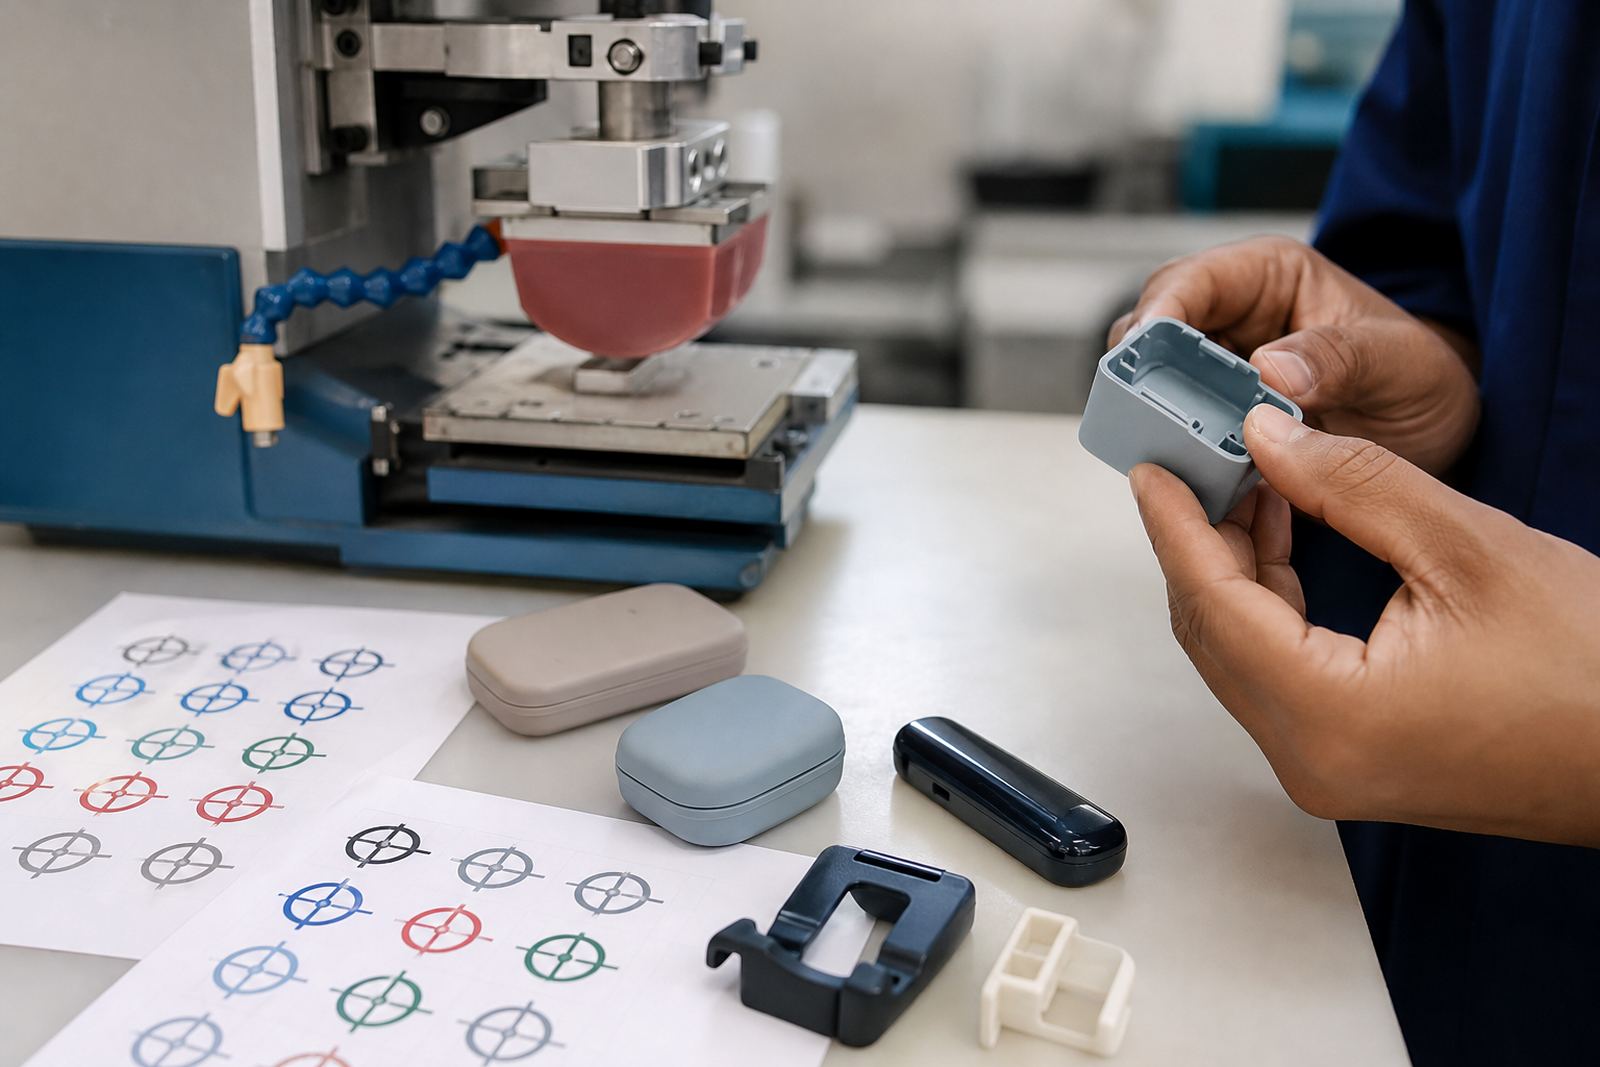
We started with artwork preparation and print area planning, then redrew the mark to suit the part size and pad travel. The artwork was adjusted so the line weights stayed readable at a small scale, and the plate exposure was prepared to hold the detail needed for fine text and simple identification. Where needed, we advised on colour matching for contrast against the cap surface, though the priority was always legibility and bond strength.
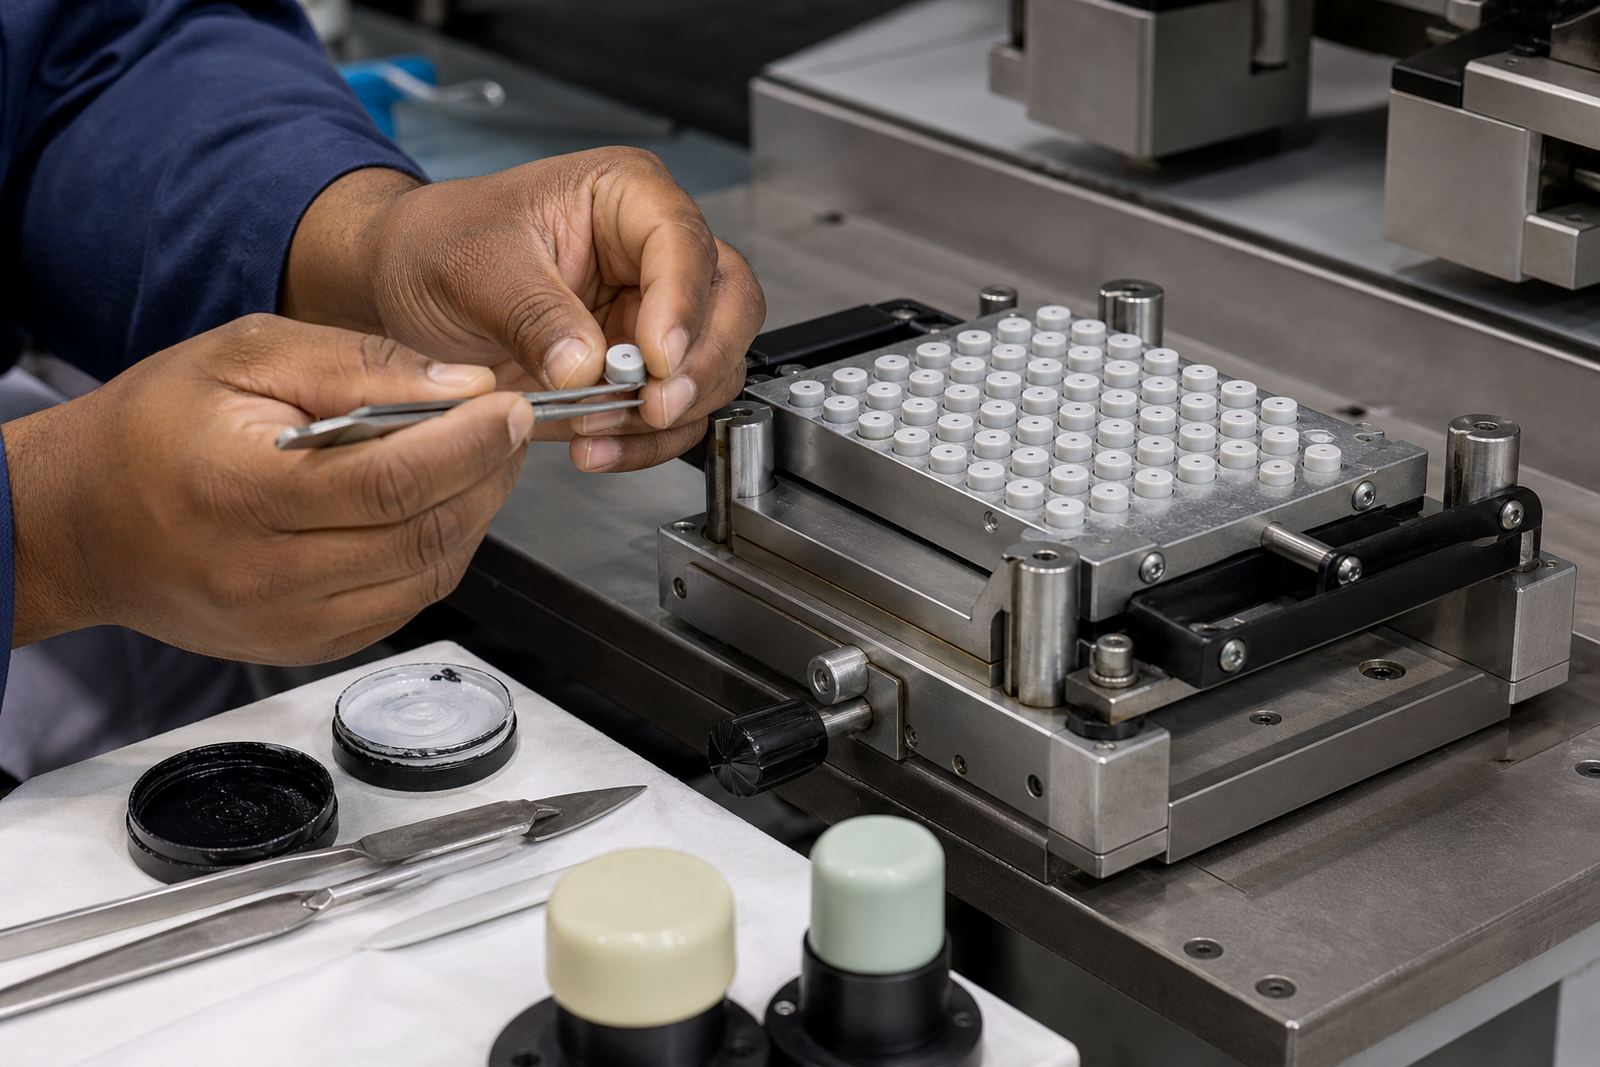
From there we moved into fixture making and trial sample runs. The fixture held the cap in a fixed position so each impression sat correctly under the pad. We then tested the transfer with a selected ink system and assessed how it released from the silicone pad, how it sat on the surface, and how the cured mark held up after handling. That let us settle the process before release to full production.
- Artwork redraws for small-format marking
- Plate exposure and plate etching for detail retention
- Fixture making for stable positioning
- Trial sample runs before production approval
Materials, Ink Choice And Curing
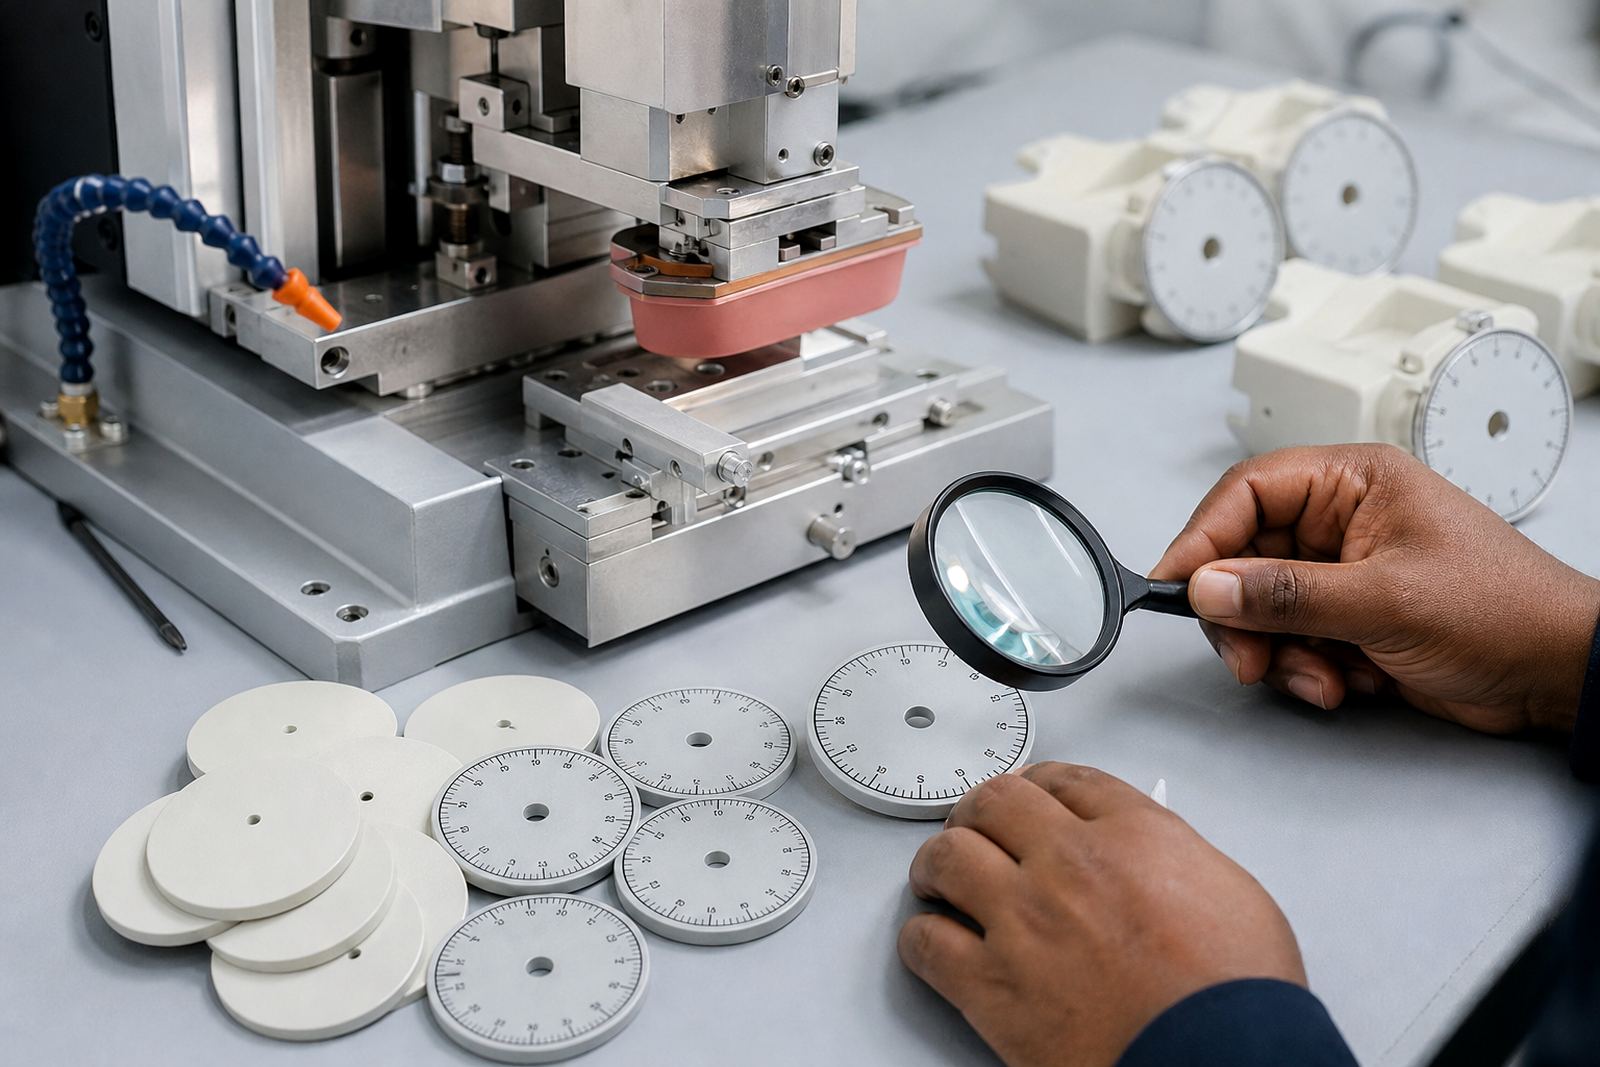
Pad printing depends on getting three things right at once: the etched plate, the silicone pad and the ink. For this Centurion job we selected a pad shape that could pick up the image cleanly and place it onto the cap without smudging the edges. The ink choice was matched to the part material and the handling expected after print, with curing method selection based on throughput and the available working window.
That part of the job matters more than many people expect. If the ink flashes too fast, the image can dry on the plate before transfer. If it cures too slowly, handling becomes risky and packing gets messy. We also checked the print under normal workshop light and again after curing so the client could see how the mark held in real use, not just on a sample board.
- Silicone pad selection for clean transfer
- Ink matched to part material
- Curing method chosen for practical production flow
- Inspection after curing and handling
Timeline And Delivery In Weeks
That pace suited the client because it gave them time to check fit, mark position and appearance before committing to volume. It also left enough room to make small corrections without pushing the schedule off track. For a part like this, a careful start saves time later because the approved setup can be repeated with less variation on the next order.
- Week 1: artwork and plate preparation
- Week 2: fixture build and sample runs
- Week 3: final approval, rerun control and packing
Result For The Sensor Cap Markings
The finished caps carried a crisp, well-centred mark that stayed consistent across the approved batch. The print was clean on the curved surface and the chosen ink system gave the client confidence that the markings would survive normal handling during assembly and packing. The job also gave them a repeatable setup for future production, which is often the real value in pad printing work.
On the next batch we would still keep the same sequence: redraw the artwork for the part, build the fixture before full printing, and approve the sample run before scaling up. For small sensor caps, that order reduces waste and keeps the print registration under control. It also makes it easier for manufacturers in Centurion and across South Africa to keep a dependable marking process in place when they need the same result again later.
- Clear, repeatable registration
- Stable mark on a small curved part
- Repeat setup ready for follow-up orders
- Useful for medical and electronic assembly environments
Run details
| Client type | Sensor assembly manufacturer in Centurion |
|---|---|
| Project location | Centurion, Gauteng |
| Part | Small sensor caps for assemblies |
| Process | Pad printing with plate work, fixture making and curing |
| Timeline | 3 weeks from brief to approved production samples |
| Company base | Westmead, Pinetown |