Project brief for Pretoria syringe clip markings
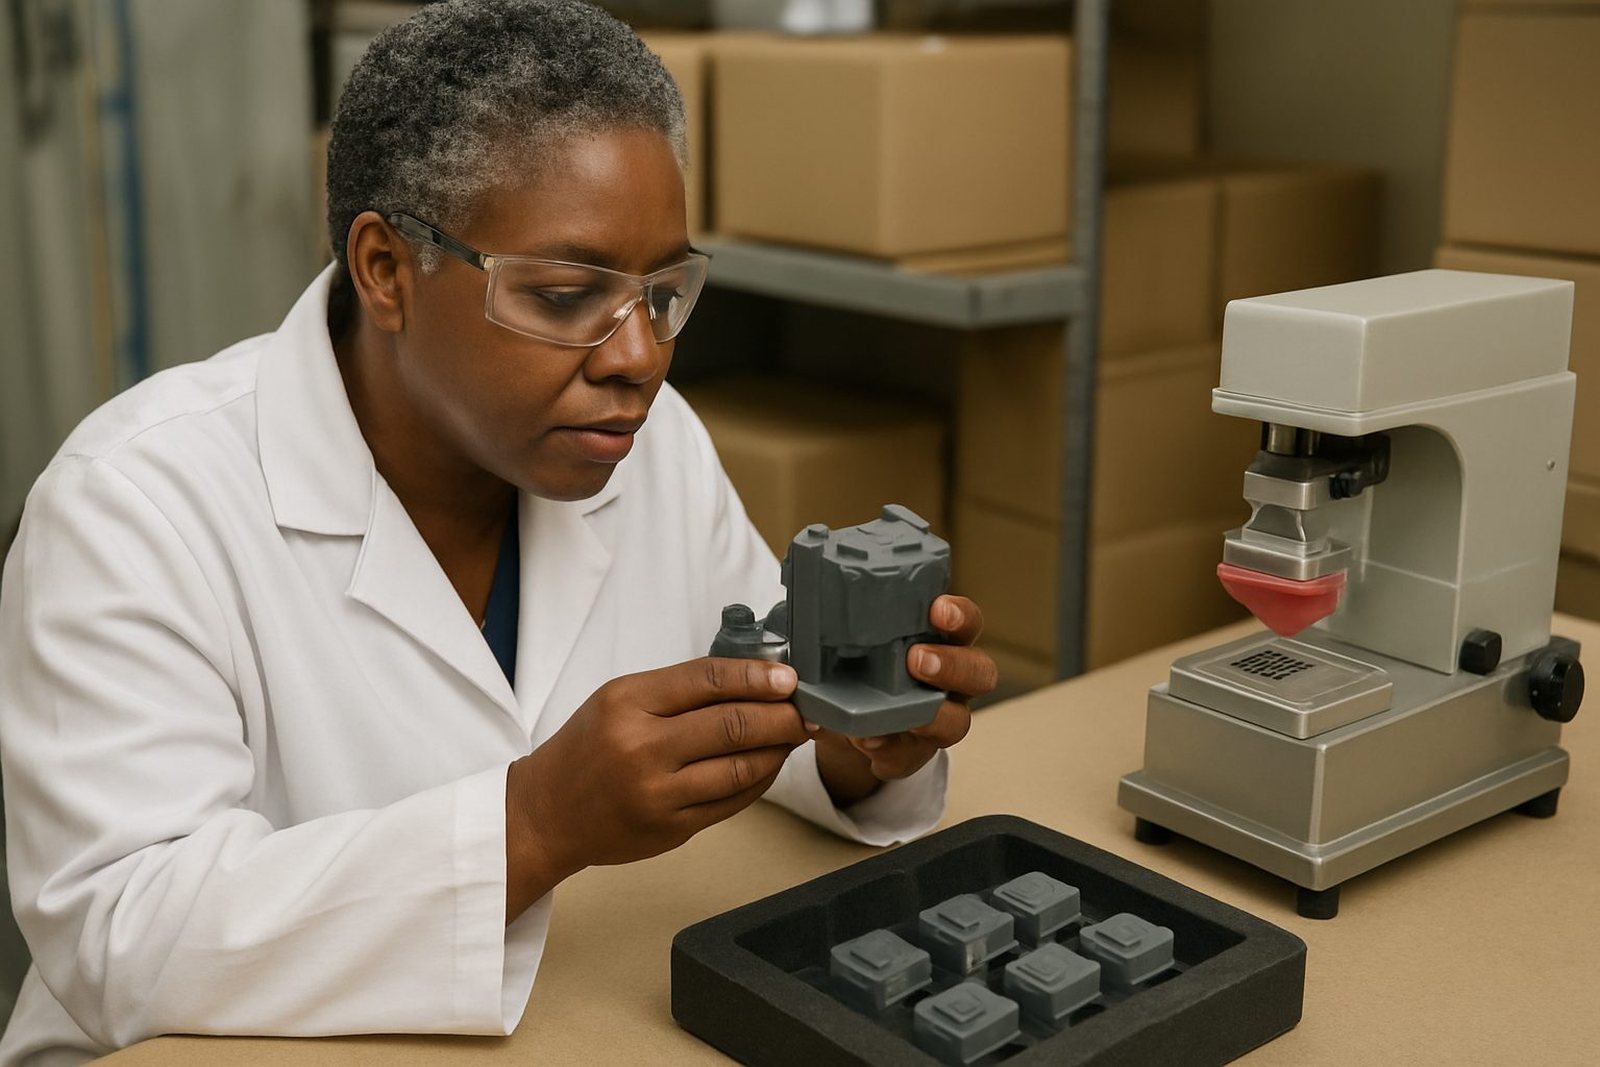
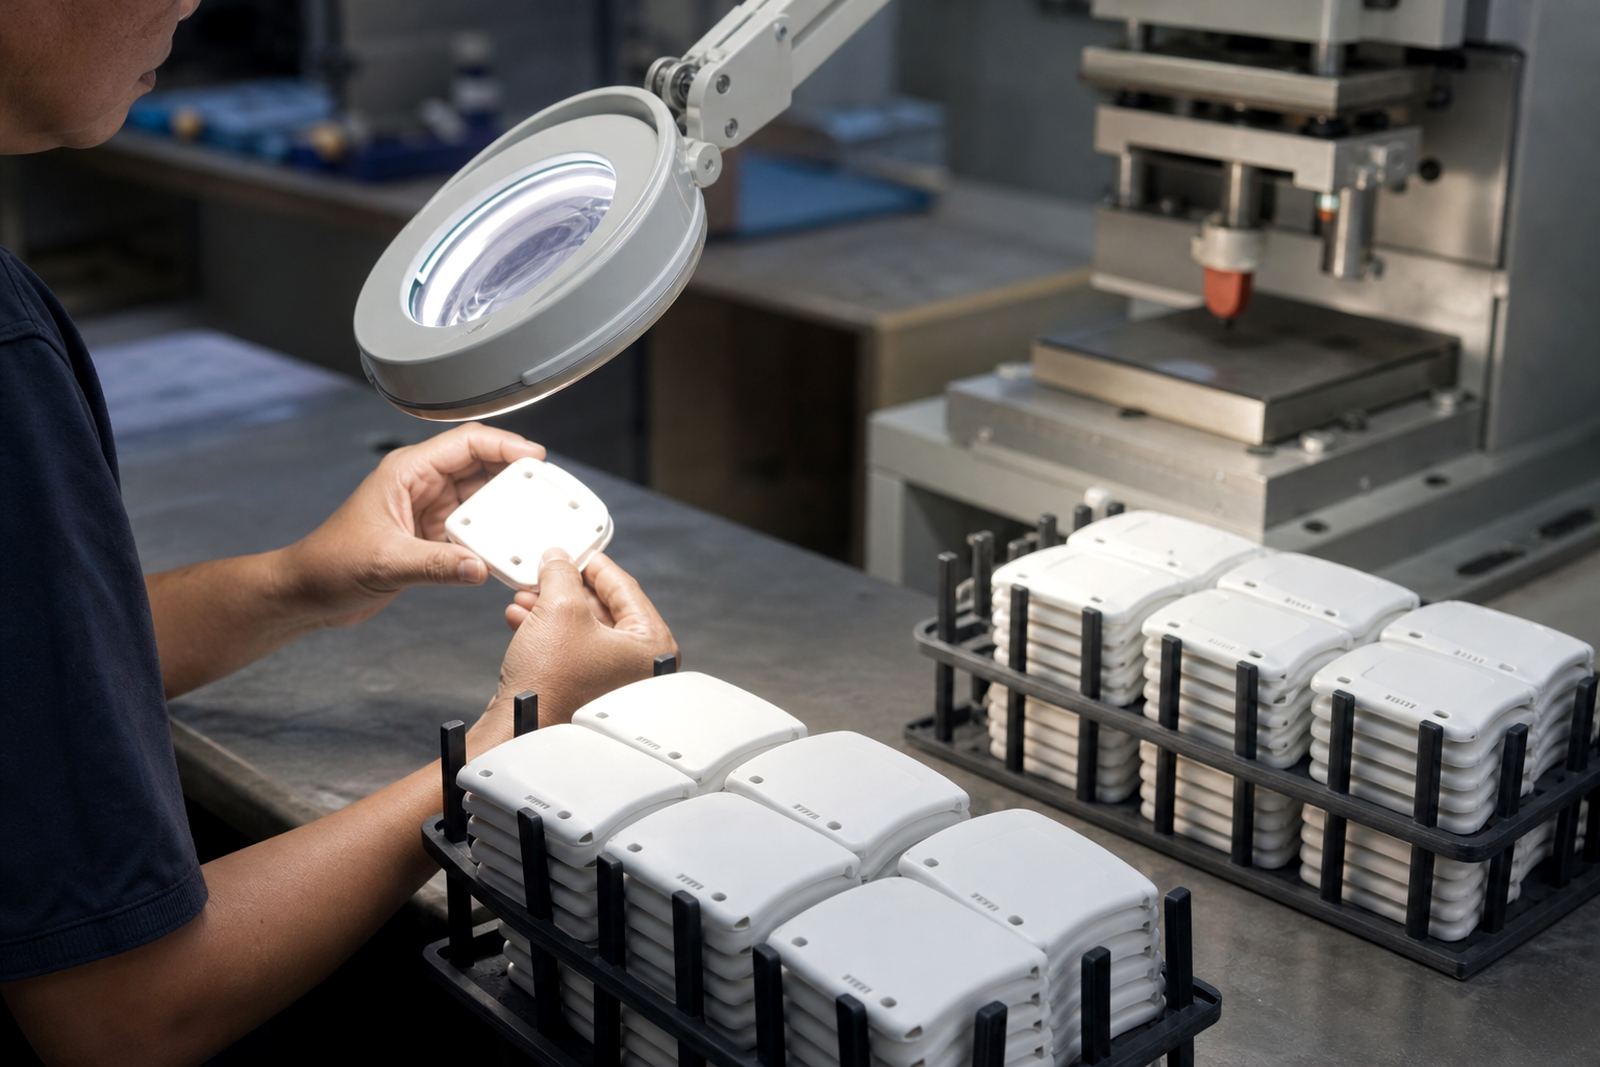
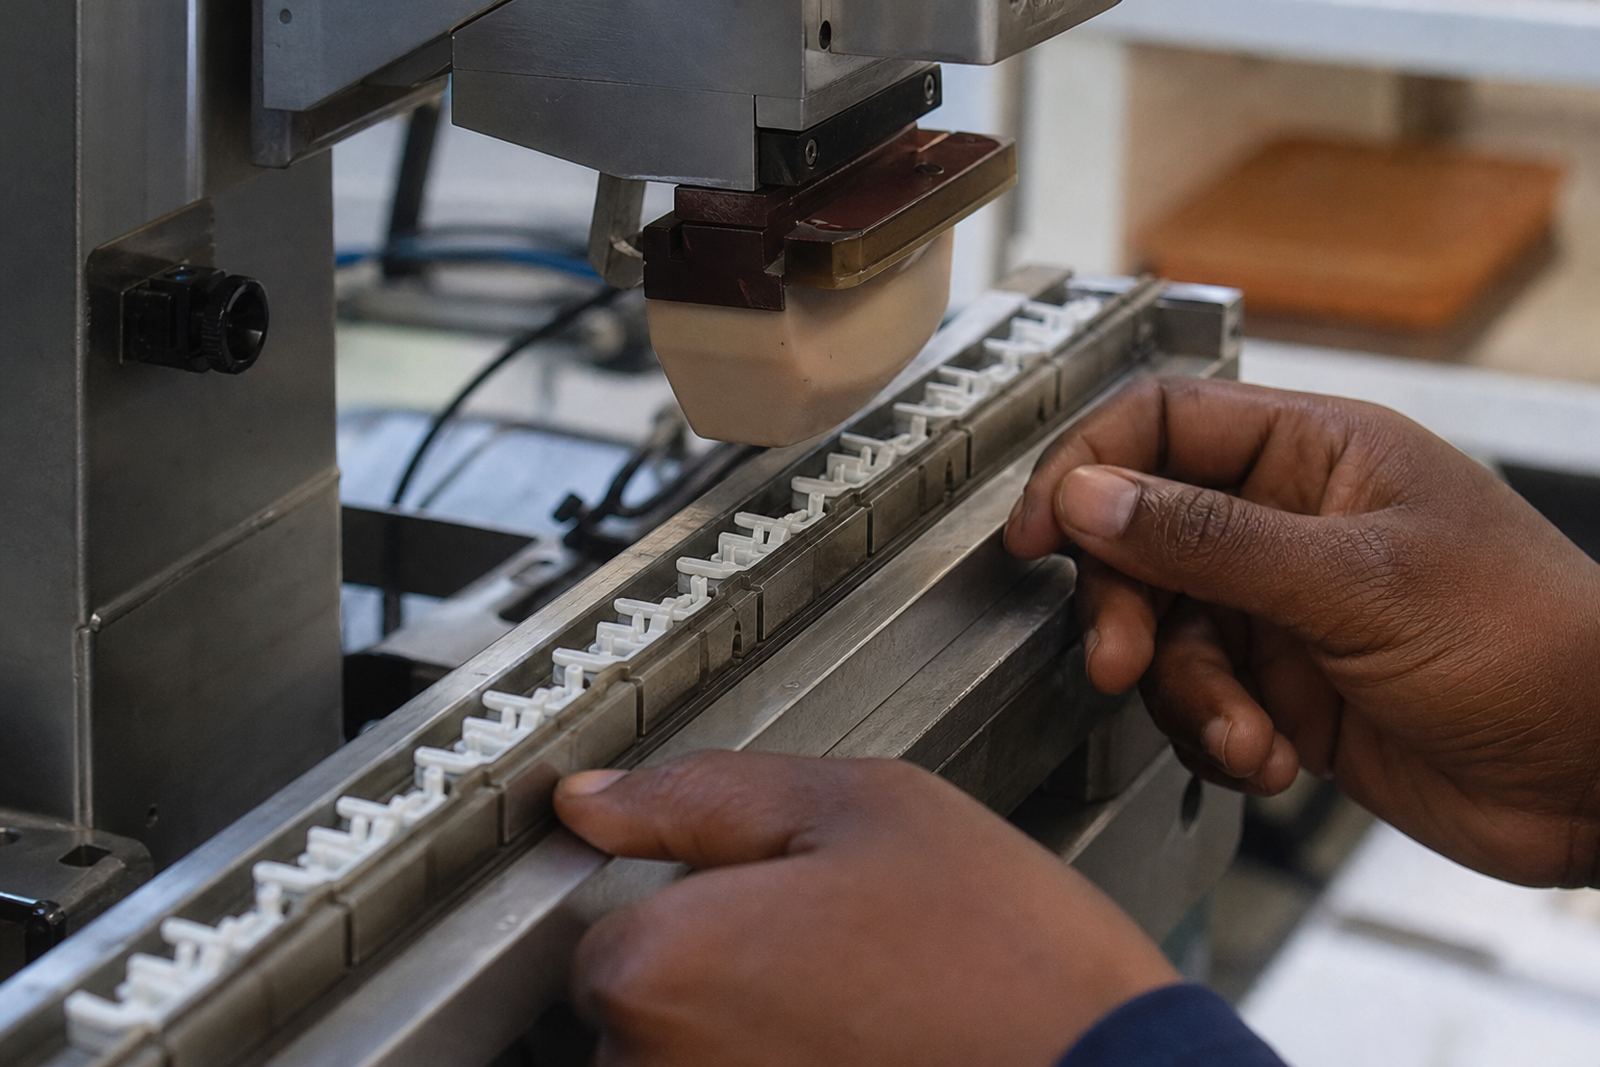
A Pretoria manufacturer asked us to mark plastic clips linked to syringe assemblies with small directional icons and coding marks for line-side identification. The parts were being handled often during assembly and packing, so the print had to be sharp, repeatable and easy to read at a glance. The customer also needed the marks to sit neatly on a small curved surface without flooding the detail or shifting position from part to part.
The job was handled from our Westmead base in Pinetown, with production support for clients across Durban, Johannesburg, Cape Town, Pretoria and Gqeberha. The component itself was not large, so the main challenge was control: artwork size, pad movement, ink transfer and cure timing all had to work together. On this sort of part, a tiny error in artwork or fixture set-up can throw off the whole batch, so we kept the setup tight from the start.
What the parts needed to carry
The clips were plastic, smooth moulded parts with limited flat space and a narrow print area. The brief called for a directional icon, simple coding marks and enough contrast for operators to identify the part during assembly. Because the clips form part of a syringe assembly workflow, the markings had to remain practical for production use, not decorative. Customers remain responsible for their own device compliance, so our role was to deliver consistent marking on the parts supplied to us.
- Small directional icon for quick orientation
- Coding marks for batch or line identification
- Fine line detail kept clear on a narrow print area
- Print position controlled so the mark sat in the same place on each clip
- Ink selection matched to the plastic surface and handling conditions
We also considered the working environment. In Gauteng, indoor production areas can be dry and dusty, while coastal clients often face humidity, so our process has to stay stable across different dispatch points. That means the same mark can be sent to Pretoria or Durban and still be set up with the same care.
How we prepared the artwork and plate
We started with artwork preparation and logo redraws where needed, then scaled the marks for the actual print area on the clip. Small directional symbols need clean edges and proper spacing or they start to look blurred once transferred by the silicone pad. We checked line thickness, gap sizes and the balance between the icon and coding marks before moving to plate exposure and plate etching.
The plate stage matters more than most clients expect. If the etched image is too shallow, the ink load becomes unreliable. If it is too deep, the fine marks can lose definition. For this project we kept the plate detail crisp and suited to the size of the part, then moved into trial sample runs. A few adjustments were made during sampling to refine the print area planning and confirm the most suitable pressure and pickup settings.
- Artwork scaled for the actual moulded part size
- Plate exposure set for fine directional detail
- Etching depth controlled for even ink pickup
- Sample runs used to confirm alignment and readability
Pad printing setup, inks and curing choice
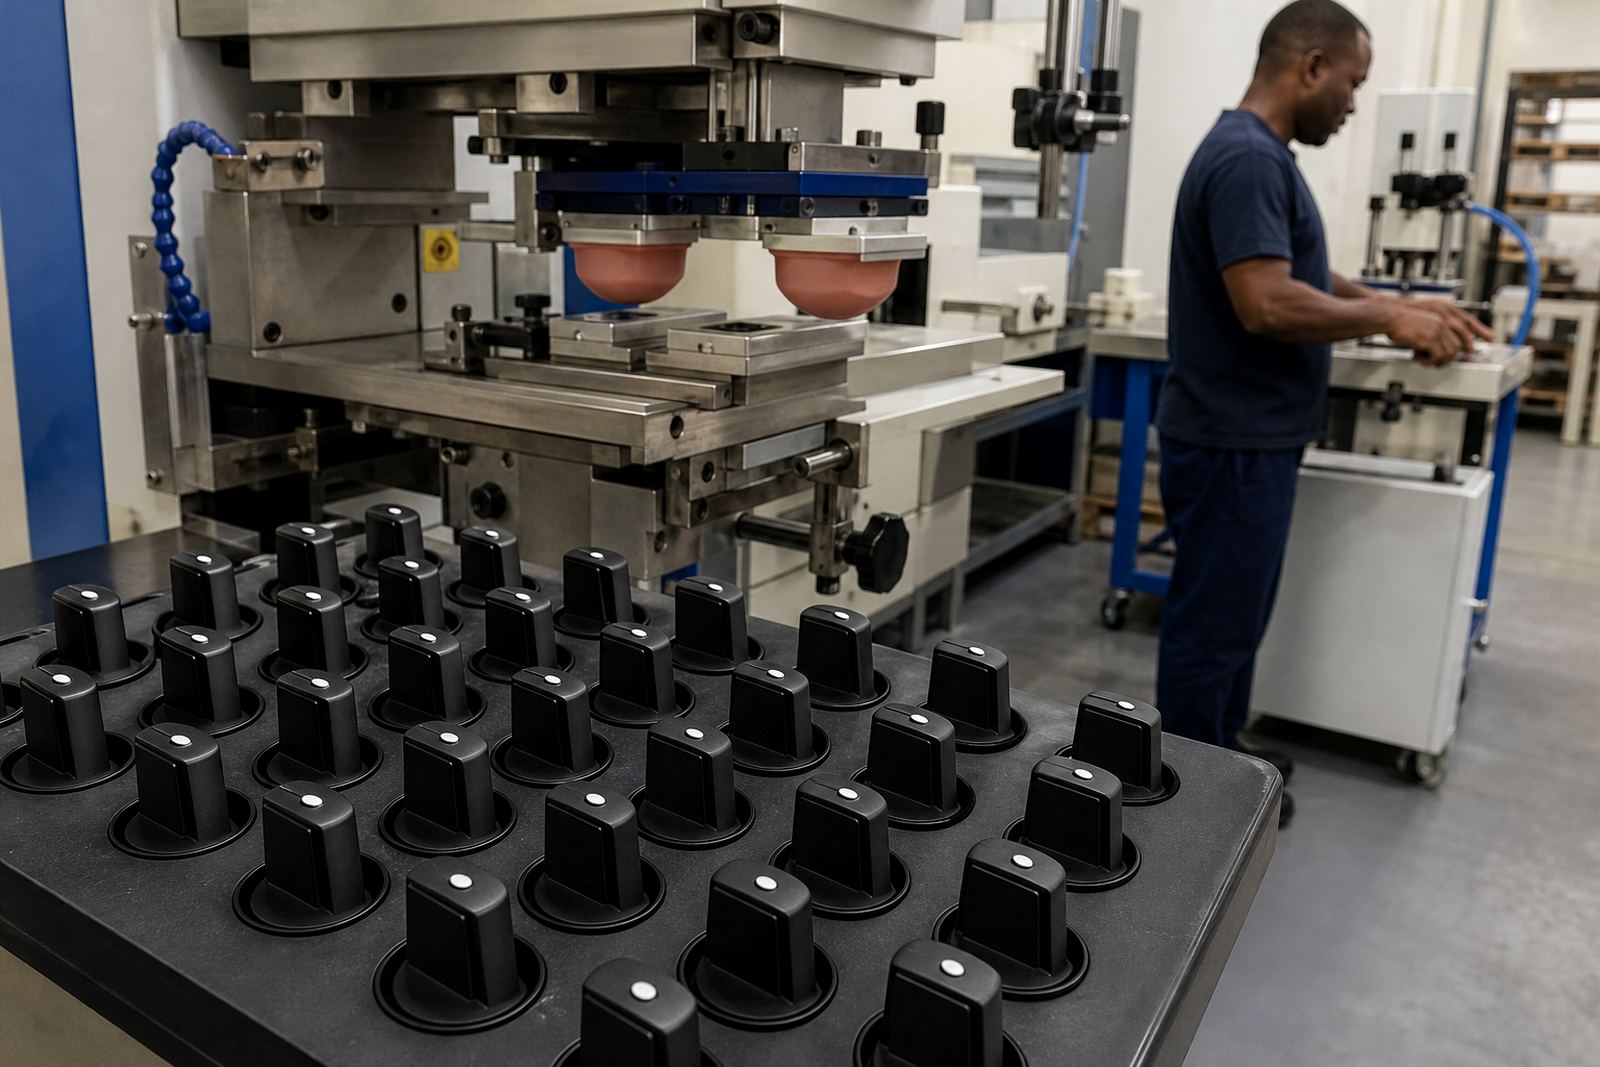
Pad printing was the right method because it can transfer fine marks from an etched plate onto small, slightly curved plastic parts with good repeatability. A silicone pad picks up the ink from the plate and presses it onto the component, which is ideal when the print area is tight and the surface is not fully flat. We selected the curing method around the material and handling needs of the part, then checked adhesion with sample prints before moving ahead.
The ink had to anchor neatly to the plastic and dry under controlled conditions so the parts could be handled during packing without smearing. In a job like this, curing is not something to leave to chance. It needs the right balance of time, temperature and workflow so the part can move from printing to inspection without holding up production. We also used rerun job control, which helps keep later reorders consistent if the same syringe clip is ordered again months later.
Timeline and production control
Because the clips were for a medical assembly environment, we kept the process orderly and traceable within our own production system. The focus was on consistency from the first print to the last. If a rerun was ever needed, the setup notes and plate reference made it easier to return to the same result without starting from scratch. It sounds simple, but on small parts that save a lot of time.
- Week 1: artwork, plate prep and first samples
- Week 2: approval, production run and dispatch packing
- Controlled setup for repeat batches
- Marked parts packed for safe movement to the client
Results for the Pretoria line
The finished syringe clips carried the directional icons and coding marks clearly, with the print sitting neatly in the intended area and holding up well during normal handling. The client needed something practical for production use, not a heavy print that would distract from the part. We supplied a mark that was easy to read, stayed in place and supported line-side sorting and orientation. For a small component, that makes a real difference to how the assembly team works.
The strongest result was consistency. The samples matched the final run closely, so the client could move forward with confidence on the marked parts. We also kept the setup suited to future repeats in case the same clip needs another batch later on. That is the sort of job we like: a small part, a narrow print area and a finish that has to be right first time or nearly so.
What stays consistent on similar syringe clip runs
If we were doing the same type of syringe clip project again, we would use the same approach: confirm the print area early, keep the artwork simple and test the ink on real parts before production. Small directional marks are unforgiving on curved plastics, so it is worth spending time on the plate and fixture before any full run starts. We would also keep the curing choice linked to the actual handling pattern of the parts, not just the material type.
For Pretoria manufacturers and suppliers across South Africa, this kind of work shows how pad printing supports small medical and electronic components without overcomplicating the process. From Westmead in Pinetown, our team handles artwork preparation, colour matching, plate work, trial sample runs, adhesion test samples, curing method selection and dispatch packing. The result is a practical print solution that suits the part and the production line.
Run details
| Project | Pretoria syringe clips |
|---|---|
| Part type | Plastic clips linked to syringe assemblies |
| Marking | Directional icons and coding marks |
| Method | Pad printing on moulded plastic parts |
| Location | Westmead, Pinetown |
| Timeline | 2 weeks from artwork check to dispatch |