Why Medical Device Parts Need Fine Marking
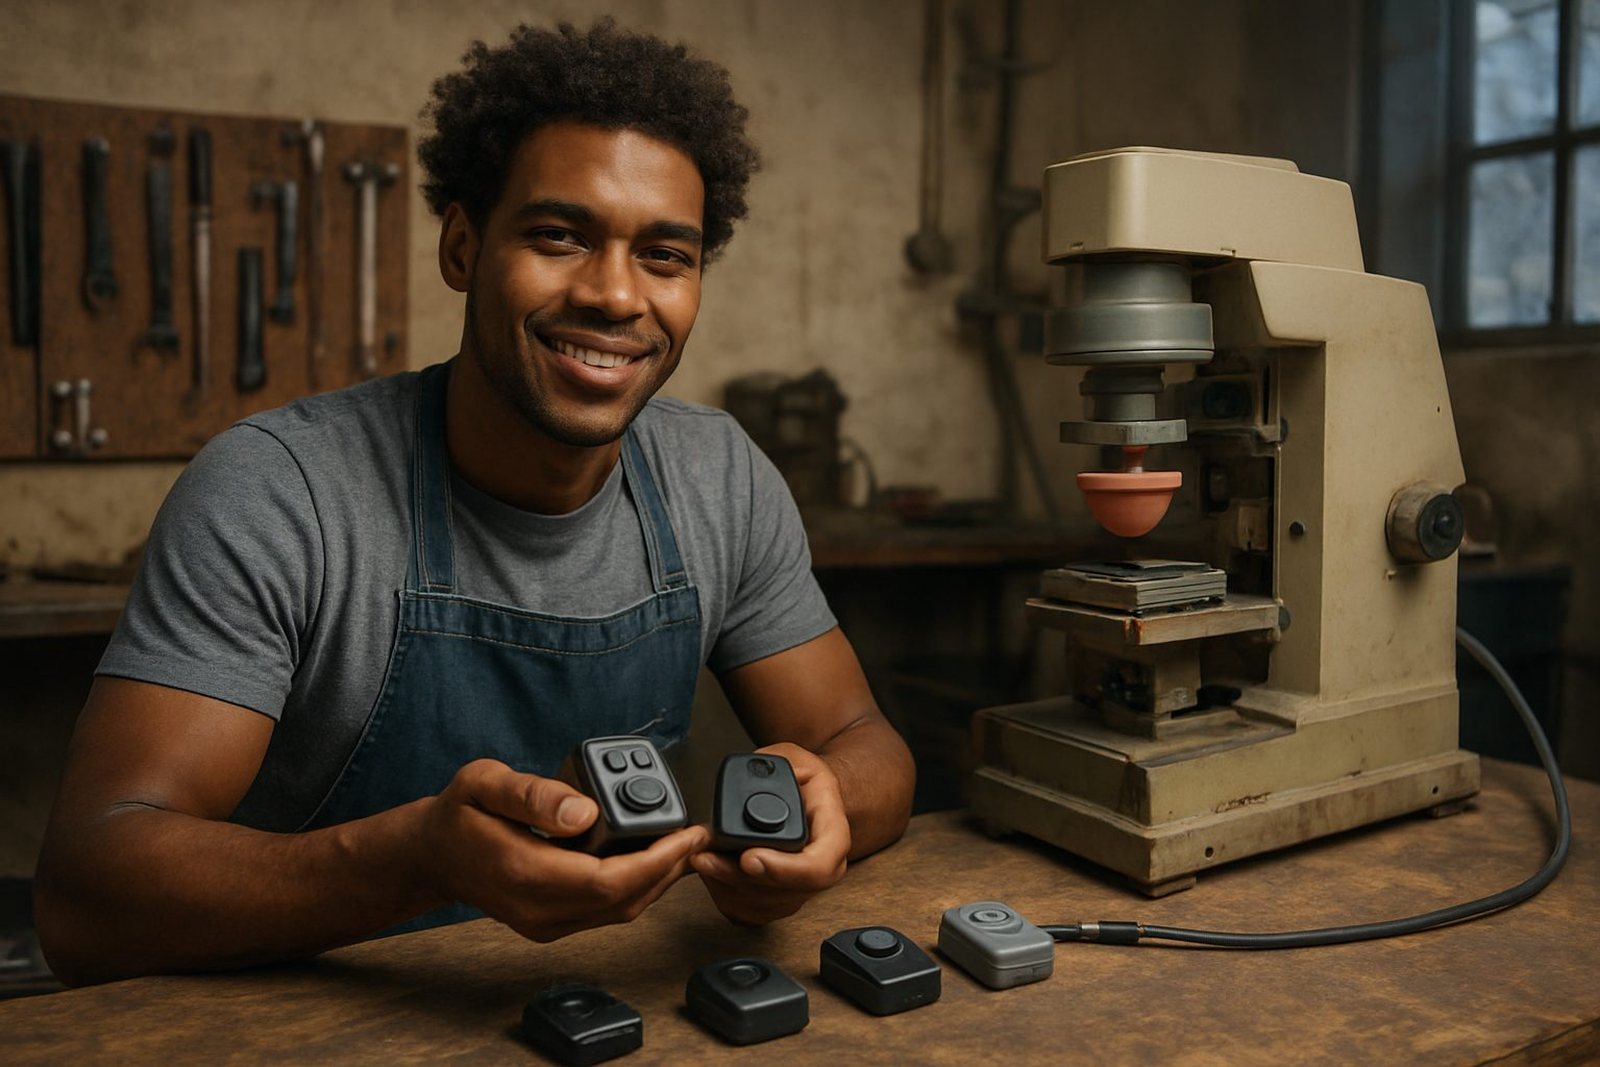
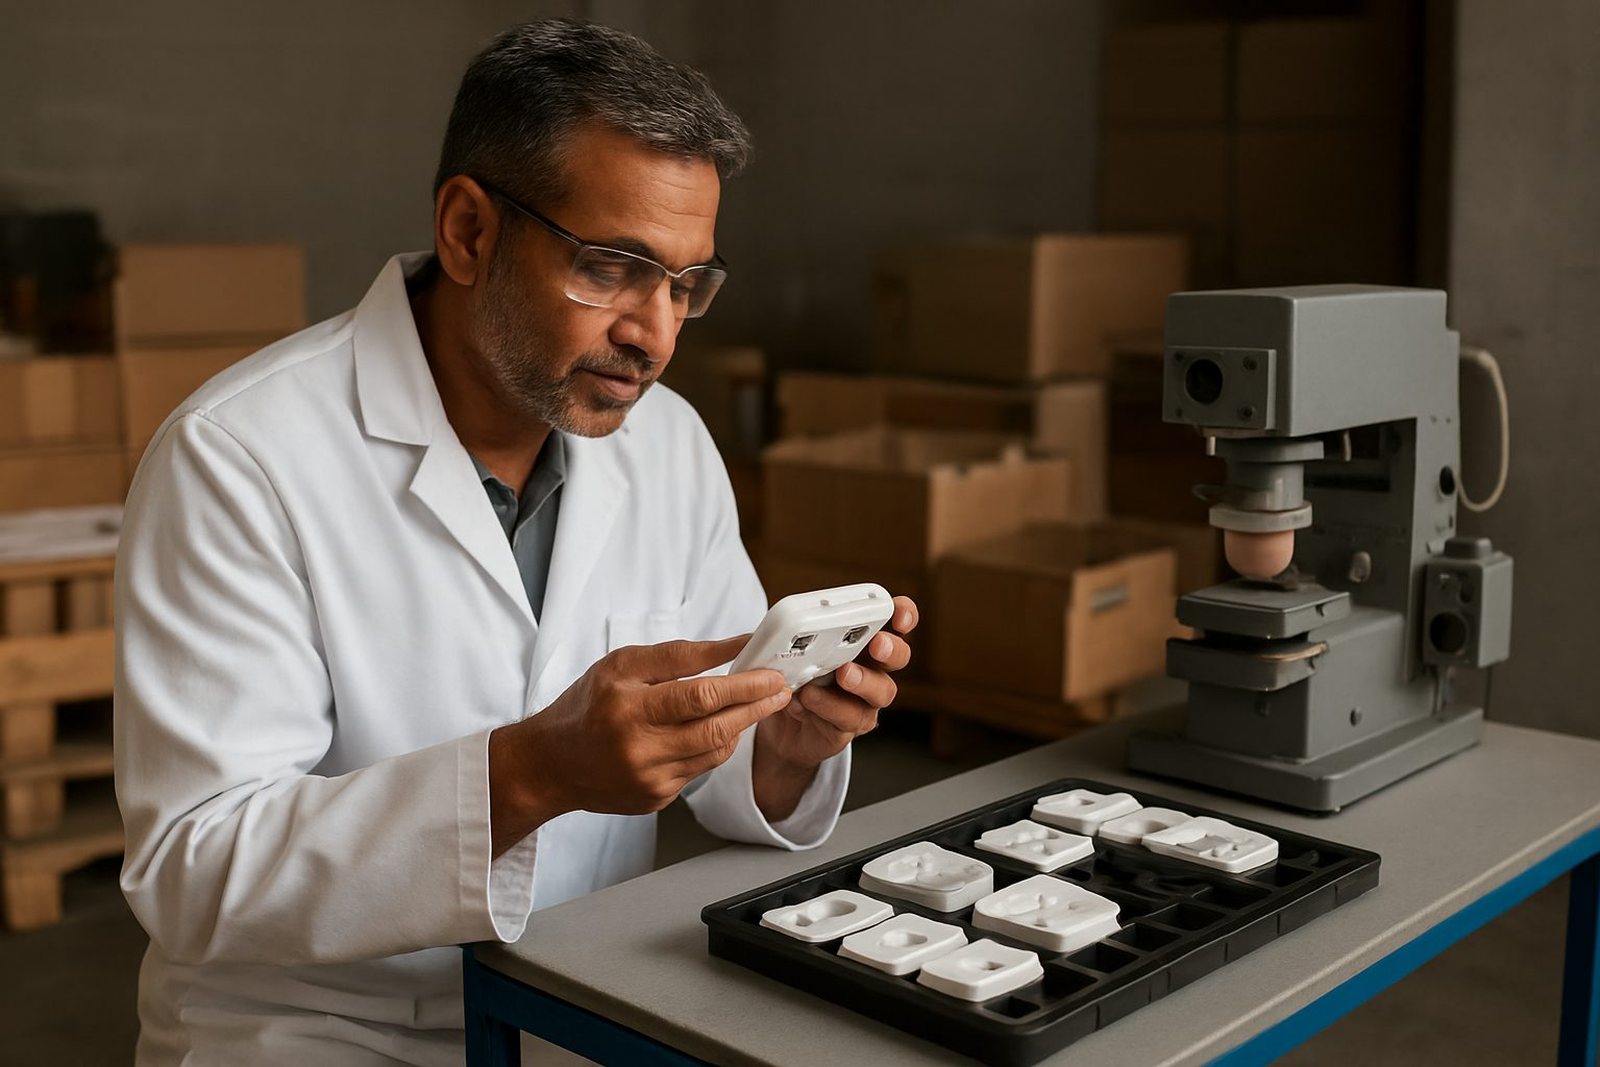
Medical device parts often carry part numbers, icons, flow arrows, fill marks, warning notes and orientation cues that must stay readable after handling, cleaning and repeated use. Pad printing is suited to these jobs because a silicone pad can transfer ink onto small curves, recesses and uneven surfaces without forcing a flat label onto a part that was never made for one.
For manufacturers in Durban, Johannesburg, Cape Town, Pretoria and Gqeberha, the main issue is usually not just print quality but placement. A mark that sits 2 mm too high can get hidden by a clip, screw boss or mould line, and that turns into rework. We look at the part, the handling method and the final assembly stage before any plate is made.
Typical Parts We Print For Medical Assemblies
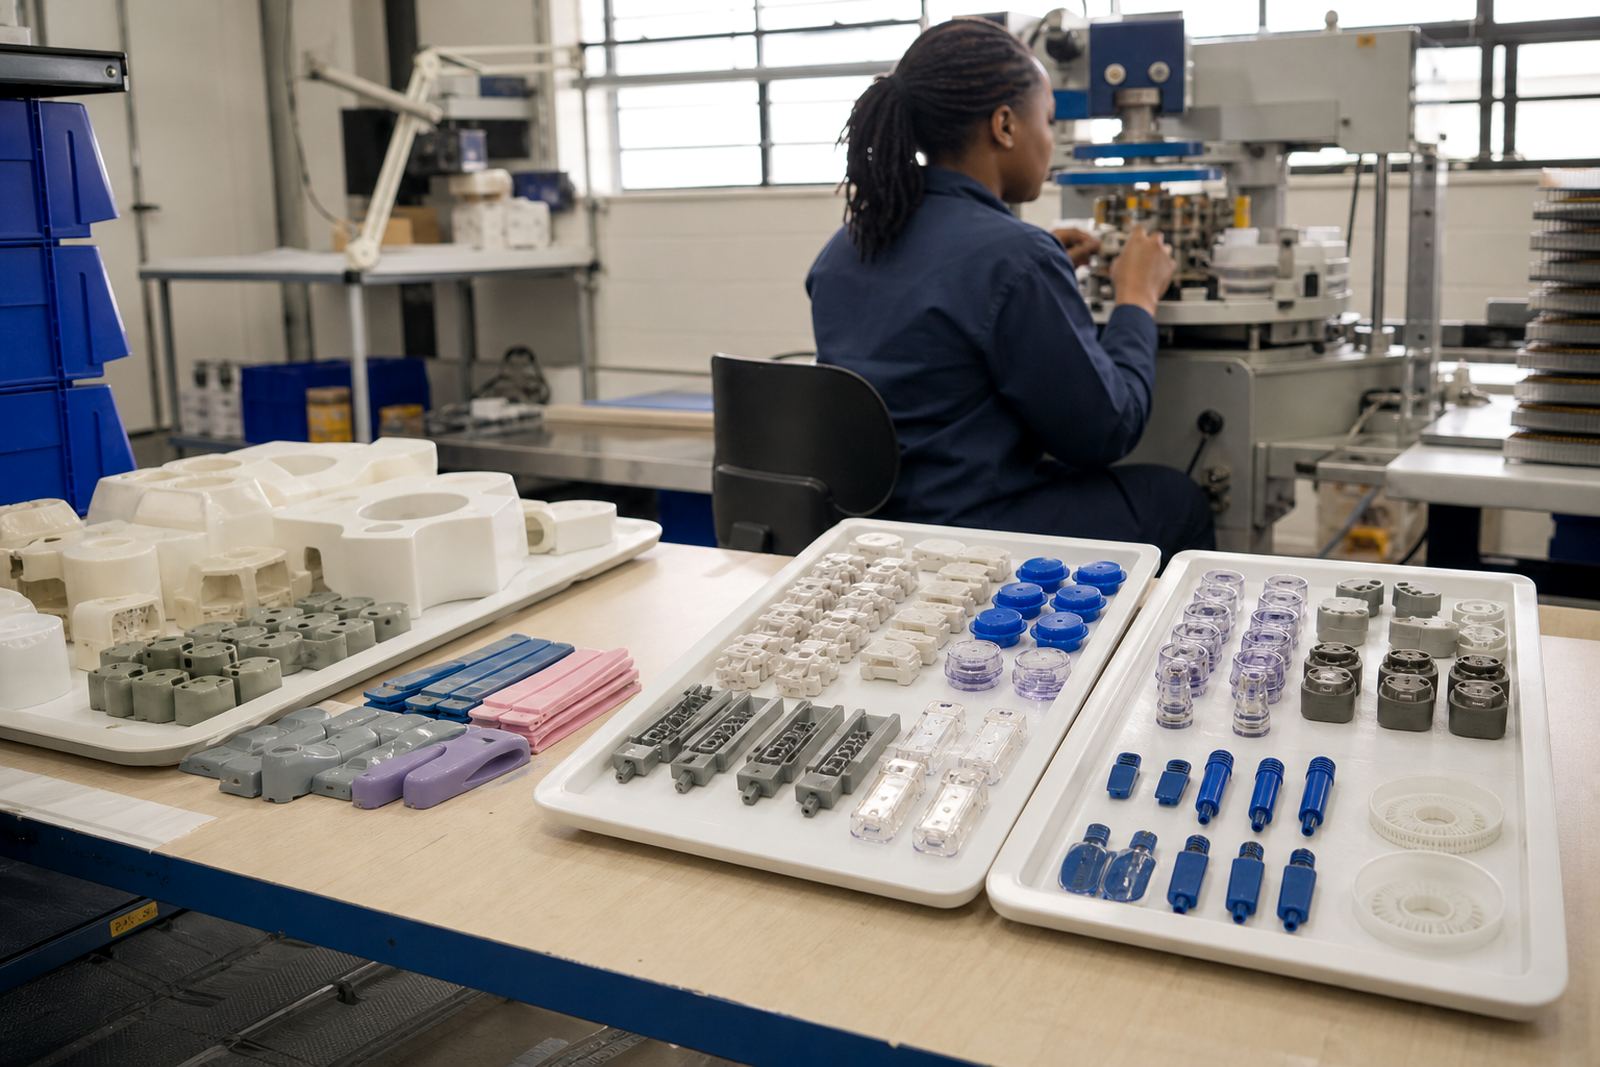
Medical device components vary a lot, from handheld casings to small internal covers and consumable housings. Many are moulded plastics, some are coated metals, and some have tight tolerances where the print must sit inside a defined area. The goal is simple: the mark must be legible, in the right place and able to survive normal use.
- Handheld device shells and covers
- Control buttons and face plates
- Disposable housings and cartridge parts
- Selector knobs and small caps
- Printed plastic inserts and lens surrounds
- Metal brackets and marked sub-assemblies
Device compliance, approval paths and any required validation remain the customer's responsibility. Our role is the printing side, plus the practical steps that help the mark land where it should.
How We Plan The Print Before The First Run
Good pad printing starts with artwork preparation and print area planning. Sibusiso Naicker and the team at Westmead, Pinetown work through the actual part dimensions, not just the drawing. Naledi Kekana reviews the production flow, while Sanjay Dookhi checks the artwork and plate layout so the image sits cleanly inside the available space.
We also consider the fixture from the beginning. If the part moves while the pad lands, the print will drift. That is why fixture making and trial sample runs matter so much on medical parts, especially where the surface is curved or the marking has to line up with an embossed panel. Sometimes a small change in fixture angle saves a lot of trouble later.
- Confirm the exact print position on the finished part, not the moulded drawing only
- Allow space for gates, ribs, edges and handling marks
- Check how the part sits in the jig during loading and removal
- Decide early whether one colour or a second pass is needed
Inks, Curing And Surface Behaviour
Different medical device plastics and coated metals react differently to ink. Some accept print easily, while others need careful surface testing before production starts. We carry out adhesion test samples and then select the curing method that suits the part, the ink and the run size. On certain jobs heat is the best route, while on others air cure or a controlled drying stage works better.
Print durability depends on more than the ink tin. Surface preparation, drying time and the handling after printing all matter. In humid coastal areas like Durban, drying time can change a bit from one week to the next, so we keep an eye on the process rather than assuming every batch will behave the same. Yashika Sewpersad in client services also helps keep the job notes clear, so rerun job control is straightforward when the same part comes back later.
Common Mistakes We Help Clients Avoid For Medical Parts
Most repeat problems on medical device printing come from rushing the planning stage. The artwork may be fine, but the print area is too tight, the jig is awkward, or the part has a slight curve that was not allowed for. A small error on a prototype can become a large batch issue if it is not caught early.
- Using artwork that is too fine for the actual moulded surface
- Placing marks over texture, draft angles or seam lines
- Skipping trial sample runs and going straight into quantity
- Choosing the wrong curing method for the material
- Assuming one fixture will suit every revision of the part
Where needed, Mfundo Xaba handles machine setup so the print pressure, speed and pad pick up are matched to the component. Lerato Mabunda then checks consistency during production, because on medical parts a small shift can be enough to fail a visual inspection.
Budget Ranges For Medical Device Pad Printing
Budget depends on artwork complexity, number of colours, fixture design, plate work, sample approvals and batch size. A simple single colour mark on a flat, easy part can sit at the lower end of the range, while a more technical component with tight placement, redraws and custom fixturing will cost more. The practical point is to price the full process, not just the print stroke.
As a guide, clients should budget for artwork preparation, plate exposure, fixture making, adhesion samples and trial runs before the main run starts. For many medical device jobs, these setup costs are where the real planning sits. Once the process is stable, rerun jobs are usually easier to manage if the part has not changed. Dispatch packing is also important, especially when parts must arrive clean and sorted for assembly lines in Johannesburg, Pretoria or Cape Town.
We support Pinetown Printing Support, Durban Manufacturers, Johannesburg Supply, Pretoria Supply, Cape Town Supply, Gqeberha Supply, New Germany Support and Westville Support from the same base in Westmead.
What To Send Us For A Proper Quote
To price a medical device print properly, send the part sample or a clear drawing, the artwork if you have it, the material type, expected quantities and where the mark must sit. If the part is already in production, tell us what has gone wrong before, whether that was smudging, poor adhesion, misalignment or colour drift. That gives us a better starting point.
- Part sample or dimensioned drawing
- Artwork in usable format, if available
- Material and surface finish
- Print position and any keep-out areas
- Approximate monthly or batch quantity
For a pad printing run, write to PadPrinters through the contact page form with your part, artwork and run size. From there we can plan the artwork, test the part and set up the job properly before production begins.