Two pass pad printing for clear, contrasting markings
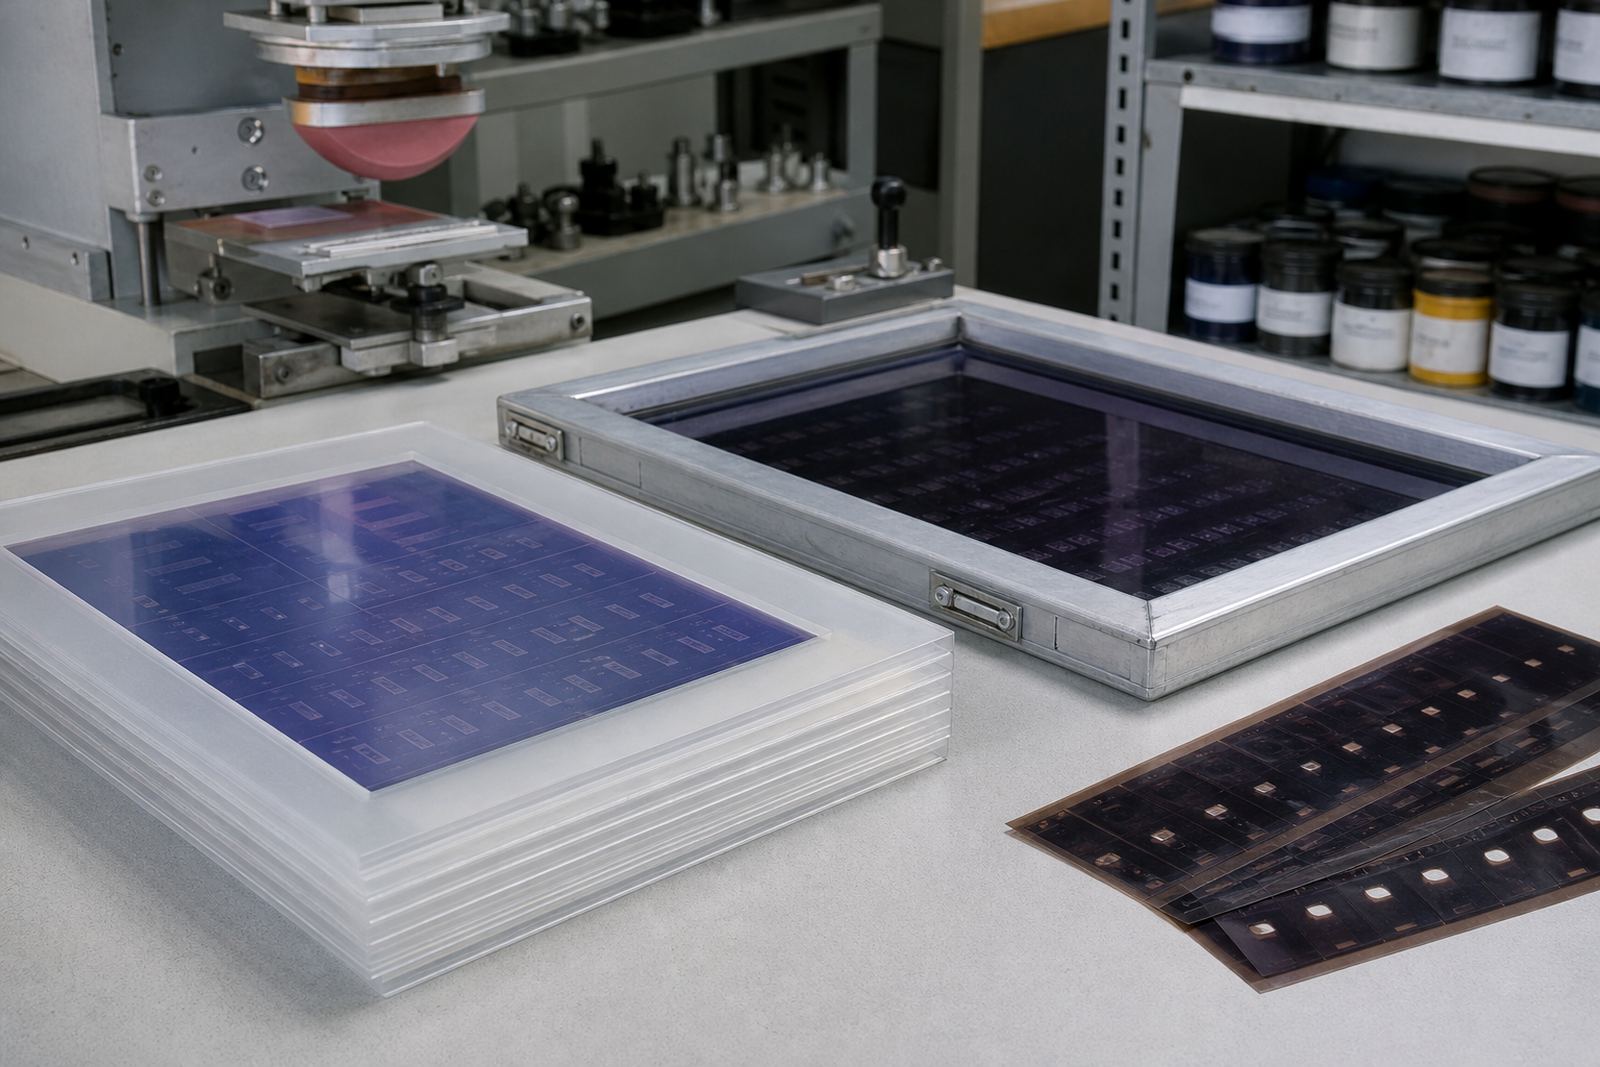
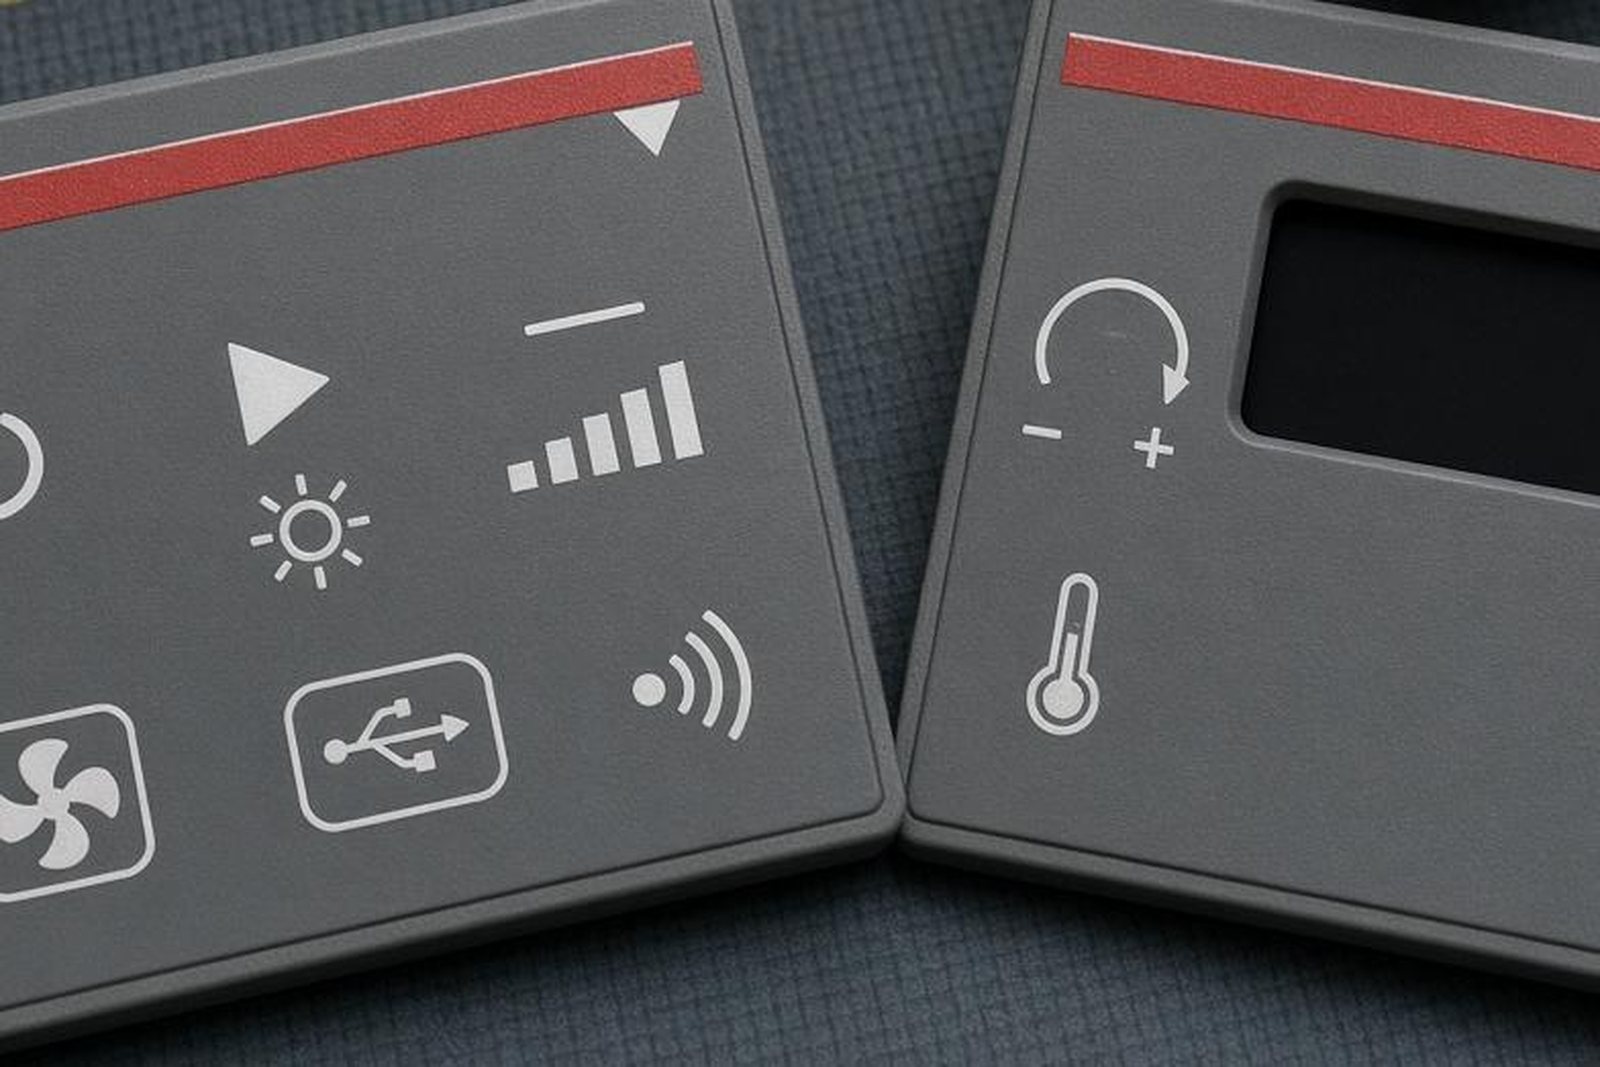
Two colour printing uses the pad printing process twice on the same component, with each pass carrying a separate colour from a prepared ink cup and plate. A silicone pad lifts the first image from the etched plate and places it onto the part, then the second pass adds the next colour in the correct register. It suits parts where a single colour would not give enough contrast, or where the marking must carry more than one visual cue for assembly, traceability or use.
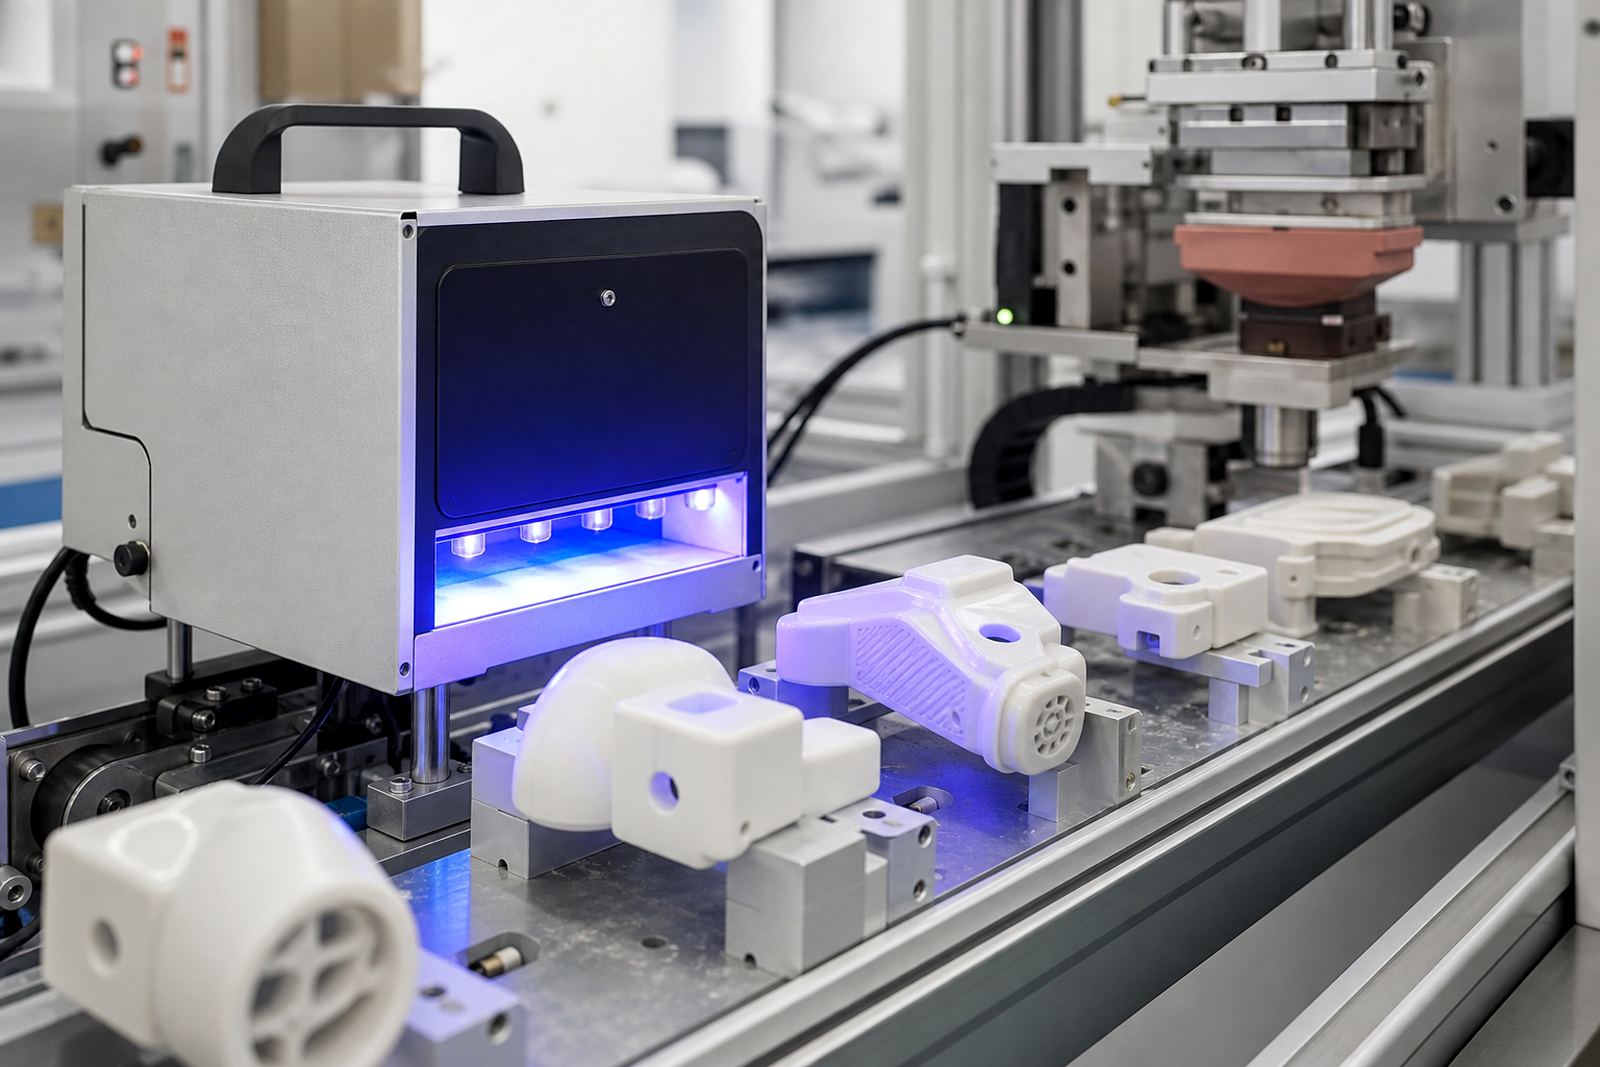
Control is the real value on medical and electronic parts. The print needs to sit where it was planned, cure properly, and stay readable on plastic, coated metal or moulded housings after handling, cleaning and normal use. We work with the component shape, the ink system and the curing method together, because a good result depends on the full set up not only the artwork.
- Two separate colours applied in sequence
- Suitable for fine text, icons, arrows and reference marks
- Designed for repeatable placement on small parts
Where two colour printing suits medical and electronic parts
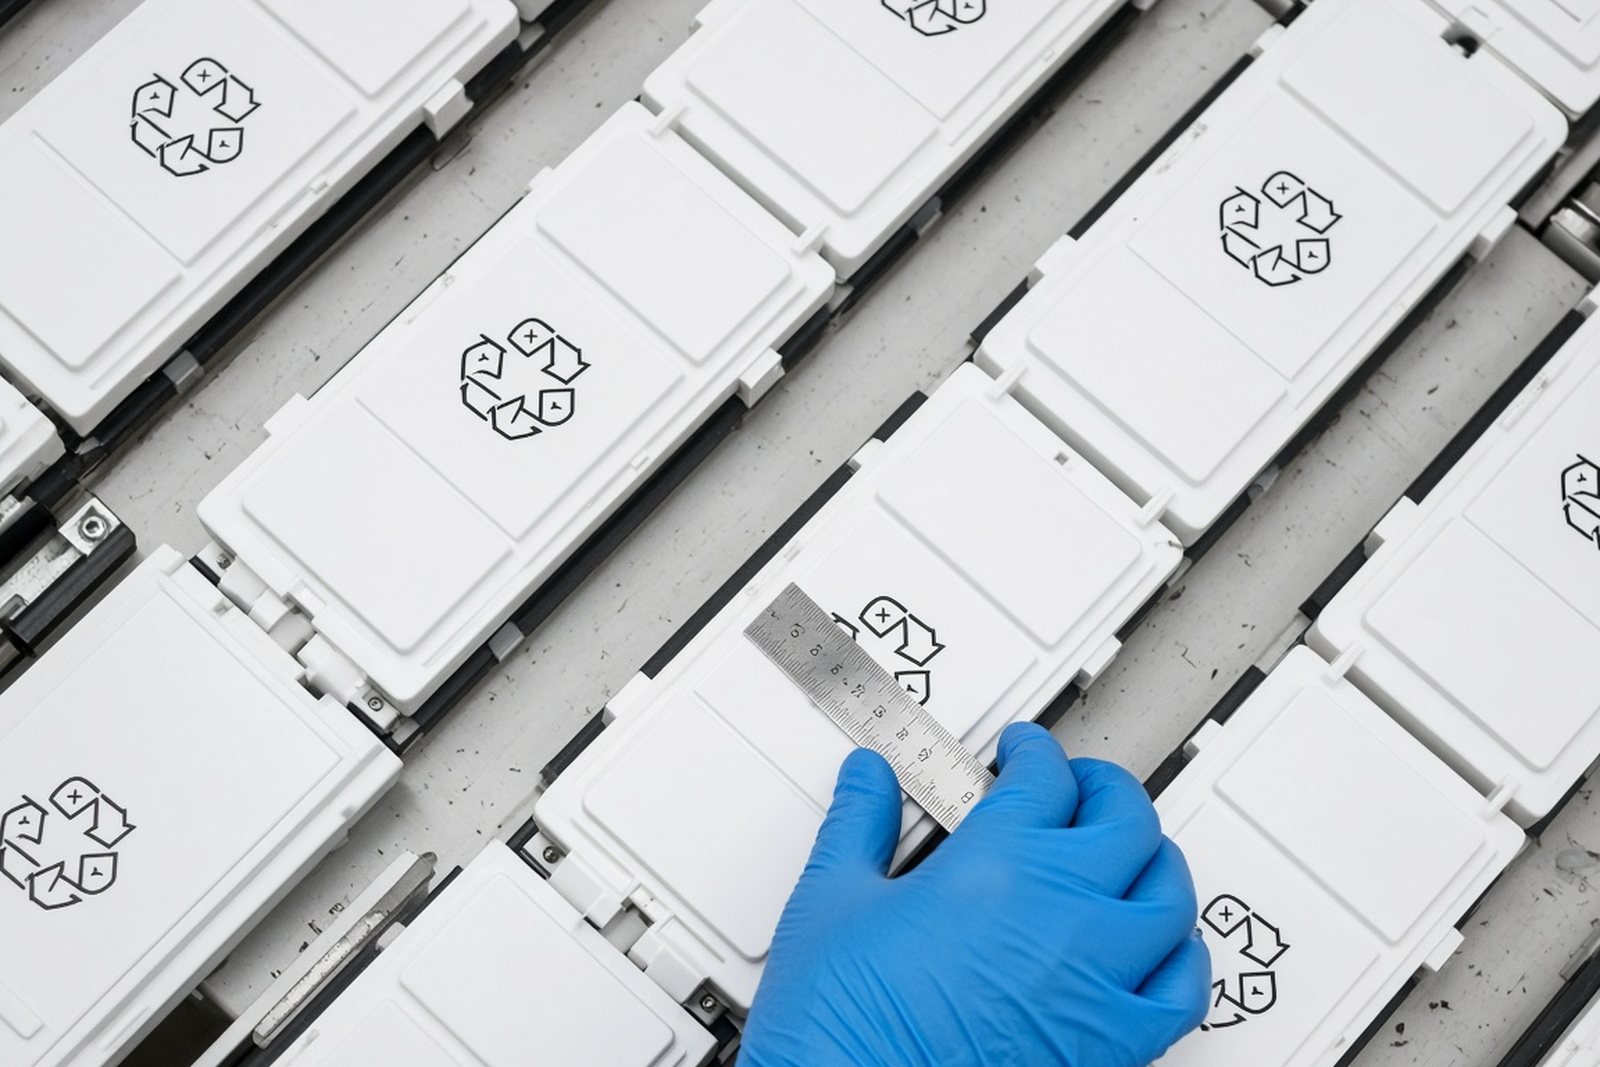
This option is often chosen for components that need clearer identification at a glance. On medical items it may be used for control markings, legends, indicator points or labelled areas on housings and covers. On electronic parts it is common on front panels, switch surrounds, caps, bezels, keypad areas and device enclosures where the marking must remain visible under factory lighting and day to day use.
Because the work is done on parts rather than flat paper, the shape matters. Curved faces, recesses, chamfers and limited print windows all affect how the pads touch the part. We plan the print area around the moulding, so the finished marking stays in the safe zone and does not run into edges, ribs or snap features.
- Medical device housings and control pieces
- Electronic enclosures, keypads and front panels
- Small parts where text and symbols must stay legible
Sizes, artwork and print area planning
Two colour work is best when the artwork is prepared for the actual print area, not just the flat drawing. We check line weight, letter height, spacing between the two colours and the tolerance that the part shape will allow. Fine details can print well with pad printing, but the design must be kept practical. Very thin lines, tiny reversed text or crowded symbols can break down once the pad compresses and releases.
As a guide, we normally look at the usable print window, the amount of flat or stable contact area, and whether the part can be held in a repeatable fixture. If the marking must sit close to a curve or a notch, we may recommend a test sample first. That gives a better view of alignment, ink coverage and how the two passes sit together after curing.
- Artwork can be redrawn for pad printing suitability
- Colour separation and registration are checked before production
- Trial samples help confirm the print area and final layout
Ink choice, curing and adhesion on different materials
Different plastics and coated surfaces react differently to ink, so colour choice is only one part of the job. We match the ink system to the substrate and the end use, then choose the curing method that gives the best finish for the part. Some jobs are heat cured, others air dry or use a controlled curing stage depending on the material and production flow. The aim is clean transfer, proper bond and colour that holds up under normal handling.
For parts used in medical and electronic environments, adhesion matters as much as appearance. If the surface energy is low or the moulding has release residue, the print may need surface preparation or a sample adhesion check before production goes ahead. Customers remain responsible for their own device compliance and final product suitability, but we help establish a print process that is practical for the part itself.
- Ink matched to plastic, coated metal or other prepared surfaces
- Curing selected for the job and production pace
- Adhesion test samples available before full run approval
Trial runs and approval
Two colour pad printing needs a proper setup, but it does not usually require heavy site works. If a job includes fixtures, we make sure the part sits consistently so the first and second colours land where they should. On busy manufacturing floors in Durban, Johannesburg or Pretoria, this kind of control helps reduce rework and saves time during line changeovers.
Good scheduling matters, especially when production windows are tight and dispatch dates are fixed.
- Space for fixtures, sample checks and packing
Care, servicing and repeat order control
Like any precision process, two colour printing performs best when the plates, pads and fixtures are kept in good condition. Silicone pads wear over time, plates can lose detail if handled badly, and ink residue can affect the next run if cleaning is rushed. We keep rerun job control so later batches match the approved sample as closely as possible, and we can revisit the setup if a part, moulding batch or surface finish changes.
For customers running ongoing production, it is worth keeping notes on the approved artwork version, curing method, substrate batch and any surface treatment used before printing. That makes repeat jobs easier and avoids confusion when the same part returns months later. Our dispatch packing also helps keep printed parts protected in transit, which matters for delicate markings on small components.
- Keep approved samples and artwork references on file
- Check pad condition and plate clarity before each rerun
- Review packing so printed surfaces are not rubbed in transit
What to check before ordering two colour printing
Before placing an order, it helps to confirm a few practical points. What material is the part made from, where exactly must the two colours appear, and how much flat or stable area is available? If the marking includes very small text, ask whether the characters can be read comfortably at the final size. If the part is used in a medical or electronic assembly, think about how it will be handled, cleaned and fitted into the next stage of production.
We also recommend checking whether the artwork is final, whether a sample run is needed, and whether the component shape will need a fixture. If you are printing for sites in Pinetown, Westmead, New Germany, Westville or further afield in Gqeberha, Johannesburg, Cape Town or Pretoria, the same preparation still applies.
- Confirm material type and surface finish
- Provide the final artwork and colour intent
- State the required quantity, print area and turnaround needs
Run details
| Process | Two pass pad printing with separate colour applications |
|---|---|
| Typical use | Contrasting legends, indicators, logos and identification marks |
| Suitable parts | Medical housings, electronic enclosures, caps, bezels and control pieces |
| Artwork support | Logo redraws, colour matching and print area planning |
| Production support | Trial sample runs, adhesion test samples and rerun job control |
| Base and coverage | Westmead, Pinetown with supply to Durban, Johannesburg, Cape Town, Pretoria and Gqeberha |