Printing On Diagnostic Equipment Parts That Need Clear, Lasting Identification
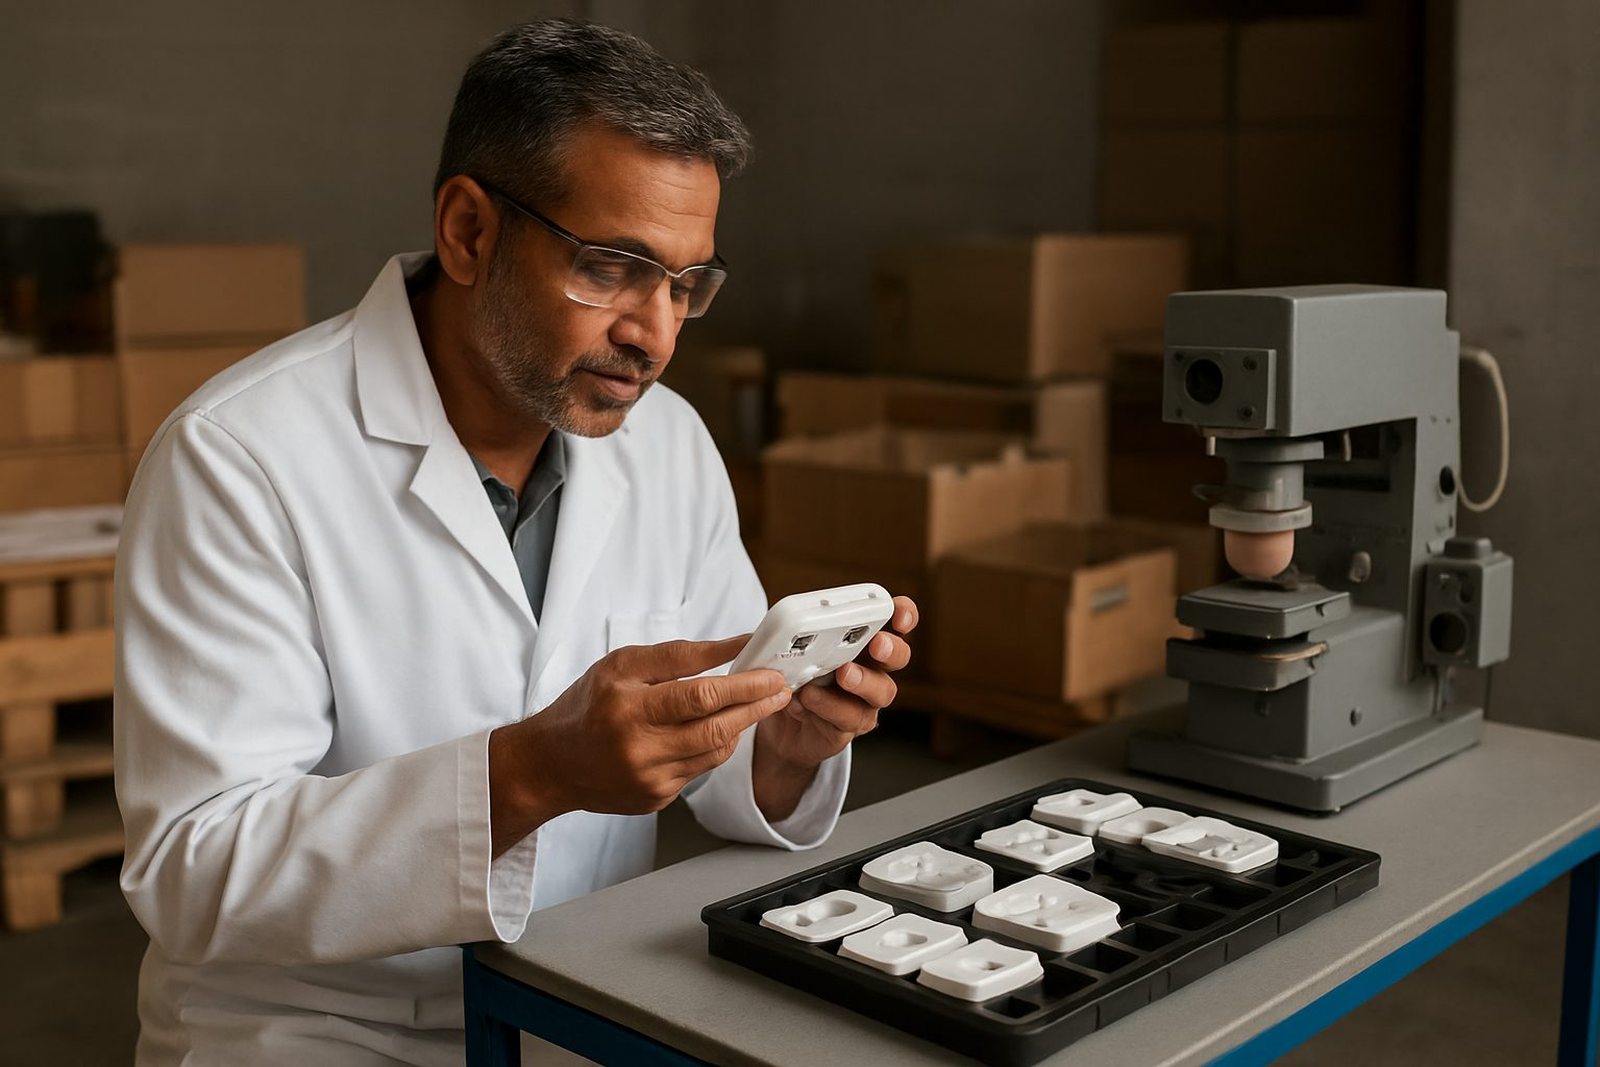
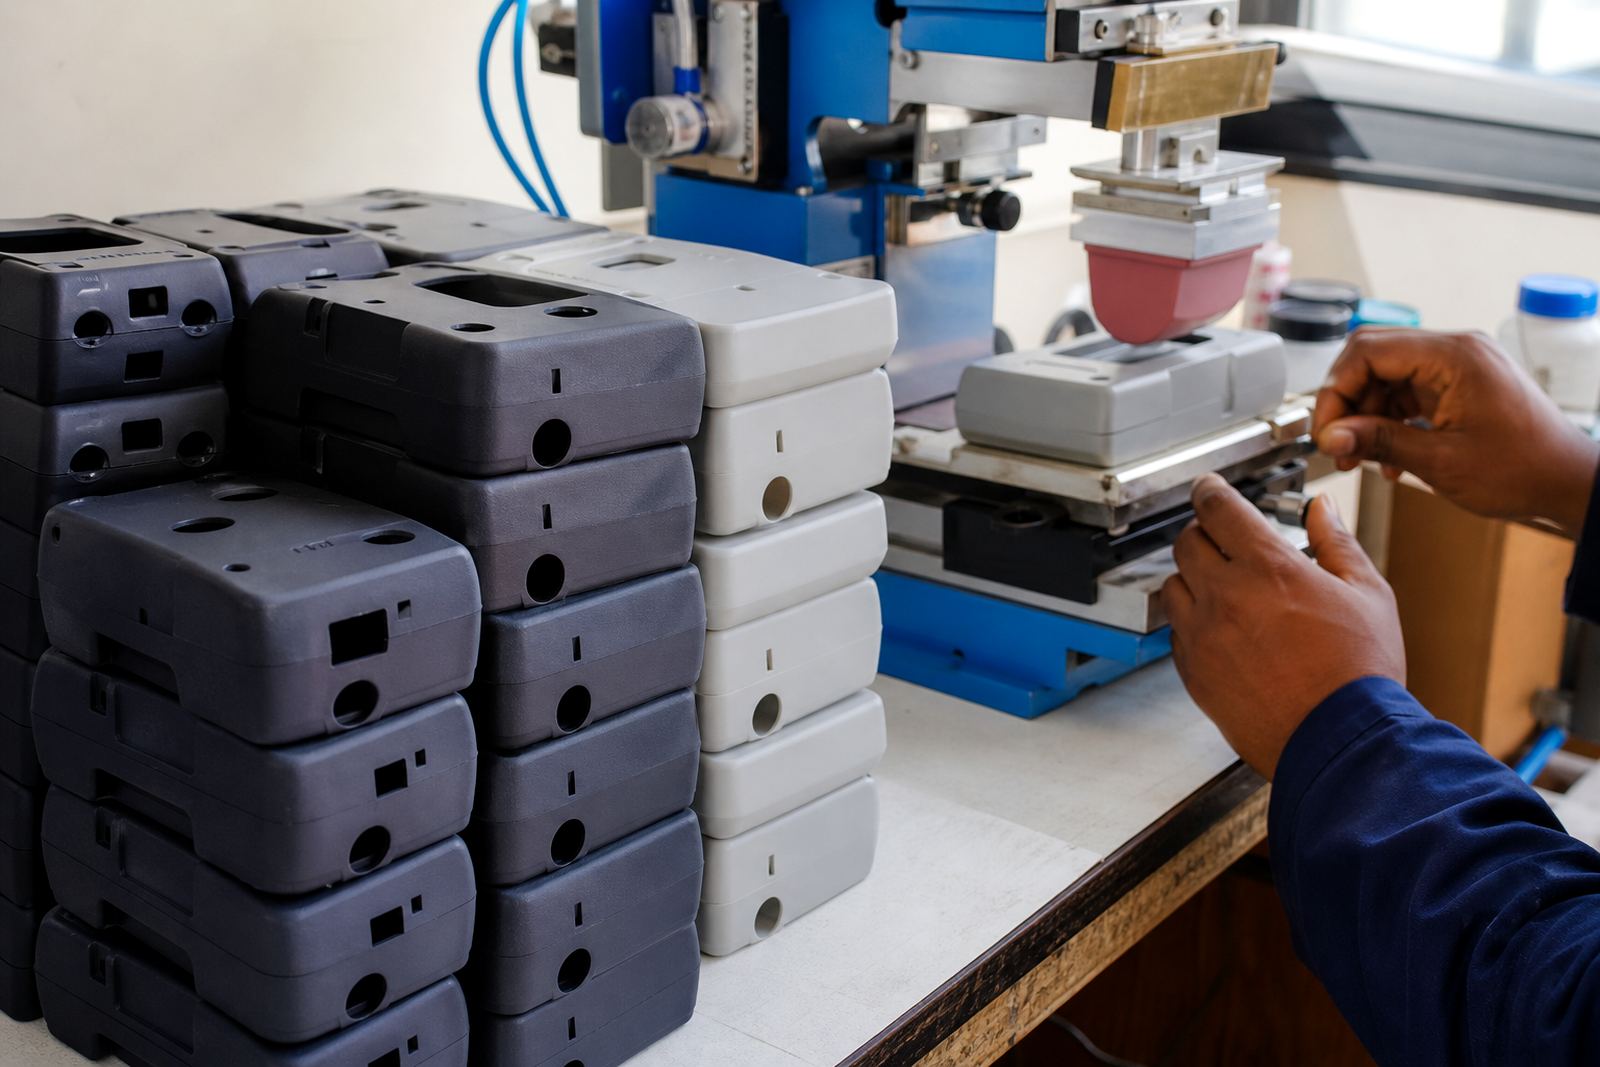
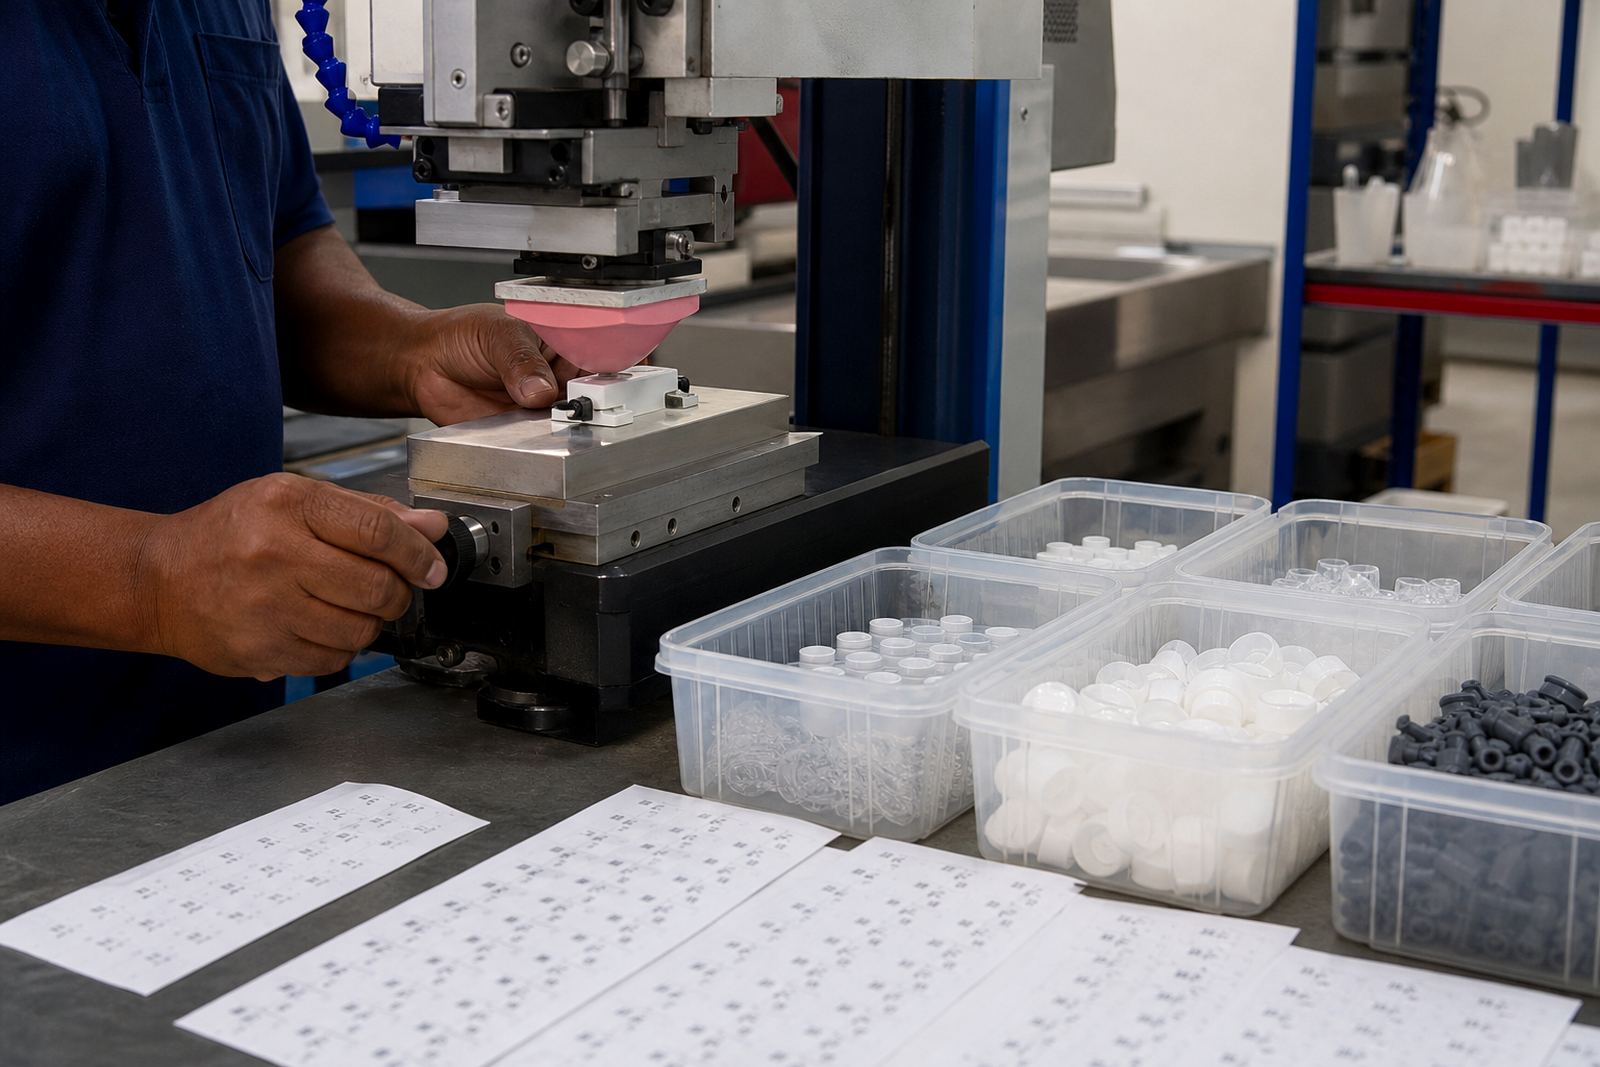
Diagnostic equipment often needs small, clean markings on housings, front panels, rotary controls, indicator lenses and internal plastic parts. In practice, pad printing works well where the print area is curved, recessed or too small for conventional methods. A soft silicone pad picks up ink from an etched plate and transfers it onto the part, giving a neat result on shaped components that come through final assembly in busy production lines.
Readability and consistency are the main goals on medical and electronic equipment. That includes symbols, part numbers, calibration marks, directional arrows, warnings and operating legends. Customers remain responsible for confirming that each marked component meets their own device compliance requirements, but we can help plan the print so it sits in the right place and holds up in normal handling and cleaning.
The job might be a one-off prototype run or repeat batches for production, and the setup changes accordingly.
Typical Components We See In Diagnostic Assemblies
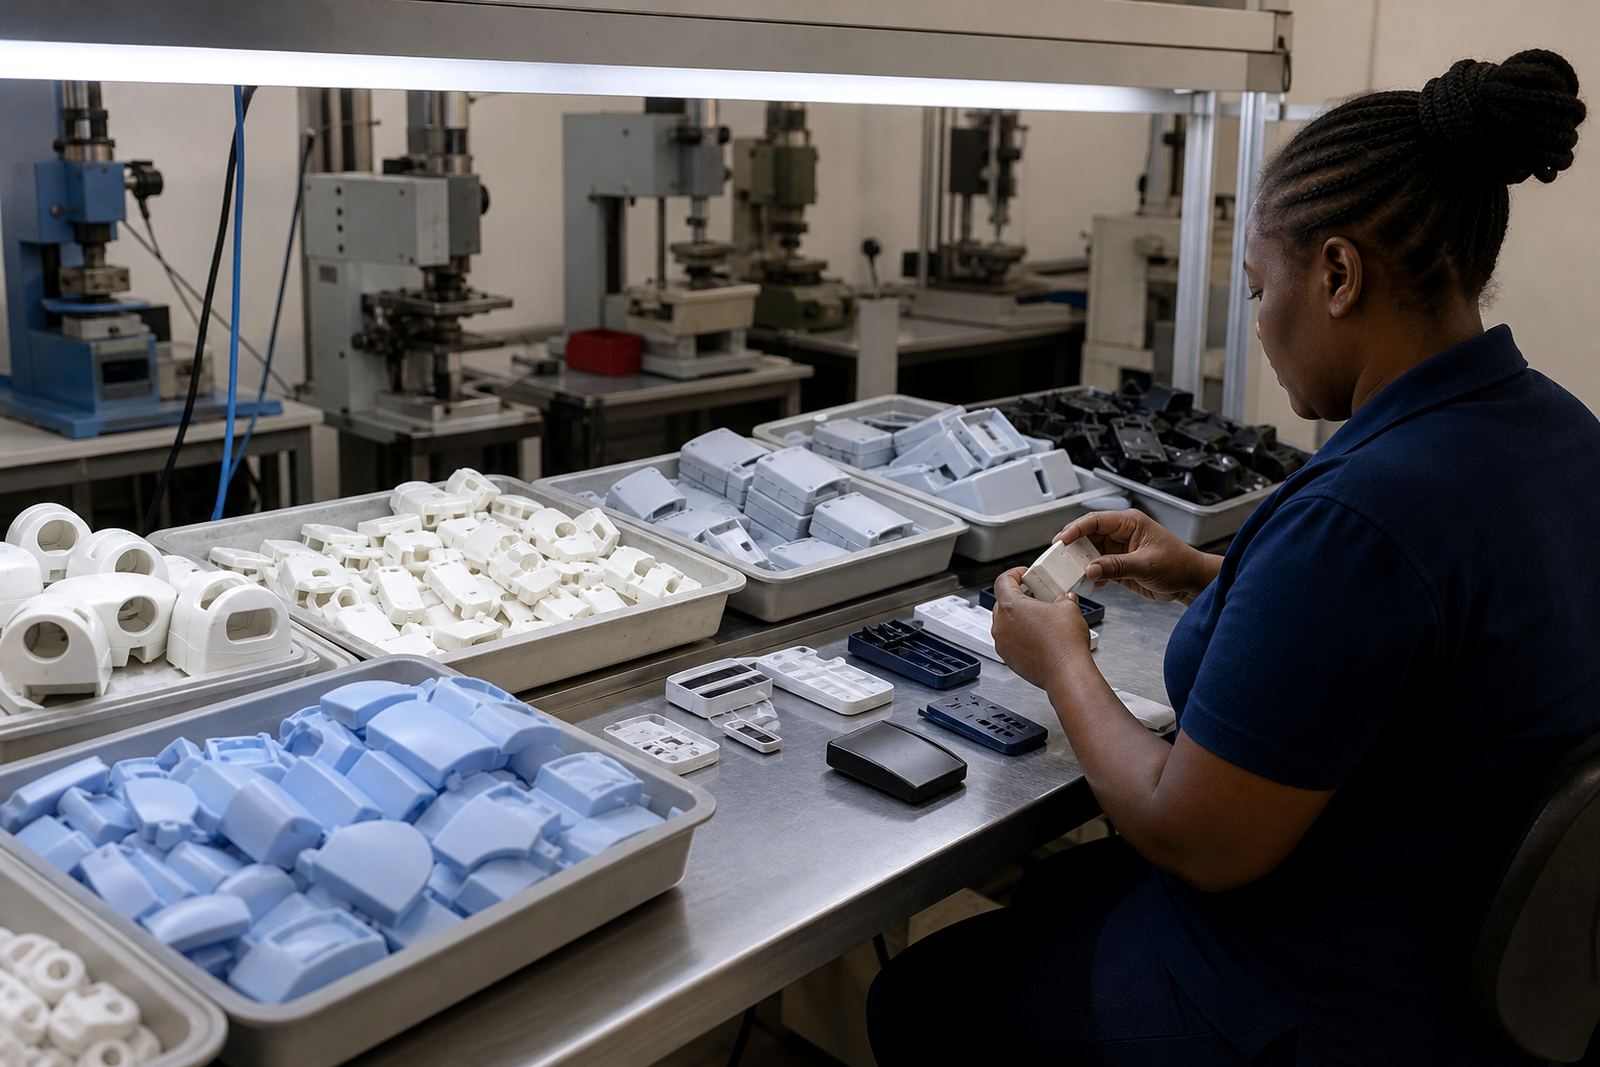
Diagnostic products usually arrive as mixed plastic and coated parts, sometimes with smooth gloss surfaces and sometimes with textured finishes. The part shape matters because pad printing needs reliable contact. Small changes in radius, wall thickness or mould texture can affect how the ink lays down, so the part must be checked before a job is released.
- Front and rear housings
- Button caps and control panels
- Indicator covers and lens surrounds
- Selector knobs and switches
- Battery covers and internal access panels
- Sample holders and accessory components
We also work on parts that need two or more print positions. That often means careful fixture making so the part sits the same way every time. If a component moves even a fraction during transfer, the print can drift and the whole batch starts to look untidy. With small diagnostic parts, that matters more than people think.
Layout Planning Before Any Plate Is Made
Good diagnostic part printing starts with layout planning. Before plate exposure or etching, we look at the available print area, the radius of the part, the position of mould lines and any raised edges that may interfere with the pad. This is where artwork preparation and logo redraws matter, especially when line weights are too thin or the artwork was never set up for pad printing in the first place.
A clean layout helps with production speed and repeatability. It also reduces waste during trial sample runs. For parts with multiple legends or tiny markings, we usually recommend a print sequence that leaves enough space between features and avoids ink build-up near corners. On some jobs, print area planning means simplifying the artwork slightly so the final result is more legible on the actual component not just on screen.
- Keep text large enough for the moulded surface and viewing distance
- Allow space around symbols so the pad can land evenly
- Avoid placing critical marks across sharp edges or deep recesses
- Check whether the part needs one colour or more than one pass
- Confirm the surface condition before adhesion test samples are approved
Inks, Adhesion And Curing For Medical And Electronic Parts
Diagnostic equipment parts often call for inks that can handle handling, light cleaning and regular use. The right ink choice depends on the substrate, the finish and whether the part will see alcohol-based cleaning agents, light abrasion or warm conditions inside a device housing. In some cases, adhesion is straightforward. In others, especially on moulded plastics, a trial sample run is needed before the job is signed off.
Curing method selection is part of the setup. Some jobs air dry well enough for low-volume work, while others need controlled drying or heat-assisted curing to help the ink set properly. That decision depends on the part material, the batch size and the turnaround required. If a job is rushed without proper cure time, the print may mark, smudge or wear sooner than expected.
We check the print after transfer, then again after curing where the job calls for it. That extra step is important for electronics and diagnostic equipment because the print must stay clear through packing, installation and normal use. Coastal humidity in Durban can also affect handling and drying, so the workshop routine has to take local conditions into account.
Common Mistakes That Cause Rework On Diagnostic Runs
The most common problems are not complicated. They usually come from rushed setup, poor fixture design or artwork that was never adjusted for the real component. A clean-looking proof on paper does not mean the same result on a curved housing or a glossy control cap. Small errors show quickly on medical and electronic parts because the markings are often small and the tolerances are tight.
- Using artwork with lines too fine for the surface
- Ignoring moulded texture or slight part movement
- Choosing a print position that clashes with screws or clips
- Skipping a trial sample run before production
- Relying on weak surface preparation where adhesion is critical
We also see cases where a customer wants one setup for multiple part types that only look similar. If the parts vary by radius or height, the fixture may need to change. It is better to spend time on setup than to waste a batch after packing. Rerun job control helps when a repeat order must match a previous reference sample exactly.
Budget Ranges For Small And Medium Diagnostic Print Jobs
Budgets depend on the number of colours, the complexity of the layout, whether new plates are needed and how much fixture work is involved. A simple single colour run on a straightforward part will sit at the lower end, while multi-position jobs with redraws, new plates and custom fixtures will cost more. For many diagnostic component projects, the key cost drivers are setup time and repeat control, not the print itself.
As a working guide, small trial runs can start from around R1 500 to R4 500 depending on preparation. Medium production jobs with custom fixtures and several hundred parts may range from about R5 000 to R15 000 or more, depending on the brief. Larger repeat work is usually priced to the actual spec after sample approval. It is worth noting that a cheap first run can become expensive if the job has to be redone because the print position or adhesion was not sorted early.
Our team at PadPrinters Medical includes Sibusiso Naicker, Naledi Kekana, Sanjay Dookhi, Lerato Mabunda, Yashika Sewpersad and Mfundo Xaba. If you need support in Pinetown, Durban, Johannesburg, Pretoria, Cape Town, Gqeberha, New Germany or Westville, write to PadPrinters through the contact page form and we will assess the part, print area and batch requirements.