When Lab Plastics Need Clean, Readable Marking
Lab plastics usually carry small logos, arrows, fill marks, cavity references, batch areas or simple functional symbols. On tubes, trays, caps, housings and small holders, the print has to sit flat, stay sharp and cope with the way staff handle parts every day. That means getting the artwork size right, matching the print area to the component shape, and choosing inks that suit the plastic grade and the expected cleaning method.
At our Westmead base in Pinetown, we work on short and repeat production runs for clients in Durban, Johannesburg, Cape Town, Pretoria and Gqeberha. Some parts are tiny and curved, some have textured faces, and some need a simple one-colour mark only. The main job is making sure the mark lands where it should, with enough contrast for easy reading.
Typical Equipment And Parts We Set Up For
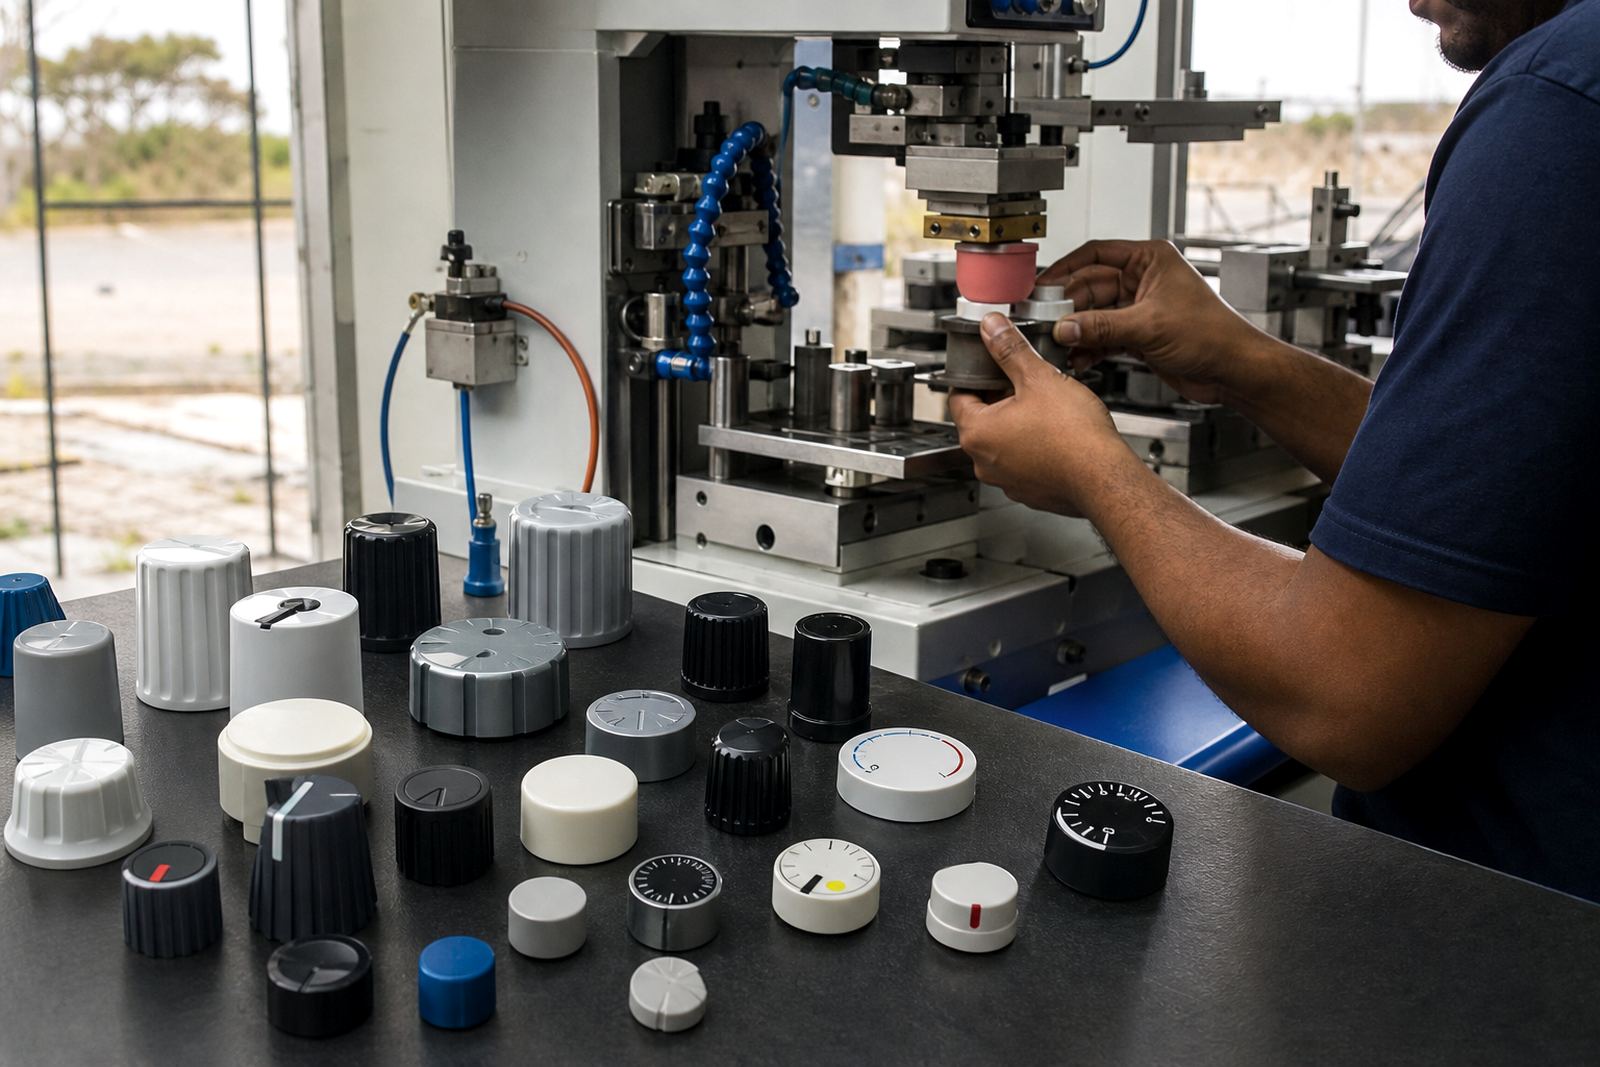
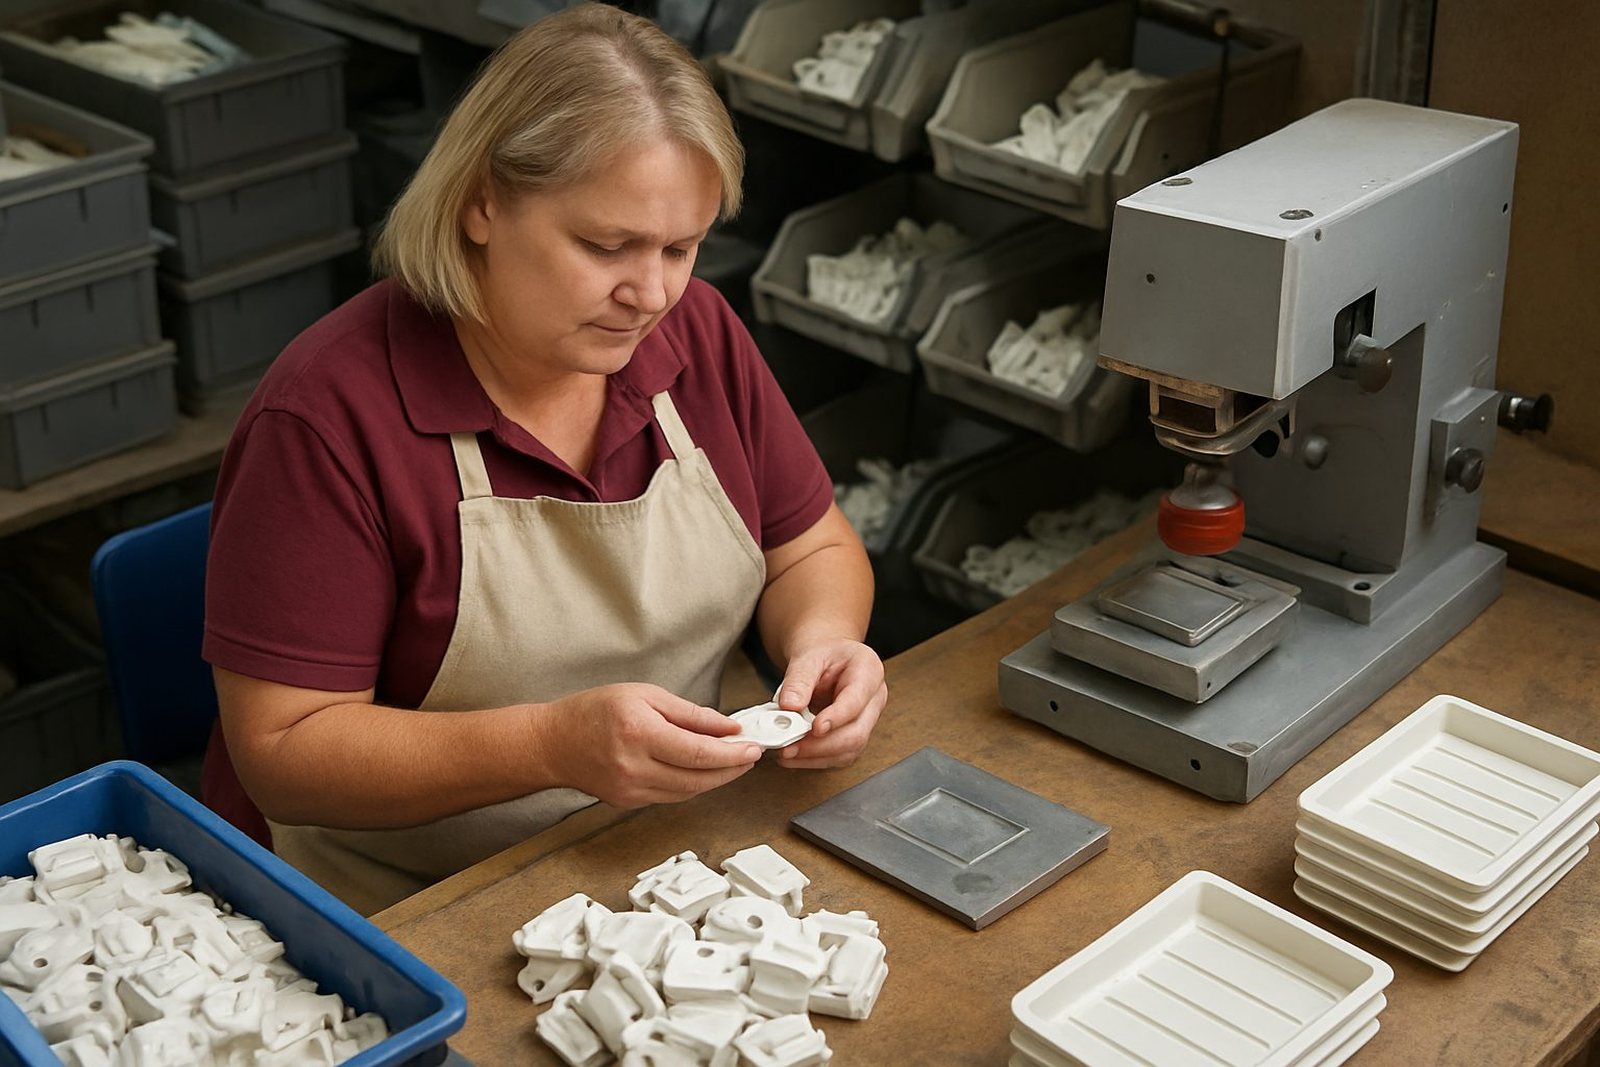
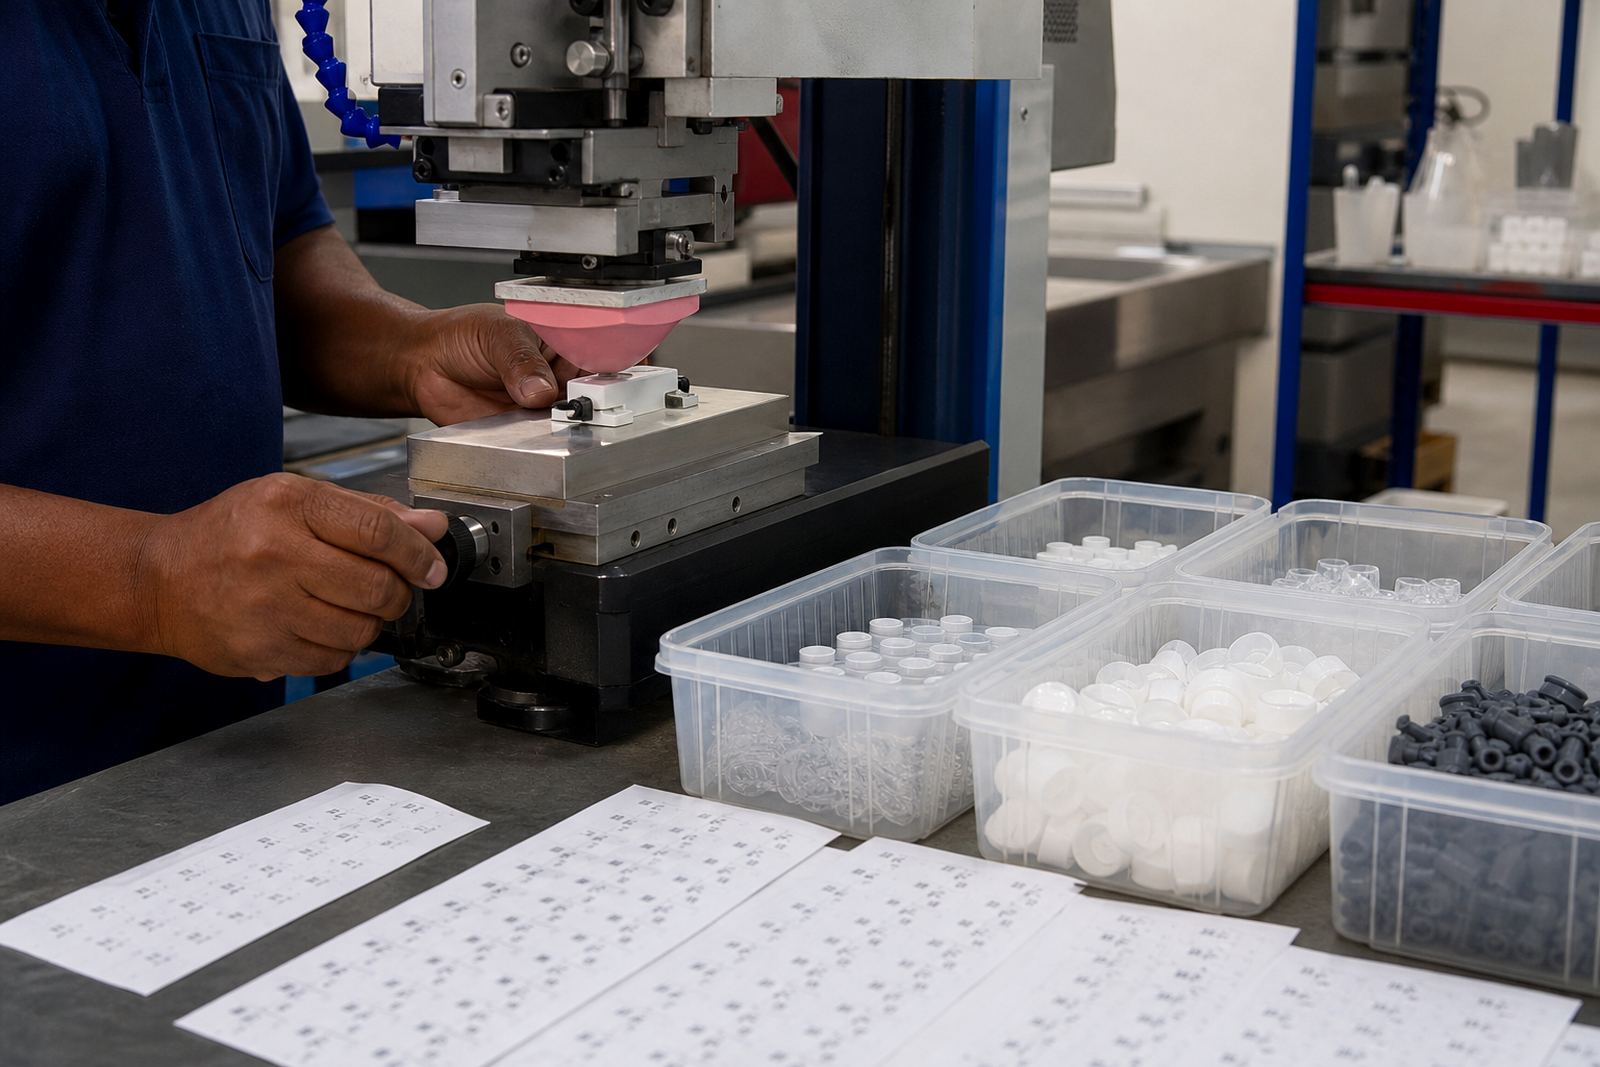
Pad printing works well where a flat screen print struggles, because the silicone pad can transfer ink onto slight curves, recesses and mixed shapes. For lab plastics we commonly set up fixtures for parts that need repeat placement, then use a etched plate, matched ink and a controlled curing method so the print dries properly before packing.
- Sample tubes, caps and vial holders
- Instrument covers and plastic housings
- Lab trays, clips and small carriers
- Dispensing parts and sample handling components
- Printed reference panels for assembly and sorting
Some jobs need a one-off trial sample before full production. Others need rerun job control so that a repeat order keeps the same print position, colour and finish. For these parts, consistency matters more than a flashy finish.
Planning The Print Area Before Production Starts
Good planning saves a lot of waste. Before we print, we look at the part shape, wall thickness, surface finish, mould lines, gate marks and any raised detail that may interfere with the image. If the part flexes, the fixture needs to hold it firmly without distorting the shape. If the surface has a slight sheen or texture, the ink choice and curing method must suit that finish.
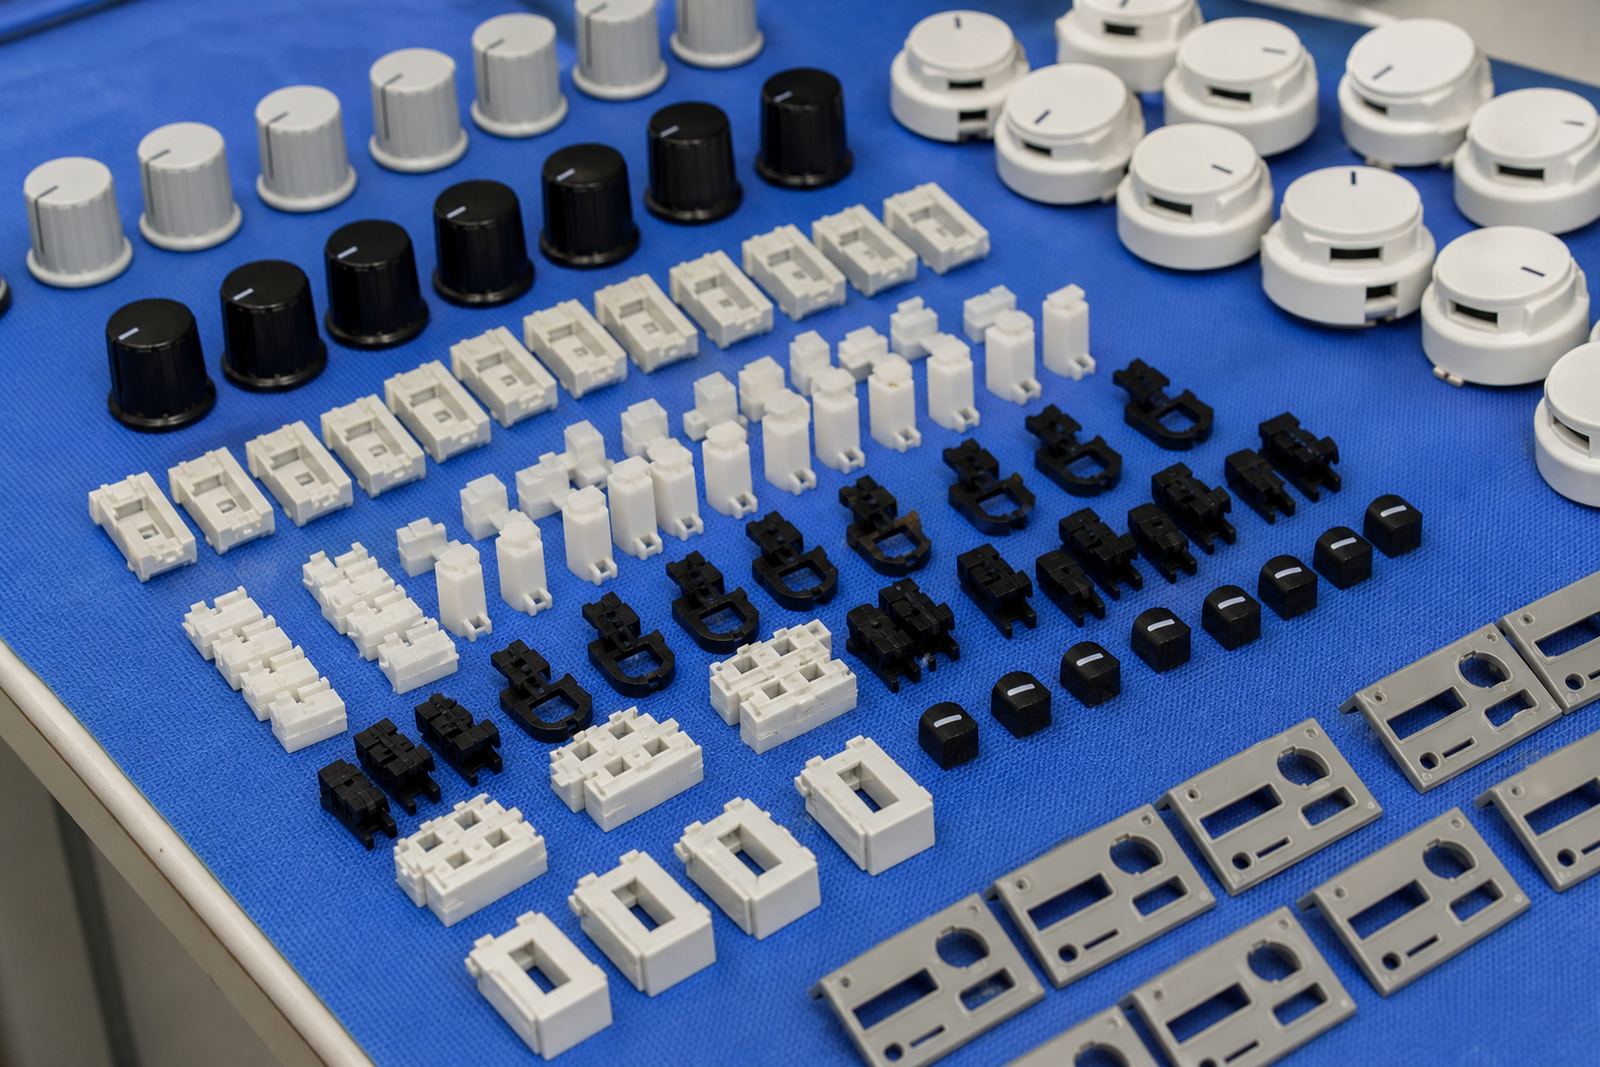
Artwork Preparation starts with the actual print size, not the drawing on paper. We often redraw logos or reference graphics so the line weight holds up on small plastic parts. We also plan the print area around moulded ribs, corners and snap features so the mark does not creep onto an edge or disappear into a recess.
- Keep symbols away from parting lines and mould flash
- Allow clear space around fine text and small icons
- Use strong contrast between plastic colour and ink colour
- Test the mark on the real part, not only on a proof sheet
- Confirm the cleaning method before the final run
Common Mistakes That Affect Lab Parts
Many print issues start before the machine is switched on. The most common problems are artwork that is too fine, a print area that was never measured properly, or a part surface that was not checked for mould release, dust or handling marks. If the component is handled with bare hands before printing, adhesion can suffer. If curing is too quick or too slow, the finish may look fine at first then fail after use.
Another mistake is assuming every plastic behaves the same. Some materials accept ink easily, others need more careful testing. That is why we recommend adhesion test samples before full production, especially where the marks must remain clear after wipe down, packing and storage. On lab parts, a small print fault can make a batch awkward to use and cause extra sorting later, so it is worth getting the setup right from the start.
Budget Ranges For Lab Plastic Printing In Rand
Lab plastic printing costs depend on the number of colours, the size of the mark, the number of parts, fixture complexity and whether plate work or artwork redraws are needed. Simple repeat runs on straightforward parts can be kept economical, while small intricate parts with special fixtures take more setup time.
As a working guide, small trial samples or setup jobs may start from about R950 to R2 500 depending on the component and the amount of preparation needed. Medium production runs for standard lab plastics often fall between about R3 500 and R12 000, while larger or more technical jobs can be higher. Final cost is always tied to the part, print count and the handling required, so a sample is the safest way to quote properly.
We do not make compliance claims for the end device. The customer remains responsible for their own product requirements, testing and regulatory checks.
How Our Team Handles Later Runs And Dispatch
Once the first run is approved, we keep the job details together so the next order can follow the same setup. That includes plate records, fixture notes, curing settings and packing instructions. For manufacturers with ongoing demand, this helps keep the mark position and finish consistent from one batch to the next.
Our team handles the process from artwork through to dispatch packing:
- Sibusiso Naicker, Managing Director
- Naledi Kekana, Production Manager
- Sanjay Dookhi, Artwork and Plate Technician
- Lerato Mabunda, Quality Coordinator
- Yashika Sewpersad, Client Services Lead
- Mfundo Xaba, Machine Setup Specialist
For a pad printing run, write to PadPrinters through the contact page form with your part, artwork and run size. We support manufacturers in Pinetown, New Germany, Westville and across South Africa, with lab plastic marking that is planned carefully and printed with steady control.