When a surgical part needs a mark that stays put
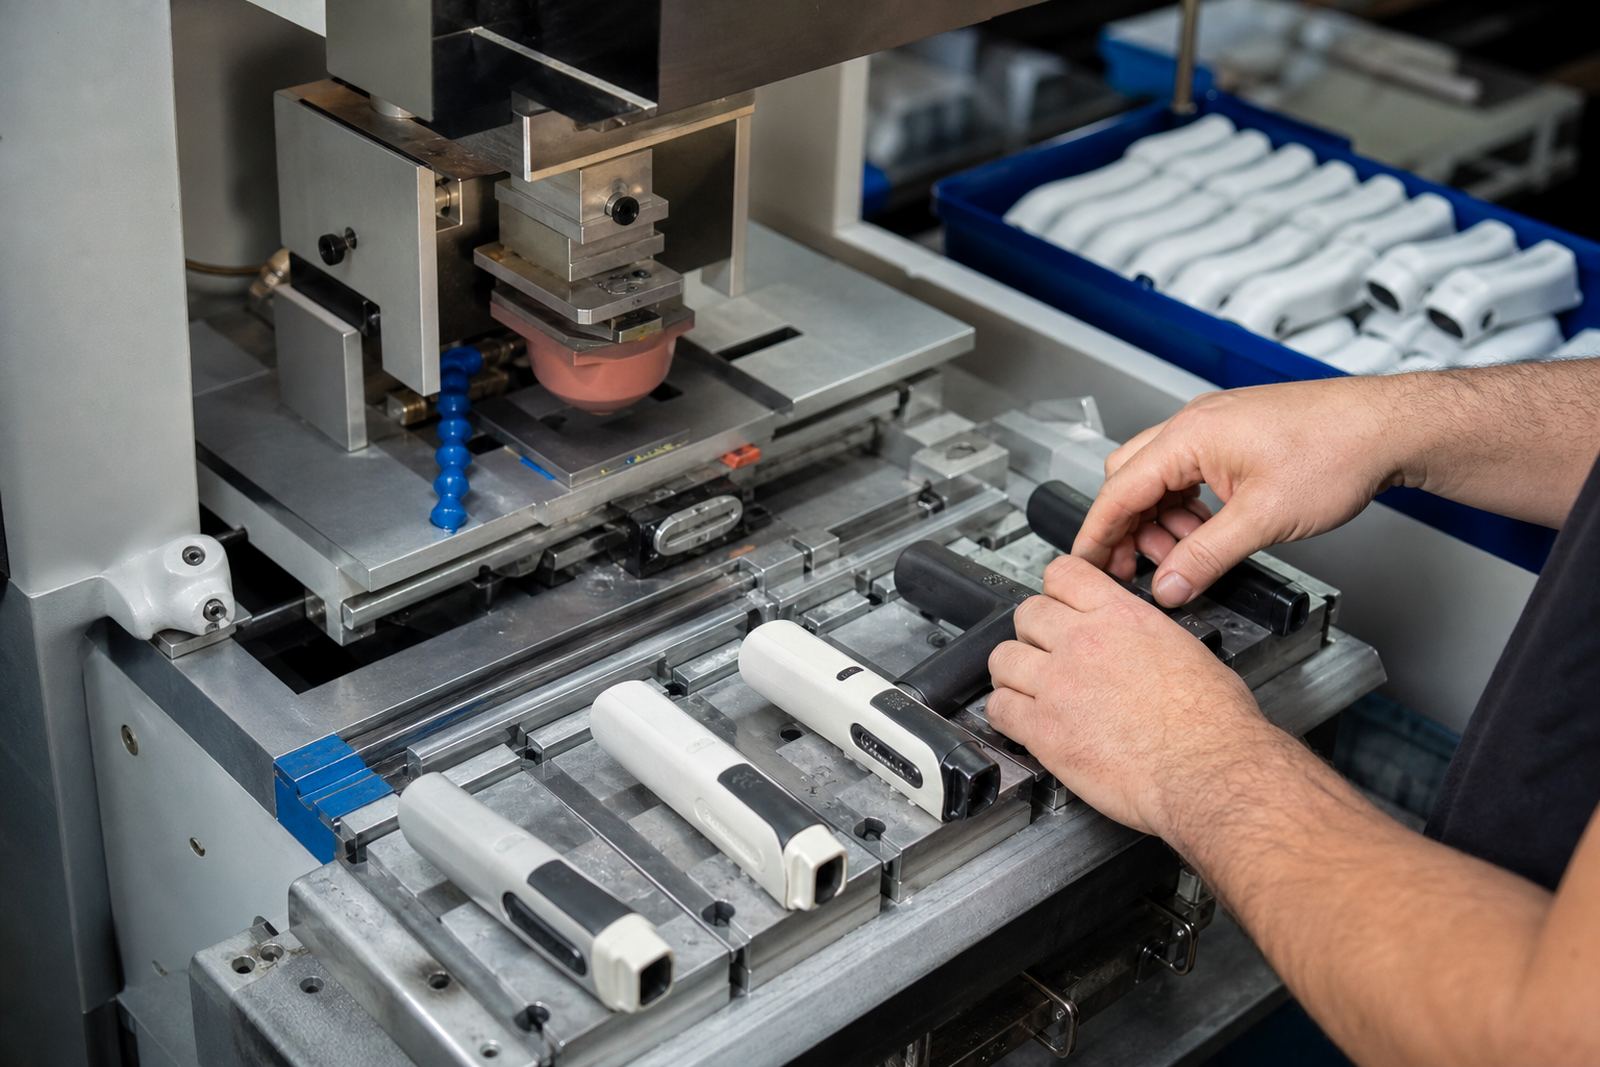
Surgical instrument parts often need more than a logo. Handles, knobs, selectors, covers and accessory pieces may need size marks, directional symbols, part identification or simple branding that remains readable after cleaning and repeated handling. Pad printing is well suited to these parts because a soft silicone pad can pick up ink from an etched plate and transfer it onto shapes that are not flat.
For this use case, the aim is usually a clean, controlled mark on a finished component without adding bulk or changing how the part feels in the hand. Medical manufacturers commonly ask for printed areas on plastic, coated metal or moulded parts with limited space. On many jobs the challenge is not the print itself, but getting the artwork, the fixture and the curing method right so the result is consistent from the first sample to later production runs.
Typical parts and printing conditions we see
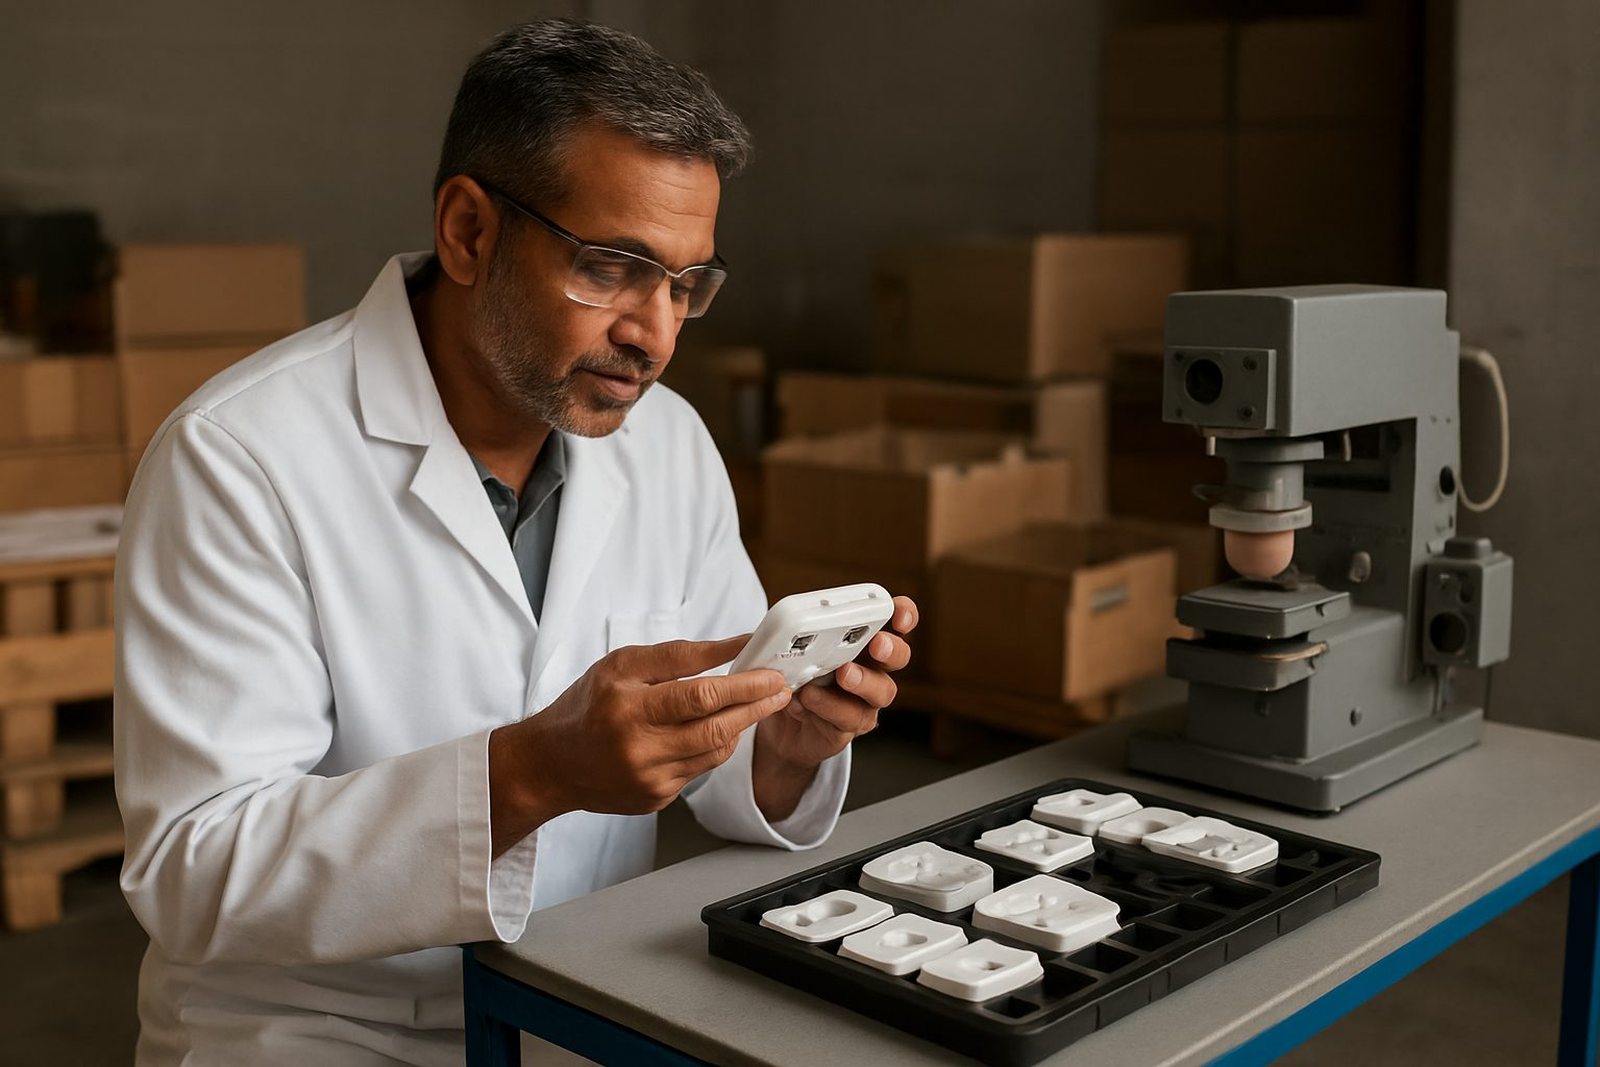
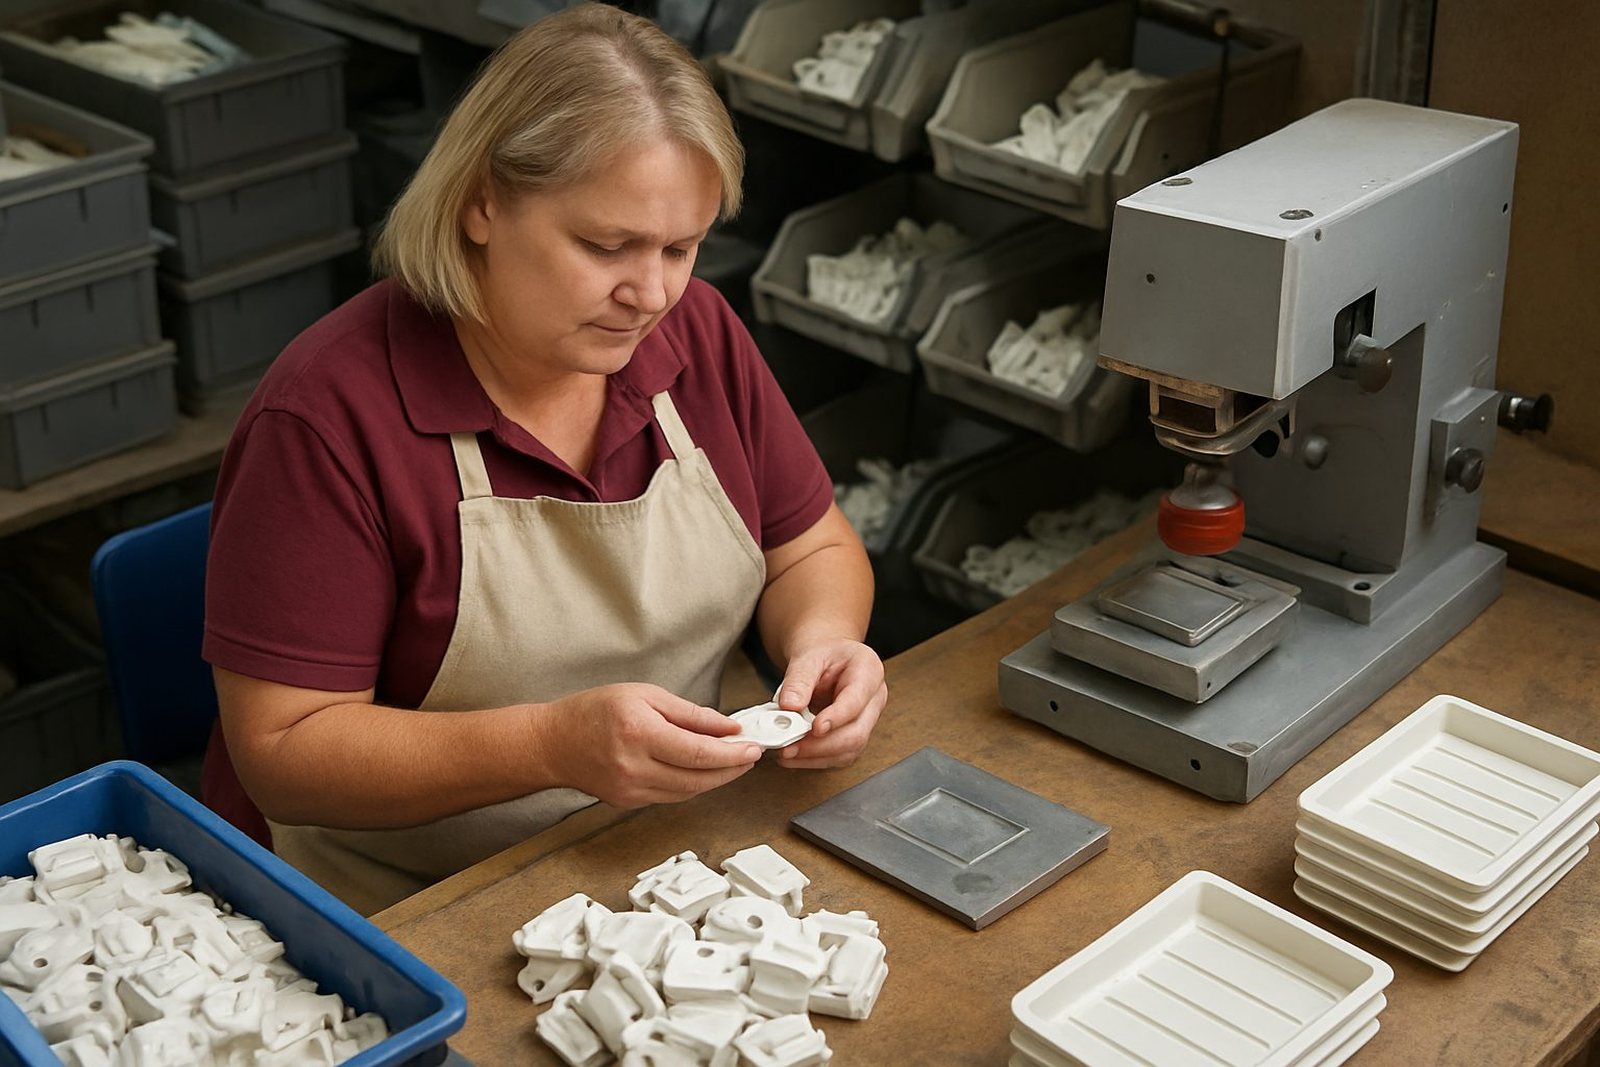
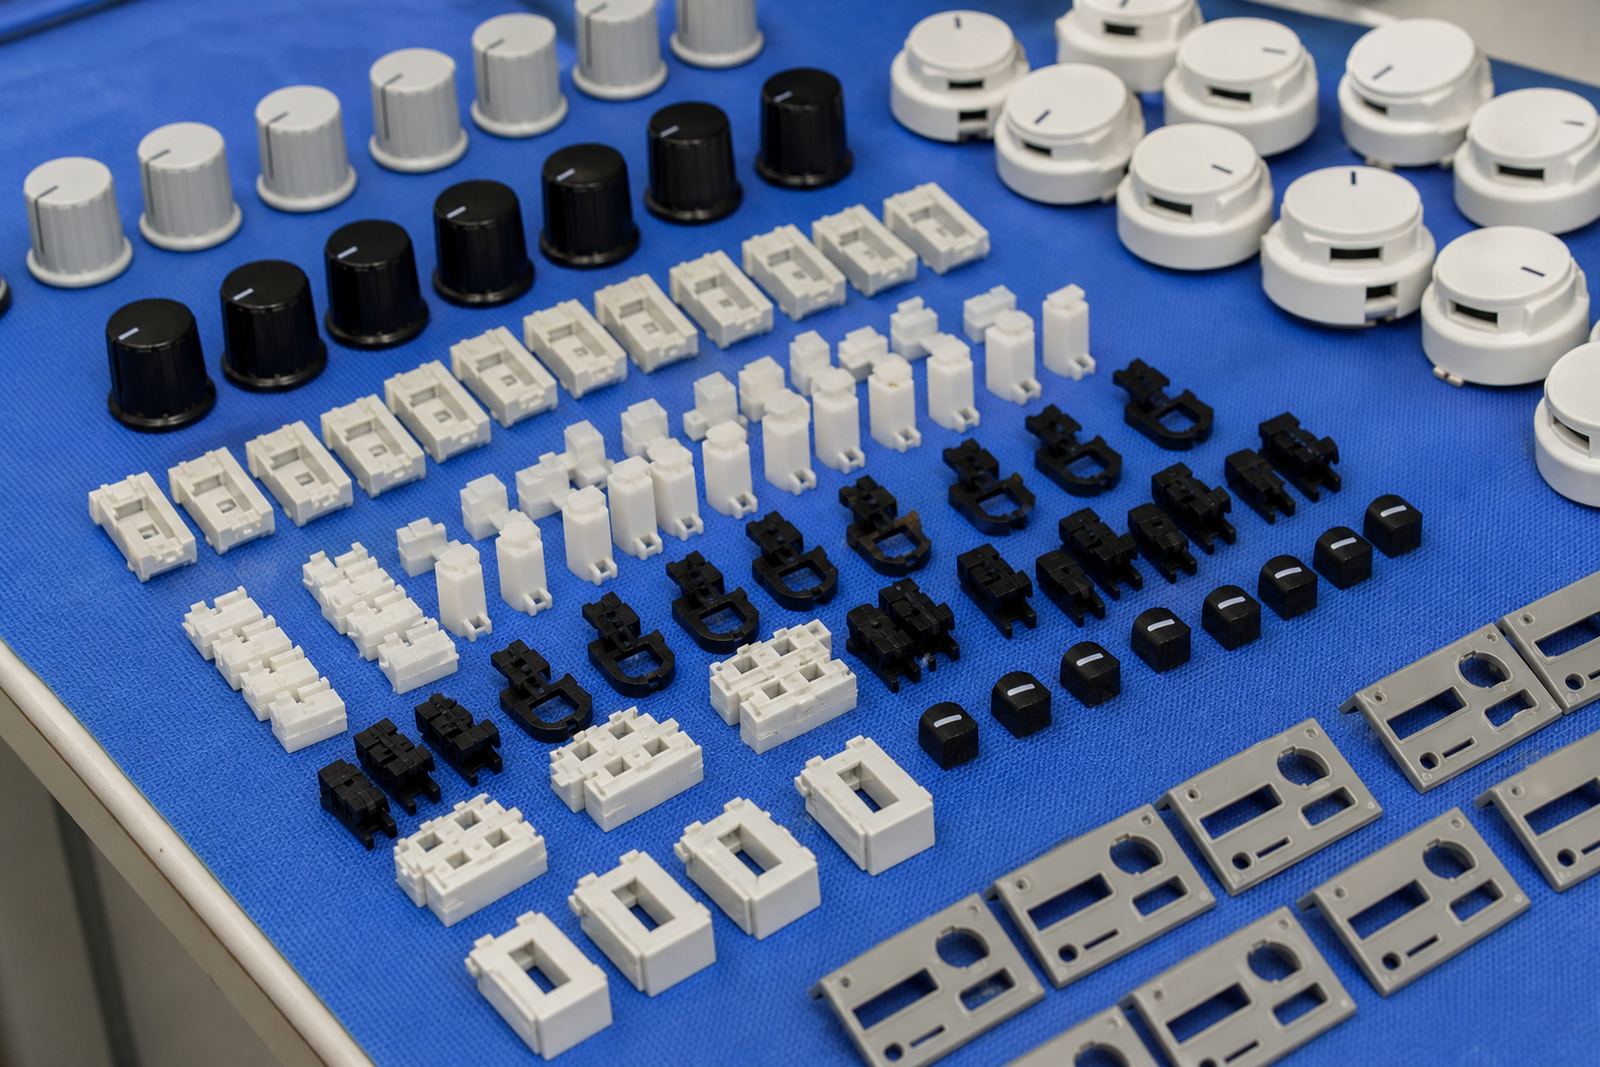
Selected surgical instrument parts often arrive as small assemblies or loose components that are already moulded, machined or coated. Common examples include textured handles, rotating knobs, grip sleeves, inserts, caps and accessory housings. Some have shallow curves, some have edges close to the print zone and some show mould part lines that need to be worked around.
- Small handles with a flat side panel or curved face
- Knobs and control pieces with limited print area
- Accessory parts that need numbering or direction marks
- Parts with smooth plastic, coated surfaces or light texture
- Components that must be handled without scuffing the finish
Durability depends on the material, the ink system and the curing method. Some parts need air drying, others need heat curing or a longer set time before packing. In a production line, a mark that looks fine at pickup can still fail later if the ink, cure or surface preparation is wrong. That is why adhesion checks matter before a full run.
Layout and planning before the first sample run
A good pad print starts with a proper look at the part. We normally check the shape, the available print area, the finish and the way the part sits in a fixture. If a mark is too close to a radius or screw boss, the image can stretch or break up. If the part moves even slightly during transfer, the print can shift and the whole batch starts to drift.
Artwork Preparation and Print Area Planning usually come first. If the client supplies a logo or symbol that is too fine, we may suggest a redraw so the line weights hold up on the part. Then we plan the image size, the position and the number of colours if more than one pass is needed. For most surgical instrument parts, the goal is to keep the artwork simple enough to print cleanly while still meeting the marking need.
- Keep key detail away from sharp corners and deep curves
- Allow enough space for the silicone pad to land evenly
- Check if the part needs one side or multiple print positions
- Plan for fixture access so operators can load quickly
- Confirm whether the mark must face a fixed direction on assembly
In South African production, that planning also has to suit the factory floor. Good fixture making and rerun job control save a lot of trouble later.
Common mistakes on surgical instrument marking jobs
One of the most common mistakes is asking pad printing to cover too much surface. The method is accurate, but it is not a substitute for poor part design. Another issue is expecting a cured mark to perform well on a surface that was not cleaned properly. Oils from handling, mould release residue and dust can all affect adhesion.
Clients also sometimes bring a sample part that looks ready for production, but the print position changes after the final assembly step. That can create alignment problems. If the part includes a knurled grip, a taper or a glossy coat, we may need a different pad shape, a tighter fixture or a revised ink choice.
- Very fine artwork that cannot hold at small size
- Rushing straight into a production run without a trial sample
- Skipping adhesion testing on the actual production material
- Using the wrong curing method for the line speed
- Ignoring small part movement in the fixture
For surgical instrument parts, the print is often only one step in a larger manufacturing process. Customers remain responsible for their own device compliance, validation and final product approval. Our role is to help produce a clean, repeatable mark and to flag practical print risks before a batch goes out.
Budget ranges for sample work and repeat production
Pad printing costs depend on the artwork, the number of colours, fixture complexity, the size of the run and whether we need redraws, plate exposure, plate etching or a special curing setup. A single sample job is usually priced differently from a repeat production run because the setup time sits heavily on the first job.
As a broad guide, many surgical instrument part jobs fall into a small setup band for artwork checks and trial samples, then a lower per-part cost once the run is stable. Simple one-colour marking on a straightforward part can be kept practical, while more complex positions, multiple print areas or tight tolerance work will raise the setup effort. If a fixture must be made for a difficult handle or knob, that also adds to the first job cost.
When clients ask for budget ranges in Rand, it helps to separate the work into three parts: pre-production setup, sample approval and repeat runs. That way the true cost of the marking step is clearer and there are fewer surprises when the order moves into dispatch packing.
How our Pinetown team supports manufacturers nationwide
From Westmead in Pinetown, we support manufacturers across Durban, Johannesburg, Cape Town, Pretoria and Gqeberha with practical pad printing work for selected surgical instrument parts. The team includes Sibusiso Naicker as Managing Director, Naledi Kekana in Production, Sanjay Dookhi on artwork and plates, Lerato Mabunda in quality coordination, Yashika Sewpersad in client services and Mfundo Xaba on machine setup.
That structure helps when a job needs careful handover from artwork to plate, then to fixture making, trial sample runs, curing method selection and rerun control. For clients in New Germany, Westville and the wider Durban area, turnaround can be managed with local collection and dispatch planning. For other centres, we focus on clear sample approval and pack-out so the parts arrive ready for the next stage.
Pad printing on surgical instrument parts works best when the print plan is treated as part of manufacturing, not as an afterthought. If the part, the ink and the cure are matched properly, the mark stays legible and the job runs with fewer interruptions.