Small Markings For Parts That Move, Flex And Get Cleaned
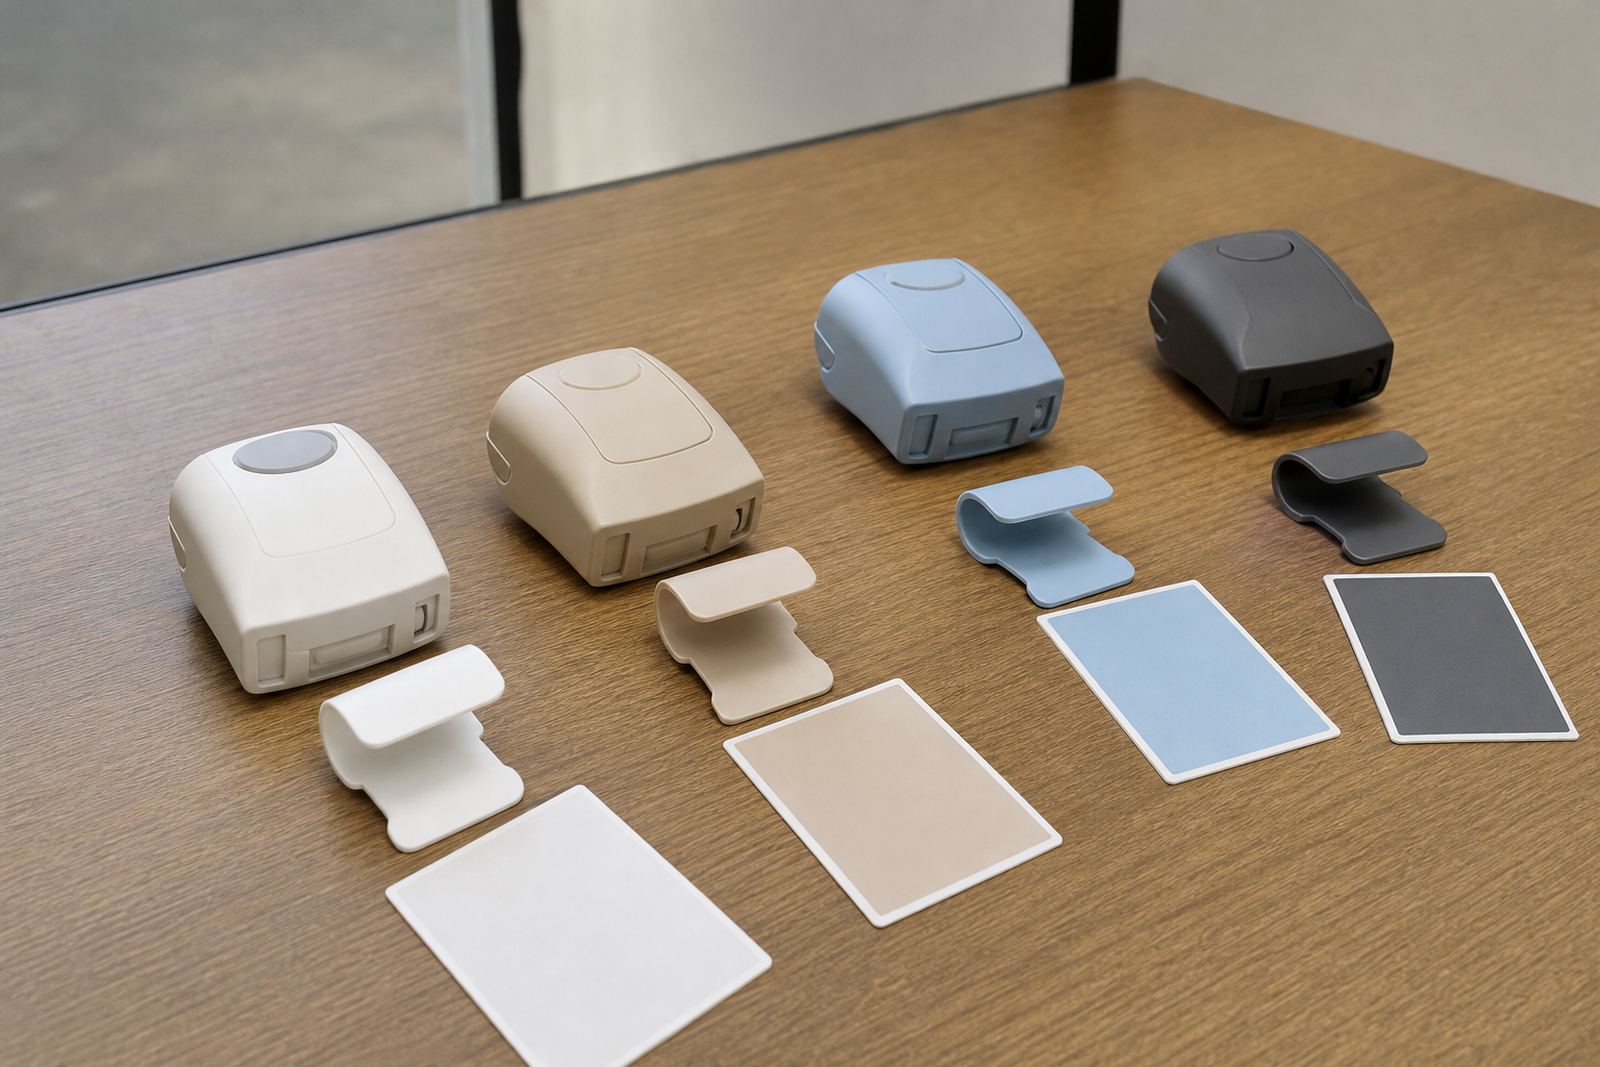
Wearable medical assemblies usually combine plastics, soft straps, clips, sensor covers and small housings. That creates a printing job where size, surface shape and material all matter. A mark that looks fine on a flat sample can fail once it has to sit on a curved shell or a strap that bends every day. For that reason, pad printing is a practical fit because the silicone pad can transfer ink onto shaped surfaces with good placement control.
At our Westmead base in Pinetown, we work on parts for manufacturers across South Africa, including Durban, Johannesburg, Cape Town, Pretoria and Gqeberha. The work often starts with a simple brief: logo, part code, warning symbol, button label or orientation mark. From there we check the print area, surface finish and any ribs, buttons or snaps that may change where the image can sit.
- Housings with curved faces or recessed areas
- Straps, clips and wearable bands
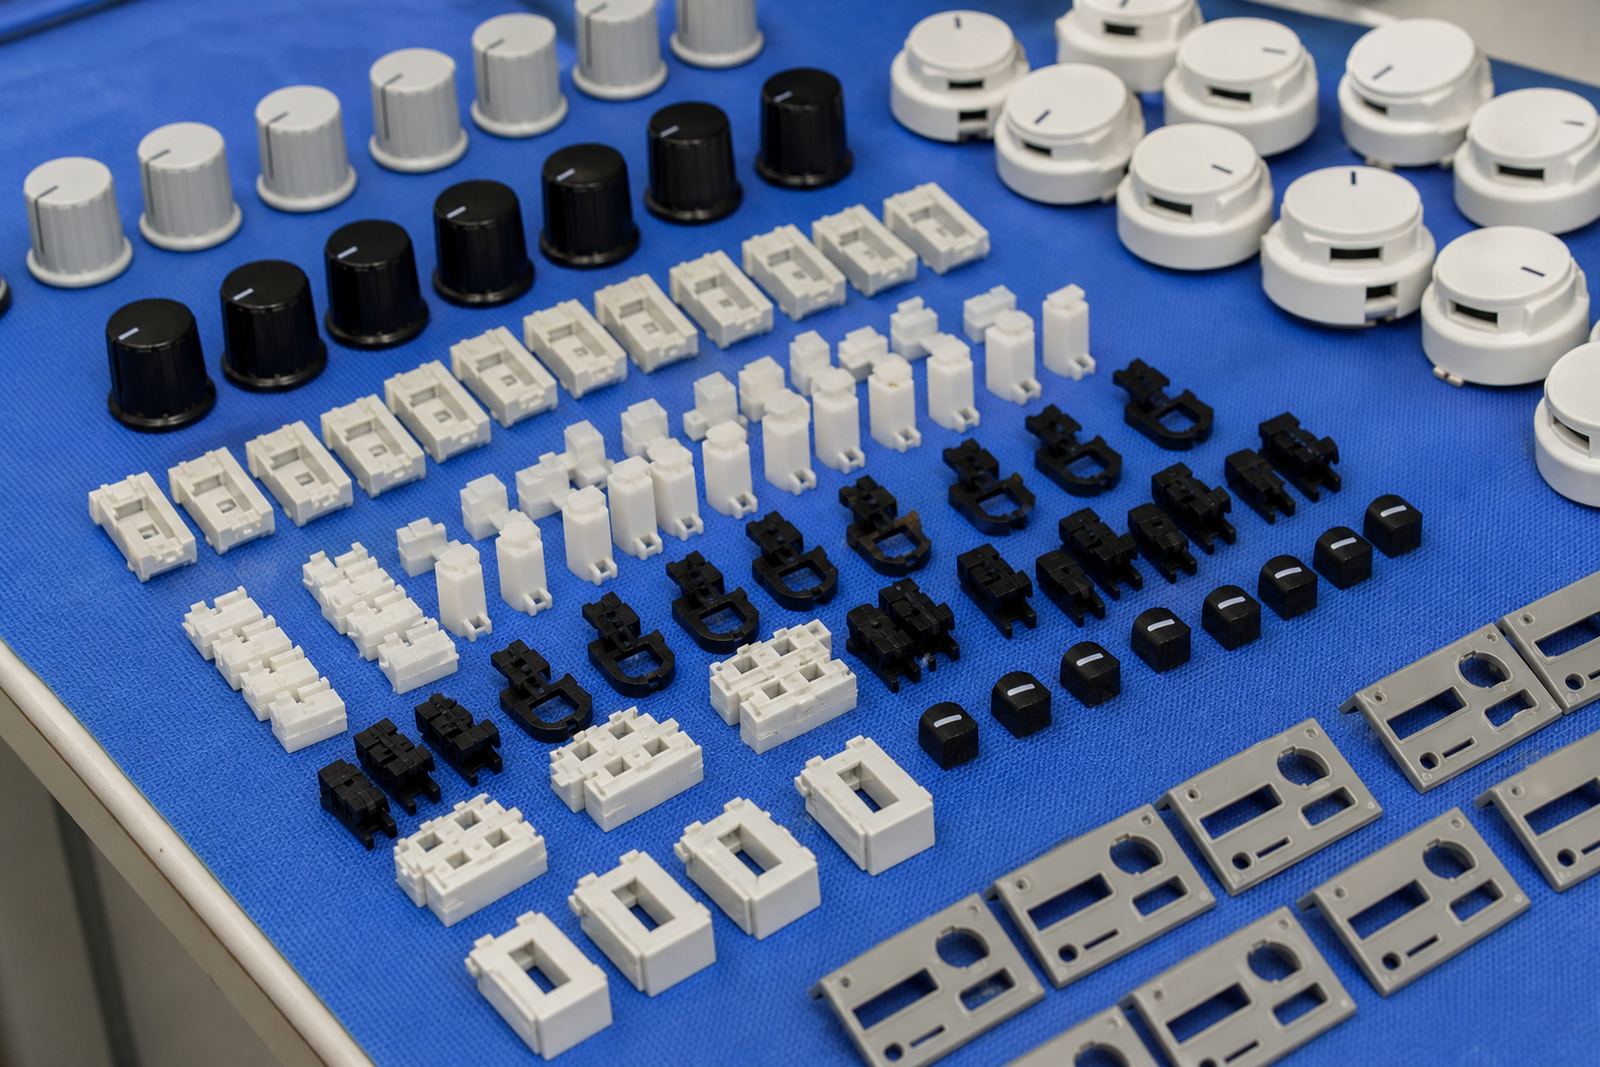
- Small control panels and indicator points
- Part codes, icons and handling marks
Typical Equipment Set For Wearable Parts
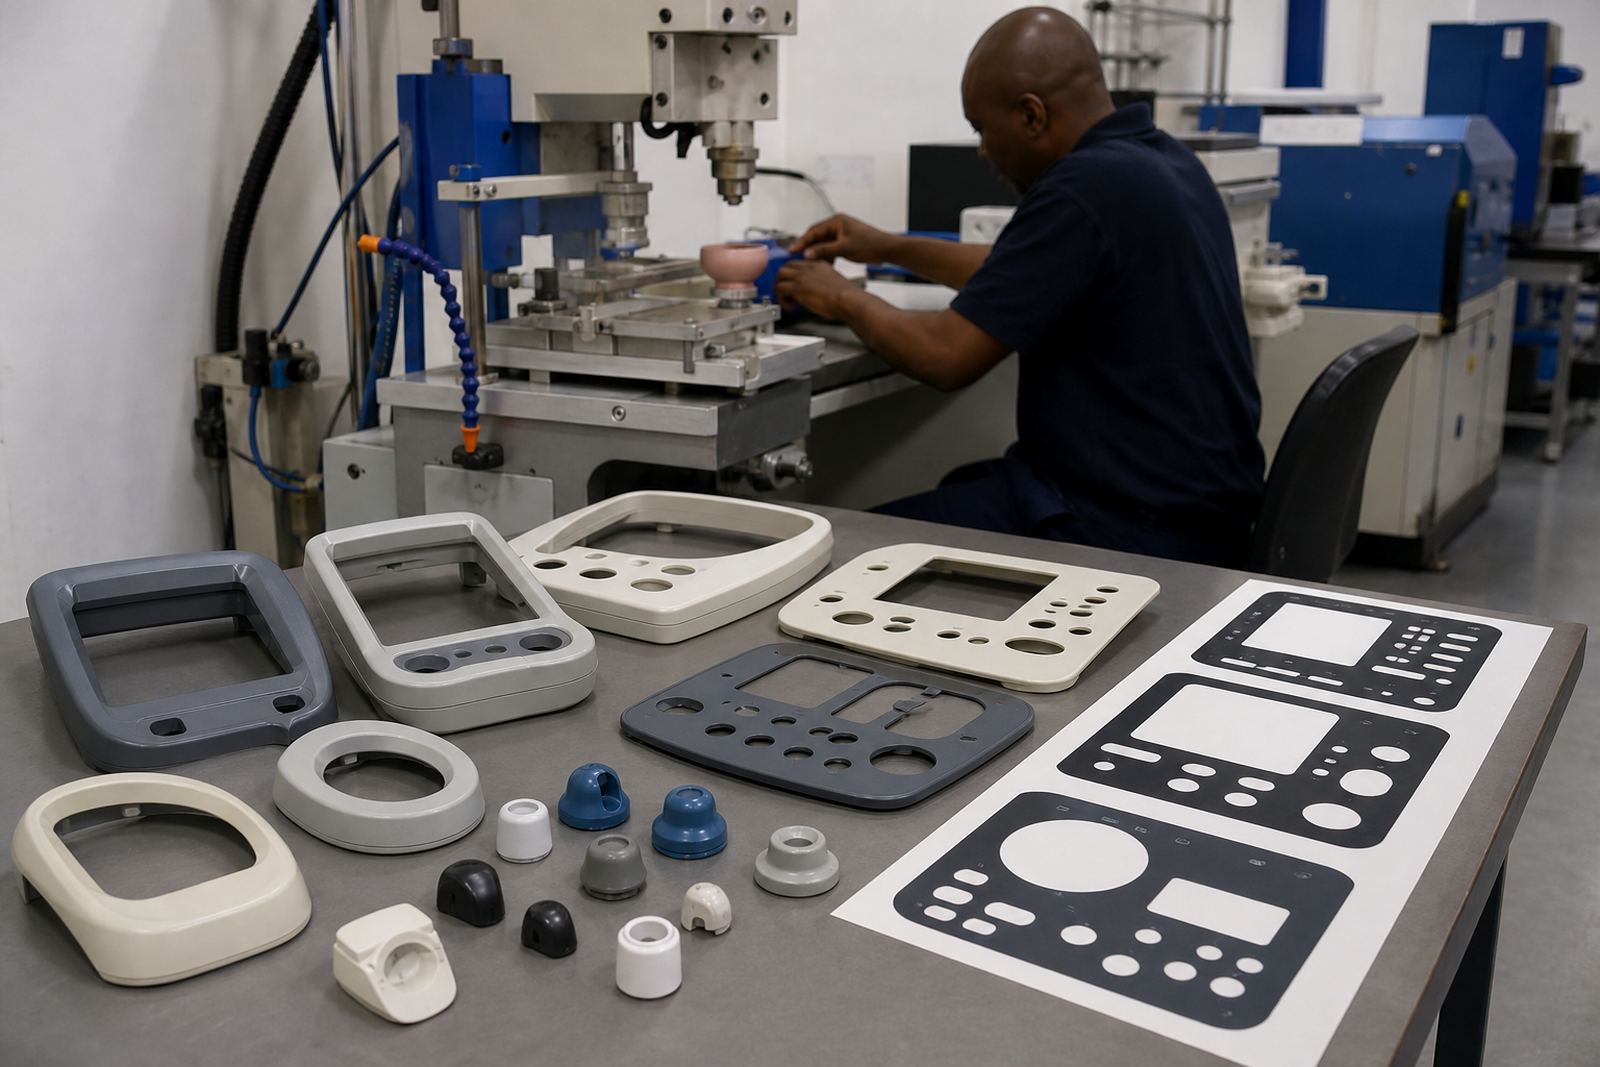
Wearable components usually need a setup that is compact but controlled. The equipment set depends on the part, yet the process often includes artwork preparation, plate exposure, plate etching, fixture making, trial sample runs and a final curing step. Silicone pads are selected by shape and hardness so the transfer is clean without smearing into nearby detail. Ink choice depends on the substrate and the wear expected after cleaning, flexing or contact with skin-safe covers.
For these jobs, we usually plan around repeatable handling more than speed alone. If the part is small, a fixture keeps it steady. If the surface is soft or slightly textured, we may need more than one sample run to check adhesion and legibility. Some parts are printed once, then cured and checked again after a short rest period to see if the finish stays consistent. On electronic style assemblies, alignment is often the main issue, especially where a mark has to sit near an opening or indicator window.
- Artwork redraws for logos and symbols
- Single or multi-colour plate setup
- Fixture inserts for small housings and straps
- Trial runs before full production
- Rerun job control for later runs
Planning The Print Area Before Production Starts
Good planning saves time and cuts avoidable rework. The print area should be marked on the drawing before the first plate is made, not after samples arrive wrong. On wearable medical parts, we look at where fingers will touch, where screws or clips may hide detail, and where the finished product may rub against clothing or a charger dock. Even a tidy logo can become hard to read if it sits too close to a curve or a high wear edge.
Colour matching also needs proper thought. White, black and grey are common, but some jobs call for a specific company colour or a warning tone that must stand out on a dark shell. We recommend checking the base colour of the moulding under the same light used in the production area, because colour can shift between bright white light and warm factory lighting. If the part will be shipped through Durban humidity or stored in a warm warehouse, the ink system and cure method need to be chosen with that in mind.
- Keep critical text away from seams, clips and screw bosses
- Leave enough border so the pad can land cleanly
- Confirm whether the part is flat, curved or slightly elastic
- Plan for handling marks during assembly and packing
Common Mistakes On Wearable Medical Assemblies
One of the most common mistakes is asking for a print that is too small for the surface and then expecting it to stay sharp after curing. Another is choosing a position that looks balanced on paper but is impossible to reach cleanly once the pad comes down at the right angle. We also see cases where the artwork is supplied in a format that needs cleanup before plate making, which slows the job and can shift line thickness in ways the client did not expect.
Material assumptions cause problems too. A housing and a strap may look similar in the hand but take ink very differently. Some surfaces need adhesion test samples before the main run starts, and that is worth doing because a failed mark on finished parts costs more than a few test pieces. Customers remain responsible for their own device compliance, so the print must be checked as part of their wider product approval process. We can support the marking side, but the final compliance call stays with the manufacturer.
- Using artwork that is too fine for the part size
- Skipping adhesion tests on new plastics
- Placing marks too close to edges or moving joints
- Ignoring the effect of cleaning chemicals and handling
- Expecting one setup to suit every batch without checks
Budget Ranges For Small Format Pad Printing
Budget for wearable part printing normally depends on the number of colours, the number of positions, the amount of setup work and whether fixtures or trial samples are needed. A simple one colour job on a stable housing sits at the lower end, while a small run with redraws, special alignment, multiple samples and repeat control moves higher. If you need curing adjustments or a new fixture because the part is awkward to hold, that also affects the quote. We prefer to price after seeing the part or drawing, because guessing from a short description usually leads to frustration later.
As a rough planning guide, many clients should allow for setup and sample work first, then the production run itself. Smaller batches can carry a higher unit cost because the plate, artwork and setup are spread over fewer pieces. Larger later runs often become more efficient once the job is locked in. For current projects in Pinetown, Durban, Johannesburg, Pretoria, Cape Town and Gqeberha, our enquiries usually start with the part sample, the artwork and the required quantity. From there we can advise on a sensible route before production begins.
- Simple single colour print with basic setup: lower budget bracket
- Jobs needing redraws, fixtures and sample approval: mid budget bracket
- Multi-step runs with rerun control and special curing: higher budget bracket
The print room crew in Westmead
Wearable medical parts need steady hands, clean handling and clear communication. Our team includes Sibusiso Naicker as Managing Director, Naledi Kekana in Production, Sanjay Dookhi on artwork and plates, Lerato Mabunda on quality checks, Yashika Sewpersad in client services, and Mfundo Xaba on machine setup. That structure helps when a job needs quick decisions on layout, sample acceptance or a last minute change to the print position. It also helps when a client has multiple parts in one family and needs the same mark repeated across different shapes.
For a pad printing run, write to PadPrinters through the contact page form with your part, artwork and run size, and we handle work for manufacturers through Pinetown Printing Support, Durban Manufacturers, Johannesburg Supply, Pretoria Supply, Cape Town Supply, Gqeberha Supply, New Germany Support and Westville Support. If you are planning wearable housings or straps, send the drawing, the sample part and the target quantity. We can then advise on artwork, plate work, trial runs and dispatch packing so the job moves through the shop in a clear order, without guesswork or wasted passes.