What Flat Surface Pad Printing Is
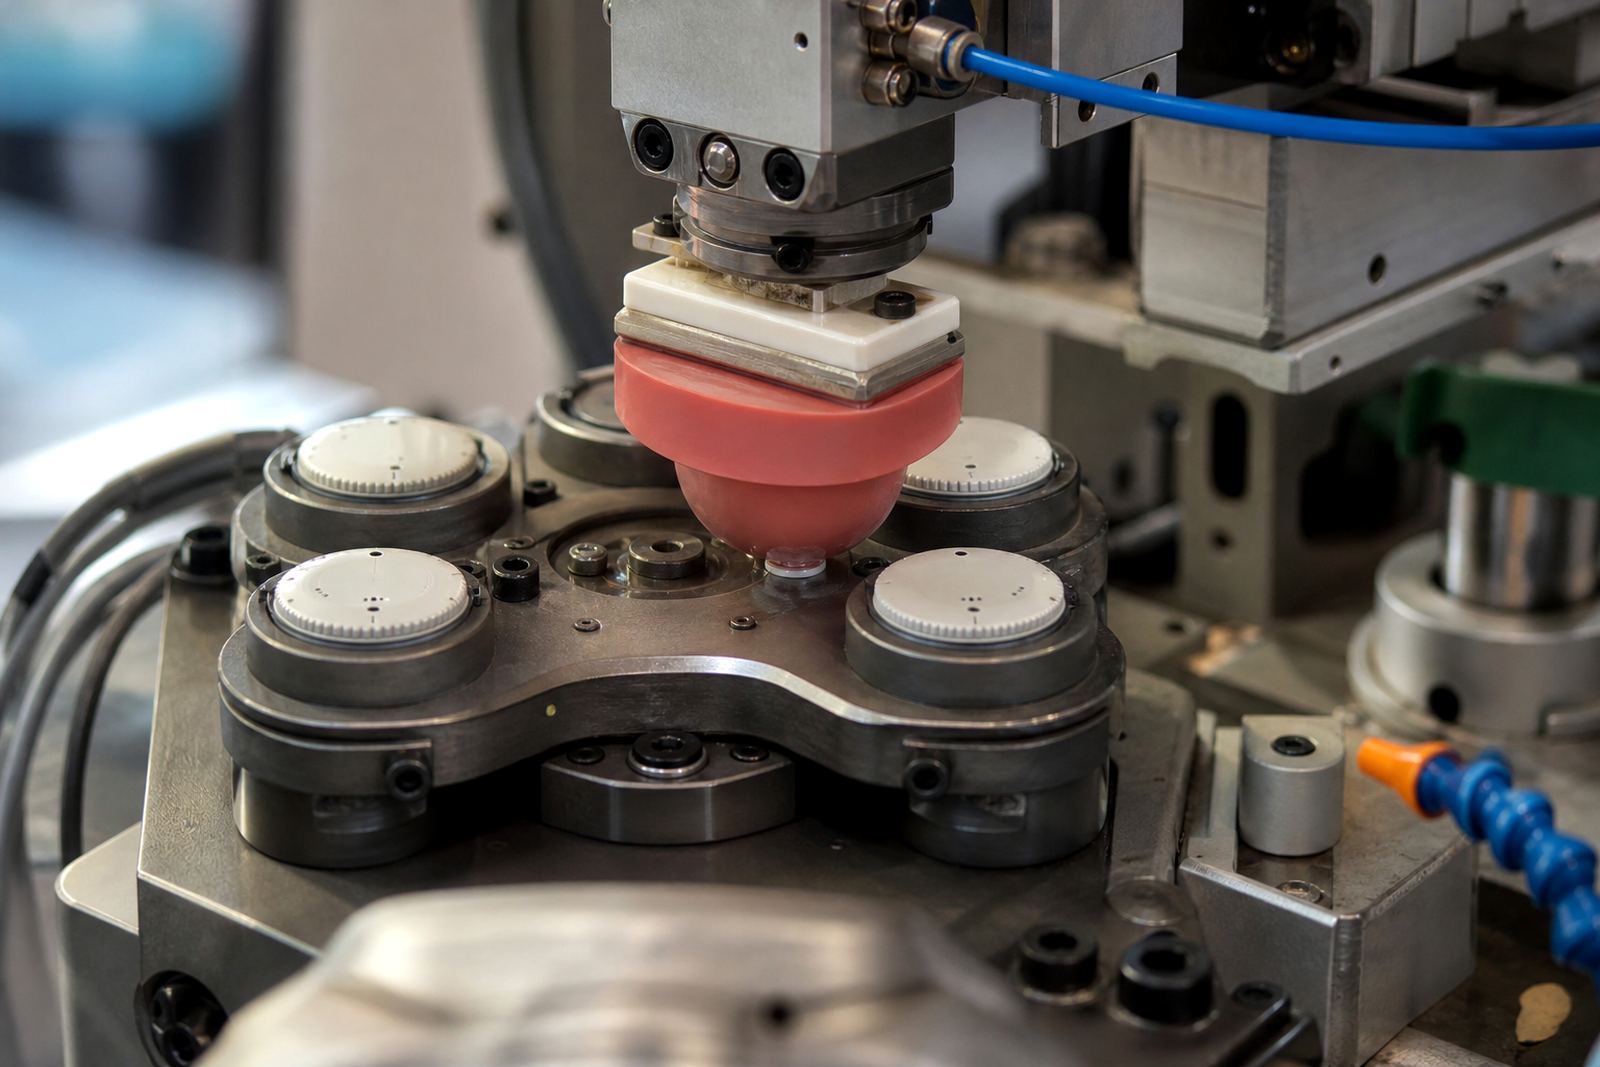
Flat surface printing uses a silicone pad to pick up ink from an etched plate and transfer it onto a part with a flat or near-flat face. It is a practical method for medical housings, control panels, switch plates, instrument covers, front bezels and electronic components where the mark needs to sit neatly on the surface and hold up in daily use.
The process is well suited to small details, linework, symbols, serial references and multi-colour layouts on components that cannot be screen printed easily due to shape or assembly. We work with solvent based and other suitable inks depending on the substrate, then cure the print by air, heat or other controlled methods as the job requires. Surface prep matters, and so does repeatable setup, because the same part may need the same result month after month.
Typical Parts, Sizes and Print Areas
Flat parts vary a lot, from narrow inserts to larger covers and mounting plates. We plan the print area around the usable face, fixing points and any texture or mould lines that could affect transfer. For many jobs the main factor is not the overall part size but the actual area available for ink contact and registration.
- Small medical and electronic covers with a flat marking zone
- Bezels, fascia plates, push-button surrounds and instrument panels
- Label-like marks on plastic, coated metal, painted parts and other prepared surfaces
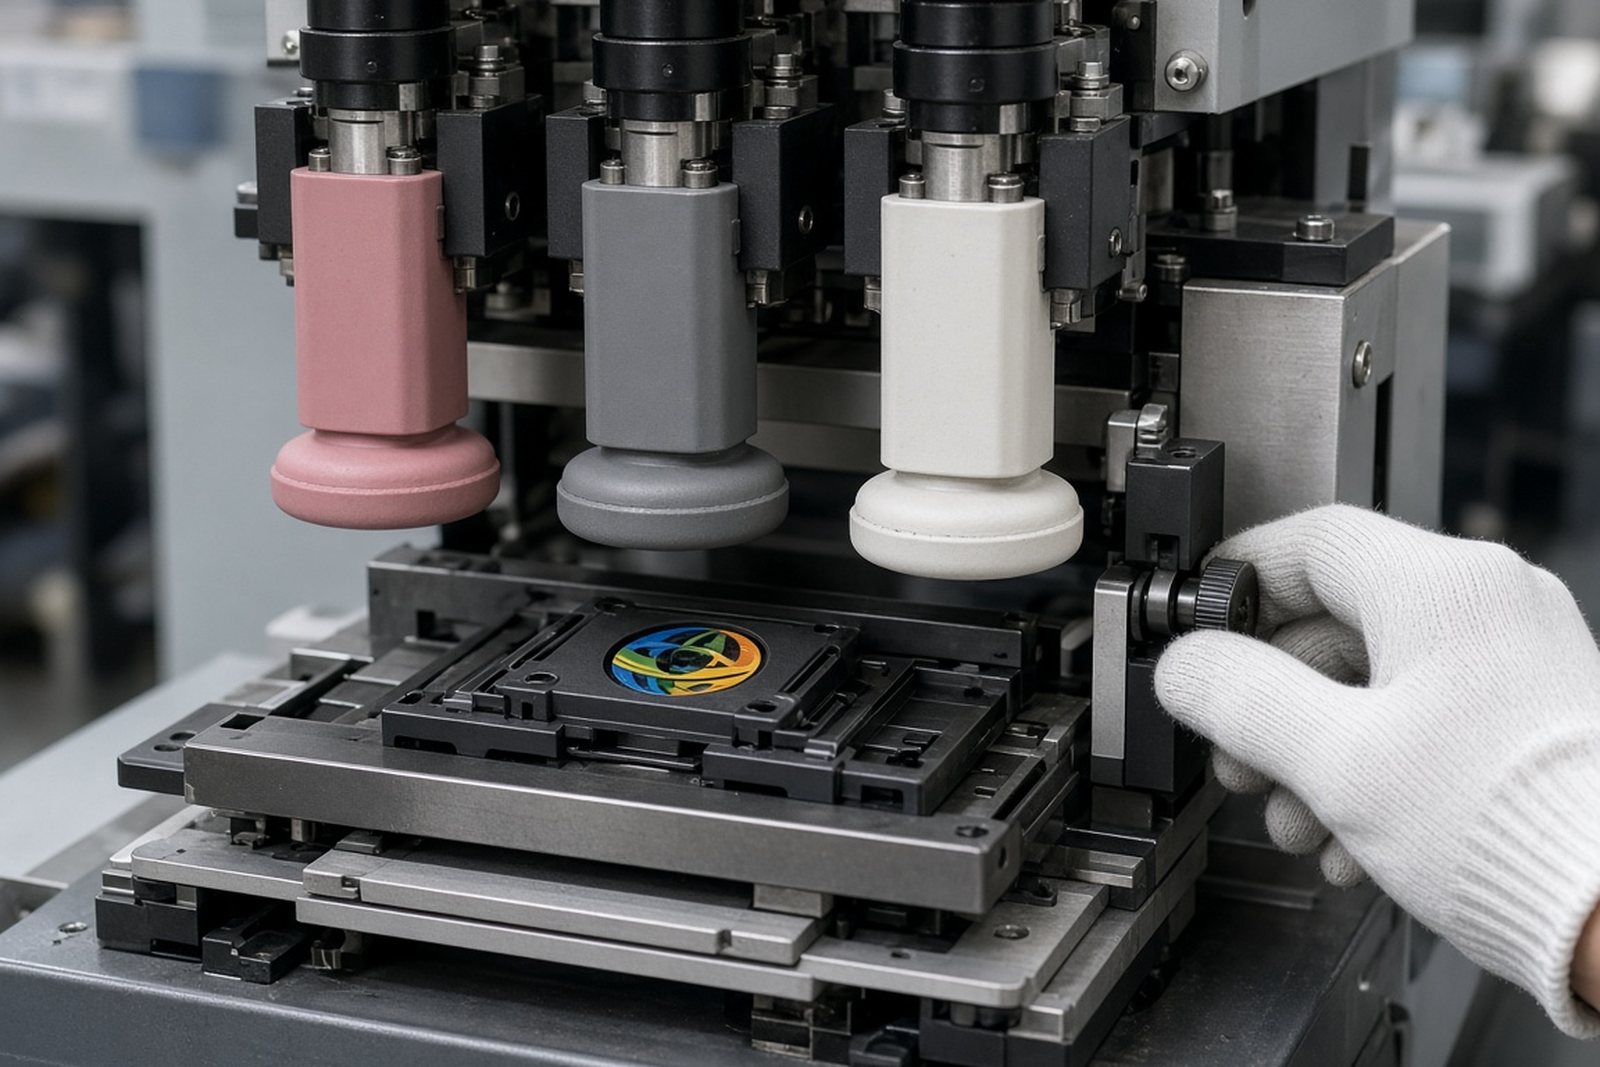
- Single-colour or multi-pass work where the second colour must line up properly
As a rule, the clearer the flat zone and the better the part sits in a fixture, the more consistent the result. If the component flexes, the print area may need to be reduced or supported with a custom jig. That small step can save a lot of rework later, especially on larger runs.
Where This Method Suits Best
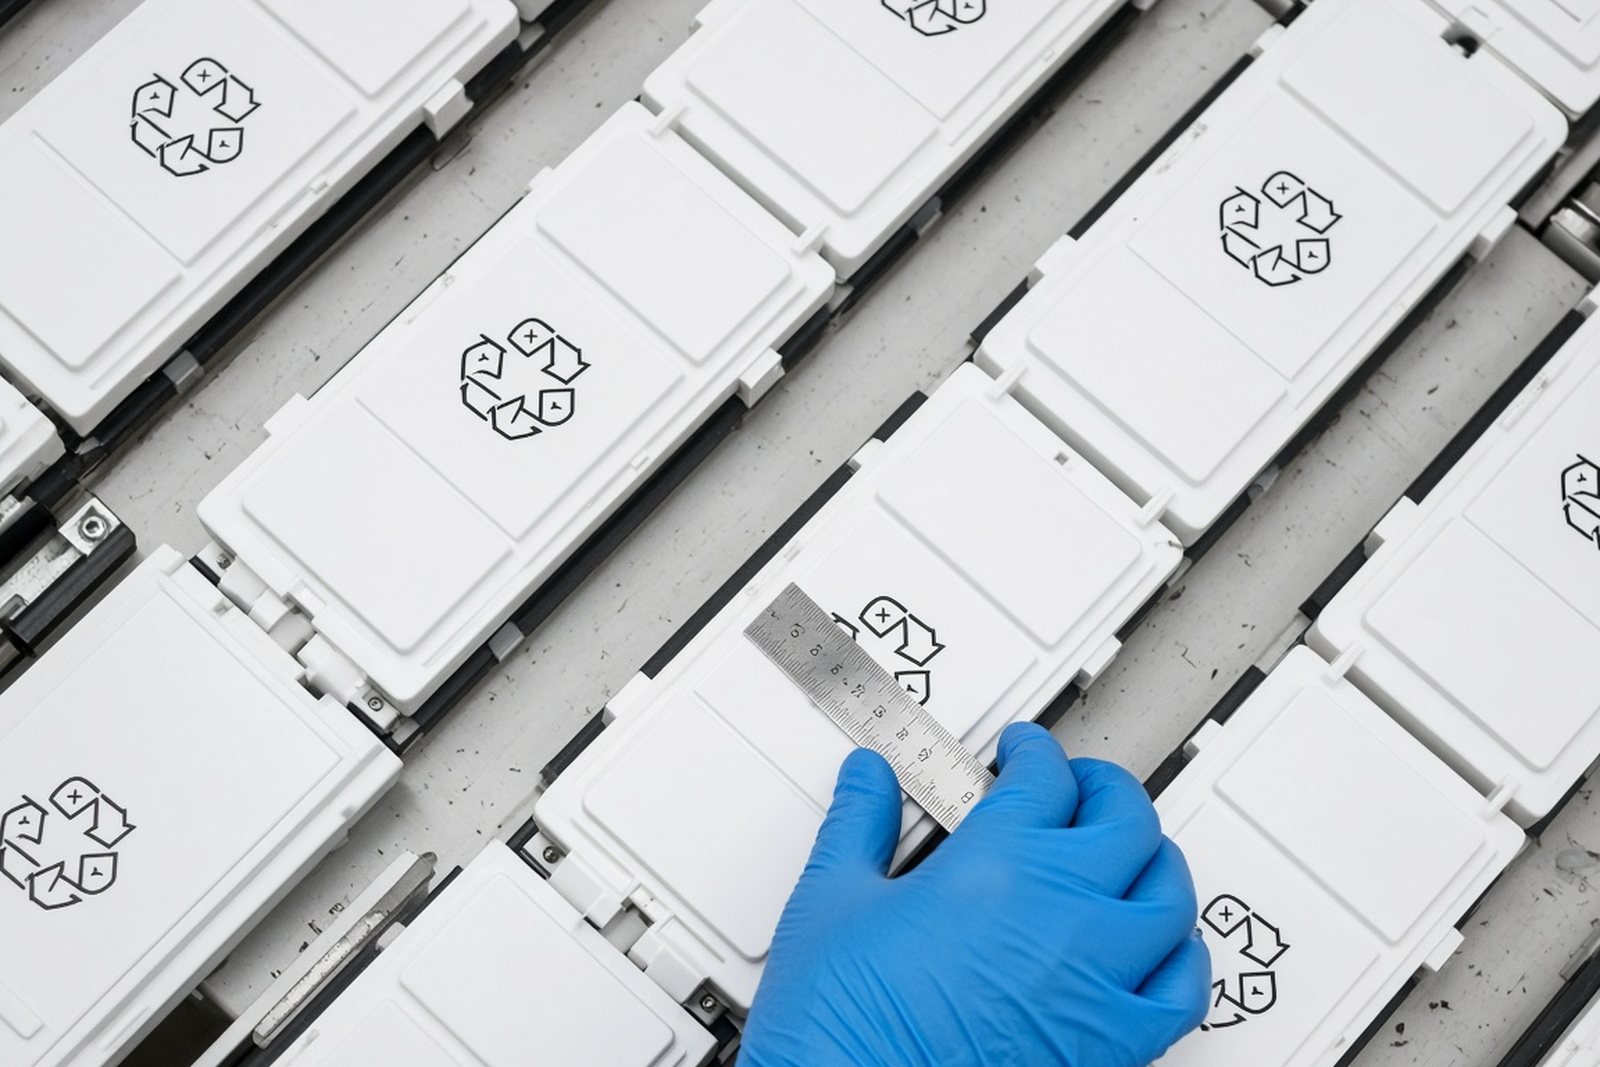
Flat surface pad printing suits manufacturers that need a crisp mark on parts moving through assembly or final packing. It is common on products that need part identification, front panel legends, functional markings or branding that must stay readable after handling and cleaning.
We often see this method used for medical and electronics production in Durban, Johannesburg, Pretoria, Cape Town and Gqeberha. It also works well for smaller production runs, repeat jobs and mixed batches where the same artwork must be held steady across more than one order. For coastal sites in Durban or Gqeberha, ink choice and curing need a bit more care because humidity can affect dry times and handling. On inland sites around Johannesburg and Pretoria, dust control and static can become the bigger issue.
- Best for flat or nearly flat faces with stable registration points
- Suitable for simple marks, fine text and compact logos
- Good option where labels are not ideal, or where the mark must become part of the component itself
Artwork, Plates and Colour Matching
Good pad printing starts with the artwork. We prepare files for sharp linework, correct stroke weight and clean spacing so the plate can hold the image properly. If needed, artwork can be redrawn to suit the print process and the part size. Plate exposure and etching are then set up to suit the chosen ink and the target finish.
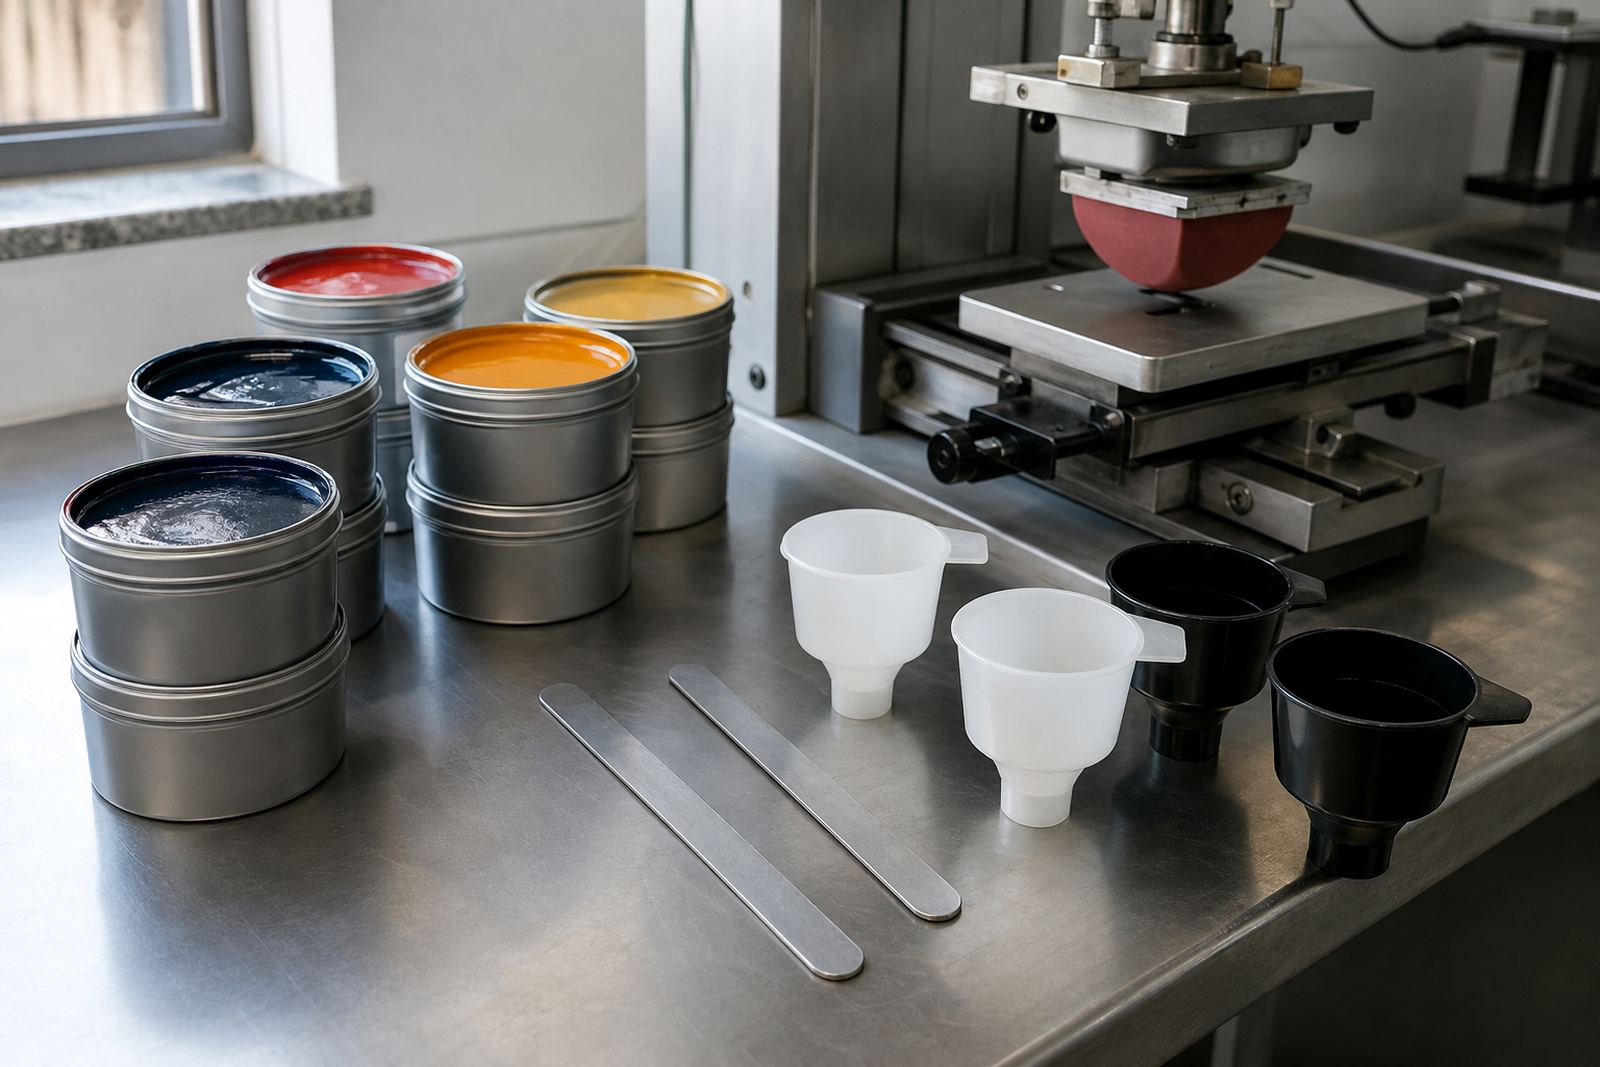
Colour matching is checked against the part material and the viewing conditions. A white legend on a dark housing, for example, needs a different approach to a black mark on a light panel. We can also run adhesion test samples before full production so you can confirm the mark behaves as expected on your chosen substrate. That part is on the manufacturer to approve for its own compliance needs, and we keep the print side consistent and documented.
- Artwork preparation and logo redraws
- Print area planning and plate exposure
- Colour matching for single and multi-colour work
- Trial sample runs before release to production
Care, Servicing and Ordering Checks for medical parts
Routine care keeps the print clean and repeatable. Pads should be inspected for wear, plates kept clean, and ink mixing controlled so the finish stays within spec from one batch to the next. If a pad starts to harden or lose detail pickup, the mark can shift or look patchy. Ink trays, doctoring edges and fixtures also need regular cleaning, especially in hotter months when residue builds up quickly.
When ordering, it helps to send the exact part sample, artwork, substrate details and the expected print position. If the component has texture, a curve near the edge or a recessed area, say so early. That lets us advise whether flat surface printing is the right option or whether the print needs a fixture change. For larger batches, rerun job control and dispatch packing should be agreed before production starts so the same result can be repeated without confusion. Our team in Westmead, Pinetown handles enquiries for Durban Manufacturers, Pinetown Printing Support, Johannesburg Supply, Pretoria Supply, Cape Town Supply, Gqeberha Supply, New Germany Support and Westville Support.
- Send a sample part, artwork and substrate details
- Confirm print position, colour count and curing method
- Ask for trial samples if the material is new or unusual
- Agree batch size, packing and repeat-run details early
Run details
| Process | Pad printing onto flat or near-flat surfaces |
|---|---|
| Typical parts | Panels, covers, bezels, plates and instrument faces |
| Print options | Single colour or multi-pass multi-colour work |
| Ink and cure | Material-matched inks with air, heat or controlled curing |
| Setup support | Artwork prep, plates, fixtures, trial runs and rerun control |
| Service area | Pinetown, Durban, Johannesburg, Pretoria, Cape Town and Gqeberha |