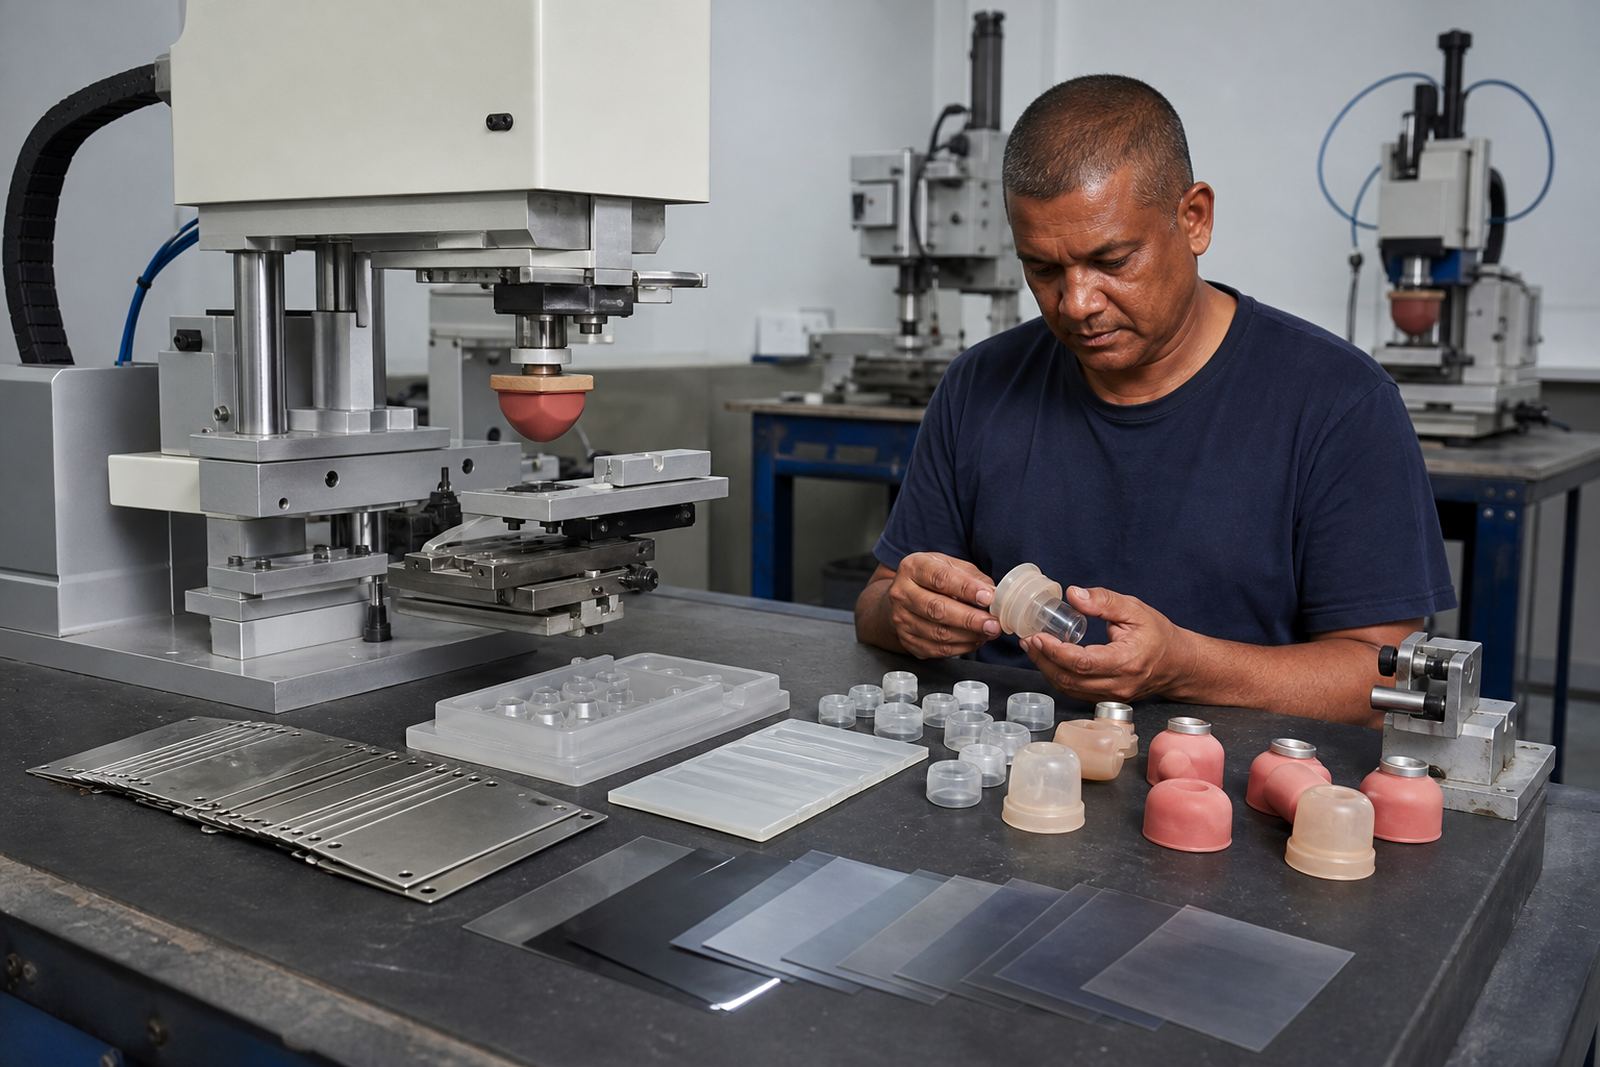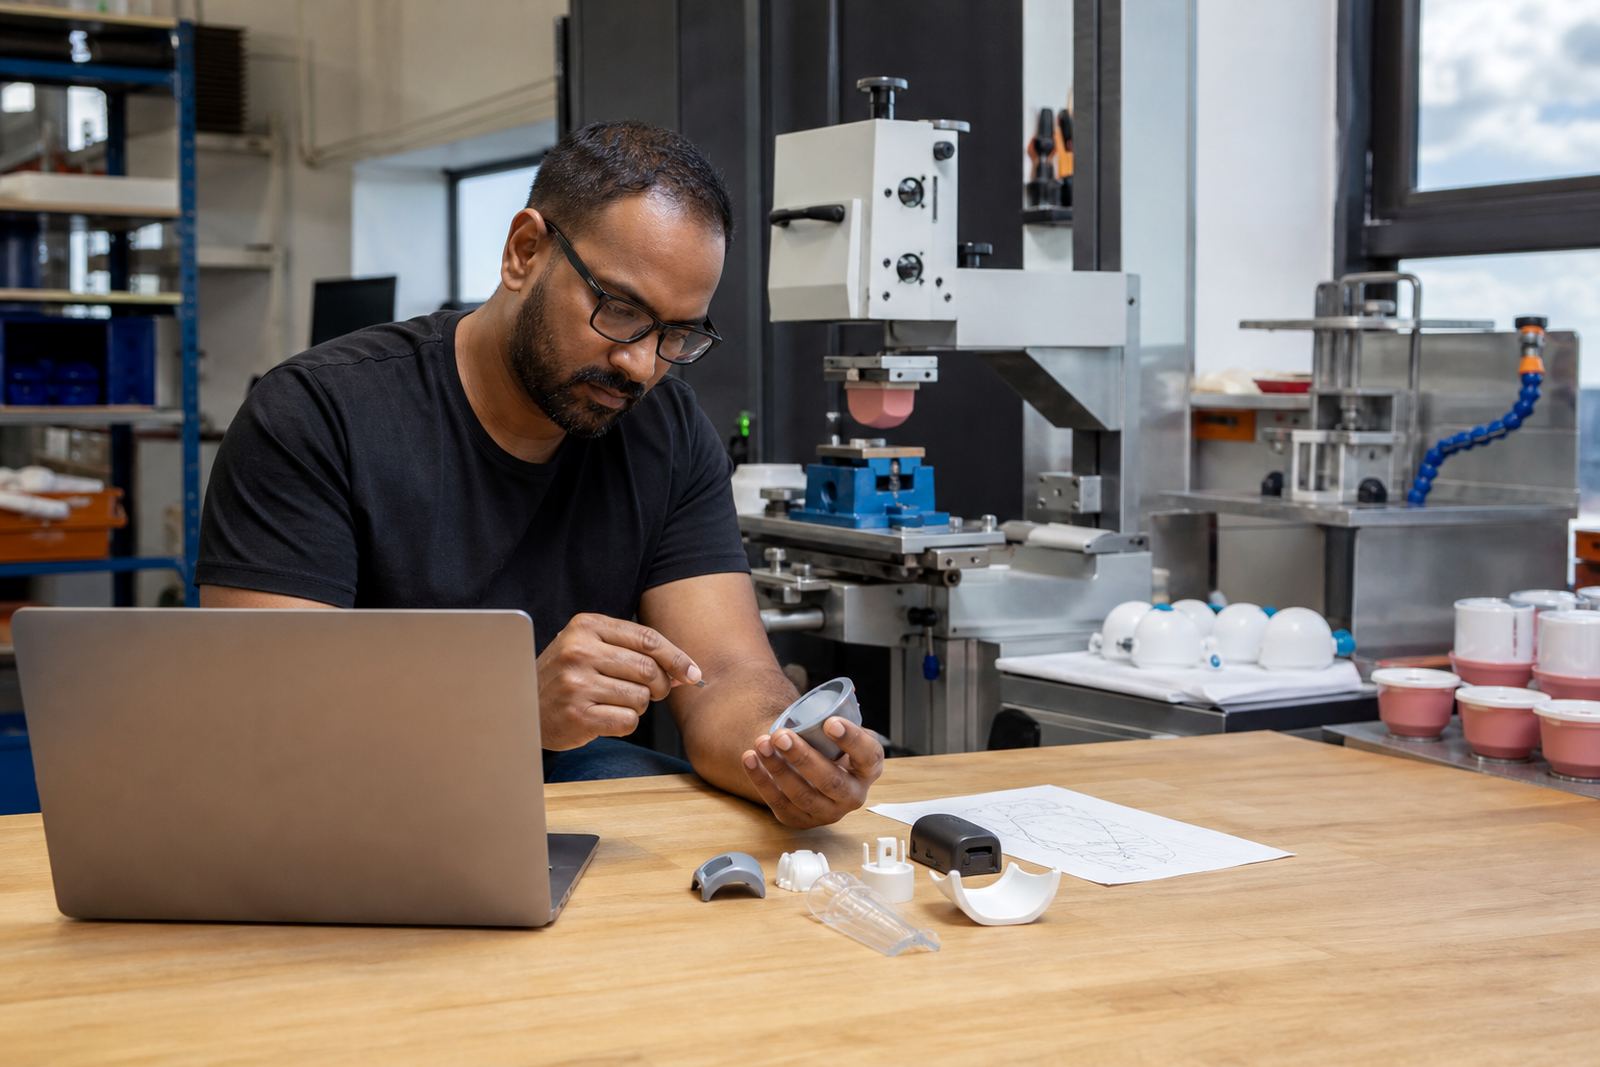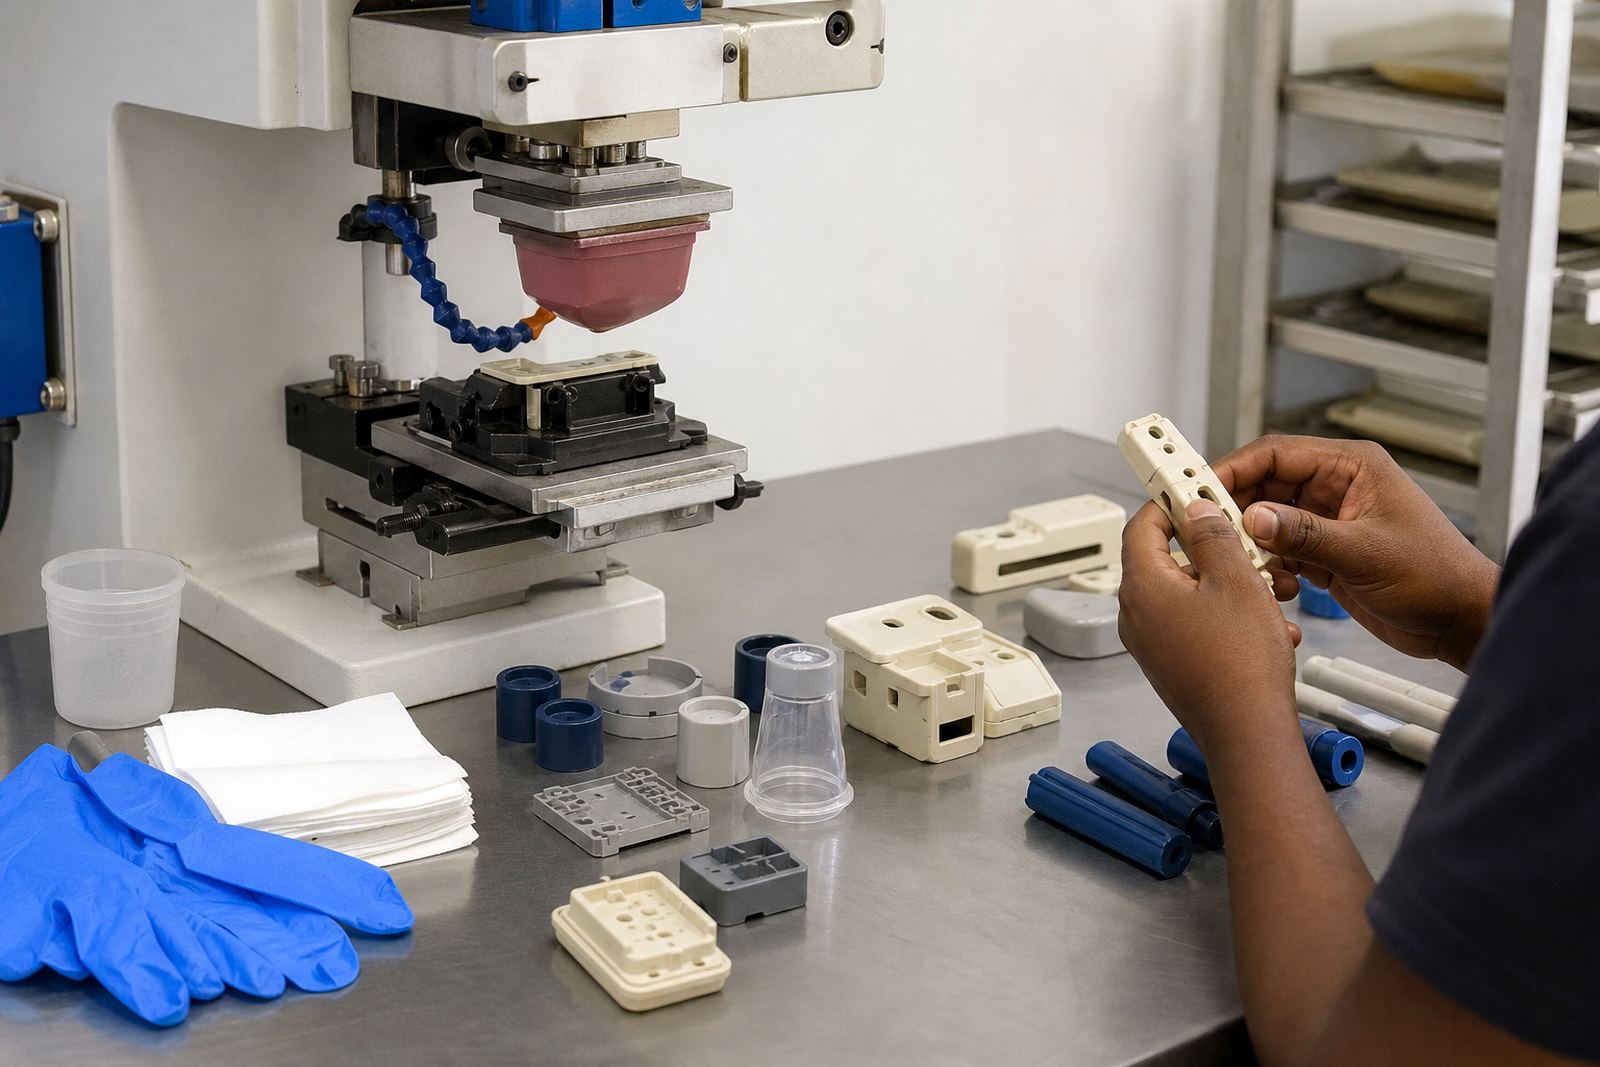
Start with the part’s real job, not just the artwork
Before a logo, symbol or marking is approved, the first question is simple: what will the part actually go through after printing? A medical housing that is handled once during assembly has a very different need from a control panel button that gets touched all day, every day. The same applies to electronic components that may be wiped, heat cycled, stacked in trays or packed into cartons for long distance transport from Pinetown to Johannesburg or Cape Town.
When we speak about durability expectations, we are really talking about three things. First is handling, meaning how often the part is picked up, clipped in, or slid against another surface. Second is cleaning, including alcohol wipes, detergent wash-downs or other routine wipe methods. Third is wear, which covers rubbing, light scratching, UV exposure and the general conditions the part will face in store, on site or in the field. If these details are not clear, the print can still look fine on day one but fail too early. That is a costly miss, and a avoidable one.
- Describe where the part is used, assembled or stored.
- Say how often it is touched, cleaned or moved.
- Note any heat, moisture, dust or chemical exposure.
- Explain whether the mark is for identification, branding or functional instructions.
Choose the print duty based on handling and cleaning
Pad printing uses a silicone pad to pick up ink from an etched plate and transfer it onto a shaped surface. On medical and electronic parts, the surface is often small, curved or broken up by ribs, buttons, connectors and mould lines. That is why the ink system and curing method matter as much as the image itself. A print that only needs to survive light handling can be set up differently from one that must resist regular wiping, packaging friction and repeated use.
For lower wear parts, a well matched ink with proper curing may be enough. For higher wear parts, we may need tighter control on surface preparation, ink selection, cure time and the test sample stage before the full run is approved. In humid coastal conditions around Durban and Westmead, drying and curing behaviour can shift a little, so those checks matter even more. The goal is not to oversell the print, but to make sure it suits the part and the process from the start.
- Decide whether the marking must survive light, medium or heavy handling.
- State if the part will be cleaned with alcohol, soap solution or stronger agents.
- Ask whether heat, UV or moisture will be present during use or storage.
- Confirm if the print is decorative, instructional or for component identification.
What to confirm before trial sample runs
Trial sample runs are where durability expectations become practical. At this stage, we are not only checking whether the artwork looks correct. We are also checking whether the mark bonds properly, reads clearly and behaves as expected on the actual substrate. A good sample can save a full production run from ending up with print rub-off, poor adhesion or unreadable fine detail.
To get useful samples, the part should be presented as close to production condition as possible. That means the same moulding finish, the same cleaning stage and, where possible, the same batch of material. If there are multiple colours or layered markings, we also need to know the order of application and whether curing between stages is needed. It helps to speak plainly about the target life of the mark. If the print only needs to survive assembly and basic use, say so. If it must hold up for years of daily contact, say that too.
- Bring a representative part, not a rough substitute.
- Share the cleaning method used before printing or before packaging.
- Confirm the acceptable level of fading, wear or edge lift.
- Ask for sample marks in the area that will be most exposed to wear.
Surface finish and material type change the result
Not all plastics and coated surfaces take ink in the same way. Some accept a print cleanly with minimal treatment, while others need careful preparation so the ink can grip properly. Smooth glossy parts, textured housings and small electronic shells can behave differently even when they look similar. On medical and electronic products, that difference can affect both appearance and durability.
Surface finish also changes how wear shows up. A high gloss area may show scuffs earlier, while a matte or textured surface can hide light marks for longer. But texture can also affect fine text and small symbols, so the layout must be planned around legibility as well as lifespan. If a part has tight tolerances, snap fits or sealed edges, the print area may need to be adjusted so the mark does not interfere with assembly. That is part of proper print area planning, and it should happen before plate exposure or fixture making begins.
- Tell us the base material and whether it is moulded, coated or painted.
- Note any textures, curves, vents, recesses or raised sections.
- Say whether the mark sits near a seal, hinge, clip or moving part.
- Check if there is enough flat or stable area for the required detail.
Cleaning agents, humidity and storage conditions matter
Many print failures do not come from the press room alone. They happen later when a part is cleaned too aggressively, stored in hot packing areas, or stacked before the ink has fully cured. For clients supplying across South Africa, from Pretoria to Gqeberha, transport and storage conditions should be part of the durability discussion. A part that travels in a sealed carton through warm weather may face more stress than one kept in a controlled stock room.
Cleaning is especially important on medical and electronic items. Even when a customer is responsible for its own device compliance, the printed mark still needs to hold together under the handling it will see in the real world. If the part will be wiped with alcohol, detergents or other cleaners, we need that information before selecting the curing method and test sample plan. The same applies where parts may sit in humid conditions, near a production line or in packaging that traps moisture.
- List every cleaner, wipe or wash step used after printing.
- Say whether parts are packed immediately or allowed to cure first.
- State if storage is in air-conditioned, ambient or coastal conditions.
- Check whether stacking or bagging could rub the print before dispatch.
A simple durability checklist for your enquiry
When you send an enquiry through the contact page, the more complete the brief, the better the print specification can be set up. You do not need long technical notes if they are not available. Clear plain language is enough. The point is to explain what the part is, what the mark must do and what kind of wear it will face. That gives the team the right information for artwork preparation, colour matching, plate etching, fixture making and rerun job control if the job needs repeat work later.
Use the checklist below before approval. If any item is uncertain, say so. A short conversation now can prevent rework later, especially when parts are going into medical assemblies or electronic products where the print has to remain legible and neat through handling. Sibusiso Naicker and the team in Westmead, Pinetown work with these checks every day, so the aim is to match the process to the part, not force the part to suit the process.
- What is the part and where is it used?
- How often will it be handled or cleaned?
- What cleaners, heat or moisture will it face?
- Does the mark need to last through assembly, service or long term use?
- Is the print area fixed, or can it move slightly for better durability?
- Are you approving a sample first before full production?