Start With The Part, Not The Machine
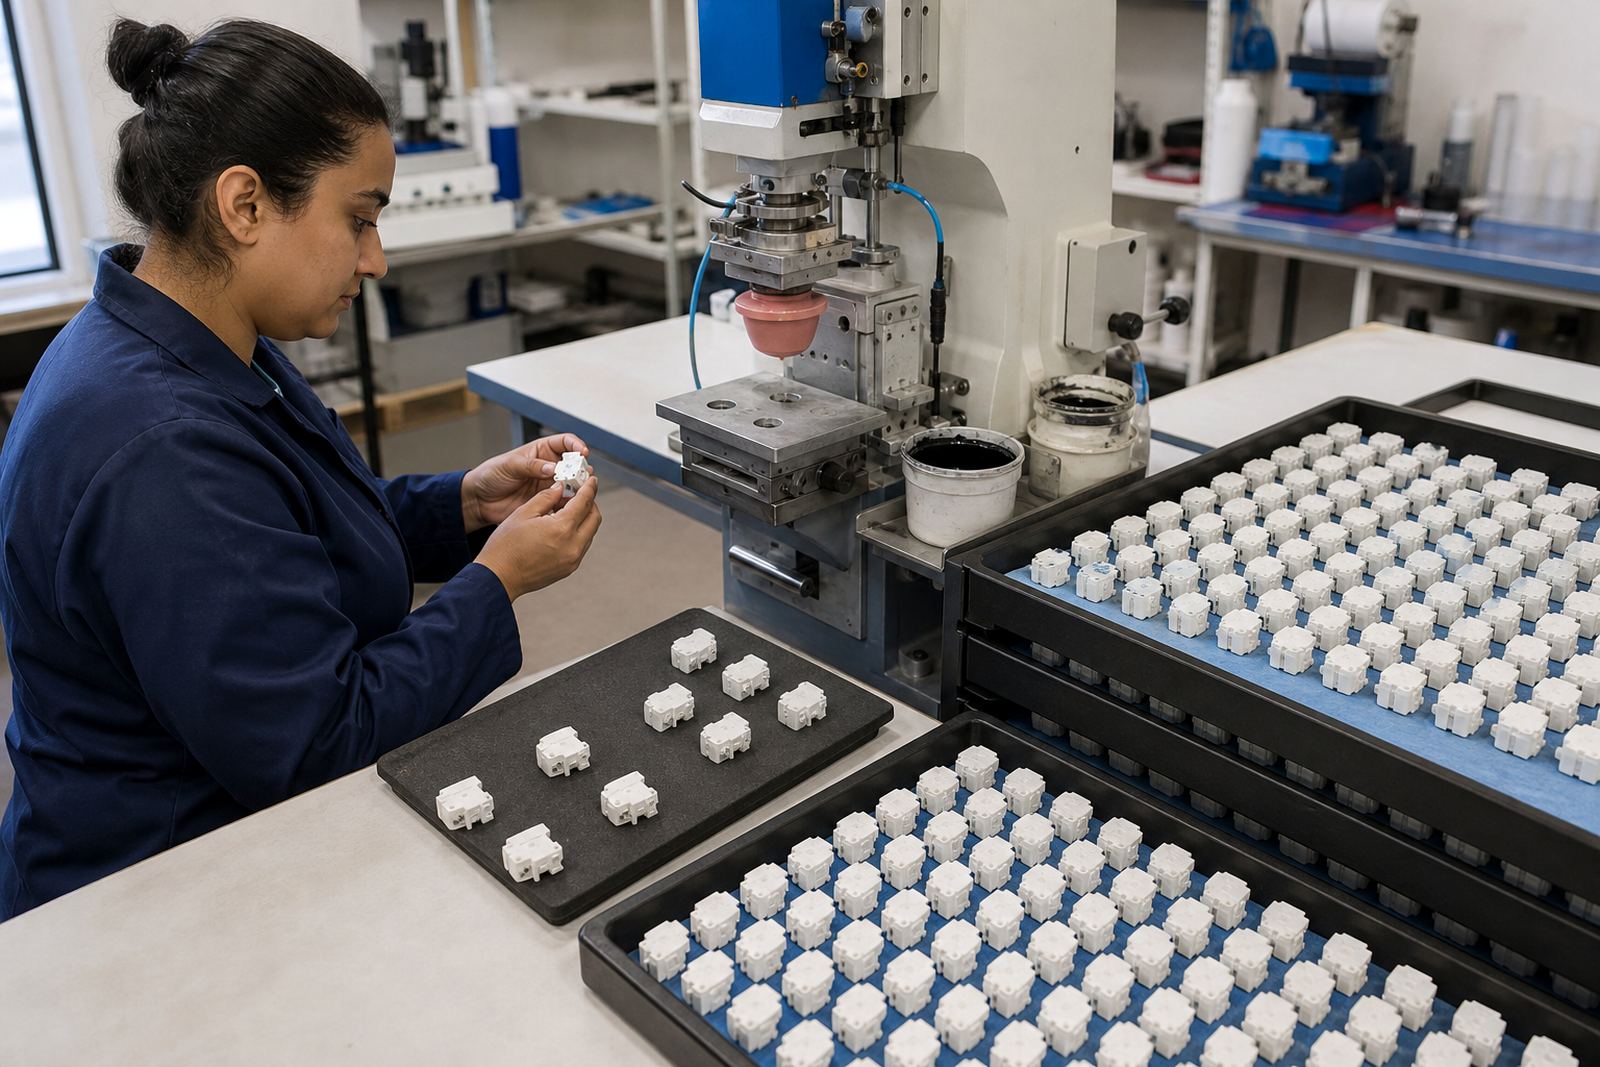
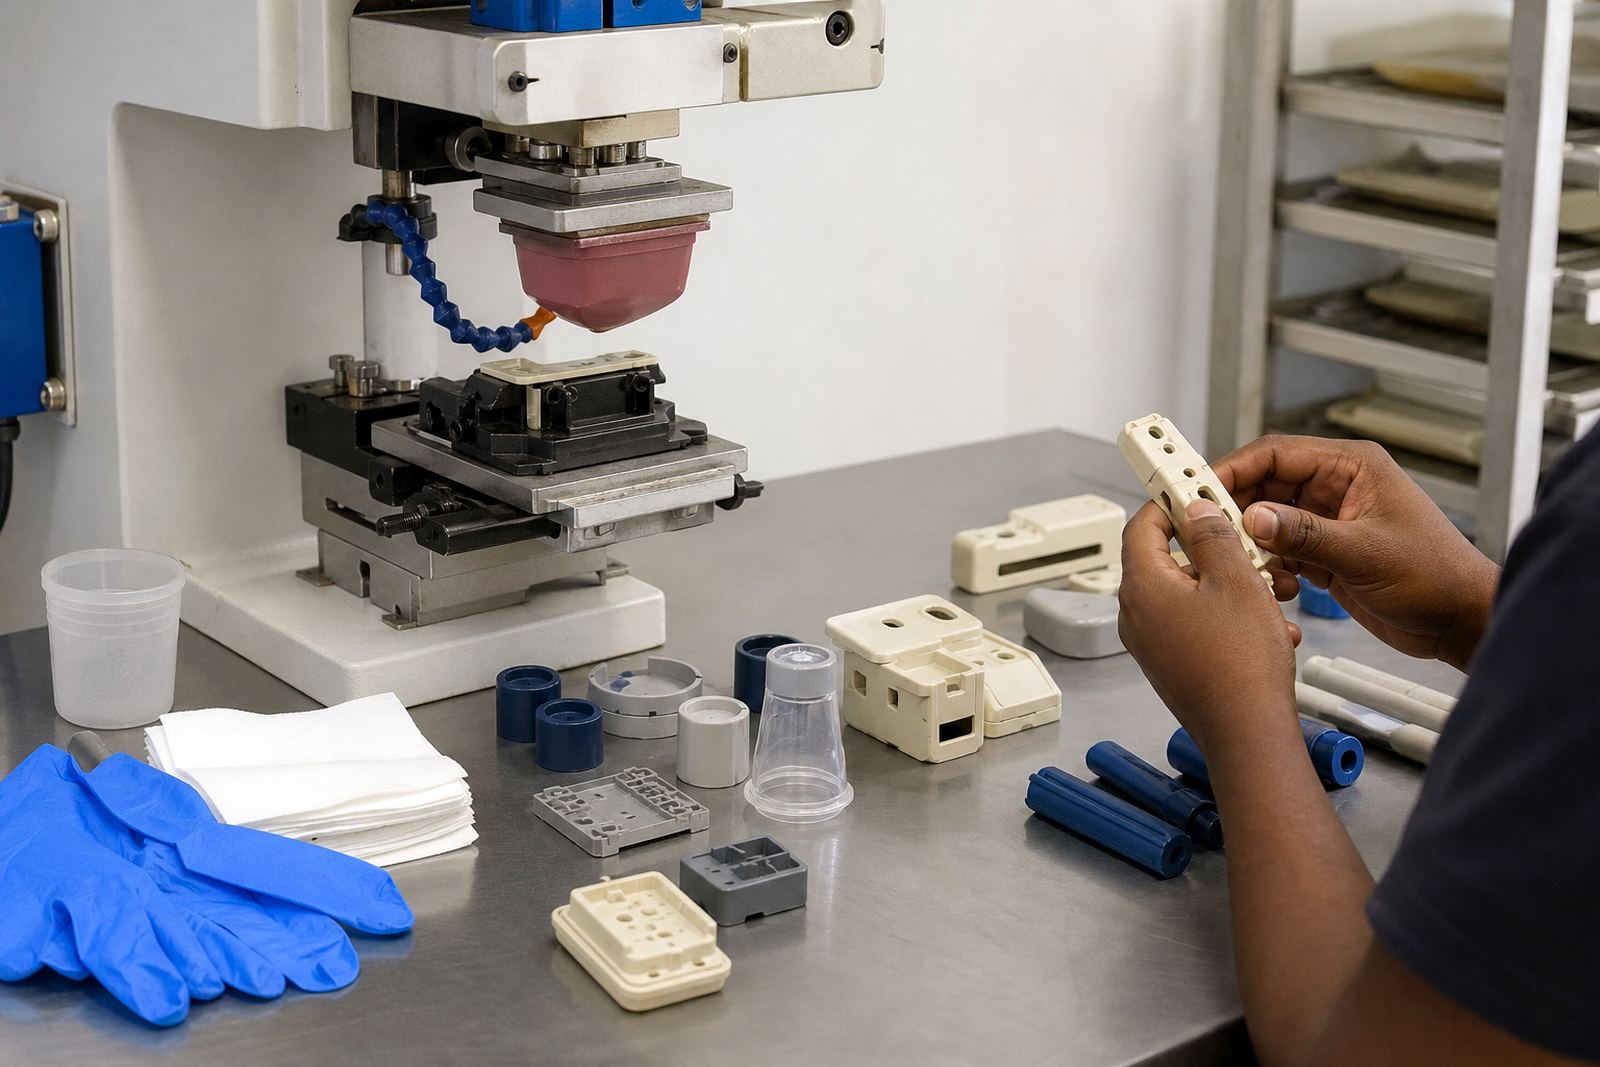
Fixture planning starts with the component itself. Before any plate or silicone pad is prepared, the part needs to be measured, handled and checked for the way it sits on the line. A flat housing, a tapered cap, a connector body and a medical plastic shell all behave differently under print pressure, so the nest must suit the shape and the surface finish. If the part moves even a few millimetres, the mark can shift, blur or land outside the print area.
At this stage, the aim is repeatability. The operator should be able to load parts the same way every time, with no guesswork. For manufacturers in Pinetown, Durban and wider KwaZulu-Natal, that often means accounting for heat, humidity and dust as well as the actual geometry. On sensitive components, the fixture also needs to protect the surface from fingerprints, scuffing and stress marks.
- Measure the critical faces, not only the overall size
- Identify any ribs, buttons, vents, chamfers or snap features
- Note which side must face the image every time
- Check if the part flexes when clamped
- Record where contact marks are not allowed
Choose A Nest That Holds Firmly Without Distorting The Part
A fixture must support the part securely but not squeeze it out of shape. For medical and electronics components, this is especially important because tolerances are often tight and the print area may sit close to functional features. A nest that grips too hard can change the alignment of the image or leave pressure marks behind. A loose nest creates drift, and drift costs time on reruns and touch-ups.
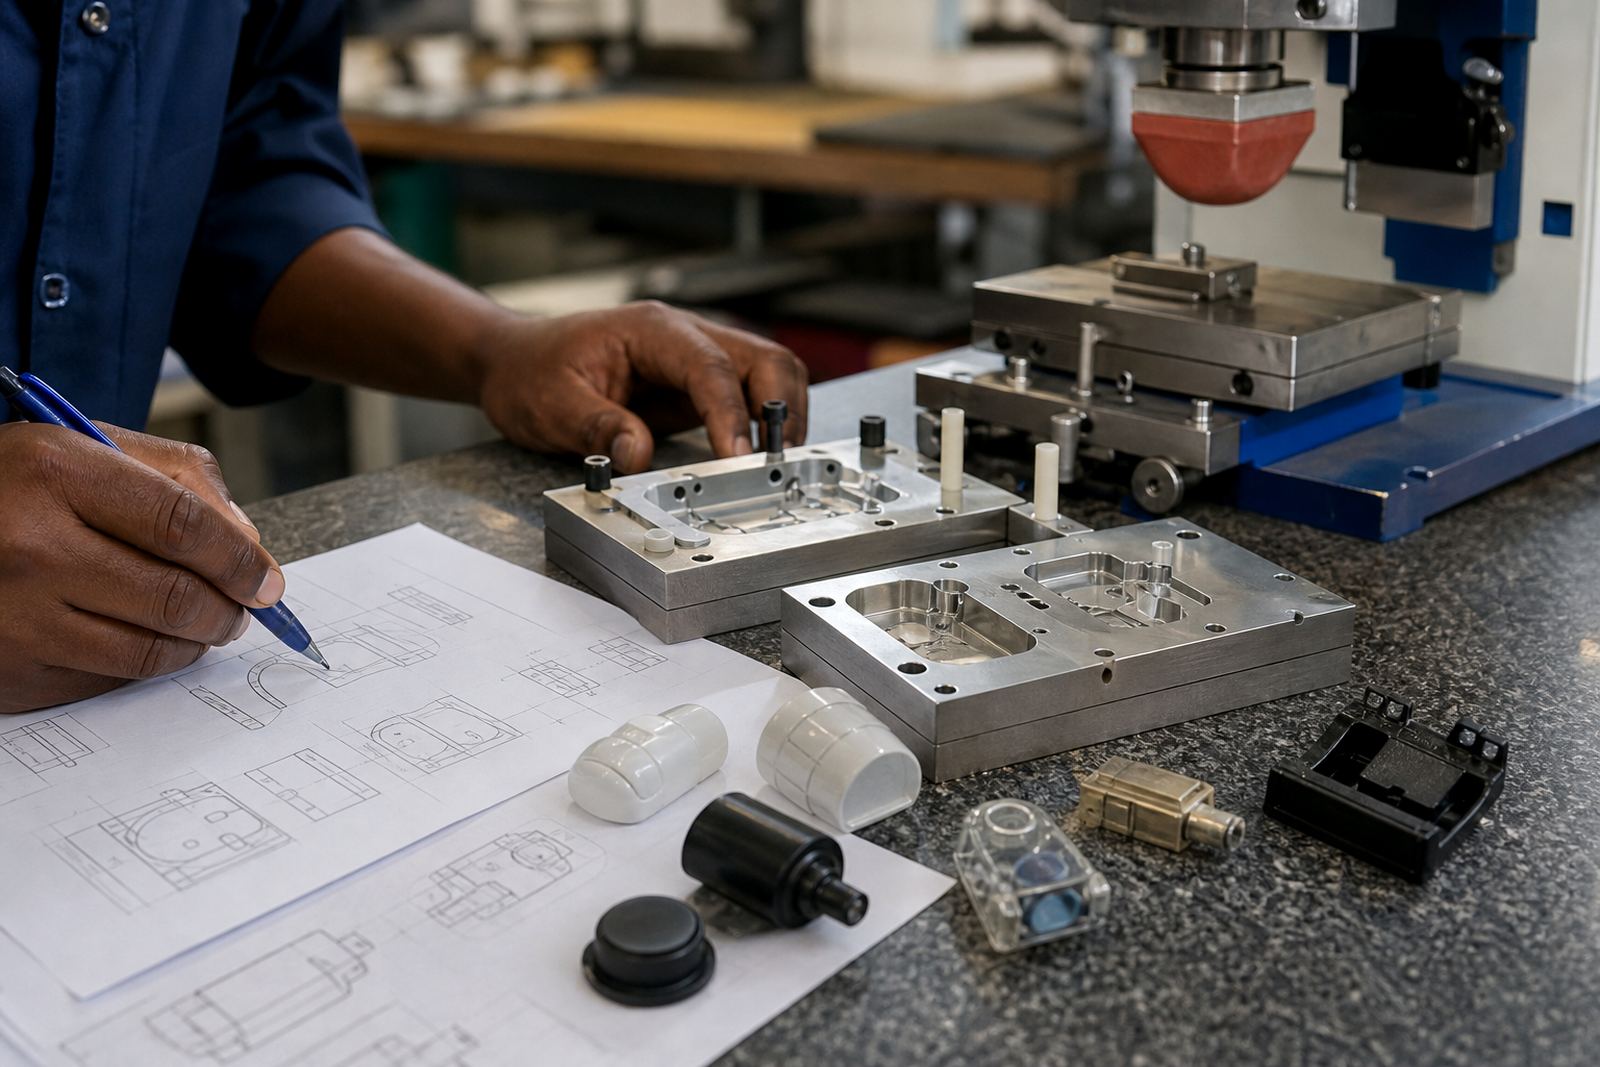
The best fixture uses locating points that are easy to find and hard to misload. Depending on the job, that can mean pins, pockets, side stops, adjustable inserts or a shaped cradle. Clear access is just as important as retention. The pad must reach the image zone cleanly, and the operator must still be able to load and unload parts quickly during the shift.
- Use locating points that cannot be confused with each other
- Keep the print face fully open to the pad path
- Allow for safe handling with gloves if required
- Build in relief where flash, mould lines or sprues may sit
- Plan for quick cleaning between runs
For repeat production, it is also worth considering how the fixture will behave over many cycles. A well-made nest should not wear rapidly, shift under vibration or become difficult to clean after ink build-up.
Match The Fixture To The Print Method And Cure Plan
Fixture design is tied closely to the full print process. The transfer of ink from cliché to pad, then from pad to part, depends on consistent height and clean contact. If the part sits too high or too low, the image can stretch, break up or miss fine detail. That is why fixture height, angle and access need to be set with the pad travel in mind, not after the fact.
The curing step matters as well. Some inks need air time, others need heat or another controlled cure method. The fixture must hold the part steady through that stage without trapping heat in the wrong place or blocking the marked area. On electronics parts, this matters where inks are used on housings, switches or labels that must stay legible after handling. On medical components, the mark must remain clear through cleaning and daily use, while the customer remains responsible for their own device compliance.
- Confirm the part can stay stable through the chosen cure cycle
- Avoid materials in the fixture that mark or react with the part
- Keep any heat sensitive features away from hot spots
- Test the full cycle, not only the print stroke
When the line stops and starts, the fixture still needs to keep the part in the same position for the next run.
Use Trial Sample Runs To Confirm Position And Finish
No fixture should go straight into full production without trial sample runs. A small test batch shows whether the part loads correctly, whether the mark lands in the right place and whether the ink releases cleanly from the pad. This is the stage where minor issues are easiest to fix, before they become expensive. If the first print shows a shadow, pinhole or slight offset, the cause is often in the nest, not the artwork.
Trial runs also help decide whether the fixture needs adjustment. A simple change to a stop, insert or support point can improve consistency immediately. For multi-cavity jobs, the test should check every cavity and not just the first one. It is common for one position to behave differently because of mould variation or surface finish, so each location must be checked on its own merit.
- Run enough samples to show repeatability
- Check the mark under normal handling light, not only in the workshop
- Inspect for smears, lift-off, double images and edge spread
- Confirm the operator can load parts without forcing them
- Record any changes made before production starts
Plan For Changeovers, Reruns And Ongoing Control
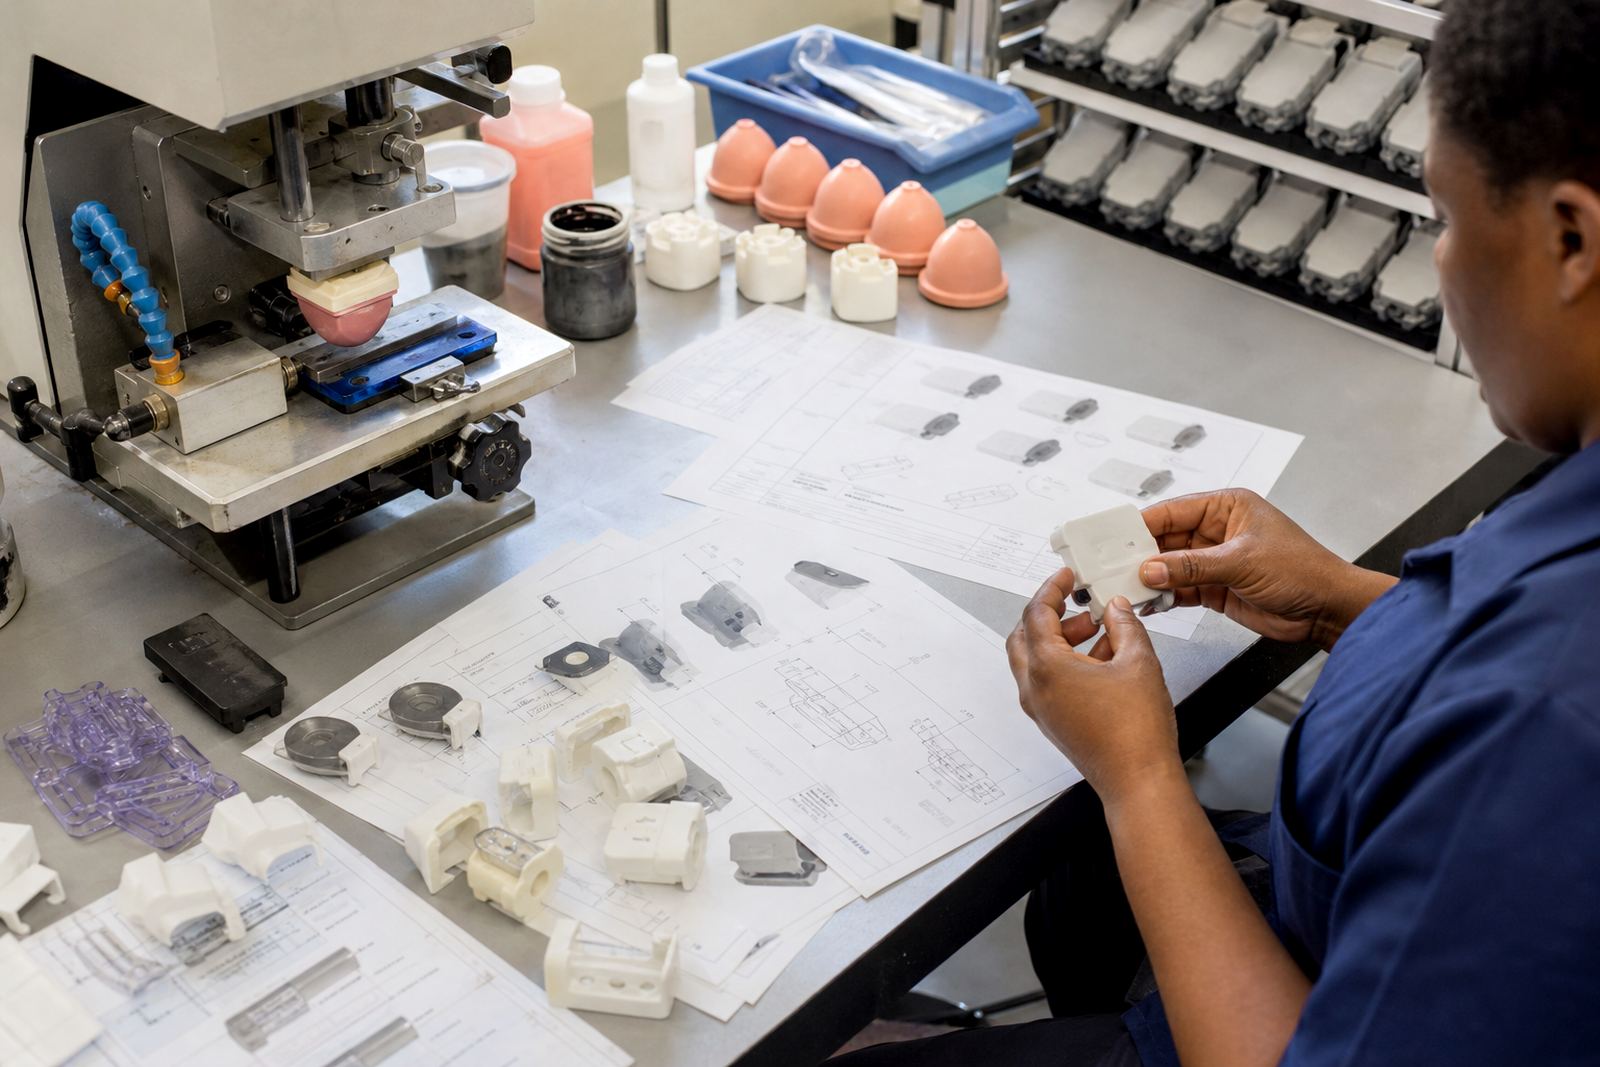
Good fixture planning does not stop at the first successful run. Parts change, artwork changes and order sizes change, so the nest must stay manageable over time. A fixture that is impossible to reset will slow the line and increase the chance of operator error. For manufacturers moving between product variants, it helps to keep fixture parts clearly marked and stored together with the correct plate and setup notes.
Rerun job control is part of the same discipline. When a job comes back months later, the fixture should still support the same position and the same print result. That means keeping the original measurements, notes on clamping points, sample parts and any known wear items. In busy plants around Johannesburg, Pretoria, Cape Town and Gqeberha, this kind of control saves a lot of back and forth when production windows are tight.
- Label inserts, stops and adjustable parts clearly
- Keep a setup record for each approved job
- Store the fixture with the related sample or reference part
- Check wear on contact points before every rerun
- Clean ink residue before it hardens into the nest
If the fixture is part of a longer production chain, it should also fit packing and dispatch practicalities. Parts need to move safely from print to cure to packing without losing orientation or being handled more than necessary.
How PadPrinters Medical Supports Fixture Planning In Westmead
PadPrinters Medical works from Westmead, Pinetown and supports manufacturers across South Africa with practical fixture planning for medical and electronic components. The approach starts with artwork preparation, logo redraws where needed, print area planning and colour matching, then moves into adhesion test samples, plate exposure, plate etching and fixture making. That sequence matters because the fixture and the print method must work together from the start.
For clients in Durban Manufacturers, Pinetown Printing Support, New Germany Support, Westville Support, Johannesburg Supply, Pretoria Supply, Cape Town Supply and Gqeberha Supply, the aim is the same: secure parts, accurate marks and repeatable results. The team includes Sibusiso Naicker, Naledi Kekana, Sanjay Dookhi, Lerato Mabunda, Yashika Sewpersad and Mfundo Xaba, with each stage handled by the right person so setup details do not get lost. Enquiries come through the contact page enquiry form, which keeps the process simple and orderly.
If your parts need custom nests, consistent orientation or a better way to handle trial sample runs, fixture planning is where the job becomes reliable. It is often the difference between a mark that only works once and a process that holds up day after day.