Start With the Part, Not Only the Artwork
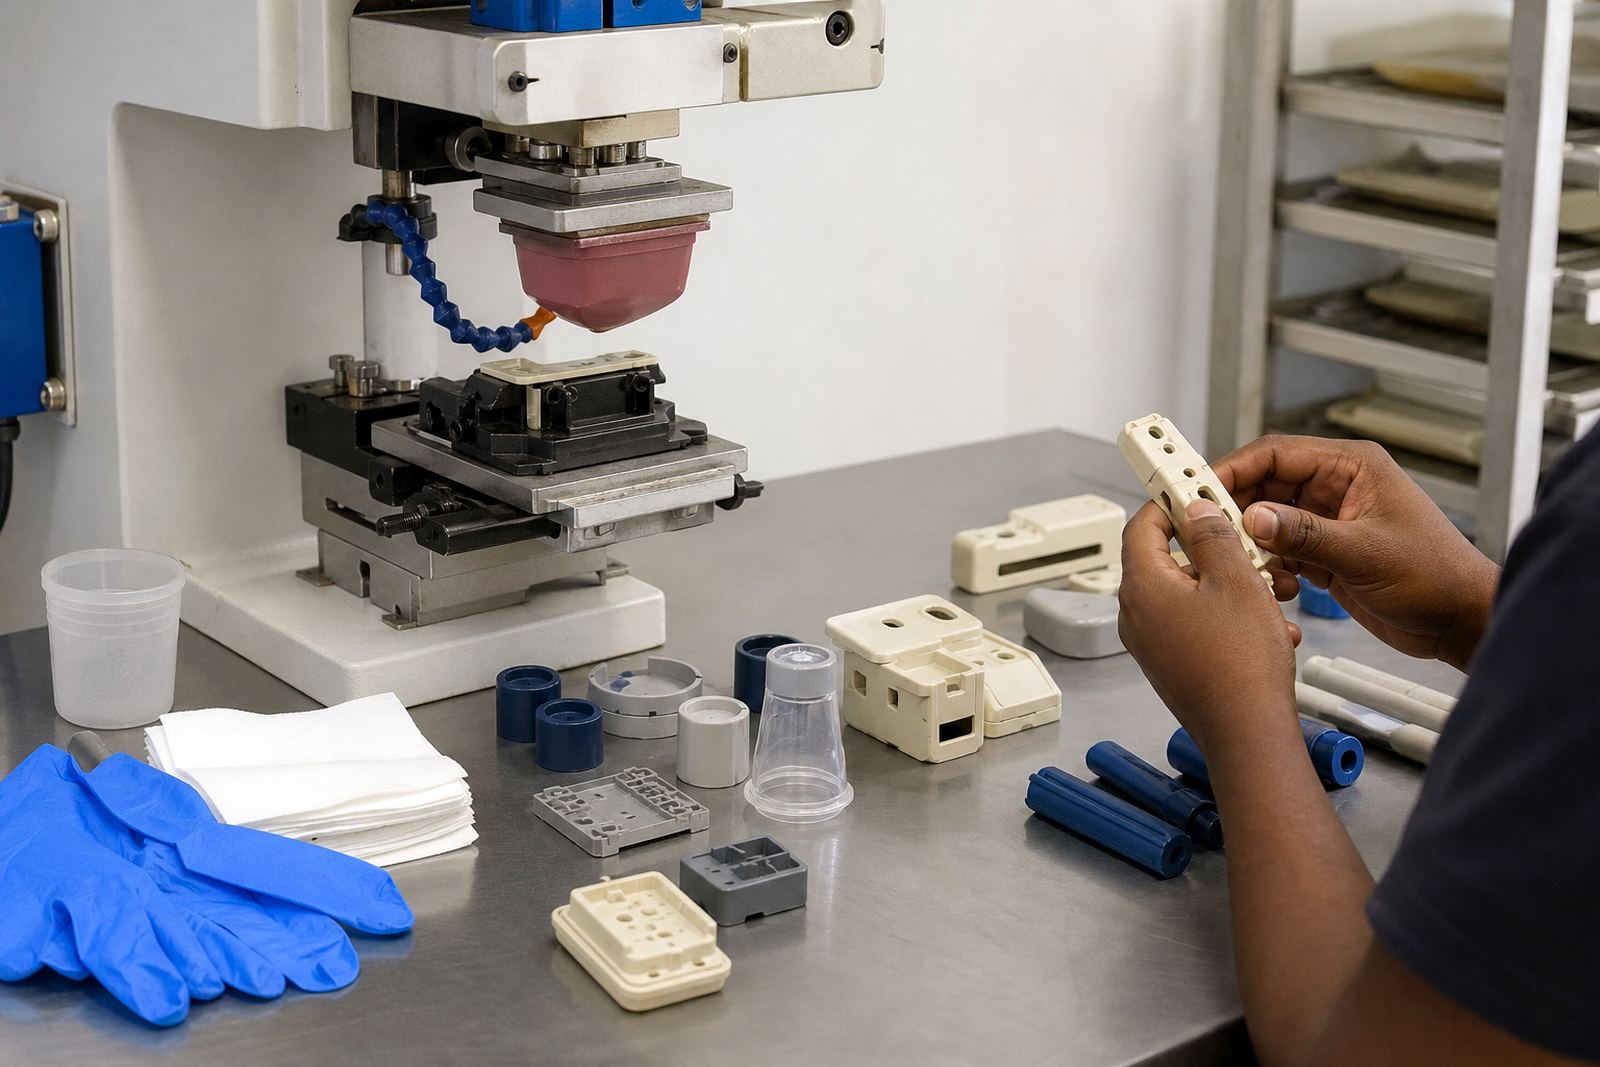
For pad printing, the artwork must suit the actual component, not just look correct on screen. Please send a clear photo of the part, plus the part name, material if known, and where the marking must sit. A small button, housing, connector, syringe component or control panel all need different fixture ideas and different ink choices. If the part has curves, vents, raised ribs or shallow recesses, mention that too because these details affect how the silicone pad transfers the print.
Also tell us whether the parts are new samples, a repeat job, or a change to an existing mark. If you already have a production reference, include that file and note what has changed. For clients in Pinetown, Durban, Johannesburg, Pretoria, Cape Town and Gqeberha, this helps us advise on packing, dispatch timing and whether trial samples should be done first.
What to Send for Logos, Icons and Legends
We can work from a range of artwork formats, but the cleaner the source the better the plate and final print. Vector artwork is best for logos and icons because it keeps edges sharp when reduced to a small print area. If you only have a photograph or a low-resolution image, send that anyway and we can advise on a redraw. Text should be typed exactly as it must appear on the part, including capital letters, spacing, hyphens and any symbols.
- Logo or icon file in a clear format
- Exact wording for legends, warnings or labels
- Any trademark, serial or product code that must appear
- Preferred print size, if you have one
- Any line thickness limits or tiny details that matter
If you need a multilingual legend, separate each line clearly and note the order. For electronics and medical parts, small marking errors can cause delays down the line, so it is worth checking names, spellings and abbreviations before sending. A quick review at this stage prevents rework later on and keeps the job moving.
Give Dimensions and Marking Position Clearly
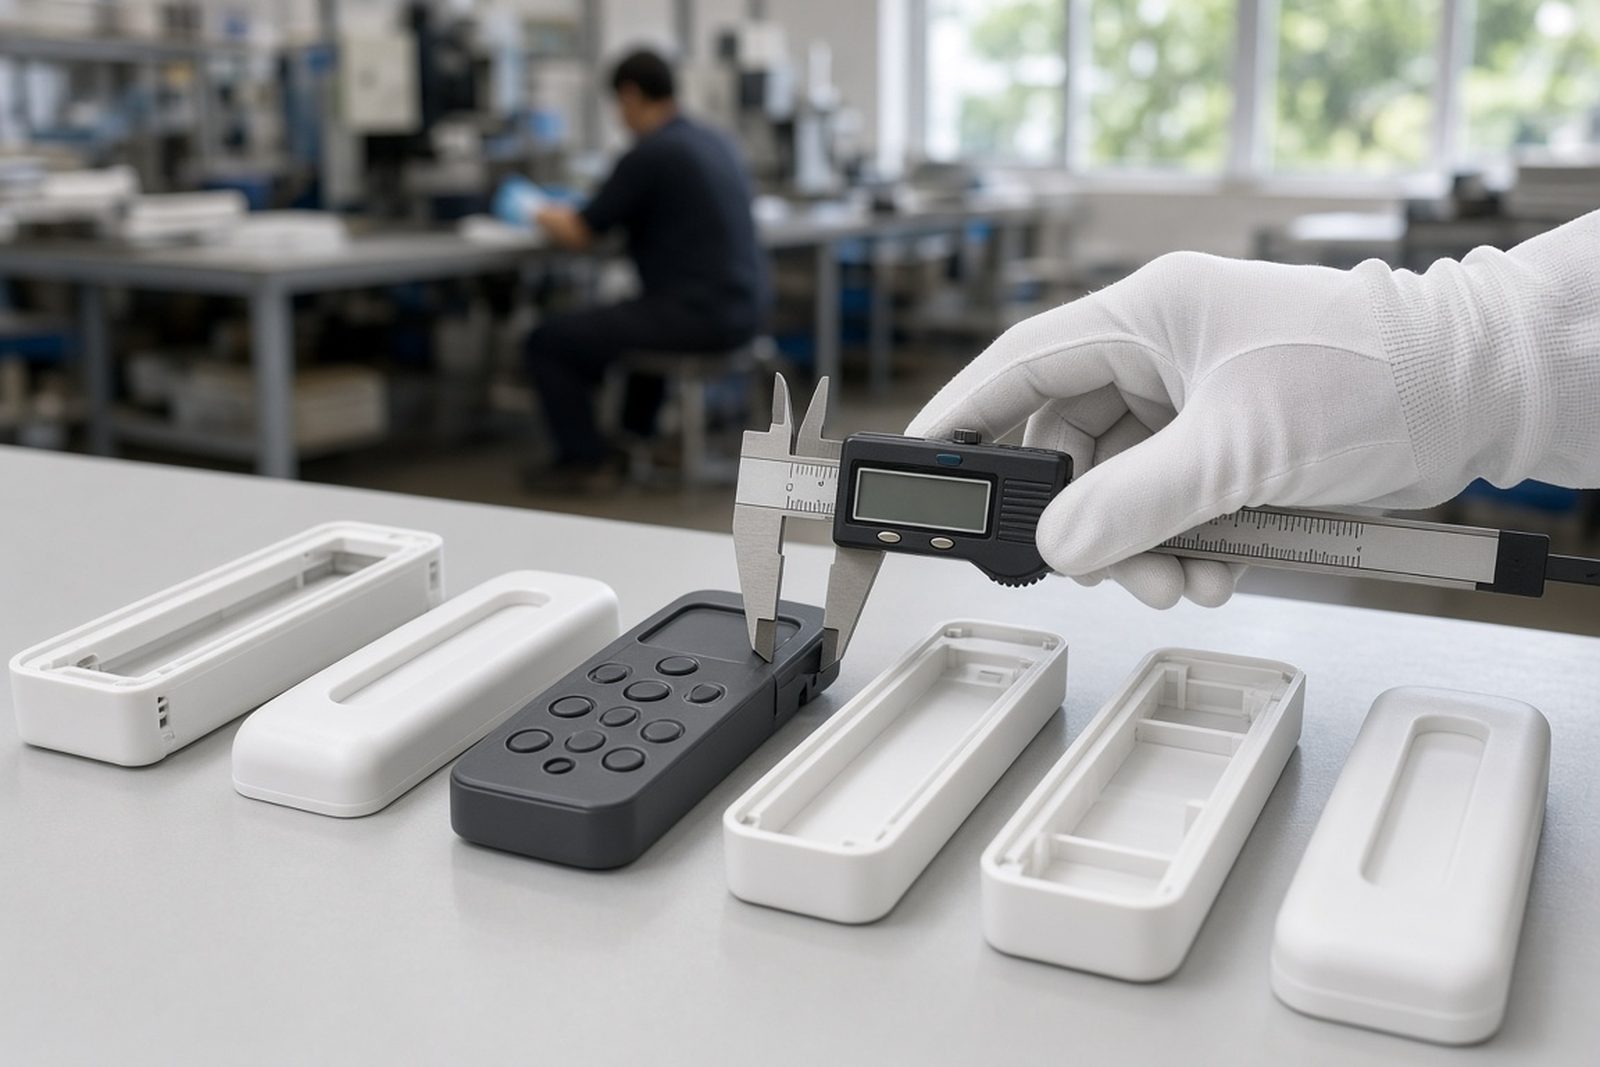
Dimensional references matter because pad printing is often used on parts with very specific print windows. Please indicate the height and width of the print area, the distance from edges or mould lines, and the exact face or side to be printed. A simple marked-up photo with arrows and measurements is often enough. If the artwork must sit between raised features or around a curve, say so clearly and include the part orientation.
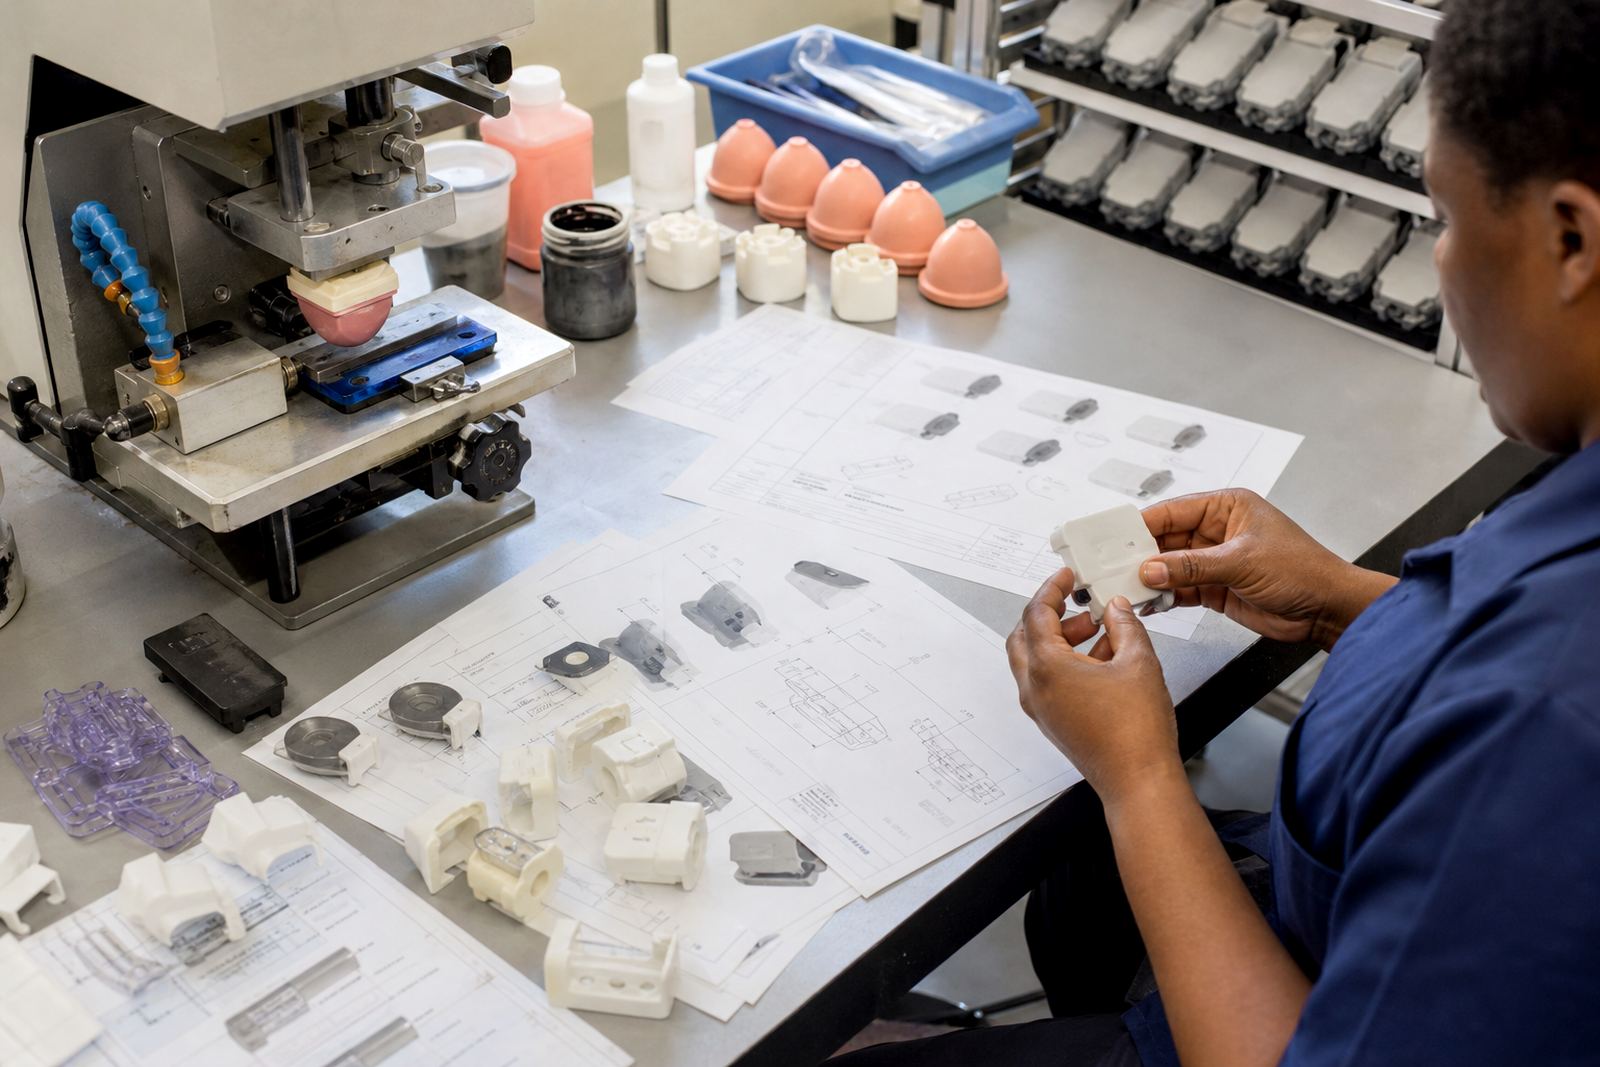
Where possible, send a basic drawing or sketch showing the top, side and front view of the component. Even a rough hand sketch helps when the part is awkward or small. If the marking needs to align with a notch, hole, clip or mould seam, highlight that reference point. It saves confusion and helps us plan fixture making and trial sample runs.
- Overall part size
- Print window size
- Distance from edges, holes or seams
- Orientation of the finished mark
- Any no-print zones or safety areas
Tell Us About Colour, Ink and Finish Expectations
Pad printing ink behaves differently on plastics, coated surfaces and metal parts, so tell us what finish you want and how the part will be used. If colour matching matters, mention the target colour as clearly as you can. Send a sample part, a swatch, or a photographed reference in good light. Screens can shift colour, so a physical reference is always better where available. For very light or very dark parts, contrast is important and may affect the chosen ink system.
Some medical and electronic components need a mark that stays readable after handling, cleaning or light abrasion. Tell us if the part will be exposed to alcohol wipe-downs, moisture, oils or repeated use. That helps us decide on adhesion testing and curing method selection. If the component is used in coastal areas like Durban or Gqeberha, note any humidity concerns too because this can influence drying behaviour. We will advise on practical sample testing before production where needed.
What to Include for Samples, Repeats and Reruns
If you are asking for a quote on a repeat job, send the old job number if you have it, along with a sample of the previous print. That makes it easier to check whether the artwork, ink shade and print position need to stay the same or be adjusted. If the old part is no longer available, send the best photo you have and note the date or batch, if known. Small changes in moulding or supplier parts can affect the fixture and the final result.
For rerun job control, tell us if anything has changed since the last order. A different mould, new artwork, revised product code or changed print area should all be flagged. If the parts are coming from a production line in Johannesburg, Pretoria or Cape Town, pack the sample carefully so edges are not scratched in transit. A clean sample gives a more accurate quote and a cleaner starting point for the print plates.
Simple Artwork Checklist Before You Send It
Before you send your enquiry through the contact page, use this quick checklist to make sure we have what we need. It does not need to be fancy, just clear and complete. Exact information lets us review artwork, plan the print area and advise on any trial sample work that may be needed for your parts.
- Company name and contact person
- Photo of the part from more than one angle
- Artwork file or clear image of the logo or legend
- Exact wording, spelling and symbols
- Measurements for the print area
- Material or finish of the part, if known
- Quantity required for sampling and production
- Any special note on colour, curing or adhesion
If a drawing, image or measurement is unclear, we will ask for more detail before quoting. That extra step is normal and it avoids problems later. Pad printing rewards good preparation, especially on small medical and electronic parts where the margin for error is tight. A well-prepared artwork pack makes the next steps smoother for everyone.