Start with the part, not the print
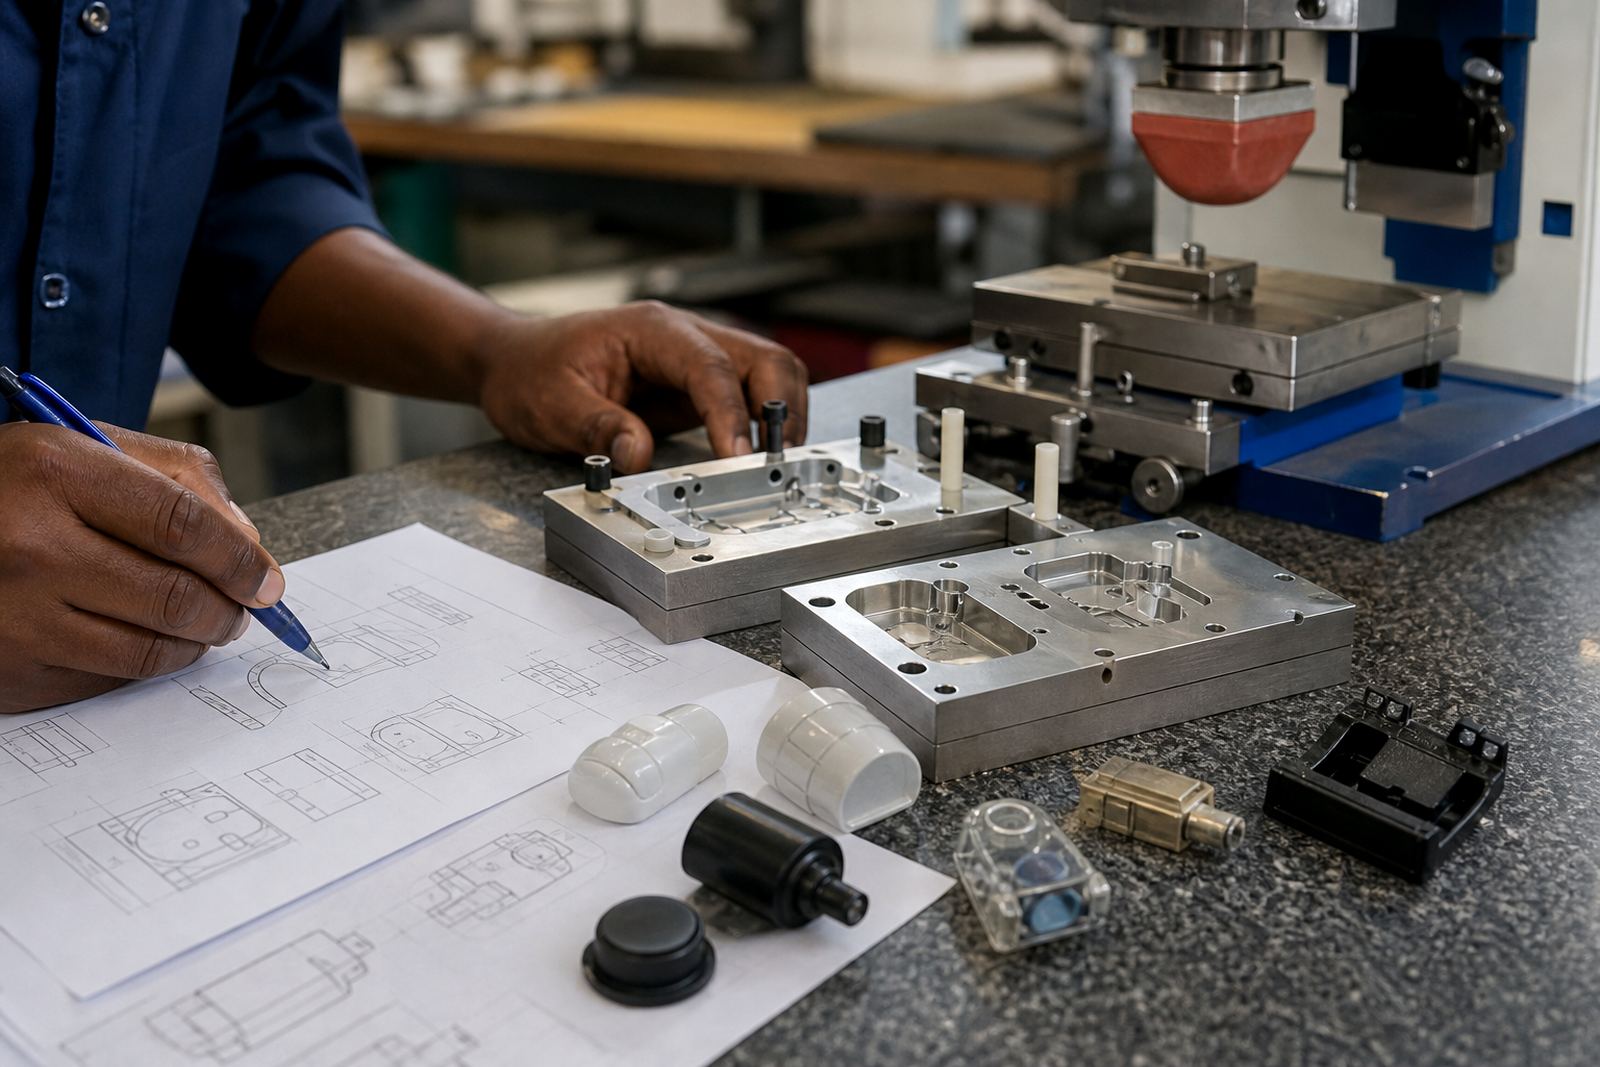
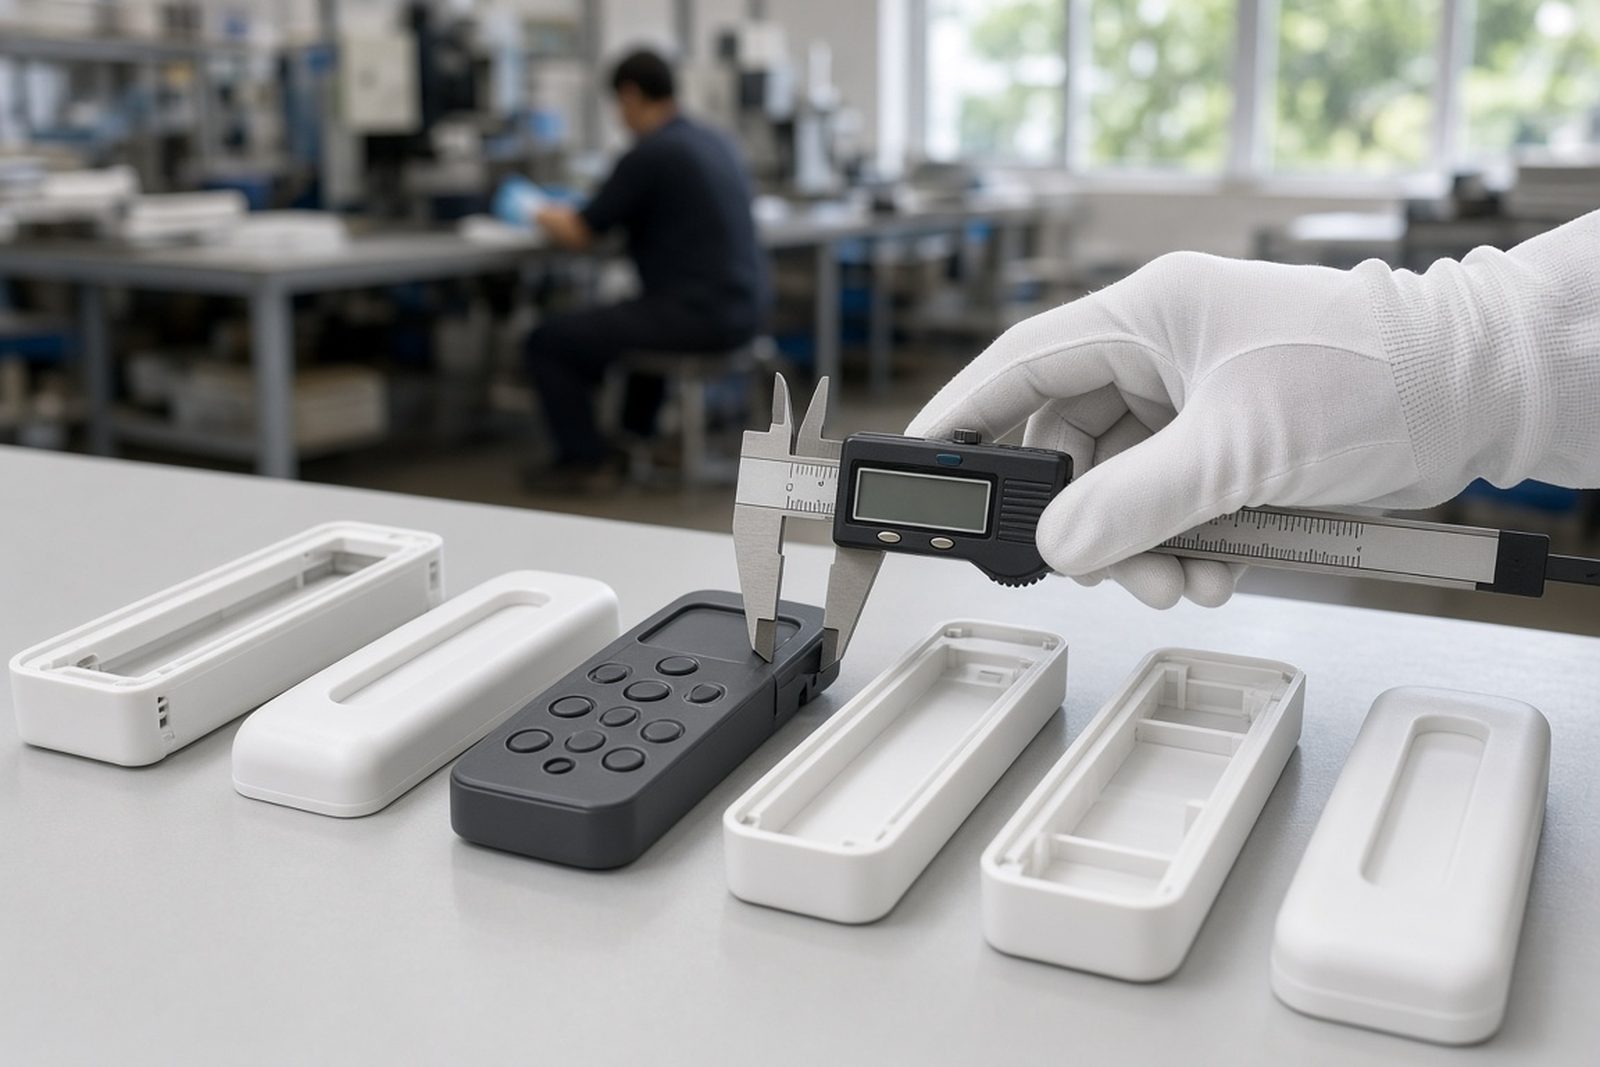
Before any plate is made, look closely at the component itself. Housings, bezels, buttons and small covers often have mould lines, texture changes, vents, snap fits or shallow curves that affect how the silicone pad lands. A print that looks fine on a flat sample can shift on a crowned face or pull away from a corner.
For electronics parts, the first checklist is simple: confirm the material type, the finish, the print zone, and whether the part has been washed or handled with clean gloves. Some plastics take ink well, others need surface preparation or a test sample first. If the part is too glossy, too oily, or freshly moulded, the adhesion result can change. In Durban's humidity, that can show up faster than expected.
- Identify the substrate and finish
- Check for release residue, dust or mould flash
- Mark the exact print area and orientation
- Confirm part repeatability from the mould or supplier
Artwork checks that prevent expensive reruns
Good artwork saves time on the machine. Keep logos, icons, text and symbols clear enough for the print size, especially on small buttons and front panels. Thin strokes can close up, while small text can blur if the plate depth, pad size or ink thickness is not matched properly.
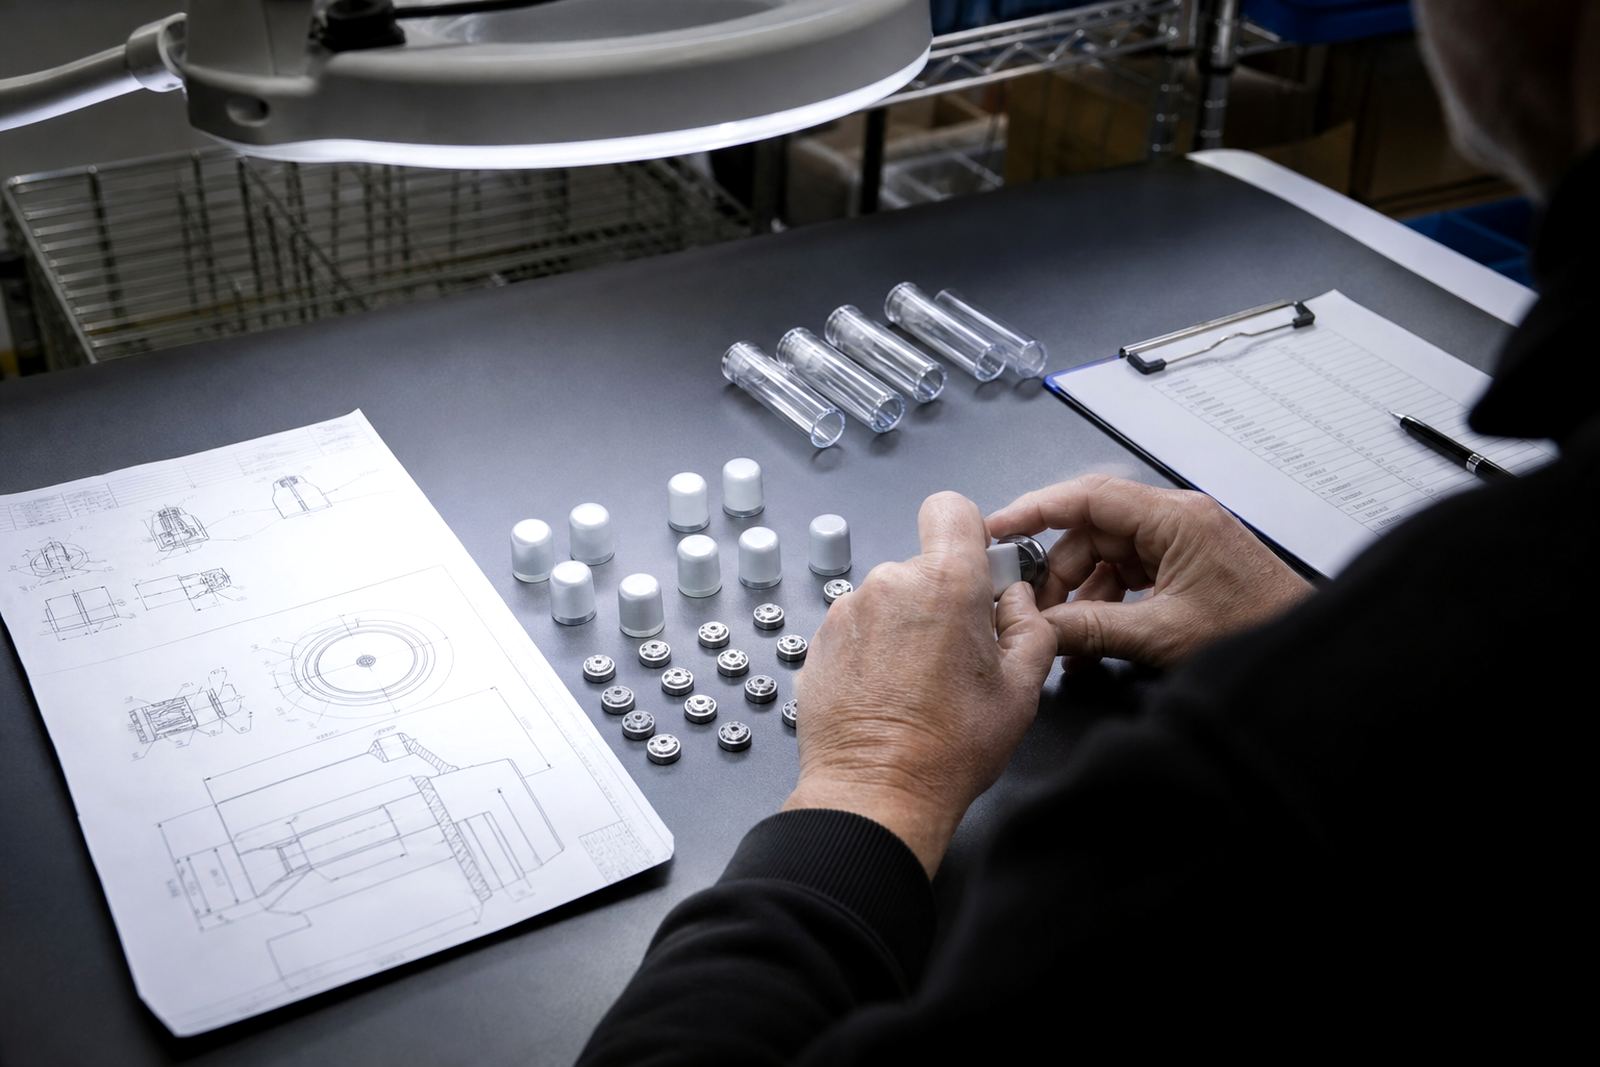
Artwork should be checked against the actual part, not just on a screen. Measure the print window, note the curve and leave enough clearance from screw bosses, labels, seams and edge breaks. If the mark must sit beside a window or LED opening, make sure the layout still reads cleanly after the part is assembled. For multi part product ranges, use a controlled version of the artwork so the same logo or symbol lands in the same position every time.
- Confirm scale, line weight and font size
- Check left to right and top to bottom alignment
- Allow for curve, taper and registration marks
- Approve one master layout before plate exposure
Surface preparation and adhesion samples
Surface preparation is often the difference between a mark that lasts and one that scratches off. Some plastics need a simple clean, while others need a more careful approach to remove mould release or handling marks. The goal is not only appearance, but dependable adhesion through normal use, wiping and movement in service.
Adhesion test samples are worth doing even on familiar parts. A quick trial can show if the ink needs a different curing method, a slower flash, or a surface treatment before production starts. This is especially useful for button caps, small bezels and parts with a mix of smooth and textured areas. The sample should be checked after curing and again after handling, so any weakness shows up early.
- Clean the part using a method suited to the material
- Run a sample print before full production
- Check adhesion after curing and after handling
- Review any change in sheen, spread or edge sharpness
Pad, plate and ink selection for small electronic parts
Pad printing relies on the right combination of pad shape, plate engraving and ink behaviour. A silicone pad must be able to pick up the image cleanly and transfer it onto the part without distortion. On curved buttons or tight bezels, a softer pad may help, while a flatter face may need a firmer pad for cleaner detail.
The etched plate needs to suit the image size and the print finish required. Deeper engraving can carry more ink, but that is not always better for fine detail. Ink choice also matters. Some jobs need faster drying for short runs, while others need curing that suits the handling time, assembly speed and the part material.
- Match pad shape to the part contour
- Select plate depth for the detail level required
- Choose ink to suit the substrate and handling needs
Trial runs, fixture control and repeatability
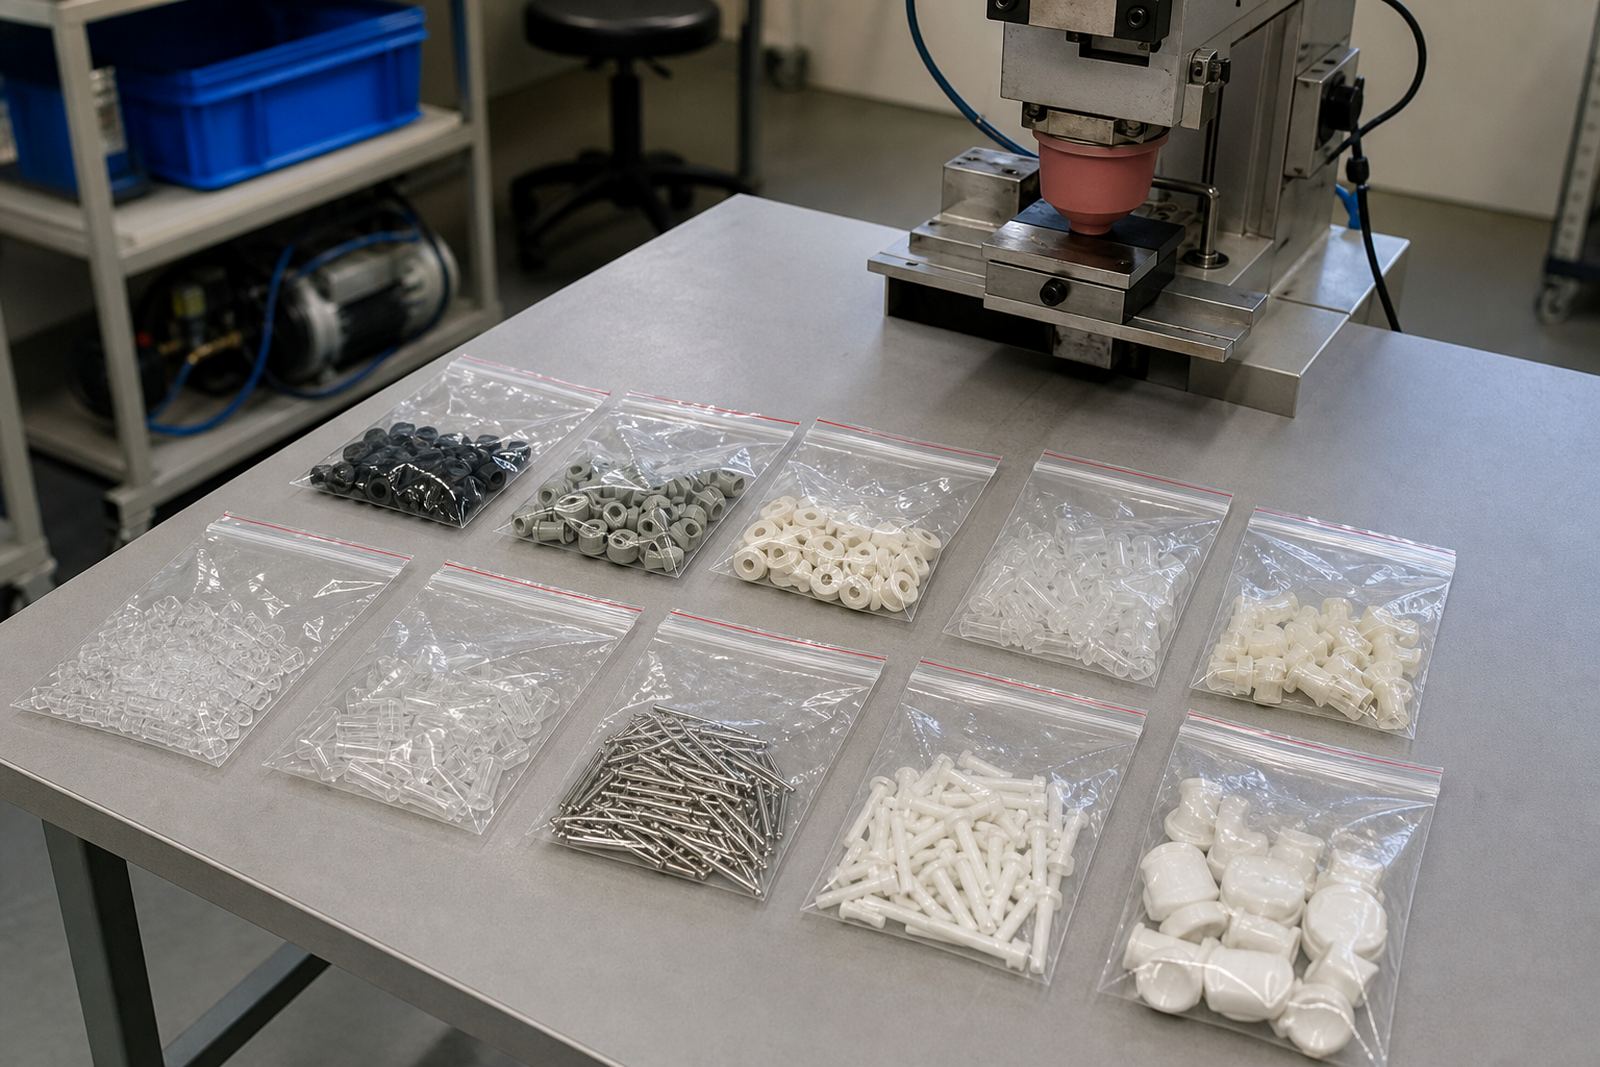
Once the setup is right, do not rush into volume. Trial sample runs show whether the print lands correctly from part to part, especially on small components that need a consistent reference point. Fixtures help hold the component steady so the operator does not chase alignment during the job.
Repeatability is the main test. A good setup should hold position, ink density and edge definition over the full run, not only on the first few prints. If the part flexes, the fixture may need adjustment. If the image starts drifting, it may be a plate issue, pad wear issue, or a handling issue between passes. That is why rerun job control matters for manufacturers working across Johannesburg, Cape Town, Pretoria and Gqeberha. The next batch should match the approved sample, not just look close.
- Confirm fixture fit before starting production
- Compare the first, middle and last samples
- Record any setting changes for repeat jobs
- Keep approved samples for reference on reruns
Curing, packing and dispatch checks before release
Curing finishes the job, but it also needs checking. Different inks and materials may need different heat, air cure or other curing methods, so the finished mark should be fully dry before packing. If parts are stacked too soon, the image can mark or transfer, especially on smooth housings and glossy bezels.
Before dispatch, check the print face, the edges, the inside corners and the packing method. Electronics parts often travel through multiple hands before assembly, so clean packing matters just as much as the print itself. For coastal deliveries from Durban and Pinetown, protection against humidity is useful, while inland shipments need secure packing that stops scuffing in transit. Our team, led by Sibusiso Naicker with Naledi Kekana, Sanjay Dookhi, Lerato Mabunda, Yashika Sewpersad and Mfundo Xaba, keeps this final stage controlled from sample to dispatch.
- Confirm the print is fully cured before packing
- Check for rub marks, dust and off-centre prints
- Pack parts so printed faces do not touch
- Label packed batches clearly for traceability
A simple checklist manufacturers can use every time
For electronics manufacturers, a short repeatable checklist is often more useful than a long one. Keep it near the job card and use it before each run. That way, the same questions are asked whether the part is a button cap for a control panel, a bezel for an instrument, or a housing for an assembly line component.
If the part is critical to the final device, customers should still confirm their own compliance, testing and product requirements. Pad printing can support clear marking, identification and presentation, but the manufacturer remains responsible for the finished device and its approvals. In practice, the best results come from early artwork checks, proper samples, correct curing and clear communication before the first batch moves into production.
- Is the part clean, identified and ready for print?
- Has the artwork been checked against the actual component?
- Was a trial sample approved before full production?
- Has the curing method been confirmed for the material?
- Are packing and dispatch set to protect the finished print?