Start With the Print Surface, Not the Box
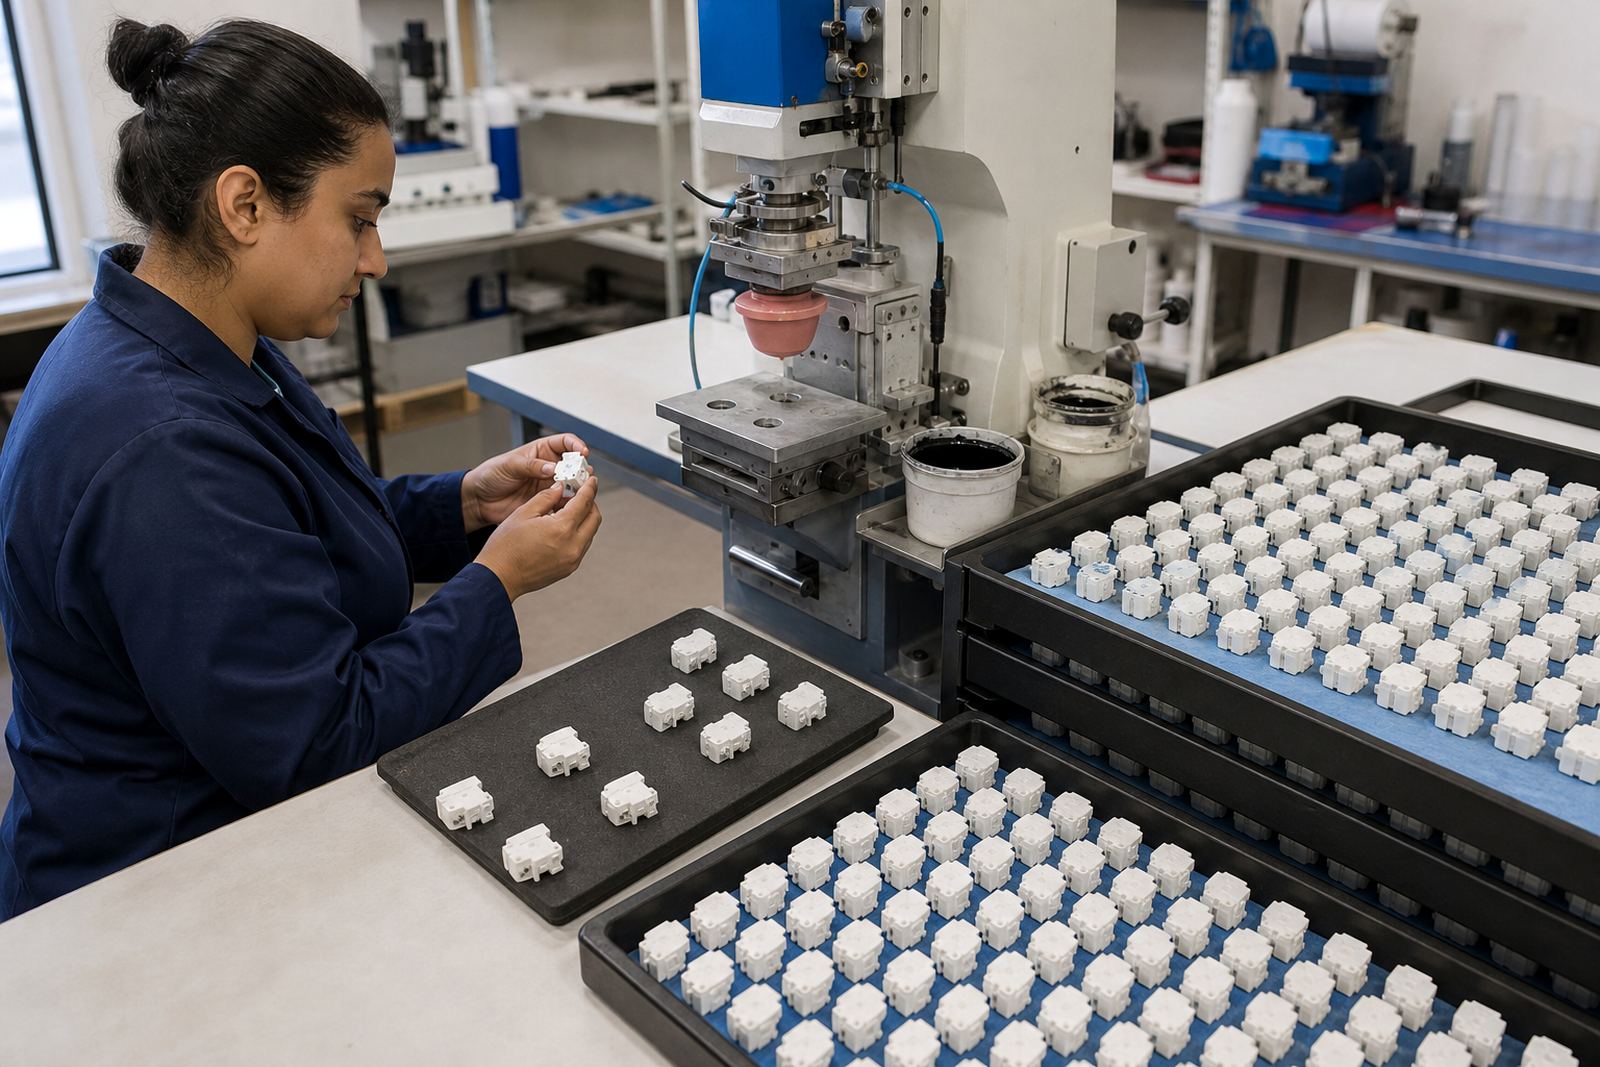
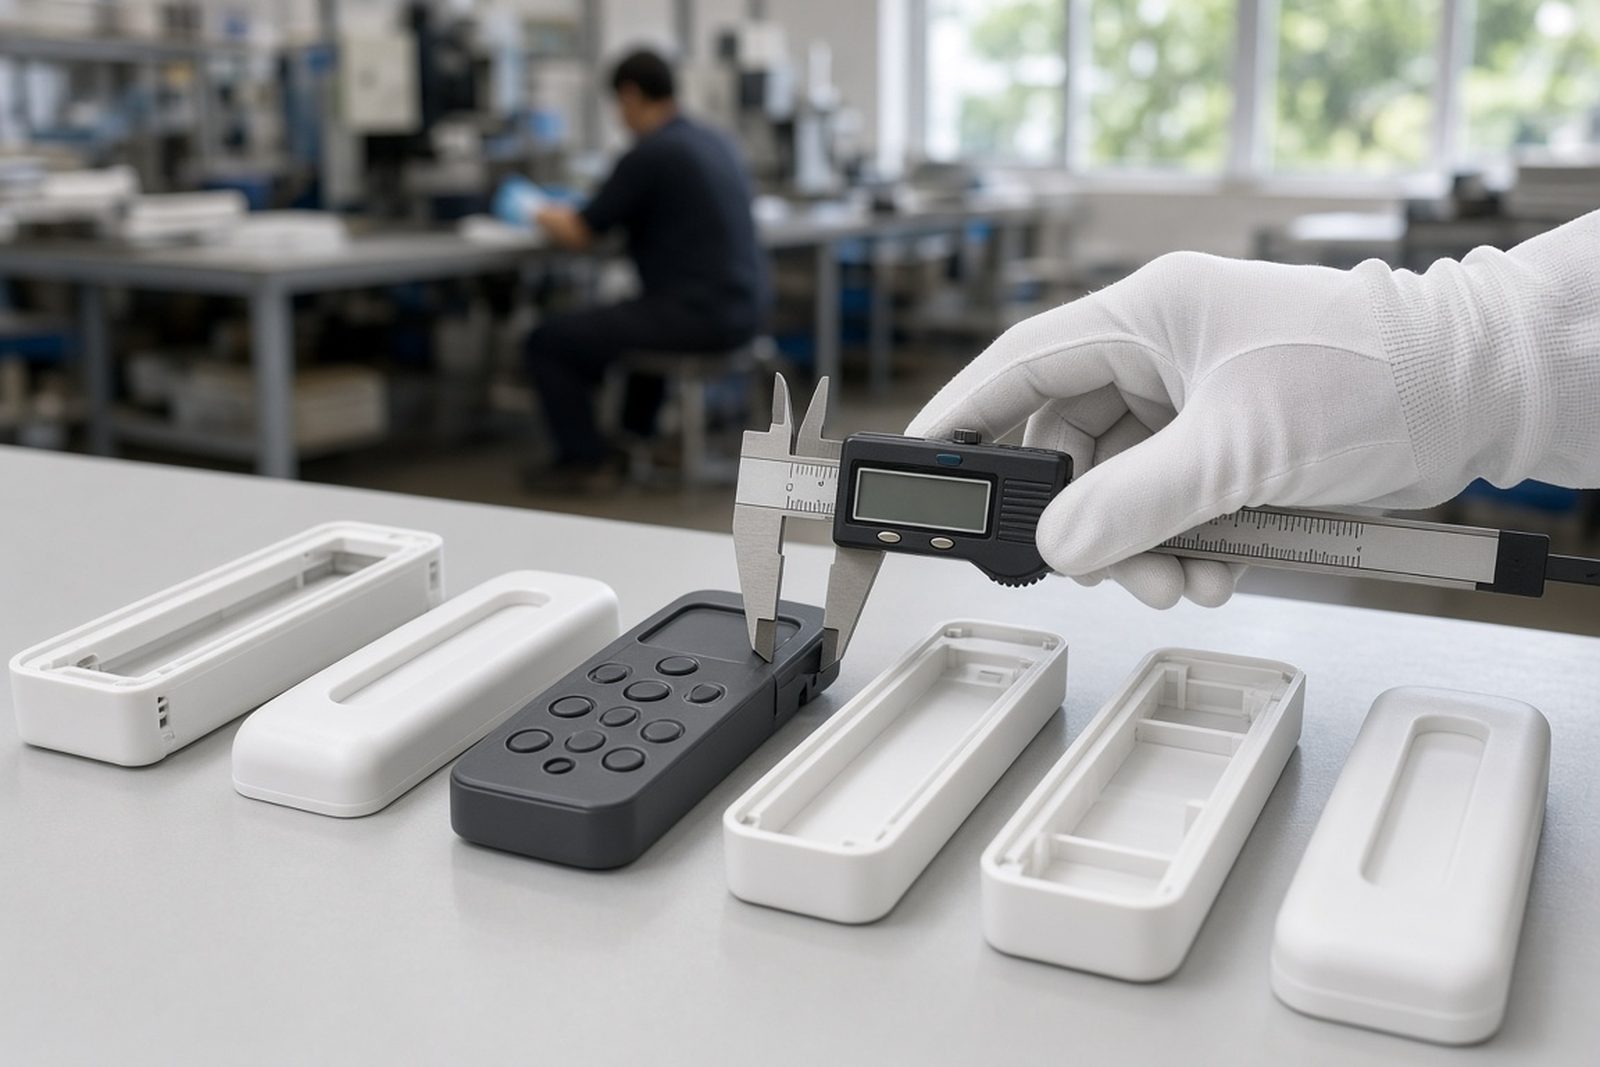
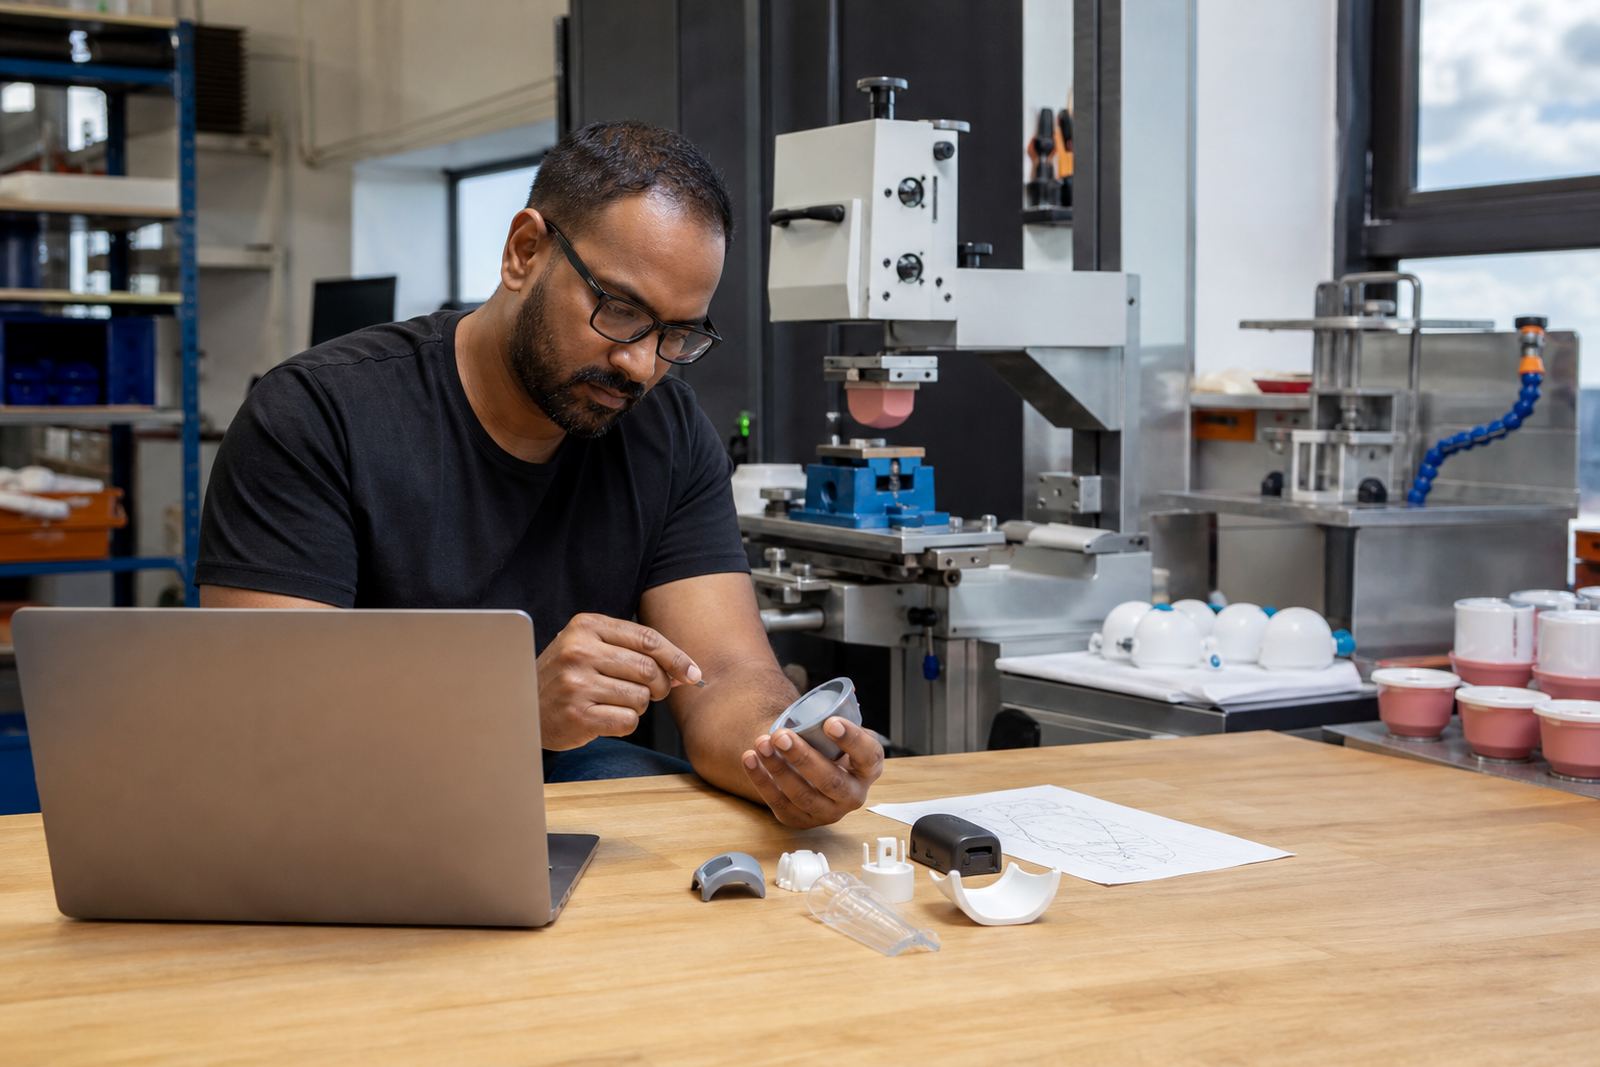
The first rule is simple: pack the printed face as if it will rub against every surface in the vehicle. Pad printing sits on the part surface, so the inks need proper curing before parts are stacked, wrapped or strapped. If the curing method is not suited to the material and ink system, even a light shift in transit can leave marks. At our Westmead, Pinetown base we see this often on medical housings, control bezels, switches and small electronic components where one careless layer can spoil a whole batch.
Before packing, check that every part has had enough drying or curing time for the job. Then handle parts with clean hands or gloves, and keep wet or newly cured items apart from older stock. For coastal routes through Durban and up toward humid inland depots, allow extra care because moisture can slow final handling and make surfaces more prone to scuffing.
Use Separation That Matches the Part Shape
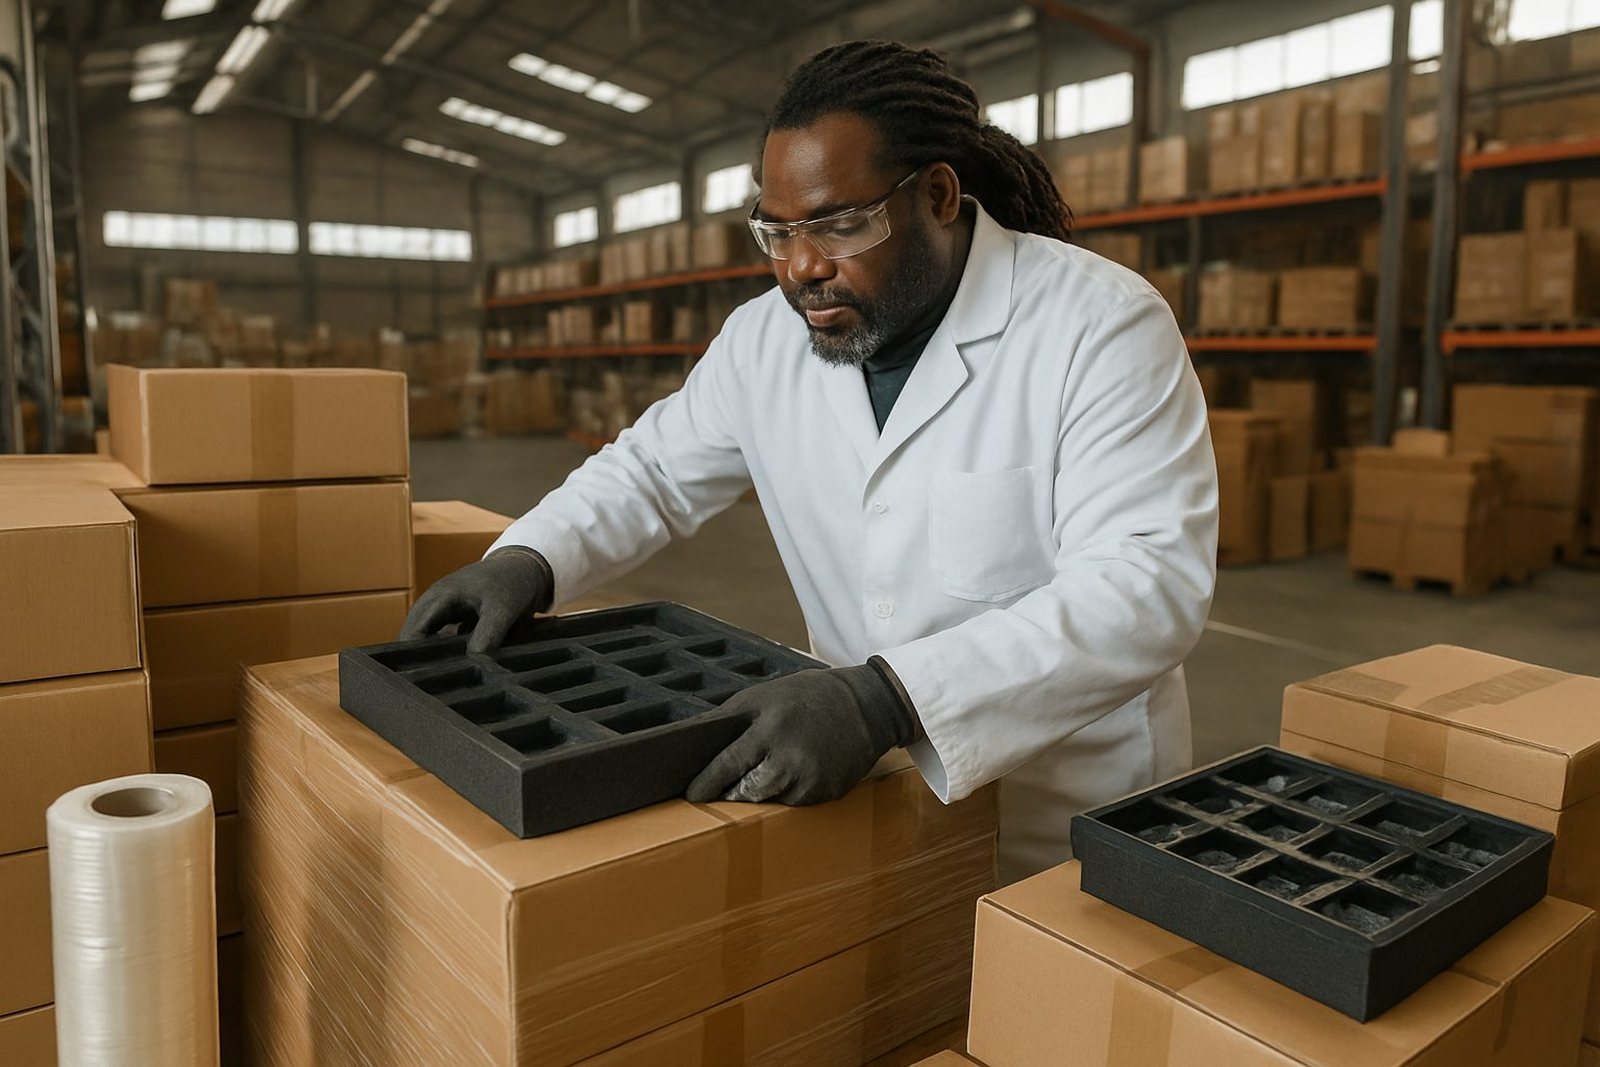
Printed components should never rattle inside a carton. The best packing method depends on size, shape and how the image sits on the part. Flat parts may suit layer separation with clean sheets between levels, while curved or irregular parts often need individual pockets, trays or inserts that stop face-to-face contact. For small electronic parts, even a slight shift can cause print transfer between items if the ink has not fully settled.
- Keep one part per cavity where possible
- Use soft, clean separators between layers
- Do not let printed faces touch each other
- Leave no loose space that allows movement
- Use trays or inserts that hold parts in the same position every time
If your team is moving stock between sites in Pinetown, Westville, New Germany or further afield, consistent internal packing saves a lot of rework. It also helps when the same parts need to return for rerun job control or a second print stage.
Label Every Batch Before It Leaves the Floor
Mix-ups usually happen when several product lines are packed in the same collection run. Clear batch labels reduce this risk and make handover easier for stores, line supervisors and receiving teams. Include the part name, batch reference, print colour, count and any handling note such as “face up only” or “do not stack”. If a run includes multiple colours or two print positions, label each group separately so nobody has to guess at the other end.
Keep labels on the outside of the outer carton and, where needed, on the inner tray or bag too. This matters for manufacturers sending goods between Durban and Johannesburg, or from Cape Town back to a production site in Pinetown. A label that survives dust, vibration and a bit of rain in loading bays is worth more than a neat note on the invoice.
- Use one batch reference per packed unit
- Mark the correct print side clearly
- Record quantity in each carton or tray
- Separate accepted stock from trial sample runs
- Keep returns or rejects in a different colour or label style
Choose Outer Packaging for Transport Conditions
Outer cartons should suit the route, not only the shelf. A short trip across town is different from a courier run to Pretoria or a road freight load to Gqeberha. Use cartons that stay square under stacking and do not crush the inserts inside. Where the route may include rough handling, add corner support and enough void fill to stop the contents shifting. Avoid overfilling, because compressed cartons can bow and press on the printed surfaces inside.
For medical and electronics work, moisture protection matters too. Coastal humidity in Durban can affect paper labels and some packaging materials, while winter condensation can be a problem when stock moves from one temperature to another. If the parts are sensitive, use sealed inner bags or moisture resistant liners, but make sure the bag itself will not stick to the print face.
Pack for Dispatch, Then Recheck at Receipt
A proper handover is part of the packing job. Before dispatch, count the contents, check the print orientation and confirm that all cartons are closed, sealed and marked. Photograph the packed load if the batch is sensitive or if the receiving site needs proof of condition on dispatch. This is especially useful when parts go to multiple branches or supply points at once, such as Johannesburg Supply, Pretoria Supply or Cape Town Supply.
On receipt, open cartons carefully and inspect the top layer first. Do not drag parts across one another when unpacking, and keep the packing material until the whole batch has been checked. If there is any sign of scuffing, mix-up or sticking, stop and separate the items before they are put into production. That small pause can save a lot of waste later on.
Packing Checklist for Clean Handover
Use the same checklist every time so packing becomes part of the process, not an afterthought. A repeatable method helps when multiple team members are preparing stock for dispatch from Westmead or receiving goods back from field sites and manufacturers across South Africa.
- Printed parts fully cured or dry before packing
- Clean hands, gloves and packing surface
- No face-to-face contact between printed parts
- Correct inserts, trays or separators in place
- Batch label visible on outer and inner packs
- Cartons sealed, square and not overfilled
- Moisture protection used where needed
- Counts checked before release and again on receipt
When the packing method matches the part and the route, the print arrives in better condition and the receiving team spends less time sorting. That is the aim, whether the job is going to a production line in Johannesburg, a medical component supplier in Cape Town, or a small assembly shop in Pinetown.