Map the Shape Before You Commit
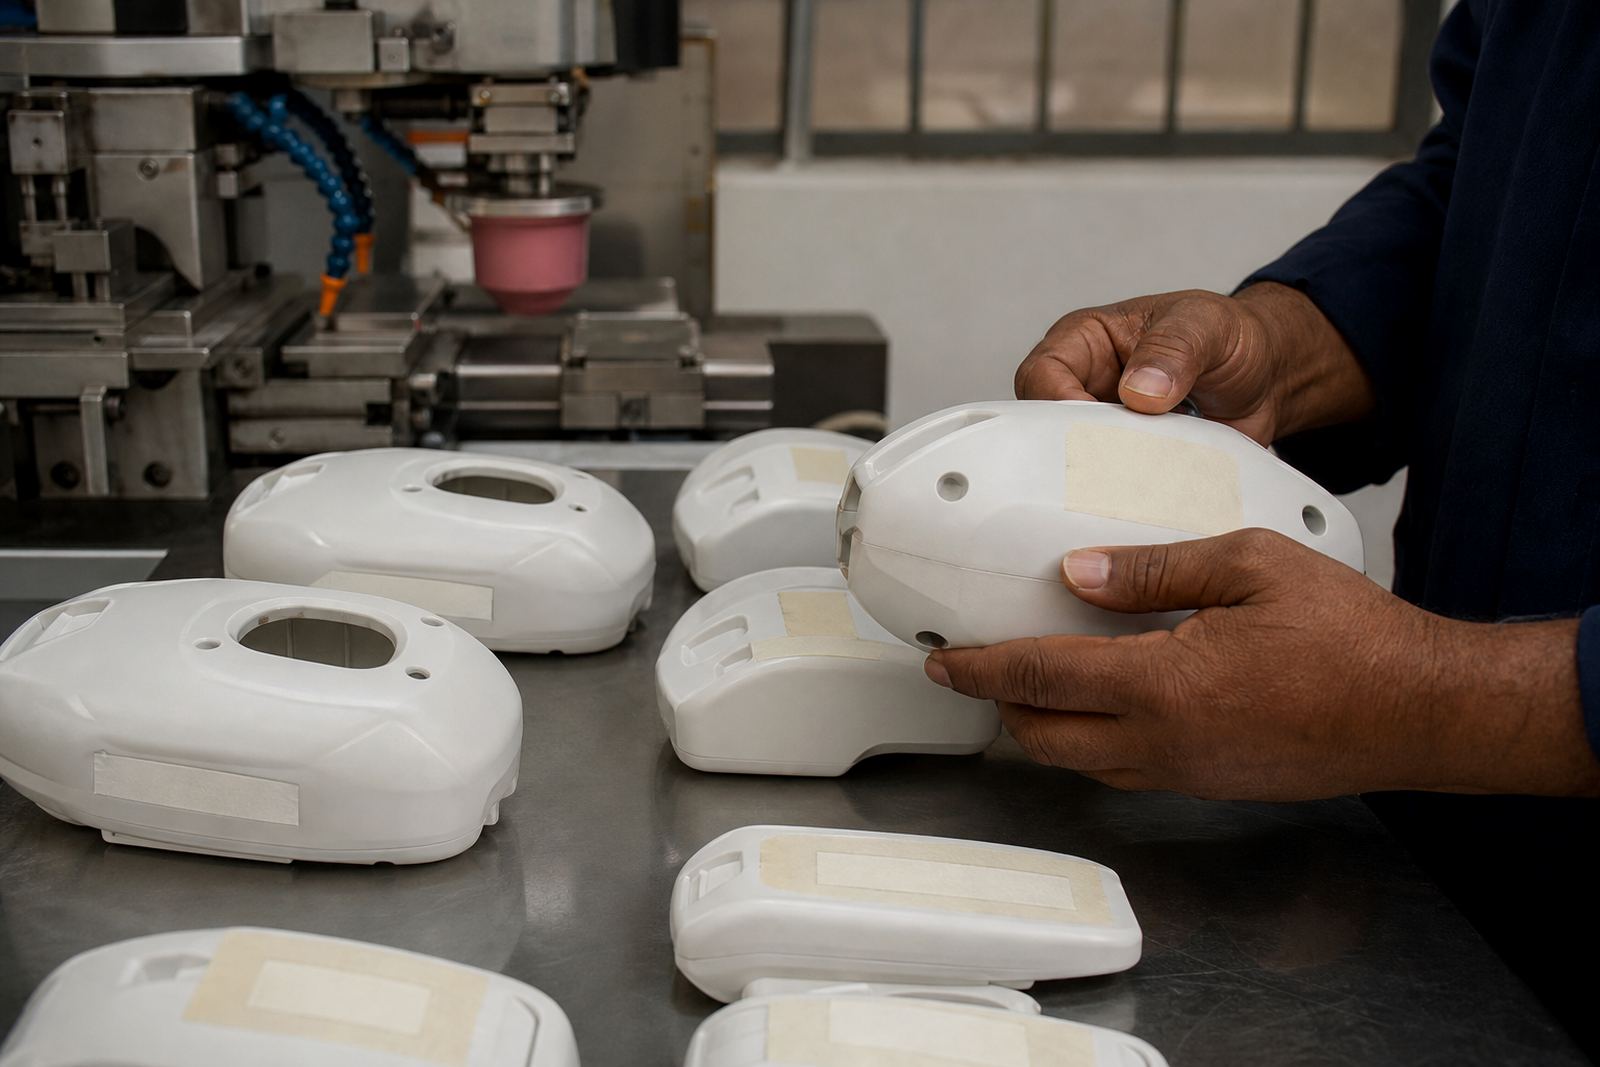
Pad printing works well on curved and uneven parts because the silicone pad can conform to the surface, but there are limits. A gentle curve is usually easier to manage than a tight radius, deep recess or a part with multiple planes. When the curve changes too quickly, the image can distort or lose sharp edges.
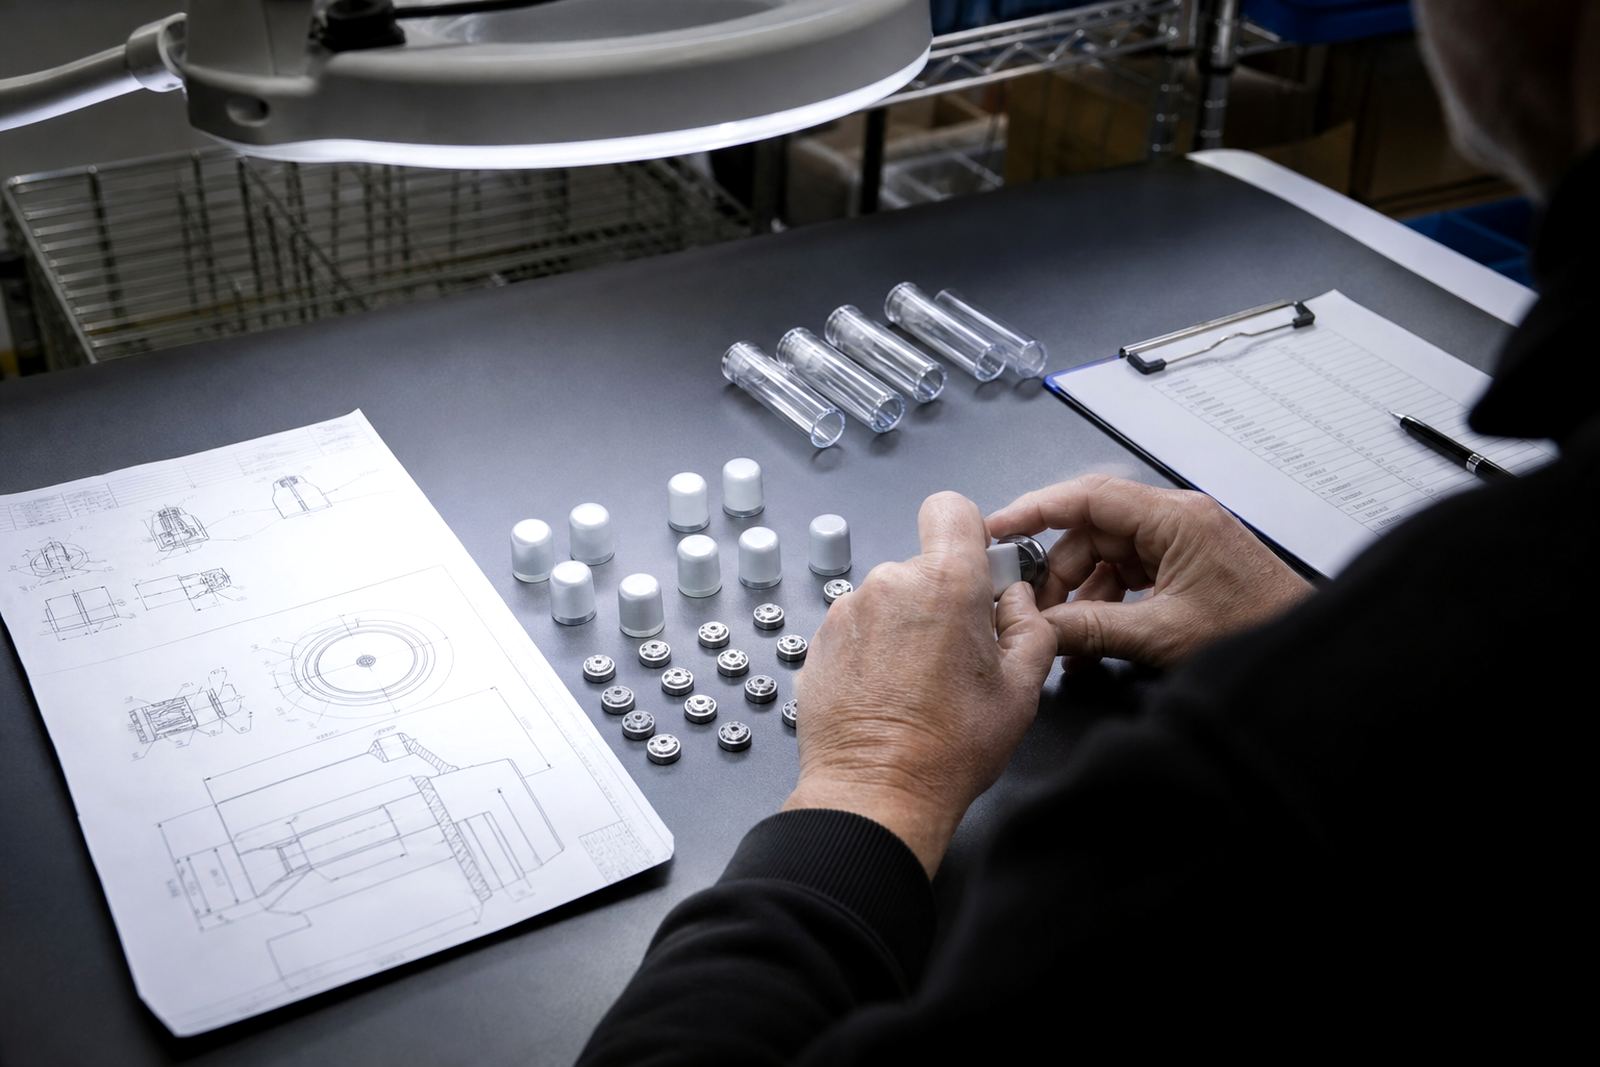
For cylinders, domed buttons, connectors and small housings, it helps to map the available print window before artwork is finalised. A slightly smaller print in the correct position is often better than a larger one forced onto a poor surface. The aim is a clean mark with even ink transfer, not an image that stretches over edges.
- Keep logos and text away from steep breaks in the surface.
- Allow enough flat or stable contact area for the pad.
- Check whether the print must sit left, right, top or centre on the part.
- Test how the mark looks from normal viewing distance, not only close up.
Match the Print Area to the Assembly Process
A good print position also makes life easier on the line. If the operator has to turn the part too many times, the job slows down and the chance of error goes up. A mark that is easy to see during assembly can help with sorting, verification and traceability, especially on mixed component runs.
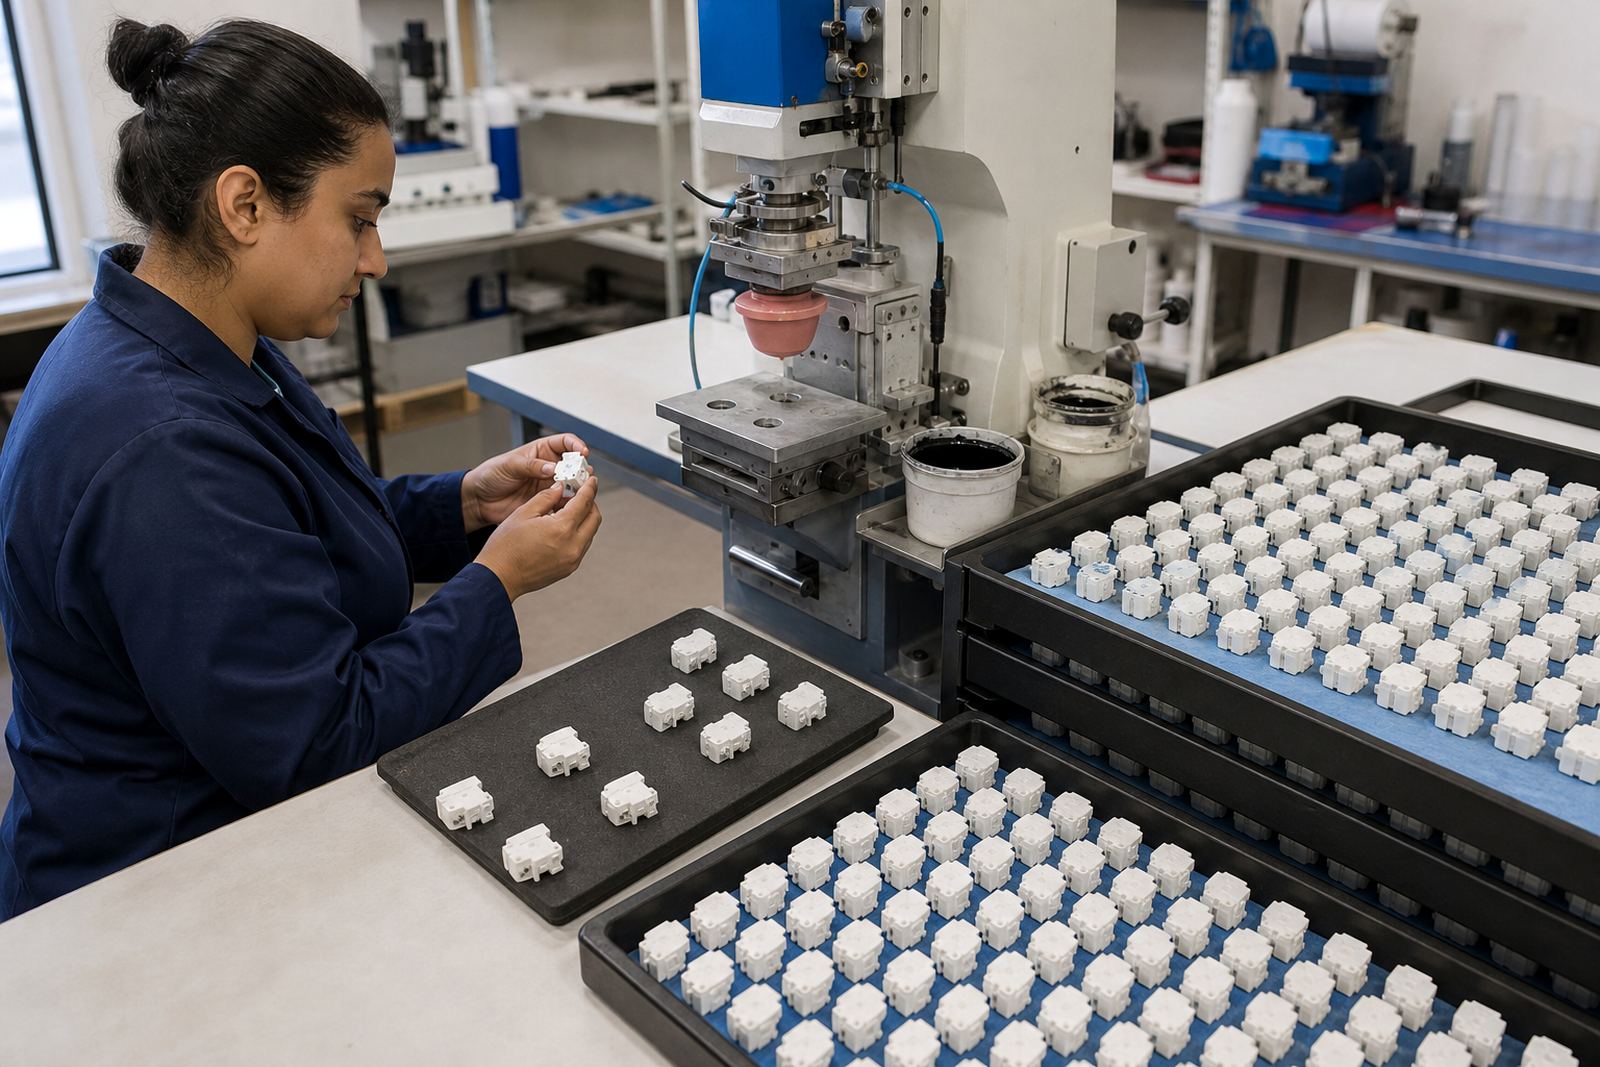
We often look at how the part is loaded into a fixture, whether it can be held securely and whether the chosen area can be reached without scuffing the fresh print. On smaller parts, fixture design and print location go together. If the print sits too close to a clamp point or resting edge, the mark may be damaged during transfer or packing.
- Avoid print positions that are hidden once the part is assembled.
- Leave room for the fixture to grip without touching the printed area.
- Check if the part can be oriented consistently for every run.
- Keep the marking accessible for visual inspection after curing.
Plan for Ink, Curing and Surface Finish
The best print position depends on more than shape. The material finish, the ink system and the curing method all affect where a print will last. Glossy plastics, textured mouldings and low-energy surfaces may all behave differently, so the selected location should be tested before a full run is approved.
Some areas on a part may look suitable but do not hold ink well because of mould release, handling marks or slight contamination from the moulding process. That is why adhesion test samples matter. A location that cures well on one face may fail on another if the finish or exposure time changes. For parts used in Durban, Johannesburg or coastal areas like Cape Town and Gqeberha, the environment during storage and dispatch can also affect how carefully the print position needs to be chosen.
- Confirm the surface is suitable for the ink and curing method.
- Test the exact position on the actual part, not only on a flat sample.
- Allow for drying or curing space between handling stages.
- Consider humidity, dust and packaging conditions after printing.
Use Artwork That Follows the Part, Not the Other Way Round
Good print location starts with artwork planning. A logo or code may need to be redrawn, resized or rebalanced so it fits the usable area without crowding the edges. On small moulded components, a tidy single-line mark often works better than a busy layout with tiny text that becomes difficult to read after printing.
At this stage, print area planning should confirm the height, width and orientation of the image. If there are multiple part variants, the same image may need minor adjustments for each one. That is normal. The goal is to keep the mark consistent while respecting the real geometry of the component.
- Keep text sizes practical for the available space.
- Use clear contrast between ink colour and base material.
- Leave margin around the artwork so the pad can land cleanly.
- Check whether serials, batch codes or symbols need their own position.
Work Through a Practical Sign-Off Checklist
Once a print position looks right on screen or on paper, it still needs a proper production check. Trial sample runs show whether the image lands in the correct place, whether the print stays legible and whether the part can be handled without damage. This is also the point to review rerun job control so the approved position is repeated the same way on future batches.
Before sign-off, the team should agree on the print side, the orientation, the fixture, the curing method and the packing sequence. If anything changes on the moulding, a new sample should be checked again. That simple discipline saves time later and avoids misunderstandings on the shop floor.
- Approved print side and orientation
- Fixture location and loading method
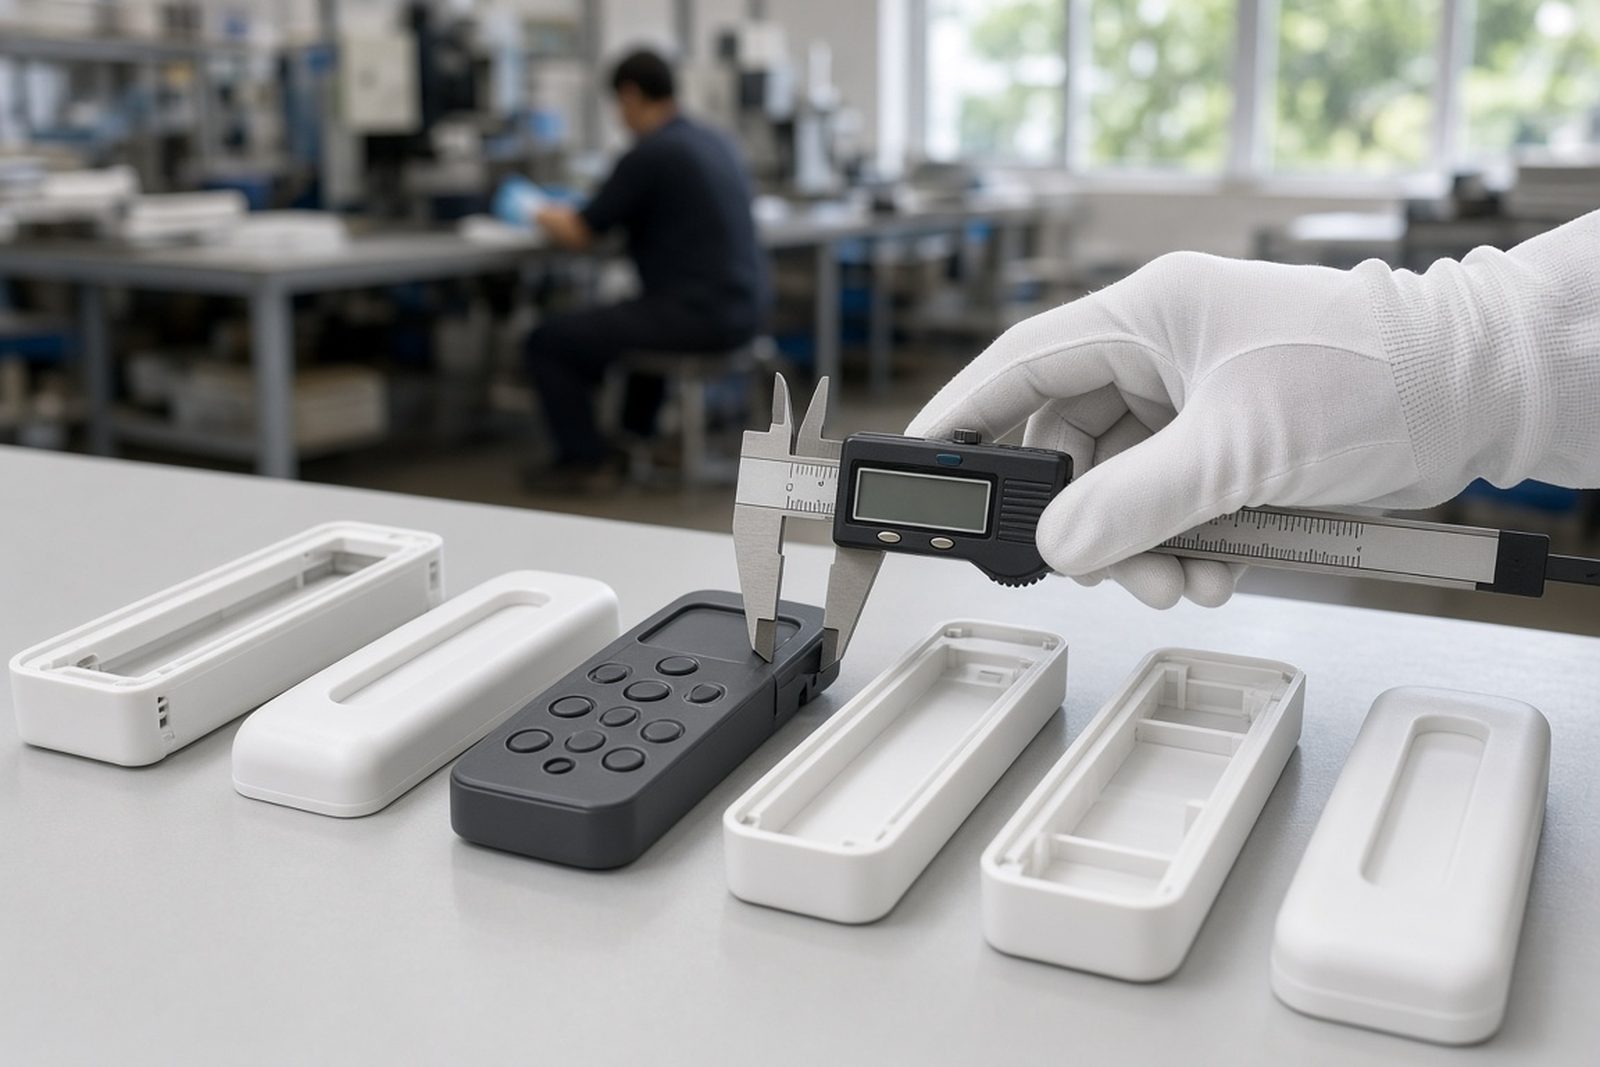
- Artwork size and placement tolerances
- Adhesion result from sample parts
- Drying or curing time before packing
- Final visual check under normal light
When to Ask for Support Before the Run
If a part is very small, heavily curved or has several functional surfaces, it is worth getting support before committing to a location. The same applies when there are multiple colours, tight reading requirements or a need to separate the mark from seals and component joins. A few millimetres can make the difference between a clean print and one that lifts or distorts.
PadPrinters Medical in Westmead, Pinetown works with manufacturers across South Africa on artwork preparation, logo redraws, print area planning, colour matching, adhesion test samples, plate exposure, plate etching, fixture making, trial sample runs, curing method selection, rerun job control and dispatch packing. Our team, led by Sibusiso Naicker, supports clients from Pinetown, Durban, Johannesburg, Pretoria, Cape Town and Gqeberha through the contact page form.