Why sample components matter before full production
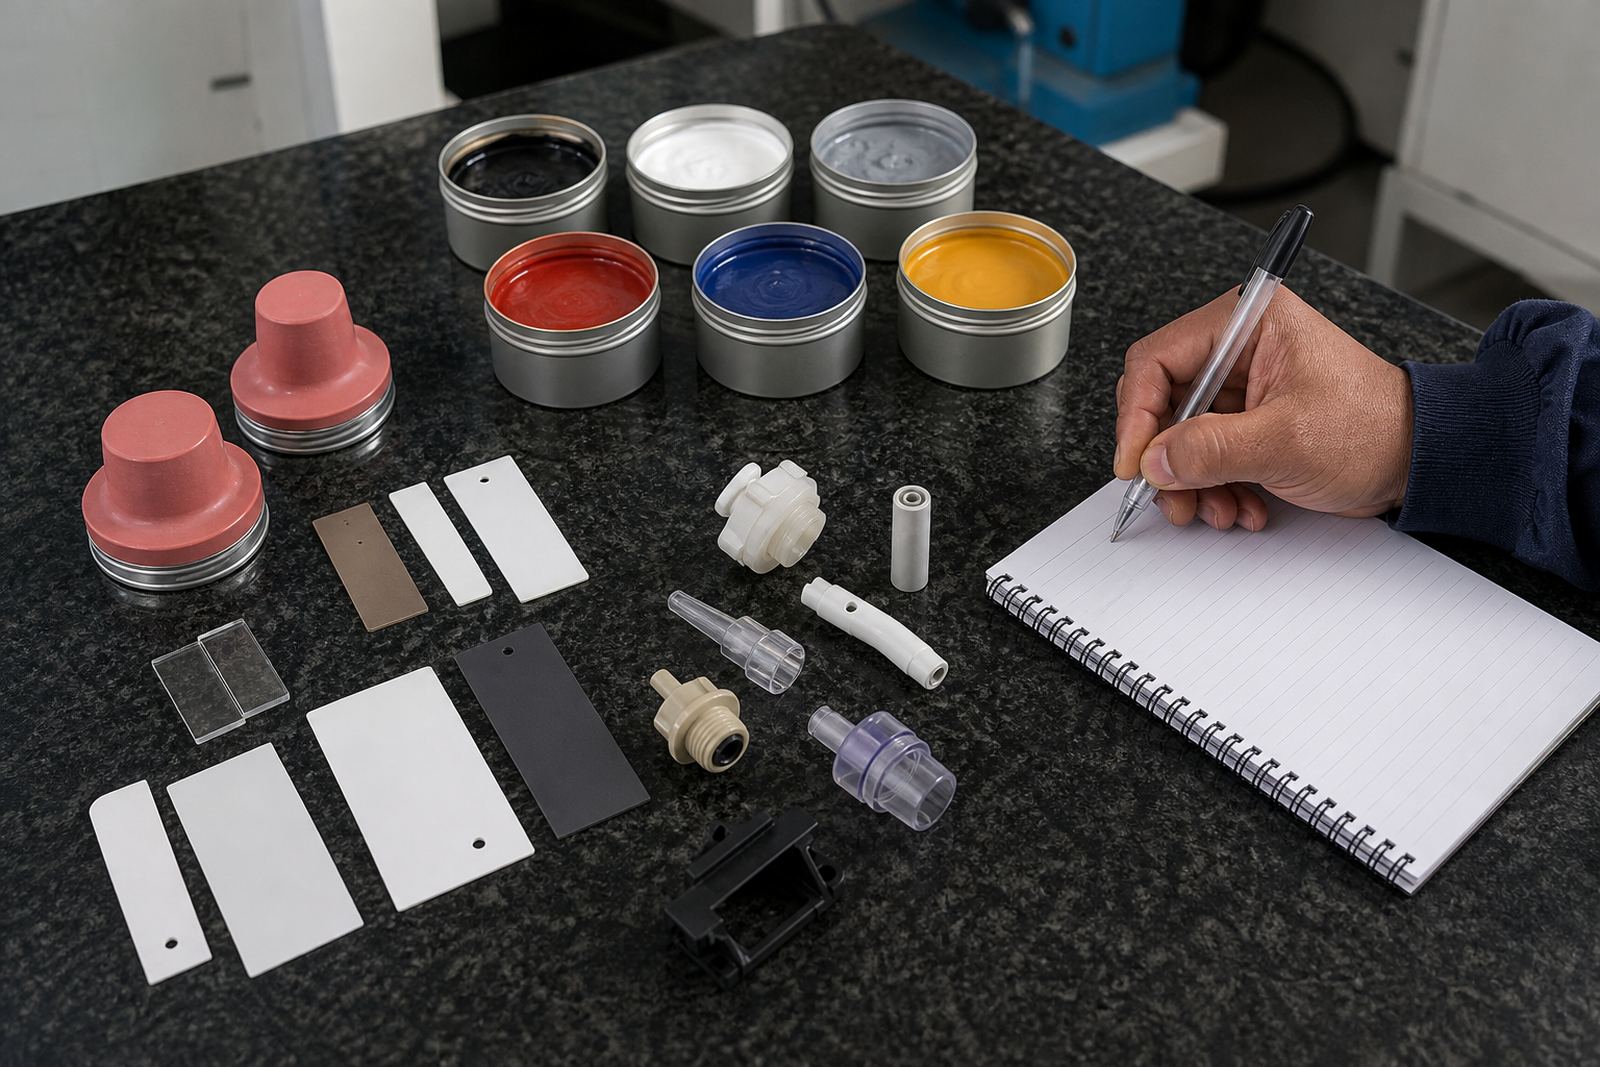
Pad printing on medical and electronic parts is rarely just a matter of putting ink on a surface. Small changes in mould texture, wall thickness, curvature, label position or material grade can affect how the image transfers, how it dries, and whether it remains legible after handling, cleaning or assembly. A sample component lets you check those details early, before a batch moves through production.
For manufacturers in Durban, Johannesburg, Cape Town, Pretoria and Gqeberha, this is especially useful when parts are sourced from different moulders or when the same item is made in more than one finish. A part that looks identical on the drawing may behave differently once it reaches the print station. Sample checks help confirm the print area, the substrate response and any handling limits that need to be respected on the shop floor.
The aim is to catch problems early enough to adjust the artwork, plate, fixture or curing method before they become avoidable rejects.
What to send with your sample parts
The cleanest sample job starts with the right information. A sample component by itself tells only part of the story. We also need to know how the part will be used, where the marking must sit, and what conditions it will face after printing. That helps us choose the right pad shape, ink type and curing approach for the trial run.
- Send the actual part or the closest production sample available, not just a flat drawing
- Mark the exact print area, including orientation, text height and any no-print zones
- State the base material if known, such as a moulded plastic, coated metal or textured surface
- Tell us whether the part will be cleaned, sterilised, handled with gloves or exposed to moisture
- Include any assembly constraints, clip points or edges that may affect fixture design
- Share any artwork files, previous markings or reference images that show the preferred result
If the part has already been through a pre-treatment step or mould release process, mention that too. Small residues can change adhesion. On some parts a quick wipe is enough, on others the surface needs more careful preparation before the first sample print.
How we assess print area, shape and fixture needs
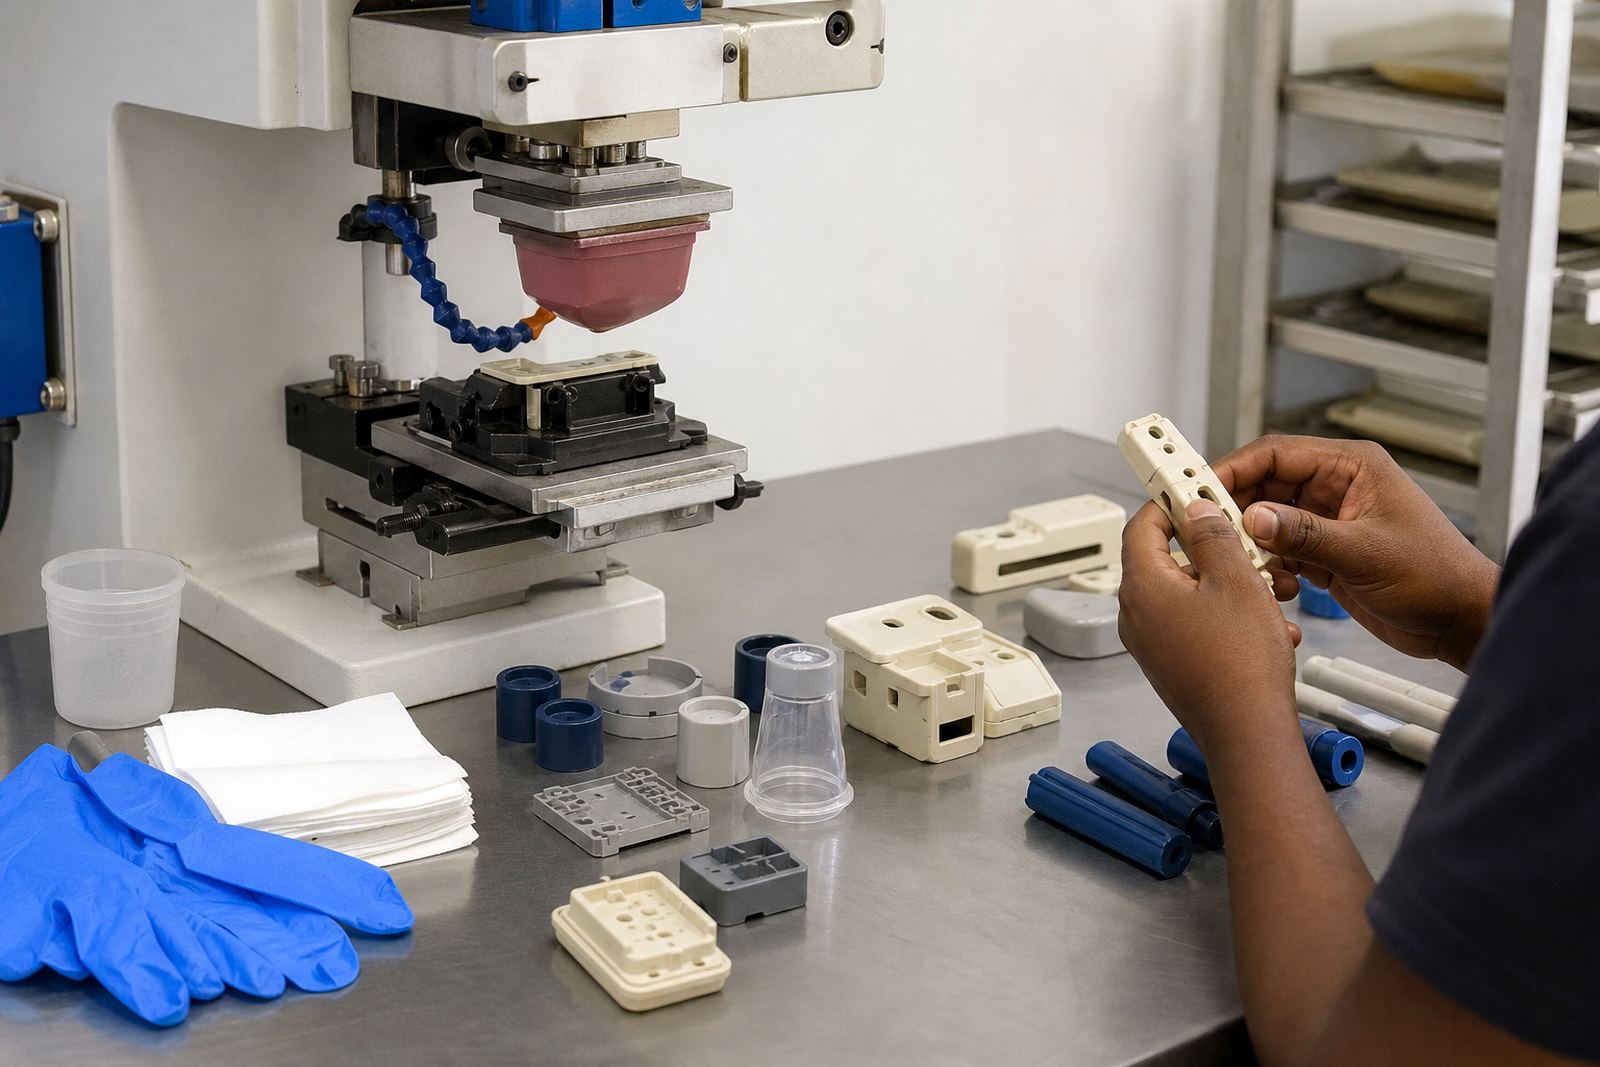
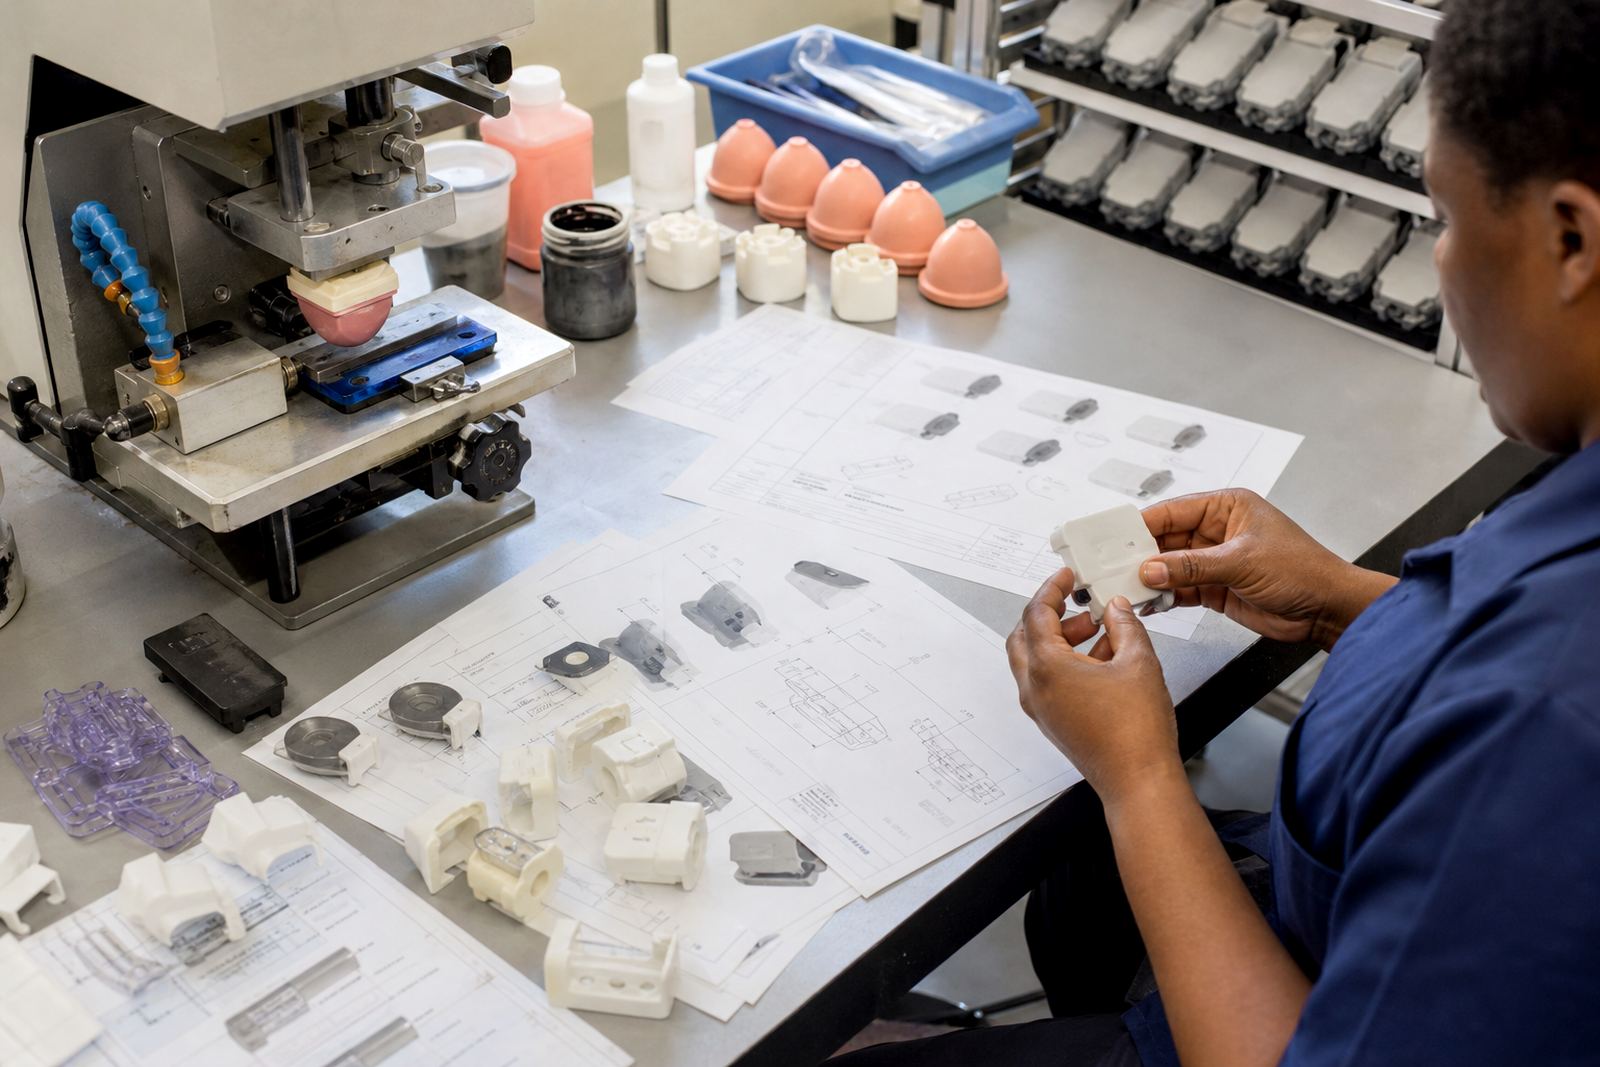
Once sample parts arrive, the first check is always physical fit. We measure the print face, check the curves and recesses, and look at how the part sits in a fixture. A marking that sits well on a flat section may distort on a tapered wall, and a logo that fits on paper can crowd a real moulded edge. This is where sample parts save time, because the actual component shows what the artwork alone cannot.
Our team then considers the transfer path for the silicone pad. The pad must make clean contact with the image plate, then release the ink evenly onto the part. If the part has a narrow lip, a shallow curve or a raised feature nearby, the pad shape and stroke may need adjustment. In some cases we also make a simple fixture to hold the component steady during the trial run, especially where repeat positioning is important.
This stage is handled by our Artwork and Plate Technician, Machine Setup Specialist and Production Manager working together, with quality checks before any sample is signed off. Good sample preparation means less handling variation later and a more predictable result across the full run.
Ink adhesion, drying and curing checks on trial runs
Not every substrate accepts ink the same way. Medical and electronic components can be made from plastics and coated materials that behave differently under pressure, heat and cleaning. During a sample run we check whether the ink lays down cleanly, whether it dries at the right pace, and whether the chosen curing method suits the part without warping or marking the surface.
That may involve air drying, heat setting or another curing approach depending on the material and the final use of the component. The point is not to force one method onto every job. It is to find the method that gives reliable results on that specific part. If adhesion looks weak or the print smudges during handling, the trial sample gives us a chance to adjust before production starts.
- Check for even coverage and correct colour against the approved reference
- Look for missed edges, pinholes, feathering or pad marks
- Confirm that the image stays clear after light handling
- Allow for curing time before packing or stacking samples
- Test the marking in the same way the finished part will be handled in production
A practical checklist before your sample run
A good sample run is easier when both sides work from the same checklist. That means the customer sends the right part and brief, and we return a sample that can be judged against real production needs. For clients across South Africa, this also helps when parts travel between sites, because everyone is reviewing the same marking standard.
- Confirm the exact component revision or mould version
- Agree on what counts as acceptable print position and size
- Confirm whether the sample should be tested dry, handled or assembled
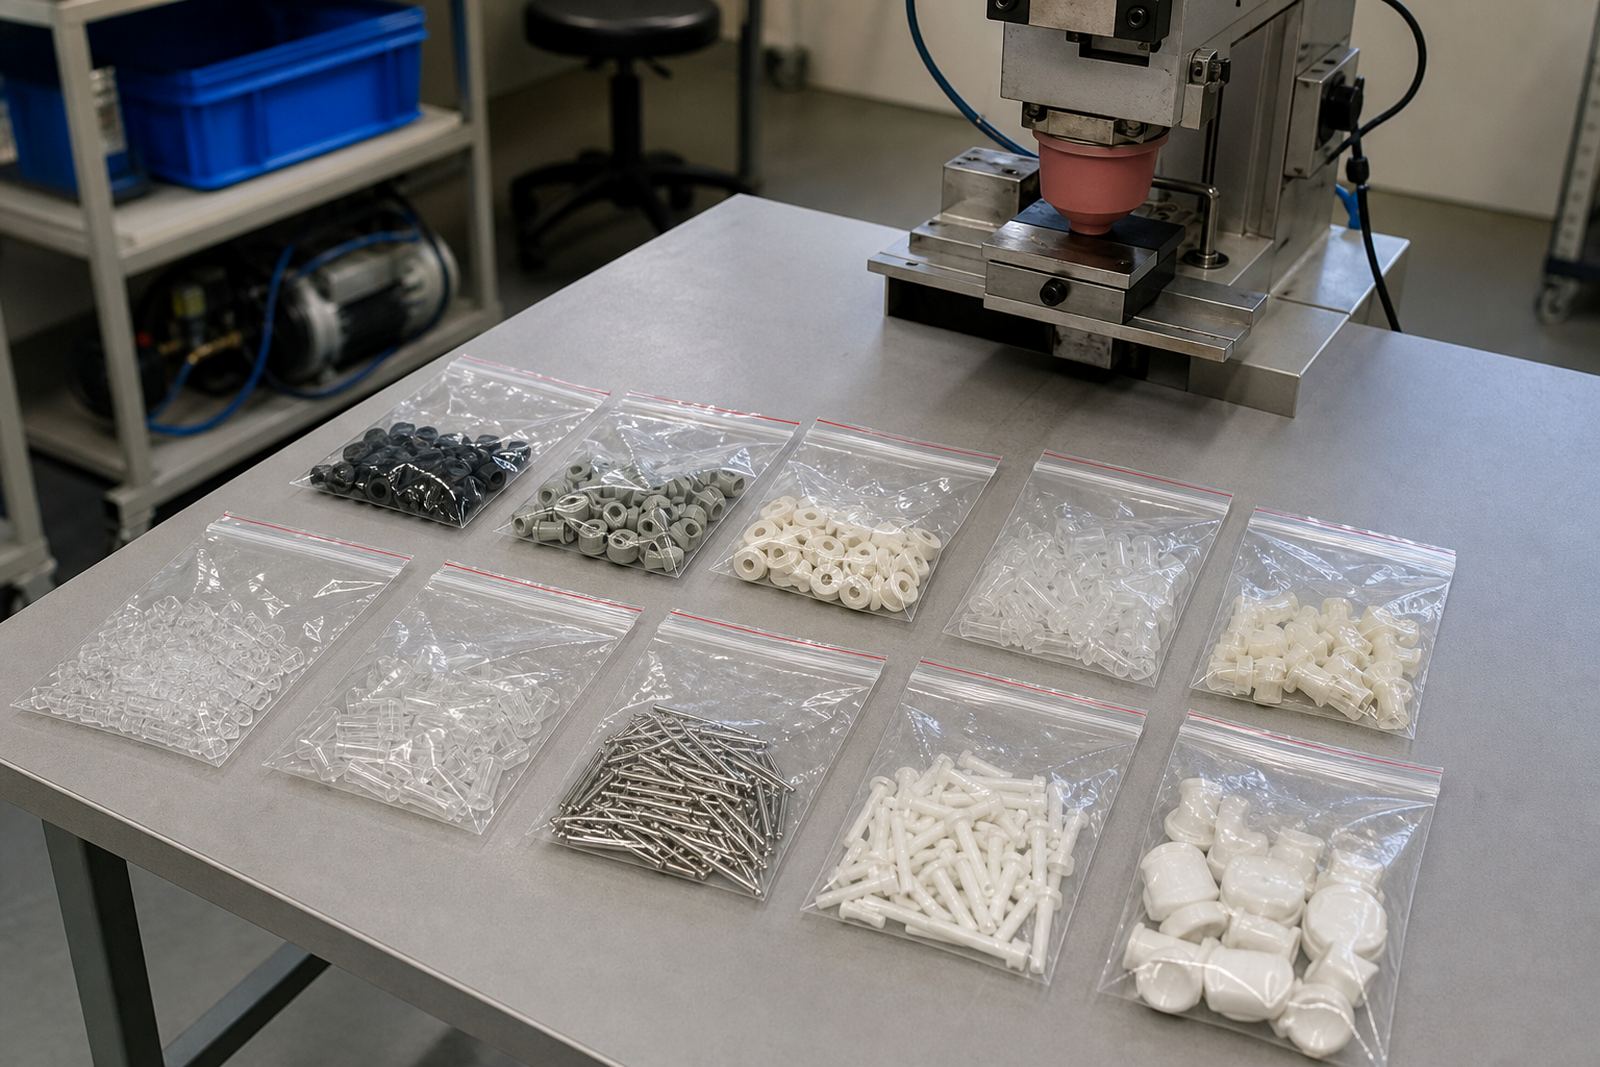
- Set aside enough parts for trial, approval and fallback checks
- Keep sample pieces clean and wrapped to avoid dust and fingerprints
- Record any approved changes to artwork, fixture or curing method
Once a sample is approved, keep that approval note with the job record. If the part changes later, even slightly, it is worth repeating the sample stage. That way the print team can compare like with like instead of guessing where the difference came from.
What happens after the sample is approved
After approval, the trial result becomes the reference for the production run. We hold the approved artwork, plate settings, fixture notes and curing method on file so rerun jobs can follow the same setup. This is useful when a manufacturer needs repeat batches for assemblies, service parts or replacement components.
Our Quality Coordinator checks the sample record against the live job so that the same print area, ink choice and handling steps are carried through to dispatch packing. If a component needs a rerun later, we can compare the new sample to the approved version and confirm whether the part is still within the same printing conditions. That keeps production steady and helps avoid rework caused by small but important part changes.
If you are preparing samples for medical or electronic components in Pinetown, Durban or further afield, send the actual part and the details that matter most. The more closely the sample matches real use, the more useful the result will be for your final run.