Start With The End Use, Not Only The Sample
Prototype work for medical and electronic components must be set up with repeat production in mind from the first conversation. The more clearly the final part is understood, the easier it is to build a print method that can be repeated on the same component months later in Pinetown, Durban or further afield. That means checking the substrate, the shape of the part, the print area, the expected handling, and whether the mark must survive cleaning, assembly, sterilising steps or everyday wear.
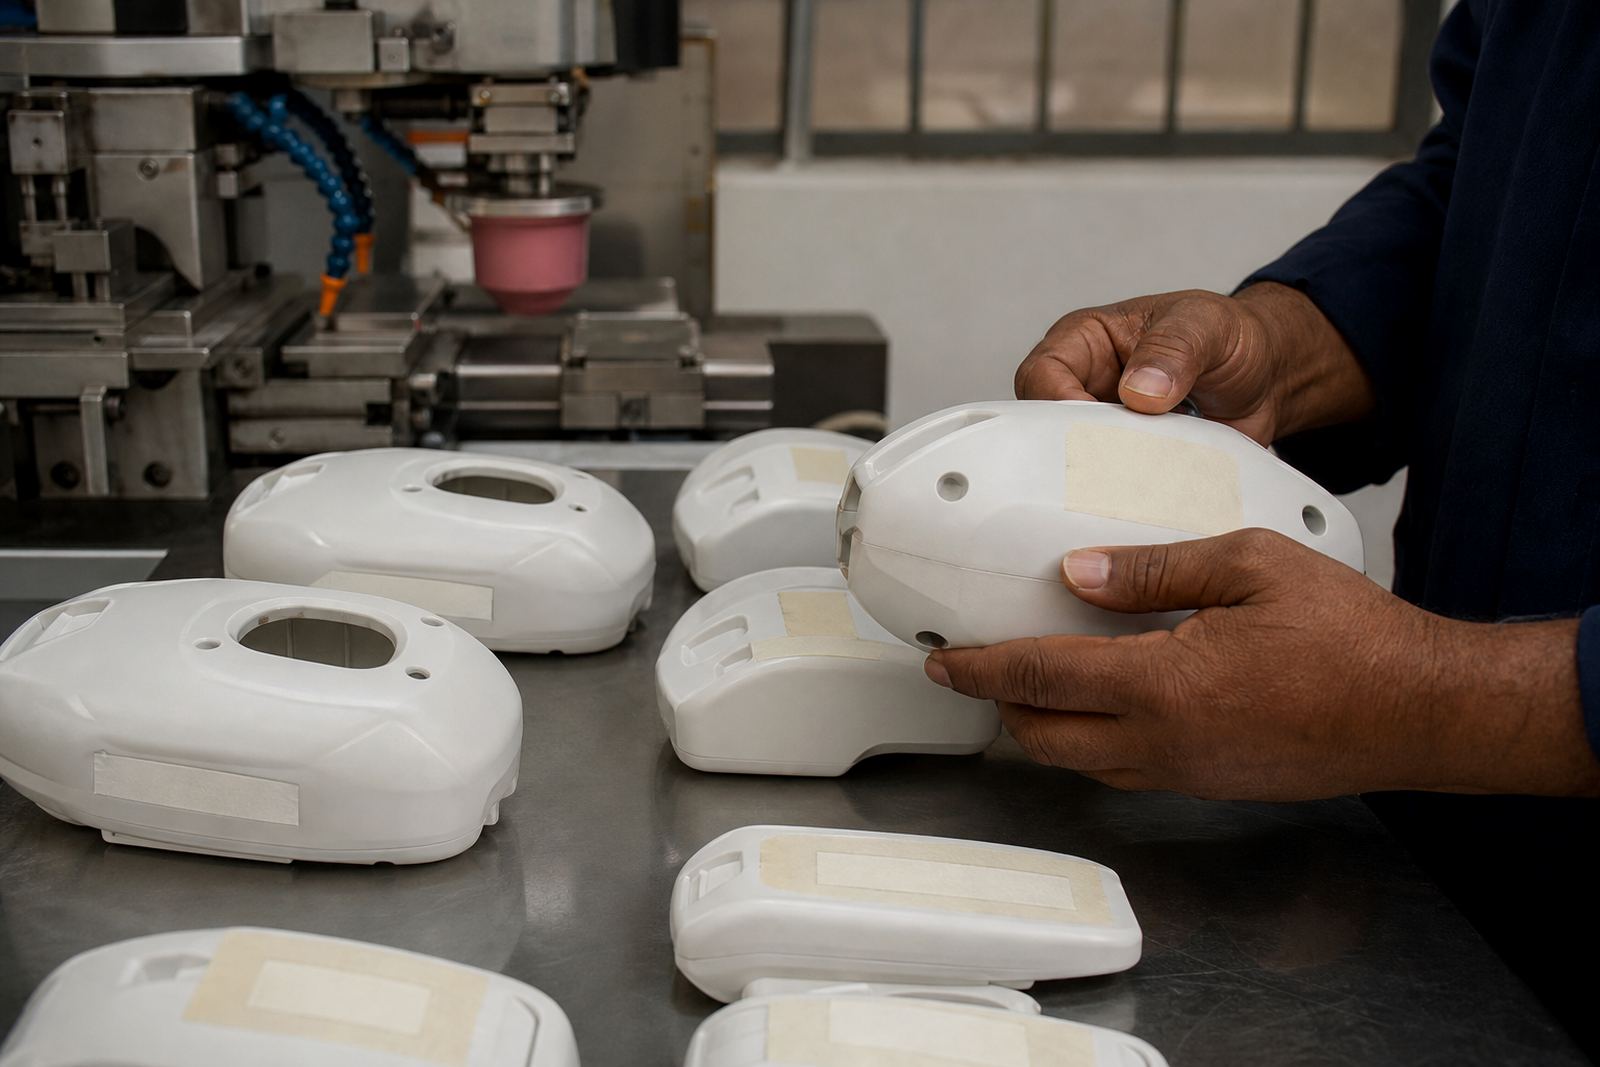
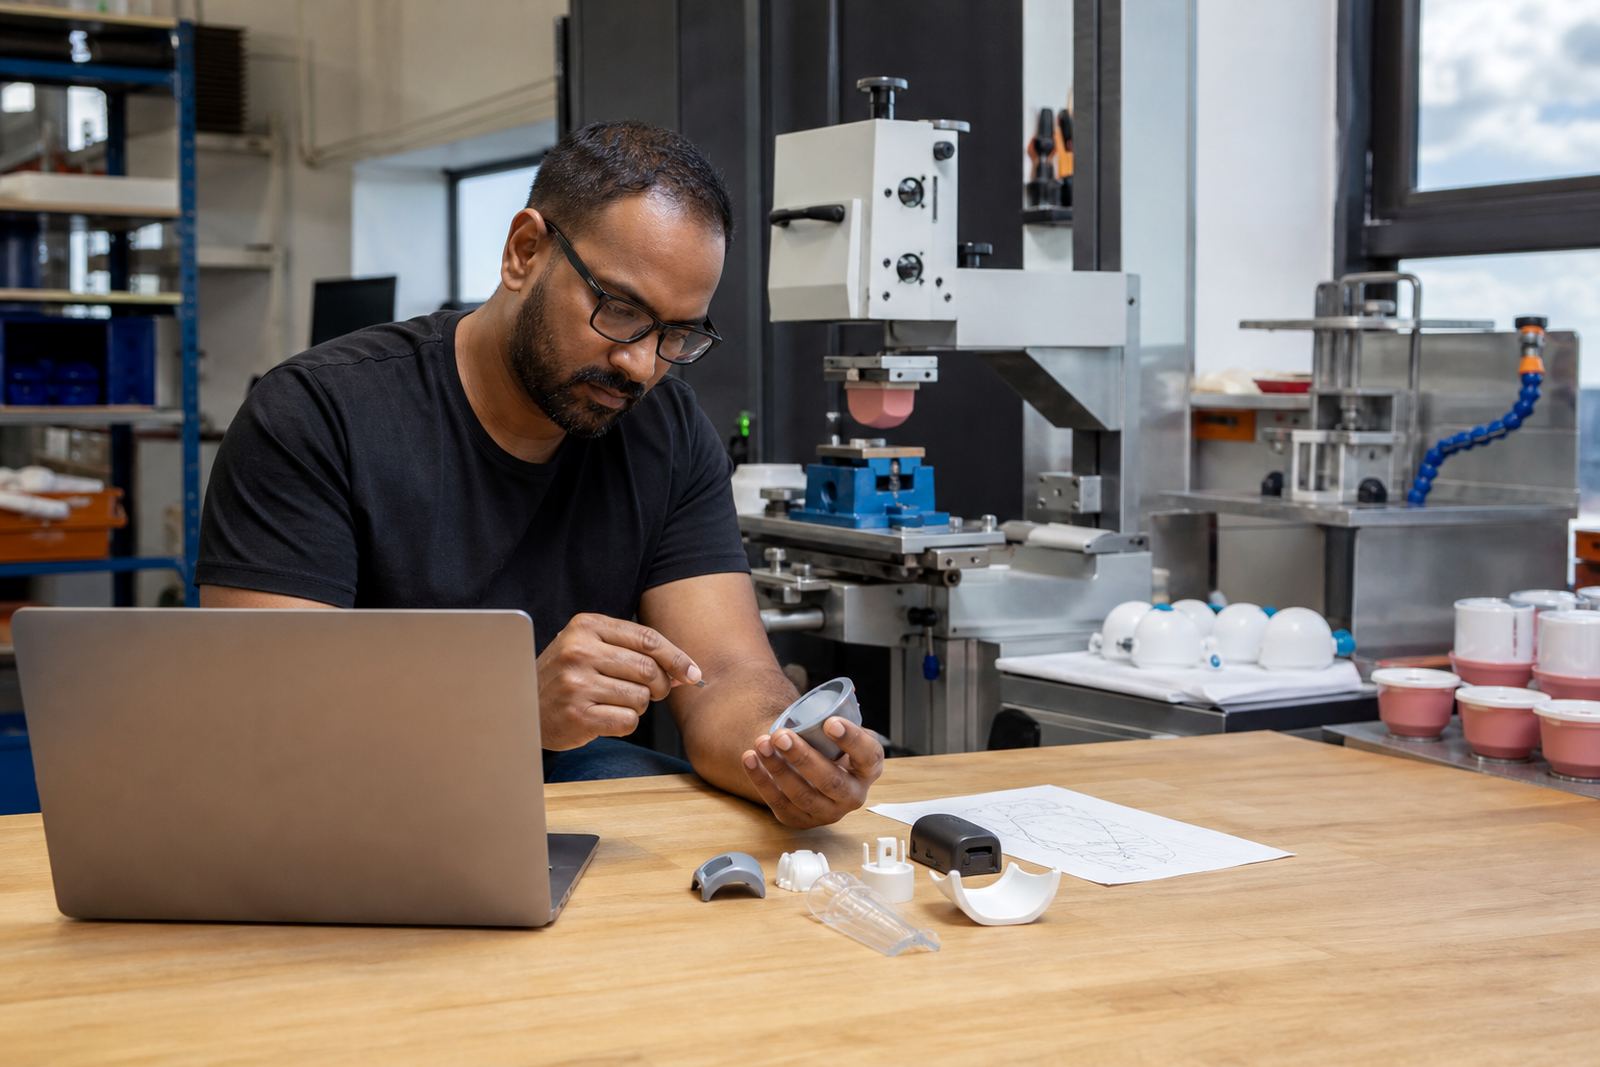
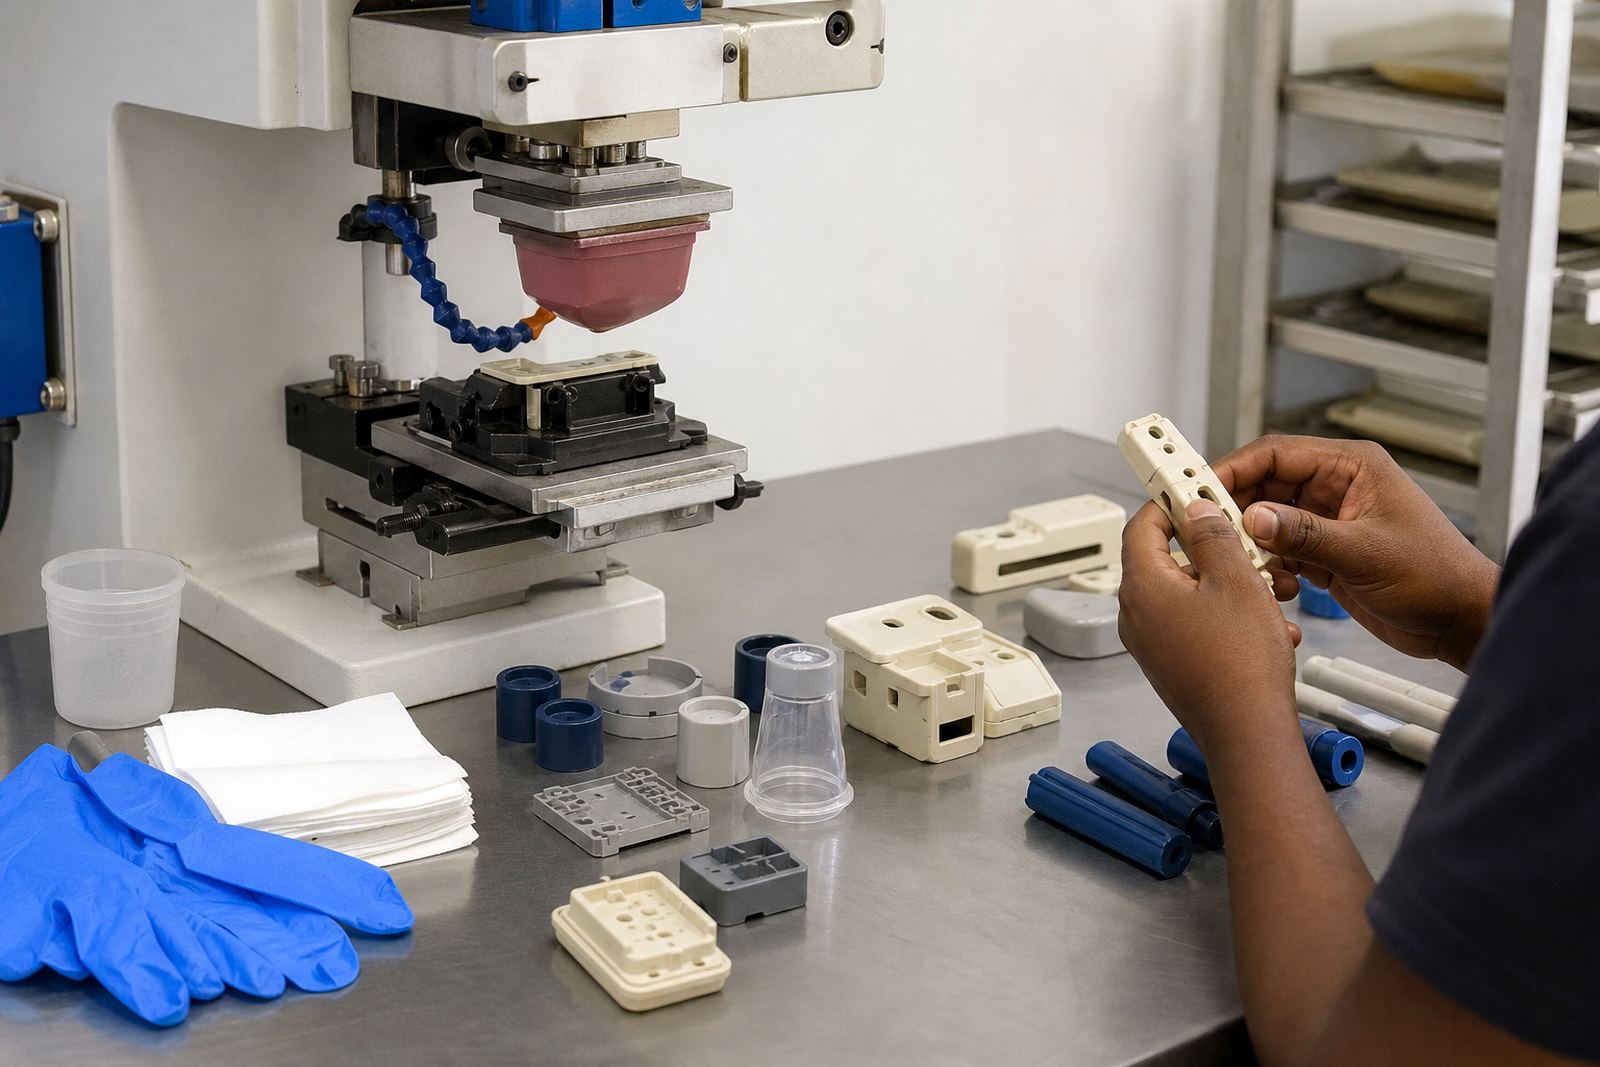
Pad printing uses a silicone pad to pick up ink from an etched plate and transfer it onto curved, recessed or uneven surfaces. On small medical housings, instrument parts and electronic enclosures, the part itself often decides the process. A good prototype should answer practical questions before volume work starts: Will the ink key properly? Does the mark sit flat and legible? Is the fixture holding the component in the same position every time?
- Confirm the final part material and surface finish
- Measure the print zone with enough clearance for handling
- Note any heat, solvent or cleaning exposure
- Identify which side of the part must always face the print
Build Artwork And Plate Data For Future Reruns
Good repeatability starts with artwork that is clean, correctly sized and easy to set up again. Logos, product codes, warning marks and scale details should be prepared in a format that can be reused without guessing. If the artwork needs a redraw, the line weights, spacing and letter height should be recorded so the same setup can be rebuilt later without affecting legibility.
The plate is part of the production record too. A development job should capture the plate layout, the exposure approach, the etching depth and any notes about image reversal or fine detail. That way, when a repeat order comes in, there is less time spent reworking what was already solved.
- Save the approved artwork file with a clear job name
- Record plate size, layout and mark position
- Keep a note of text size, logo orientation and line thickness
- Store the approved sample beside the setup notes
Use Fixtures That Hold The Part The Same Way Every Time
Repeat runs depend on consistent location. If a component moves even a little, the mark can shift, blur or land on a different face. Fixtures, nests and simple holding aids are often the difference between a useful prototype and a setup that can actually support later production. This matters on medical and electronic parts because many components are small, curved or moulded with tight tolerances.
Fixture making during the prototype stage should answer how the operator loads the part, how the part is indexed, and how many units can be run before adjustment is needed.
- Check that the part sits in one fixed orientation
- Allow enough access for the pad and ink transfer
- Make loading simple enough for repeat shifts
- Test the fixture with at least a few trial samples
Match Ink, Cure And Surface Preparation To The Part
Ink choice is not only about colour. It needs to suit the substrate, the handling conditions and the curing method. Some parts need a fast flash off and a controlled cure, while others need a process that gives the ink enough time to bond properly. On plastics commonly used in electronics and medical housings, a surface that is too smooth or contaminated can cause the print to fail. Oils, mould release, dust and even fingerprints can interfere with adhesion.
During a prototype run, adhesion test samples are essential. They show whether the print can withstand rubbing, light cleaning or assembly handling before a larger batch is approved. Curing method selection should also be noted in the job record, because air drying, heat assisted curing or other controlled methods can change the final result. Coastal humidity in Durban can also affect drying time, so the same setup may need a little adjustment from a dry inland run in Johannesburg.
- Confirm the surface is clean and ready before printing
- Record the ink mix or colour match used on the sample
- Note drying or cure time between passes
- Keep test results with the job file for later reference
Set Up Trial Runs Like A Production Drill
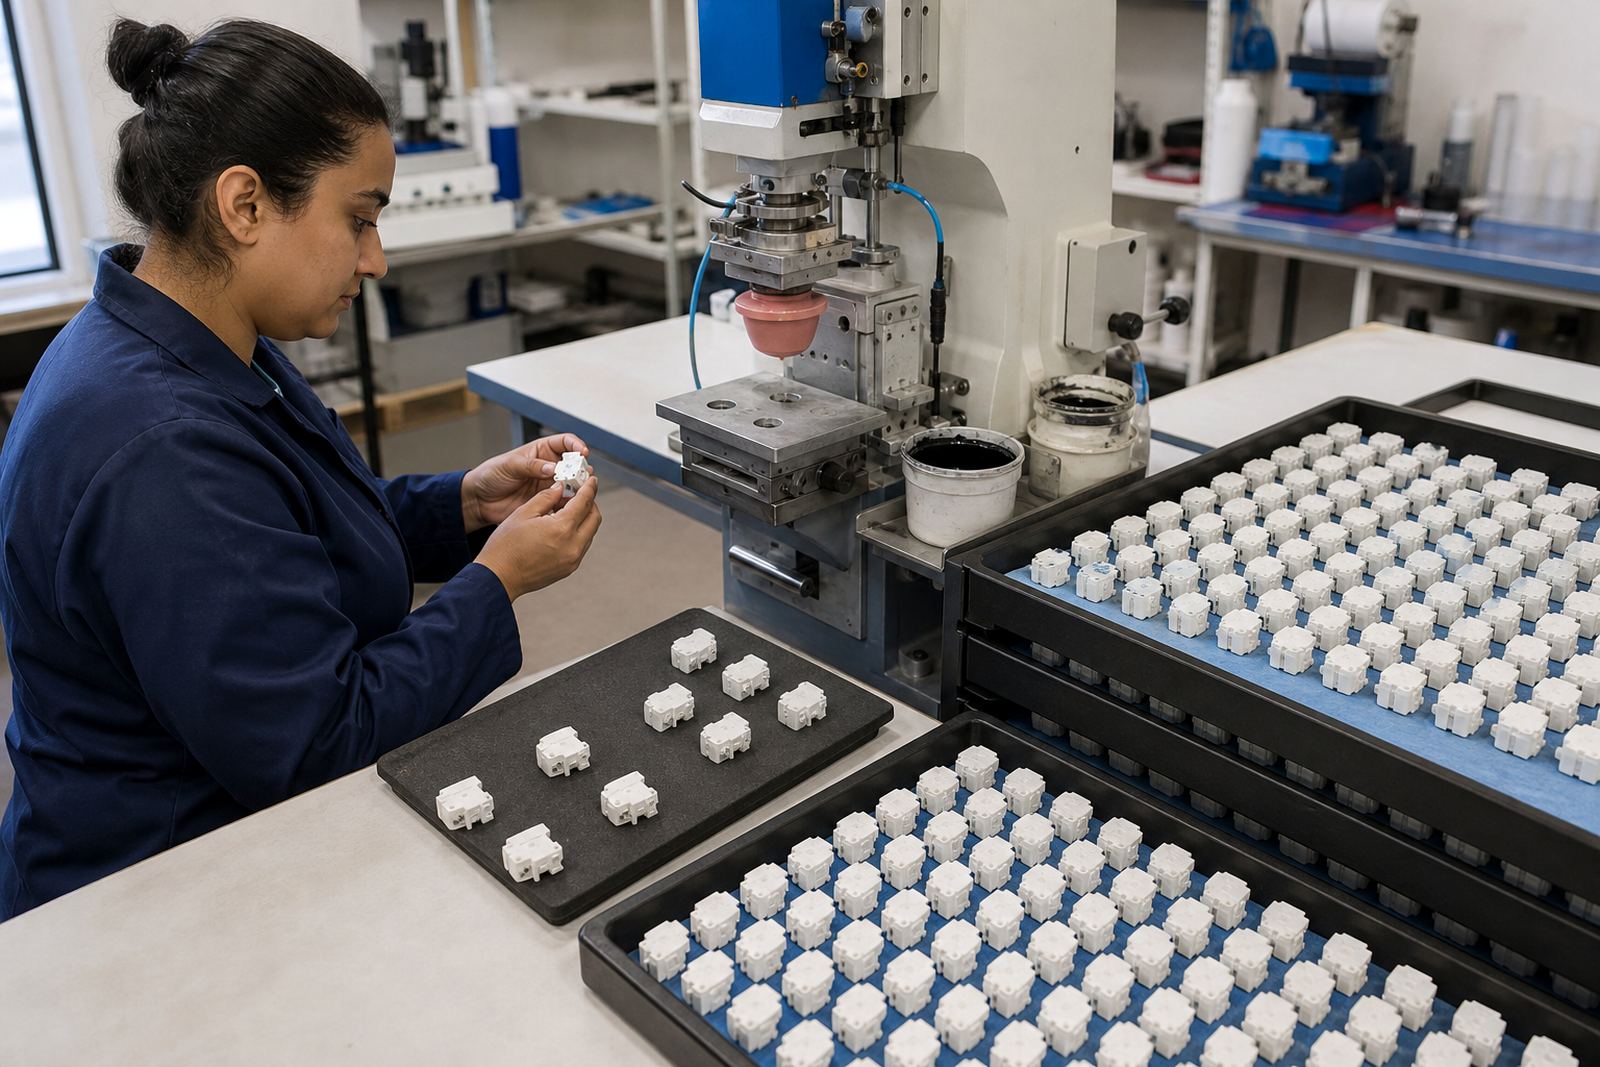
A trial run should be treated as a controlled rehearsal for the repeat order. It is the stage where print area planning, operator handling, rerun control and packing needs are checked together. If a batch is likely to be repeated across Durban, Johannesburg, Cape Town, Pretoria or Gqeberha, then the trial should show whether the job can hold its quality at the speed the client expects.
This is the point to check whether the first sample still looks the same after a few extra prints, whether the ink stays even, and whether the parts can be packed without damage. Trial sample runs also reveal small setup issues such as a fixture that shifts, a plate that needs slight adjustment or a curing step that is too short. It is better to catch that on ten parts than on 1 000.
- Run enough samples to show repeatability, not only one good piece
- Inspect the first, middle and last sample in the run
- Compare print position, density and edge sharpness
- Check that packed parts remain clean and protected
Keep Job Control Notes So The Next Run Is Easier
Repeat work becomes easier when the setup notes are complete. A proper record should show what was approved, what was changed and what must stay fixed. That includes artwork preparation, logo redraws, plate exposure, plate etching, fixture making, curing method selection, rerun job control and dispatch packing. If any of these steps are left vague, the next production run can take longer and use more material than it should.
For manufacturers, the value of a well documented prototype is simple: it reduces uncertainty. It helps production teams, quality staff and client services speak about the same version of the job. It also makes it easier to support branches and areas such as Pinetown Printing Support, New Germany Support and Westville Support when the same part is ordered again. Customers still remain responsible for their own device compliance, but the print record should be clear enough to support their internal checks.
- Keep one approved sample marked for reference
- Store setup notes with the plate and artwork data
- Record any change to ink, pad, fixture or cure
- Make dispatch packing notes part of the job file
Checklist Before You Move From Sample To Repeat Order
Before a prototype becomes a repeat run, the team should confirm that the process is ready for scale. This is not about adding complexity. It is about making sure the same result can be produced again without relying on memory. A practical checklist helps teams in Westmead, Pinetown and across South Africa keep the job controlled even when volumes grow or deadlines tighten.
When a medical or electronic component has passed trial, the repeat order should move with less debate and fewer surprises. That is the advantage of treating development as part of production, not a seperate step. The sample becomes a working record, not just a one off piece.
- Artwork approved and stored
- Plate details recorded and kept with the job
- Fixture tested and marked for orientation
- Ink, adhesion and cure settings confirmed
- Trial samples signed off against the final part
- Packing and dispatch method agreed for later batches