Start With the Right Sample Reference
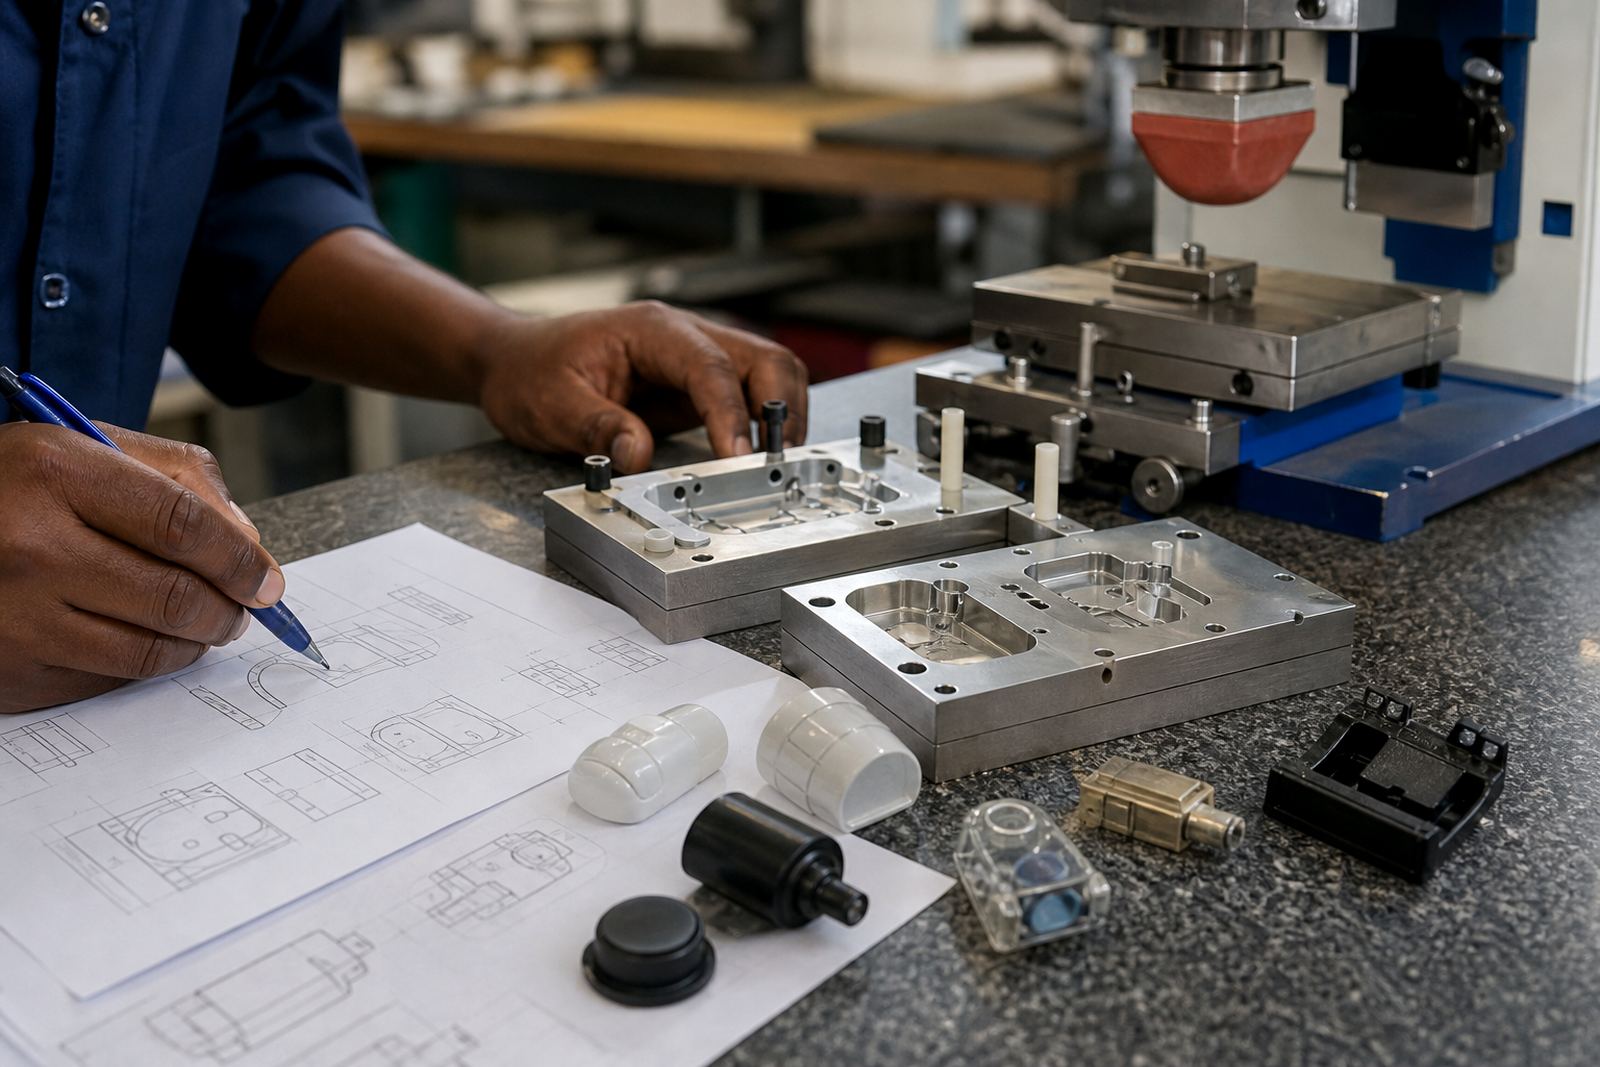
A sample approval only works when everyone is looking at the same target. Before we run the first trial, we confirm the part number, revision, artwork file, print position, colour target and any special handling needed for the substrate. On medical and electronic parts, small changes in wall thickness or mould detail can move the print area by a fraction, so the reference must be clear.
We also check whether the part will be printed flat, curved, recessed or near a clip, port or seam. That affects the silicone pad shape, the plate layout and the fixture. If the part is being supplied from Westmead, Pinetown or sent in from Durban, Johannesburg, Cape Town, Pretoria or Gqeberha, it helps to label the sample pack properly and include the latest drawing. A quick note with the intended use of the marking saves time later.
Check Placement Before You Look at Finish
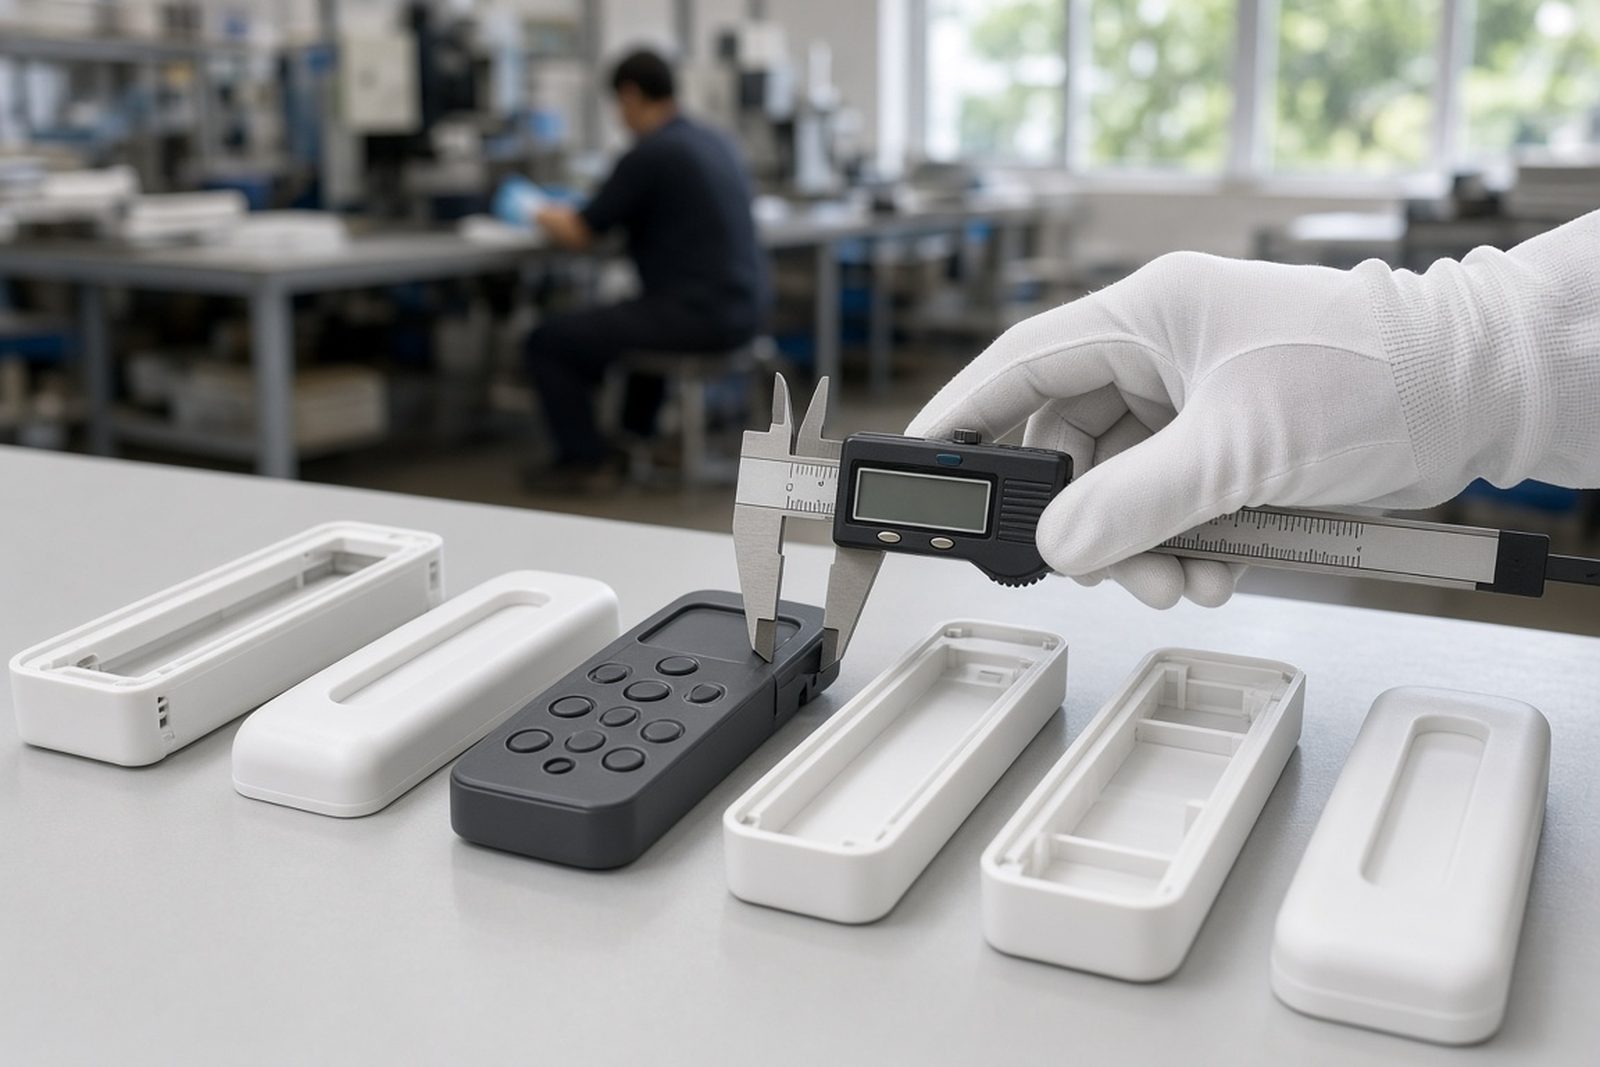
Placement is the first thing to approve because a neat print in the wrong spot is still a reject. Hold the sample against the approved drawing or master part and confirm the mark sits where it should. This matters especially on small housings, control panels, instrument shells and clips where the print must avoid screw bosses, ribs and texturing.
- Confirm the mark is centred or offset exactly as agreed
- Check clearances from edges, curves, vents and mould lines
- Look for any tilt caused by the fixture or part movement
- Make sure the print area allows for normal handling and assembly
If the part will be printed in a different orientation during a rerun, ask for a second sample in that position. A sample that looks good on a table may shift once the part is loaded into a fixture and this is where the approval should be strict.
Review Legibility Under Real Viewing Conditions
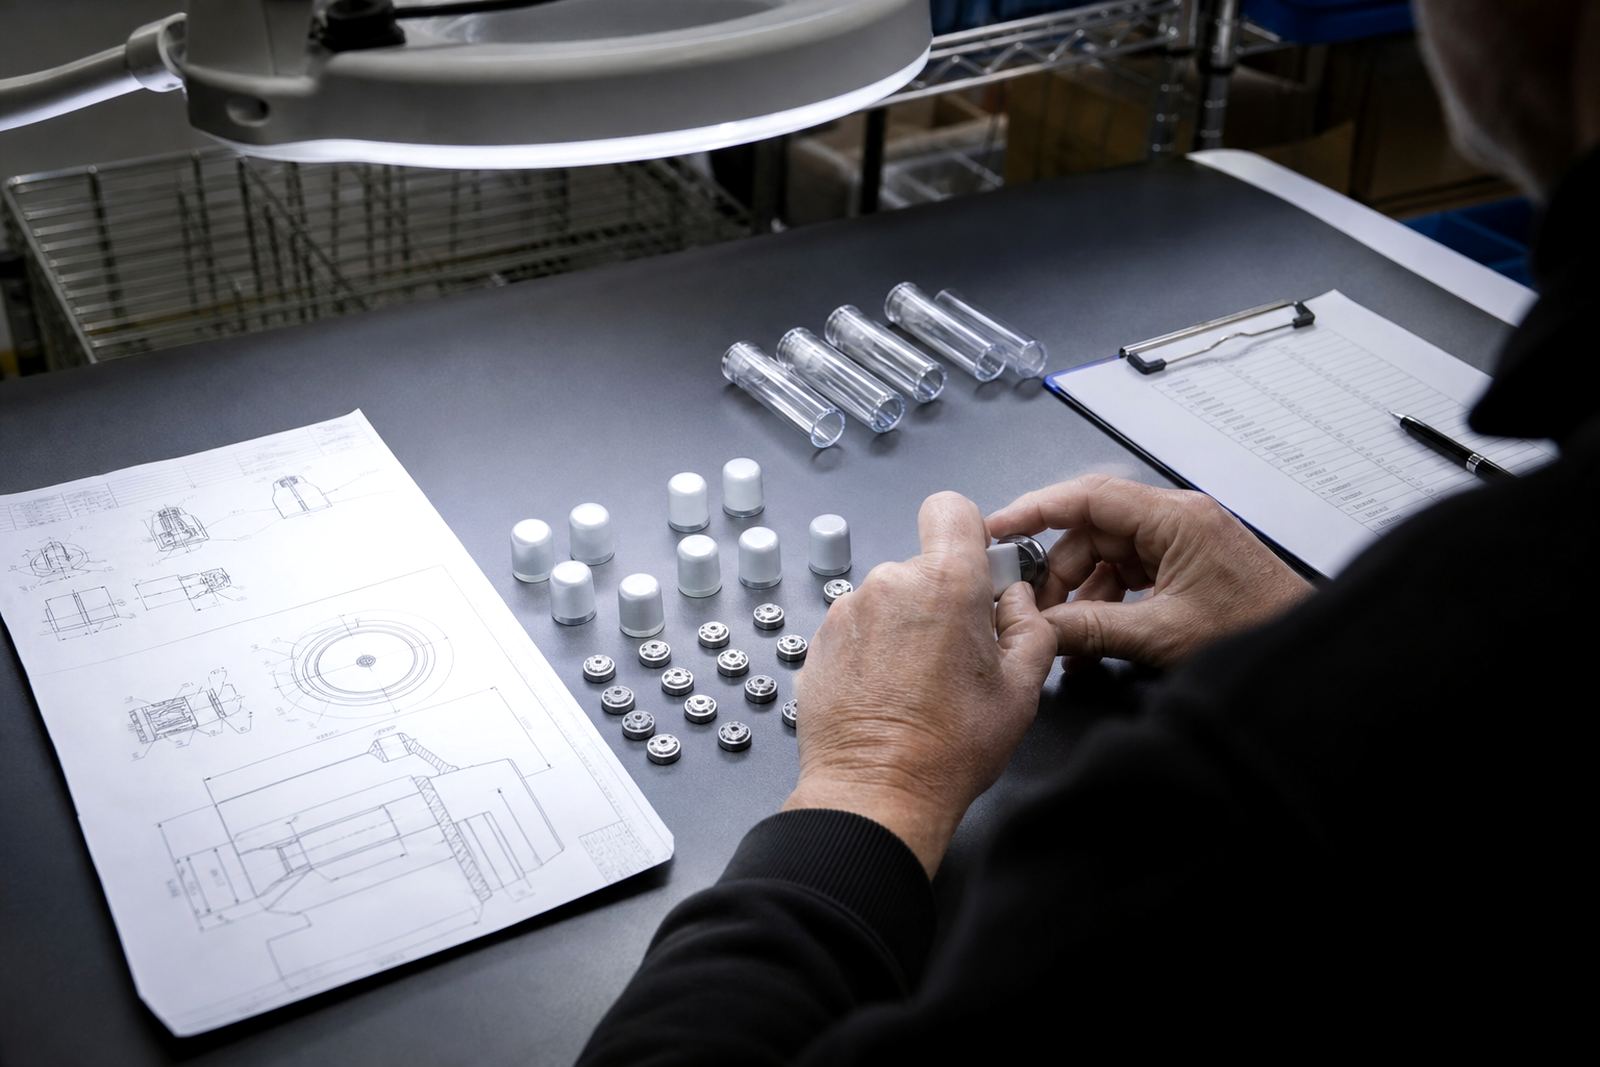
Medical and electronic markings need to be read by operators, assemblers and sometimes end users, so test legibility from a sensible working distance. Check the sample in bright workshop light, under indoor plant lighting and if needed under lower light, because markings can look sharper in one setting than another. Fine text, serial fields, warnings and symbols should remain clean without filling in or breaking up.
At this stage, compare line weight, letter spacing and symbol detail. A pad print that is too heavy can close up small characters, while a light print may show gaps or patchiness. If the job includes a logo redraw or a small technical legend, the approved sample should show that every part of the artwork still reads cleanly after transfer from plate to pad to part.
For parts used in clinics, labs or field equipment, keep in mind that staff may need to identify controls quickly. Good legibility is not only about neatness, it is about practical use.
Test Adhesion on the Actual Substrate
Adhesion is where many sample approvals are won or lost. The ink has to bond properly to the exact plastic, coated metal or treated surface being used on the final part. We can provide adhesion test samples so the client can check the mark against their own handling process before authorising a run.
The right result depends on surface condition, ink choice, curing method and part preparation. Some materials need extra cleaning, others need a different curing approach, and some may respond differently after mould release residue or skin oils are removed. If the part is going into a humid coastal store room in Durban, or moving through a warehouse in Gauteng, it is wise to test the sample after normal handling as well as immediately after curing.
- Perform a simple tape test if your process requires it
- Check for rubbing, flaking, lifting or edge peel
- Inspect the mark after light handling and packing
- Repeat the test on more than one sample if the material varies
Approve Curing Method and Job Control
Once placement, legibility and adhesion look right, the curing method must still be confirmed. Different inks and parts may need air drying, heat, UV or a combination of controlled curing steps. The approved sample should match the final process, not a temporary one-off condition. If curing is rushed, the print may seem fine at first and then fail later in use.
We keep rerun job control clear so the same setup can be repeated after approval. That means the plate, fixture, ink mix and curing settings are recorded with the sample. When a production batch is restarted weeks later, there should be no guessing. This is especially useful for follow-up jobs where the customer wants the same result on every production cycle.
Internal release decisions and device compliance still sit with the customer. Our role is to supply a consistent sample and practical print information, so the approval process is based on real results.
Use a Simple Approval Checklist
A short checklist prevents small misses from becoming batch problems. Before signing off, work through the sample with the part in hand and the drawing beside you. If more than one person needs to approve the result, make sure they are using the same criteria.
- Part number and revision confirmed
- Artwork, logo and text checked against the latest file
- Print position and orientation approved
- Legibility checked at working distance
- Ink colour accepted under normal light
- Adhesion test completed if required
- Curing method confirmed
- Packaging and dispatch handling considered
If any item is not right, hold the batch and return to sample adjustment. It is easier to change a plate, fixture or curing setting at sample stage than to sort out a full production lot later.
How We Support Approvals Across South Africa
Our sample approval work is set up for manufacturers in Pinetown, Durban, Johannesburg, Pretoria, Cape Town and Gqeberha who need dependable marking on medical and electronic components. From Westmead, Pinetown, we handle artwork preparation, logo redraws, print area planning, colour matching, plate exposure, plate etching, fixture making, trial sample runs, curing method selection, rerun job control and dispatch packing.
The team is led by Sibusiso Naicker, with Naledi Kekana overseeing production, Sanjay Dookhi handling artwork and plates, Lerato Mabunda on quality checks, Yashika Sewpersad in client services and Mfundo Xaba managing machine setup. If you need sample approval support, write to PadPrinters through the contact page form with your part, artwork and run size. We will help you work through the print details, then you can authorise production with confidence.