Start With the Part Itself
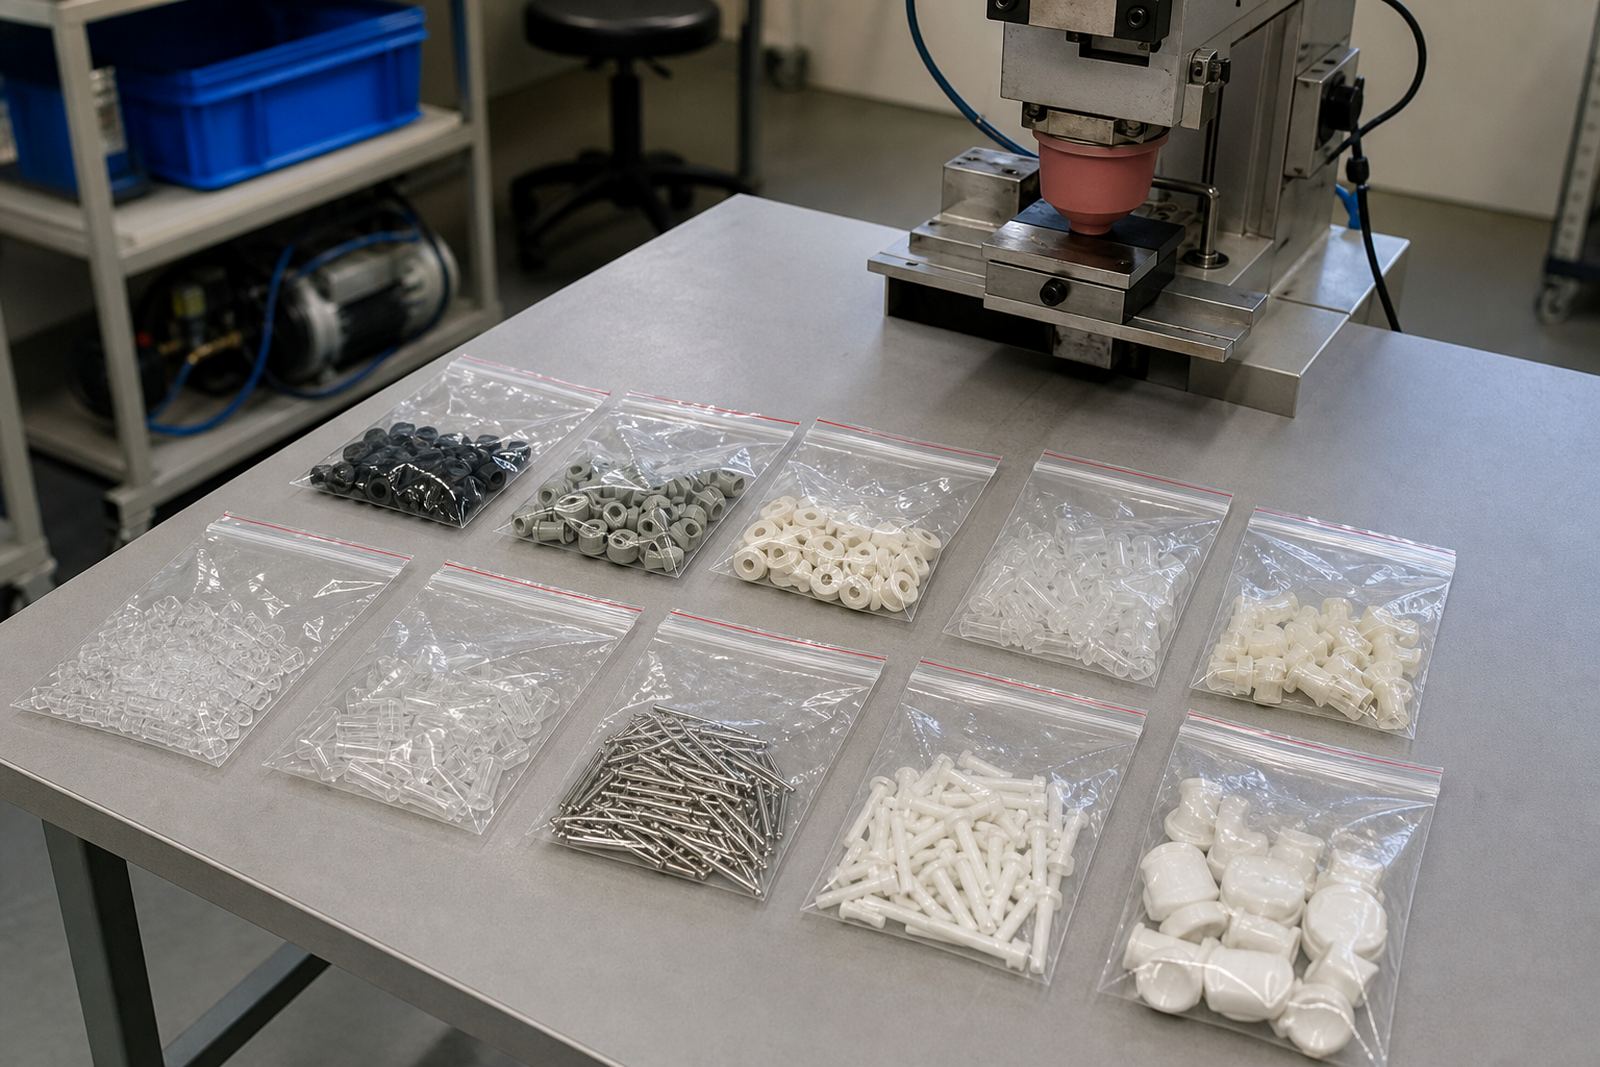
Begin with the actual component details, not just the final artwork. We need to know the substrate, finish and shape because pad printing behaves differently on glass-filled plastics, stainless steel, coated metals and moulded housings. A smooth flat cap is one thing, a curved handheld device shell or a small connector body is another. Even the colour and surface texture can change how the ink sits and cures.
Tell us where the part is made, how it will be handled, and whether it will be cleaned with alcohol, sterilising wipes or other common agents. If the part sees heat, moisture or frequent touch, that changes the ink choice and the way we test adhesion. Coastal humidity in places like Durban and Gqeberha can also affect drying times and storage, so it helps to mention where the parts will be used and packed.
- Part name and material
- Surface finish and colour
- Part dimensions and any curves or recesses
- Expected handling, cleaning and wear
- Where the parts will be used or supplied in South Africa
Share the Exact Marking Requirement
We need the marking information in full before we start artwork or plate work. Share the logo, text, symbols, part numbers, batch references or warning marks that must appear on the component. If the print needs to be subtle for branding or highly visible for identification, say so. Medical parts often have small print areas and strict placement, so a few millimetres can make a difference.
Please also confirm the final size of the mark, the position on the part and whether the marking must be single colour or multi-colour. If the part has several print faces, tell us which areas are approved for printing and which areas must stay clear. A simple sketch or marked photo is often enough to avoid confusion later.
- Artwork files or clear reference images
- Text to be printed exactly as required
- Preferred print size in millimetres
- Print position, orientation and clearances
- Any serial number or batch coding needs
Confirm the Ink, Cure and Durability Expectation
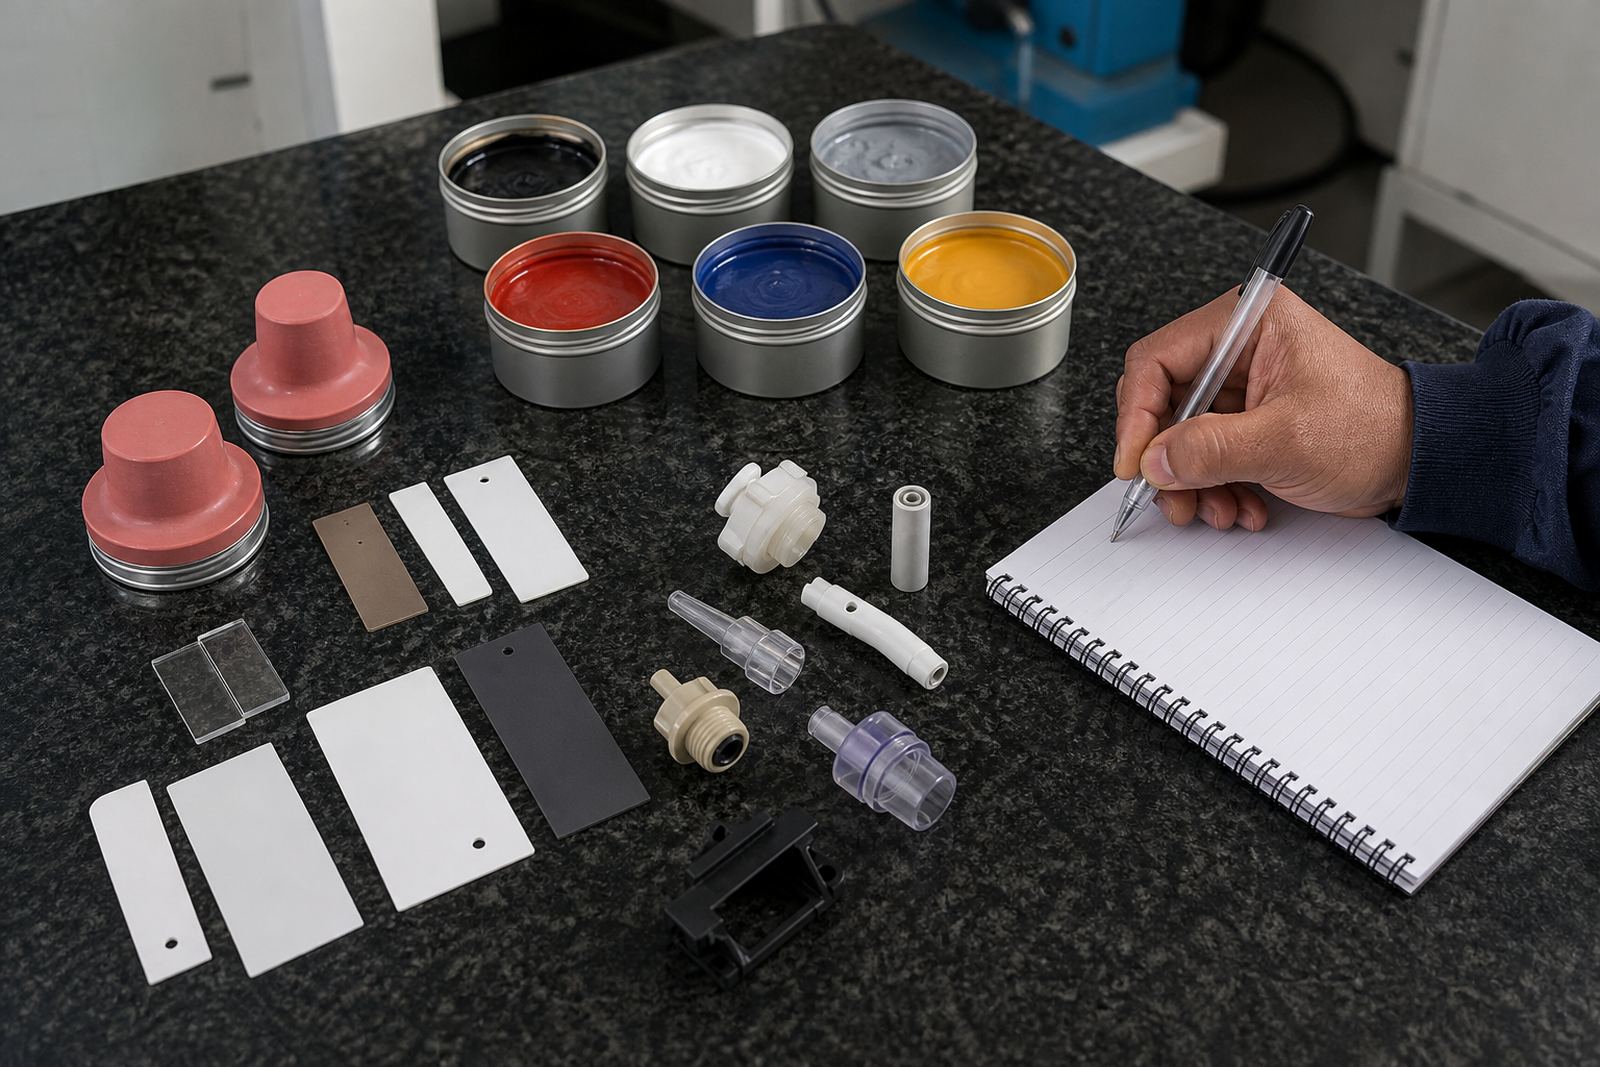
Pad printing uses a silicone pad to lift ink from an etched plate and transfer it onto the part. After that, the ink needs to dry or cure properly so the mark holds up in real use. The ink type, curing method and surface preparation must match the component and the environment. Some parts do well with air drying, while others need heat curing or a specific handling window before packing.
Let us know if the print must withstand abrasion, repeated wiping, mild chemicals or exposure to sunlight during transport and storage. If the component is for electronics, also tell us whether the mark must remain clear around contact points, sockets or assembly features. We can then recommend adhesion test samples and trial runs before full production. Customers remain responsible for their own device compliance, so the print specification should fit the product’s own approval process.
- Expected wear and cleaning conditions
- Any heat sensitivity or assembly constraints
- Preference for air dry or cured ink where suitable
- Need for adhesion test samples
- Required handling time before packing or dispatch
Tell Us How the Parts Will Be Held During Printing
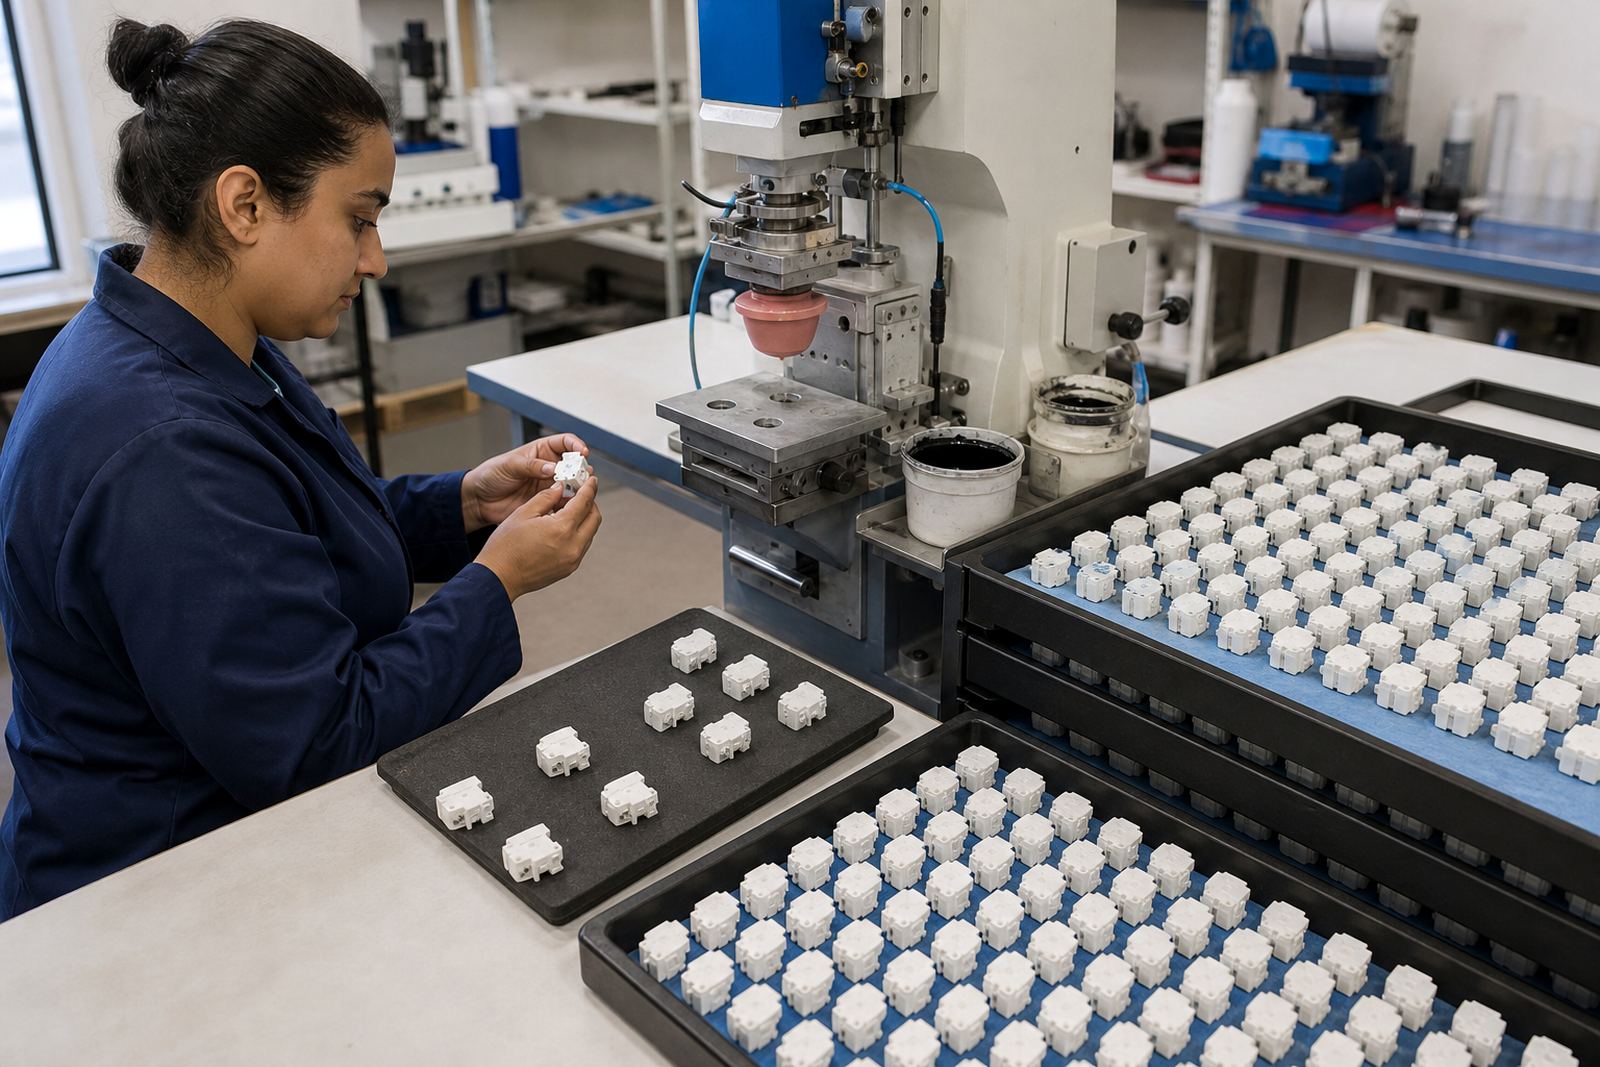
For repeatable results, the component must sit in a fixture that keeps it steady and correctly aligned. If the part rocks, flexes or shifts, the image can drift or blur. That is why fixture making is part of the job, especially for small medical housings, electronic enclosures and parts with irregular curves. The more detail we have about the part and the quantity, the better we can plan the setup.
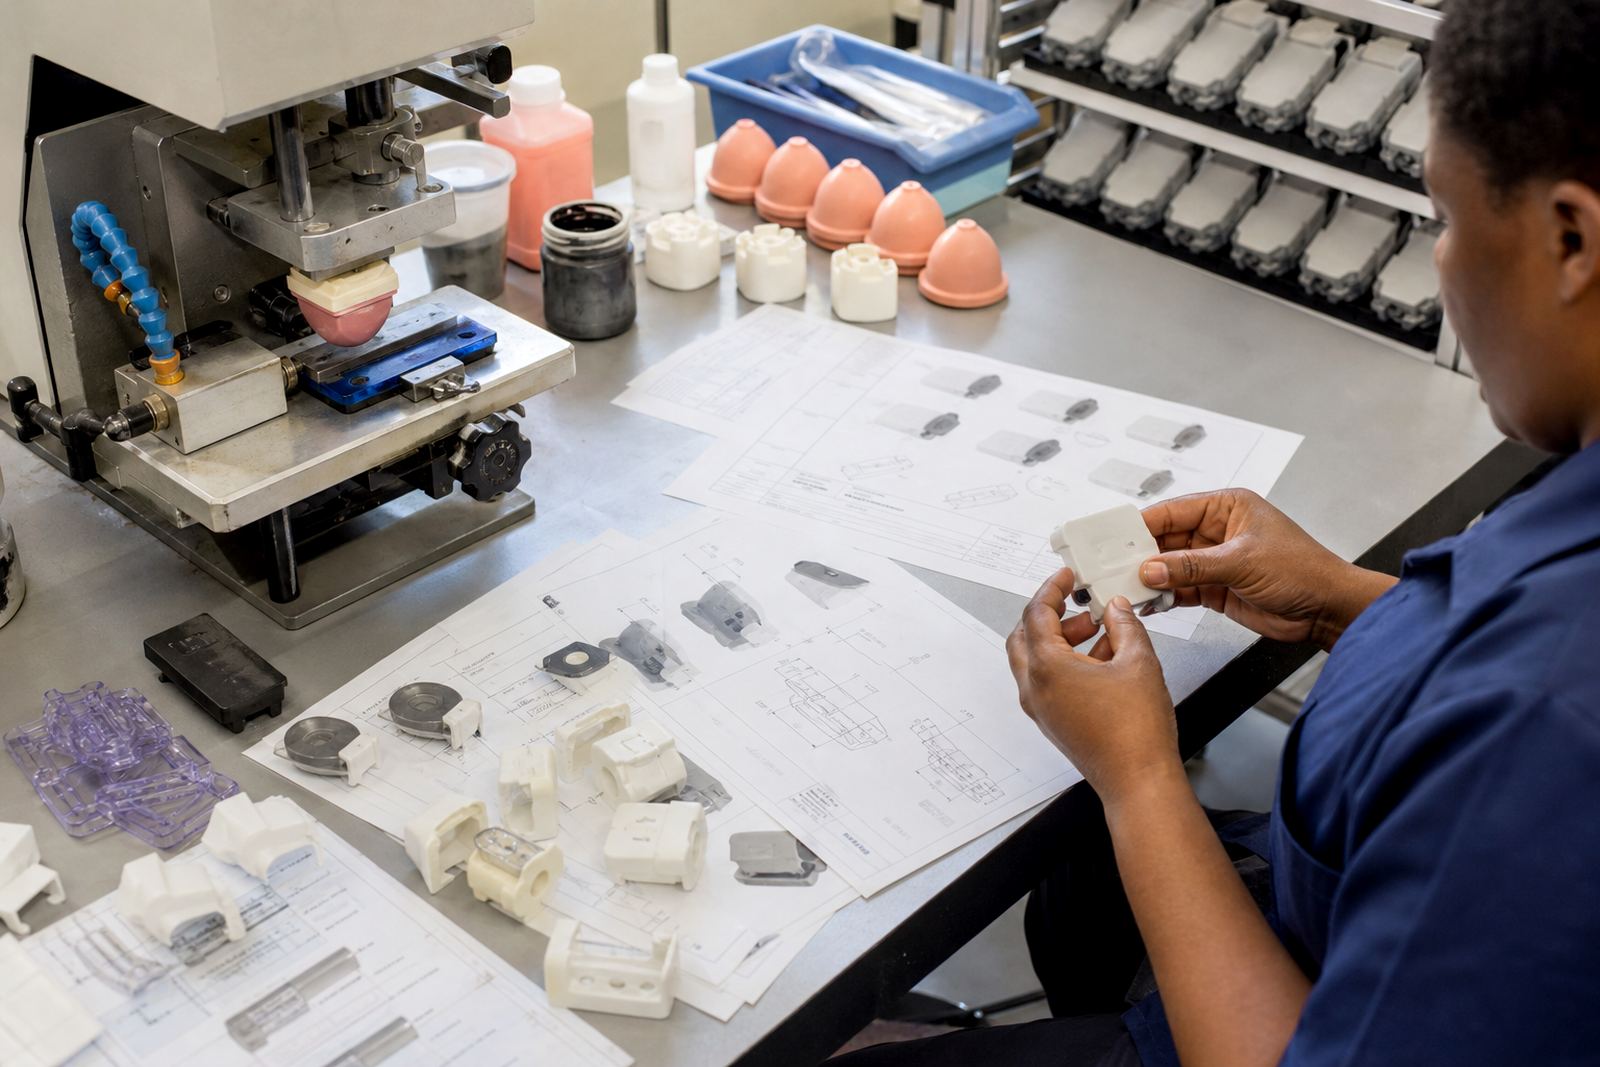
Send samples of the actual component if possible, not only drawings. If the part has delicate walls, snap-fit tabs or fragile edges, mention that upfront so the setup protects it during printing and cure. For recurring work, we also need to know whether the tool, mould or part revision has changed. A small mould tweak can affect the print location and the plate setup.
- Sample parts for trial setup
- Photos or drawings showing the print face
- Any fragile areas or flex points
- Expected batch size and repeat schedule
- Whether the part has changed since the last run
Prepare Artwork and Colour Details Properly
Artwork preparation starts with clean source files and clear instruction. If the logo needs redrawing, specify what must stay exact and what may be simplified for printing. Thin lines, tiny text and tight spacing can fail on a small medical component, so we may suggest adjustments for clarity. Colour matching should be based on the real part colour and the intended end use, not only on a screen view.
For multi-colour work, confirm the order of prints and whether each layer must sit in a precise position. Mention if the same mark must be repeated across several parts with the same appearance every time. We keep rerun job control in mind, so once the print is approved we track the setup to help keep future batches consistent.
- Final artwork file where available
- Notes for logo redraws or simplification
- Colour reference, sample or approved standard
- Number of colours and print order
- Any tolerance for slight tonal change between batches
Plan Samples, Packing and Dispatch Early
Before full production, agree on how samples and finished goods will move. Trial sample runs help confirm layout, adhesion and curing before a larger order goes ahead. Once approved, packaging needs to protect the print from rubbing, moisture and dust during transit from Westmead, Pinetown to Johannesburg, Pretoria, Cape Town, Durban or Gqeberha. For export style packing or long storage, that detail matters even more.
If the parts are being sent through a contract manufacturer or to several sites, note the branch or delivery area clearly. We also need to know whether the job is urgent and whether dispatch packing must separate different variants. Good packing prevents scuffing and keeps mixed batches in order. A clear label system saves time when goods arrive at the next step in production.
- Sample approval route
- Final delivery address or branch area
- Packing method for printed and unprinted parts
- Need for batch separation or label control
- Preferred dispatch timing